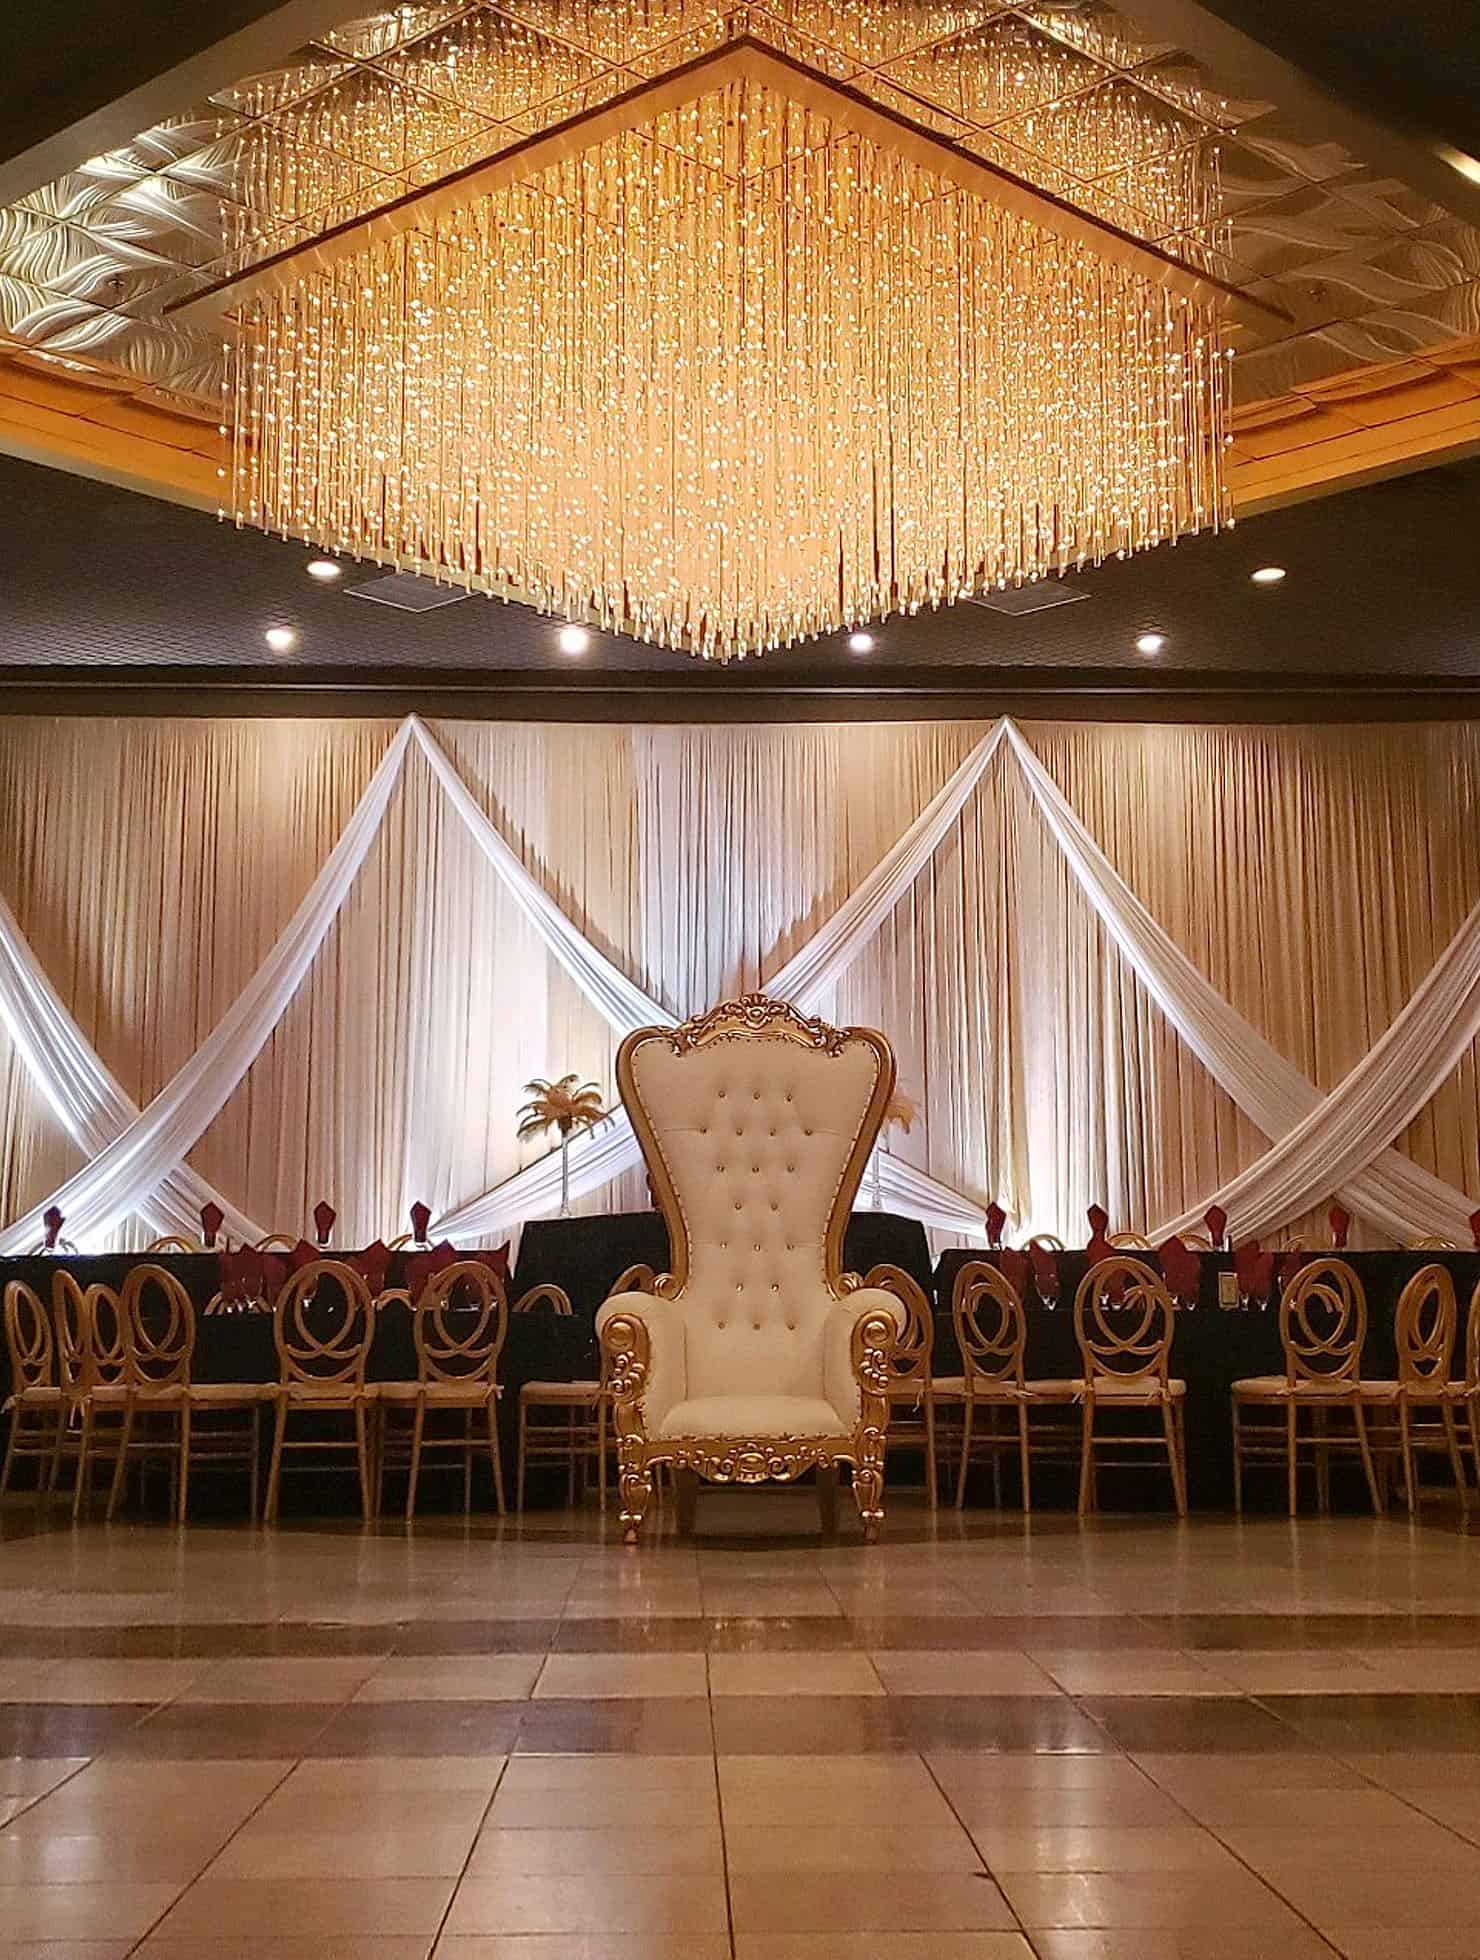
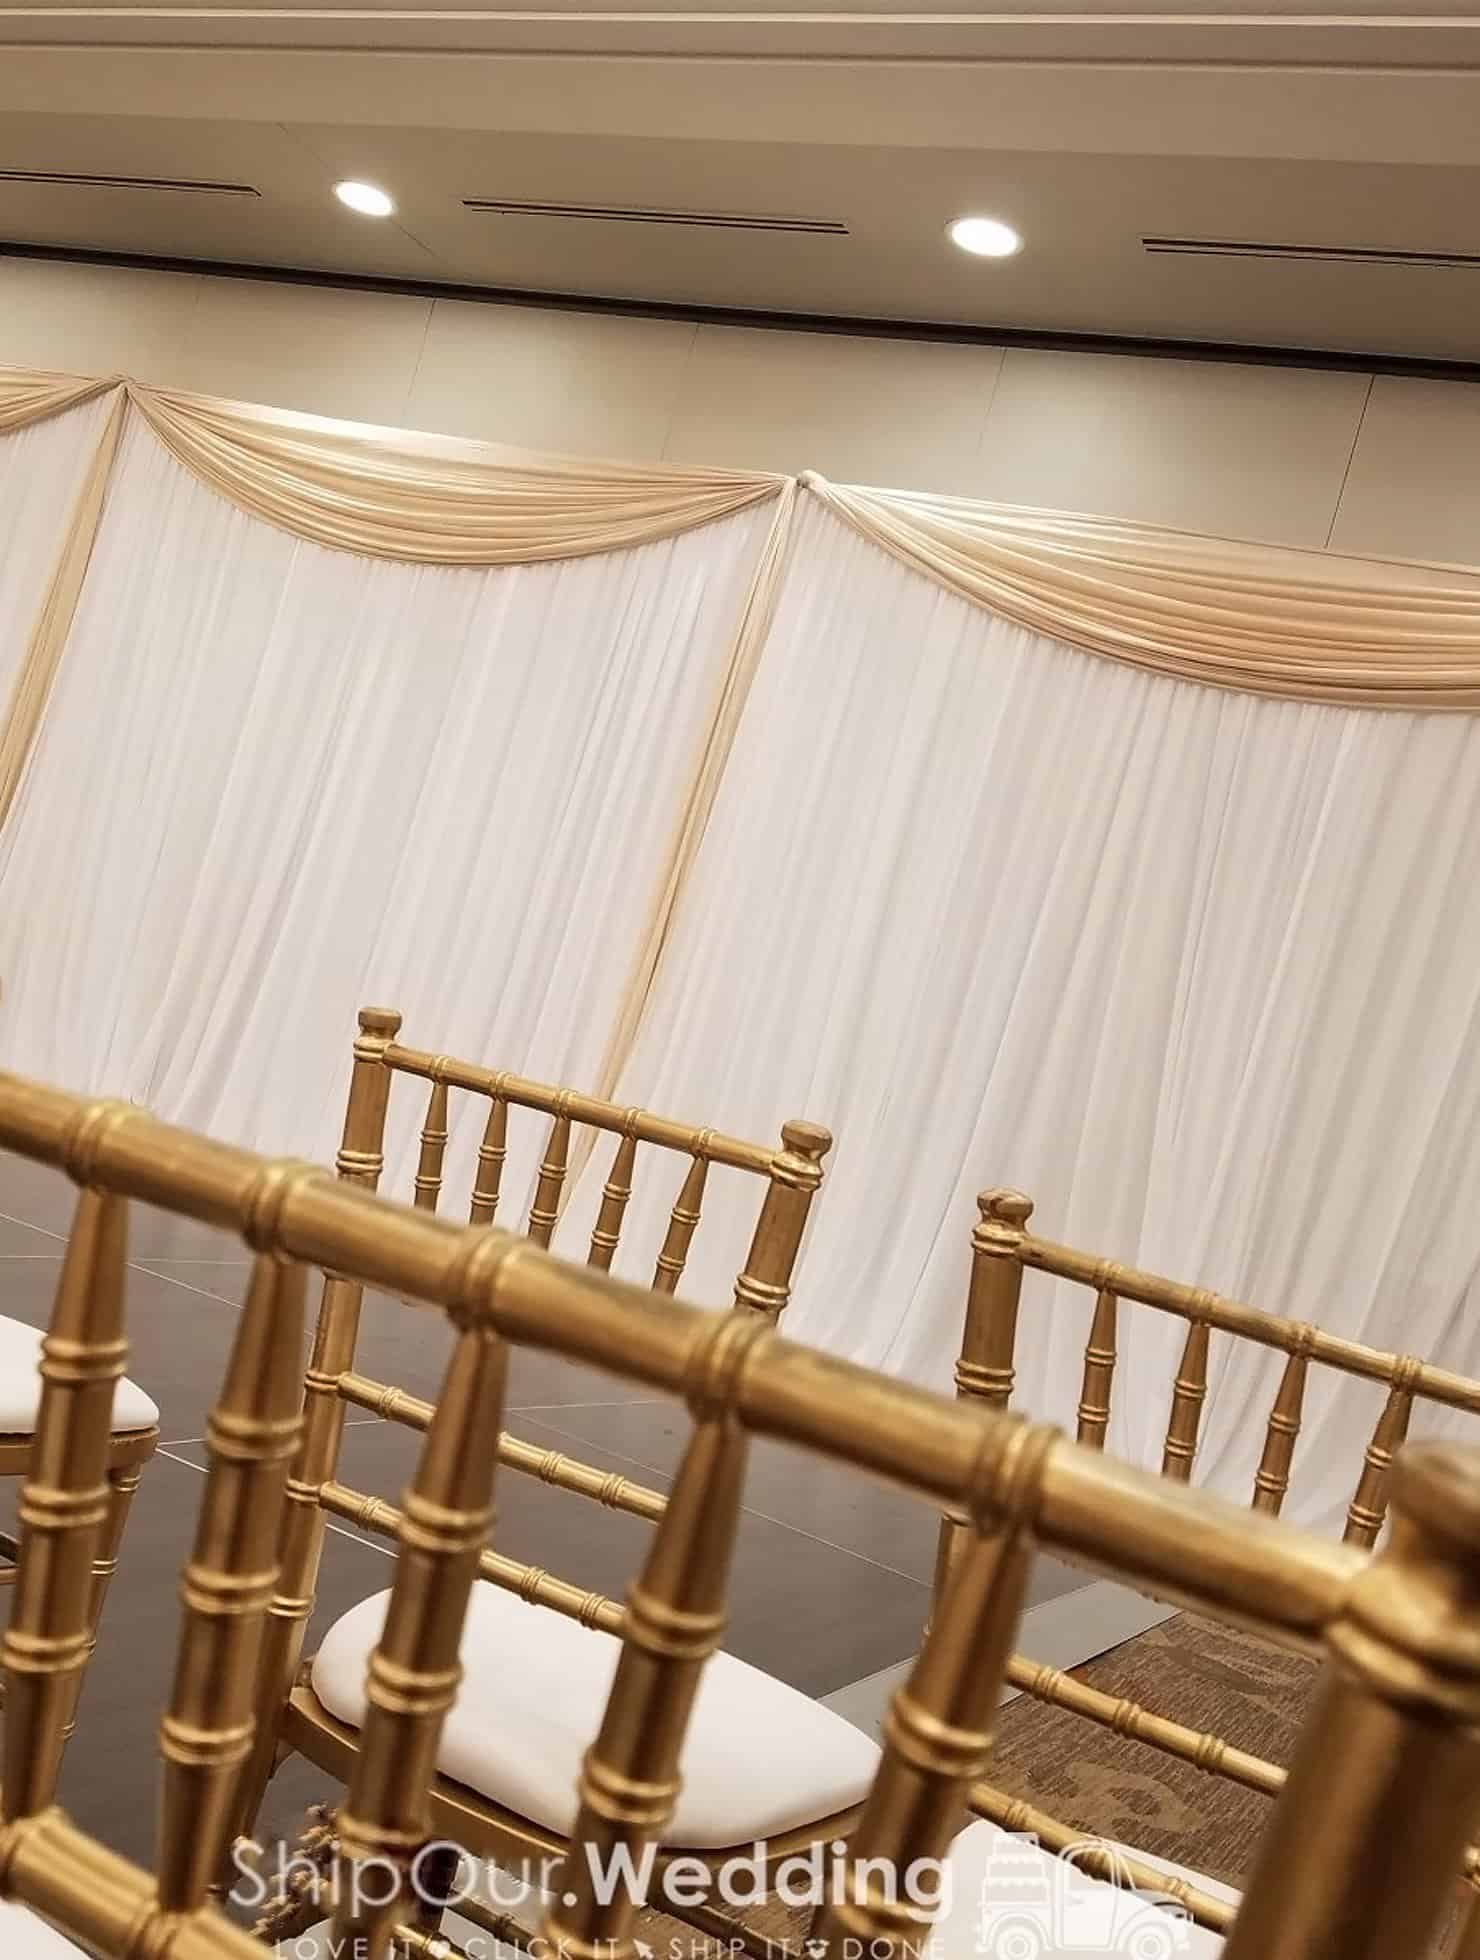
rent DIY draping
it is affordable
and oh so lovely!
Creating a wedding tunnel can add the decorative feel your wedding setting needs! Whether it’s an entrance for the bride or a partition opening leading to the reception area, a wedding tunnel creates the impression as guests arrive at your event.
The best part? You don’t need to go over budget to rent this kit.
With just a few basic materials in an easy-to-setup kit, you can set up a stunning tunnel all by yourself. In this tutorial, we will walk you through the process of setting up a wedding tunnel step by step.
✔️ By the end of this guide, you’ll be ready to set up tunnel drapery that your guests & budget will love
Average Read Time: 4 minutes 5 seconds
How to Decorate Wedding on a Budget with Tunnel Draping
A stunning feature, like wedding tunnel draping, can bring a touch of sophistication and excitement to any event. Be it for the bride and groom or their guests as they make their way into the area.
Decorating the main entrance to your venue sets the stage for guests as they are greeted unexpectedly. It piques their interest and has them thinking of what other fun surprises will happen.
Upgrade Your Space
If your location features a hallway or entrance area that is missing something, a tunnel can easily raise the visual appearance with little resources and time invested.
Improves Flow
A draped tunnel can smoothly connect sections of your venue and contribute to a sense of unity in the space as guests move from cocktail hour to the reception.
Tailored Design Option
You have the flexibility to customize the dimensions and height of your tunnel according to the space so it fits and gives you more design opportunities.
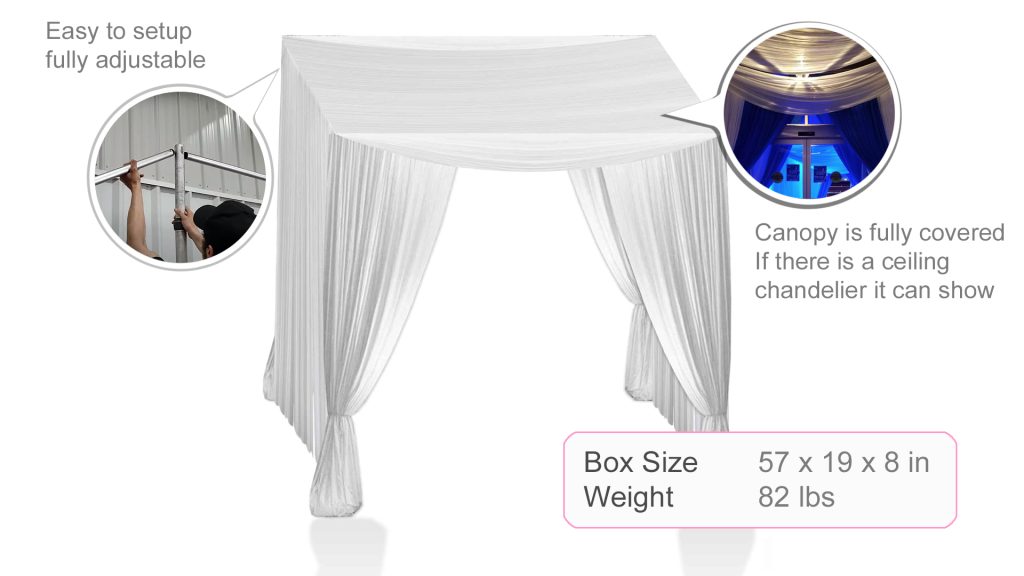
To set up a wedding archway or tunnel for the party requires equipment known as pipe & drape. Here’s a list of what our DIY kit includes:
- Four base plates
- Four uprights (adjustable height pieces)
- Four crossbars
- Choose fabric color for drapes to accent wedding colors
- Pull back the fabric with zip ties
- Illuminate the room with wireless uplights (wow effect)
- Tools you’ll need: pipe cleaners, zip ties, and scissors to cut zip ties
Congrats, you have everything you need to begin setting up your tunnel.
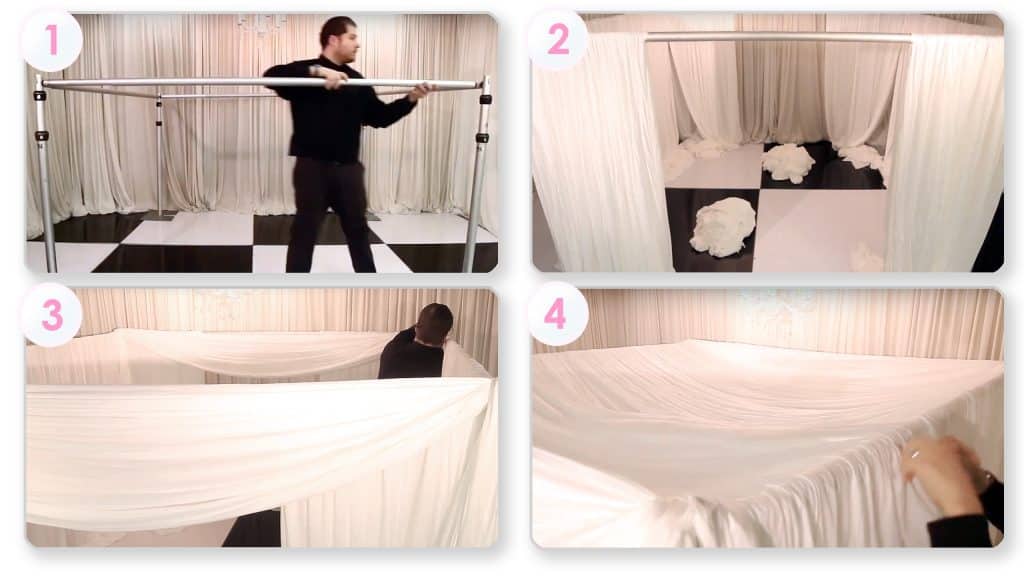
Let’s begin by screwing your ferrules into your base plates & laying them on the ground in a square formation. Next, lay down your crossbars so the baseplates align with your crossbar ends.
Slide your uprights into the four base plates and make sure they fit securely. If they are too tight try to wiggle the uprights left and right while sliding onto the ferrule pin.
Uprights should slide over the ferrule pin at least halfway. Do not force down if the fit is tight. This will make it too difficult to remove.
Step 1: Securely Fasten the Crossbars in Place
Grab the crossbars and join them with the tops of every upright to create a 10-foot x 10-foot square frame. If your tunnel needs to be smaller adjust the crossbar length to 7.5ft… they are telescopic!
You can choose to make a more rectangular frame (longer than it is wide). Have fun with your size so it is where you want it. This forms the core tunnel structure that we like to call the skeleton.
Step 2: Gently Place Fabric Over the Crossbars
You’re ready to throw your fabric over.
- Watch our video above to see fabric placement over the crossbars, ensuring they are evenly spread out.
- Gently pull the fabric on both sides (think even amounts on both sides) so it’s ready to raise.
- Keep the fabric together at the points where it overlaps by using zip ties or fabric clips.
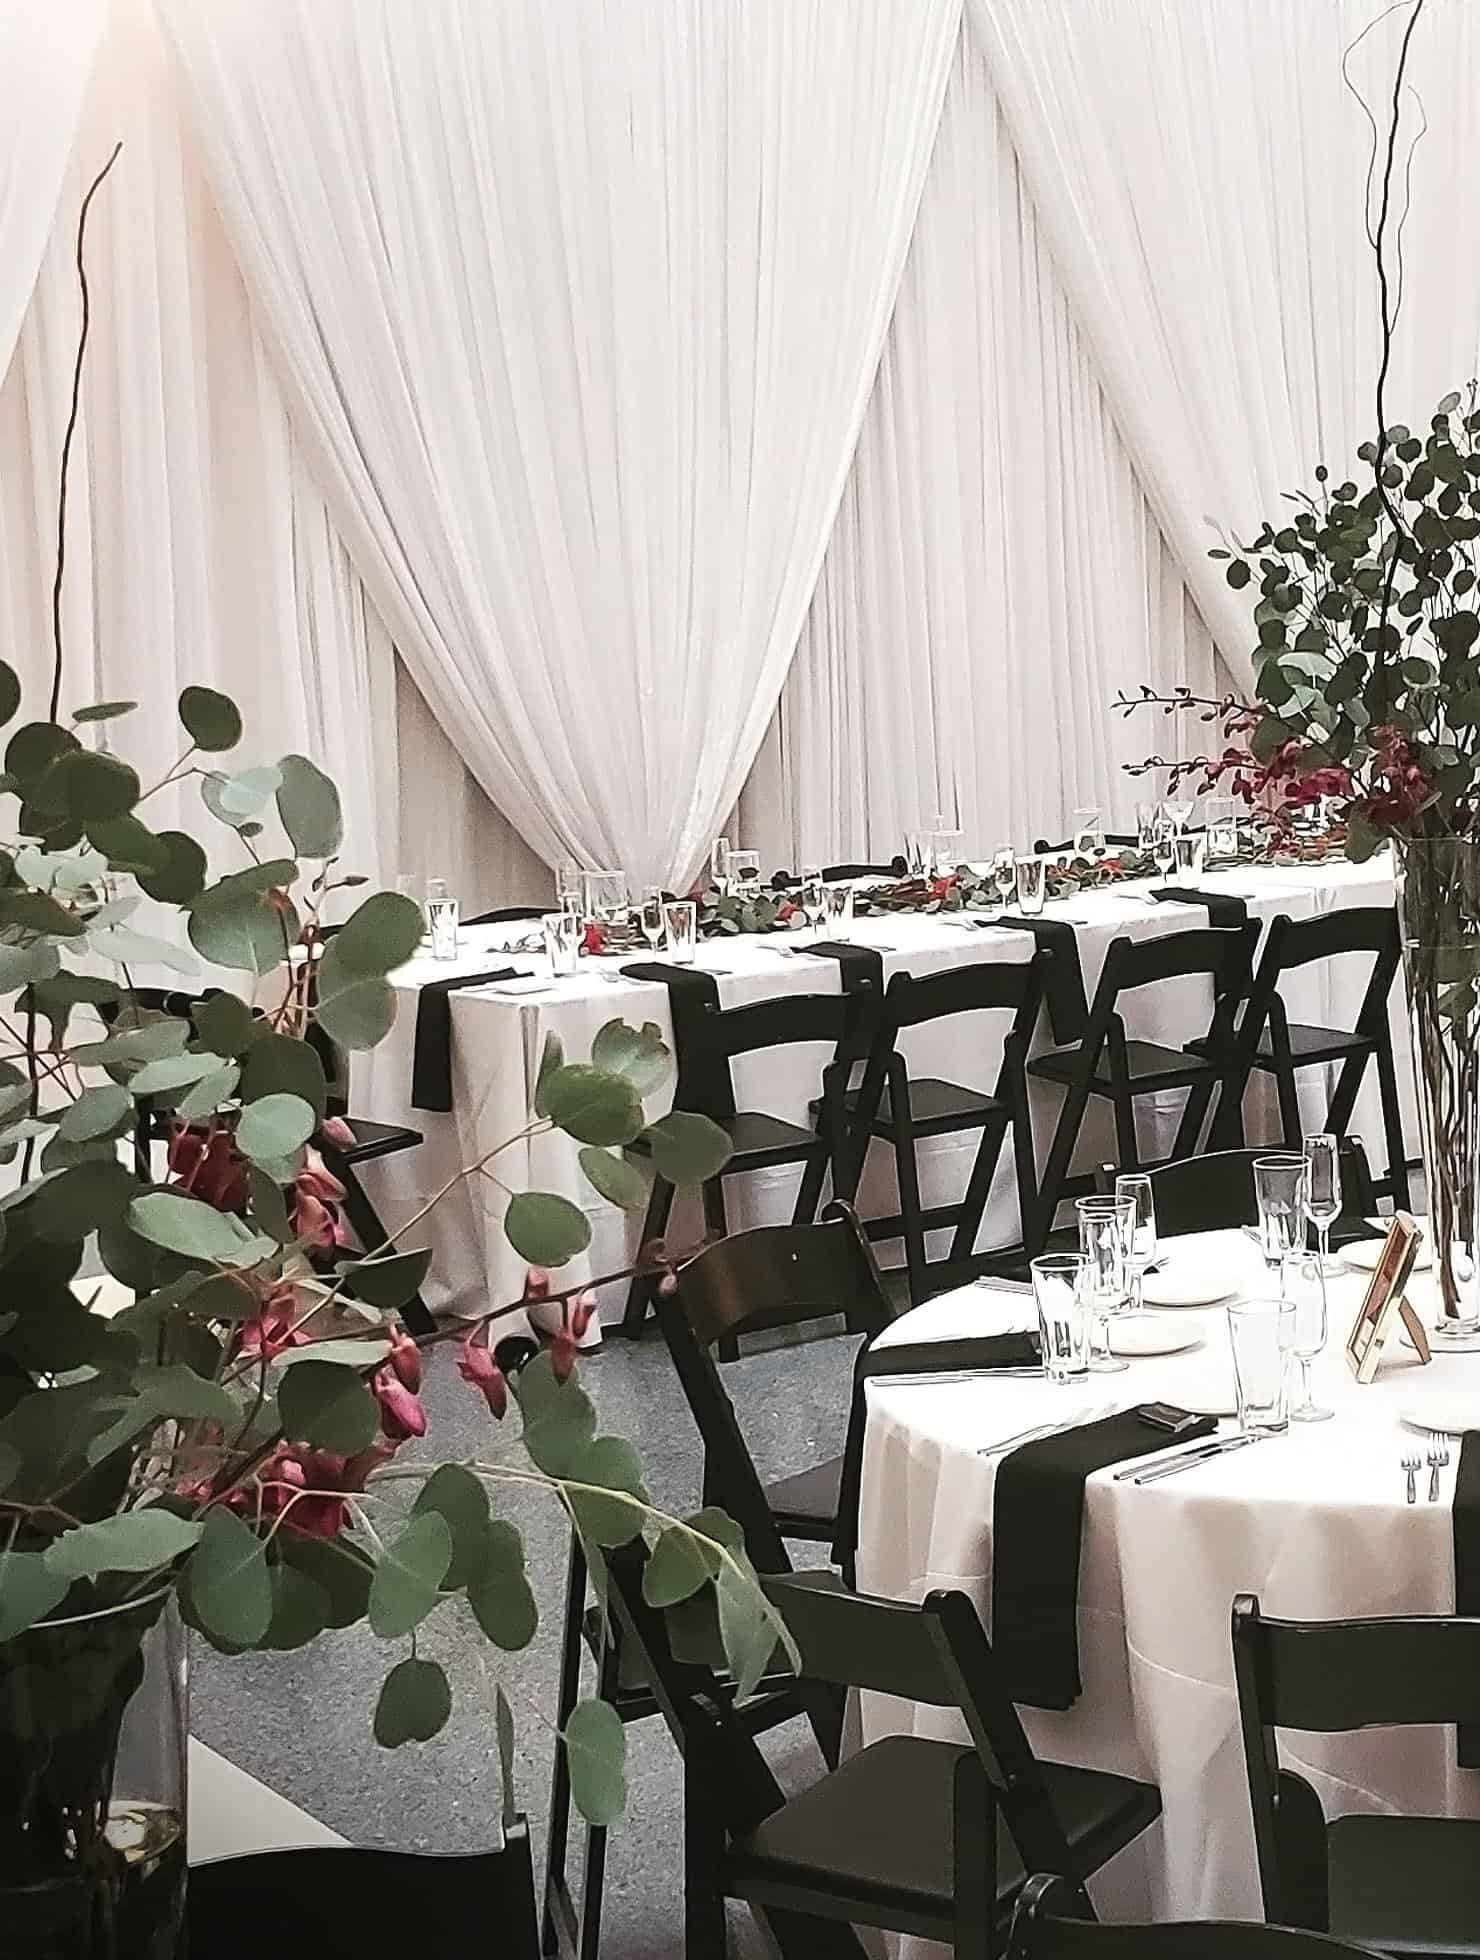
- Any walls with fabric coming straight down, pleat it so that it creates a wall
Make sure to repeat these steps for each crossbar, ensuring that the fabric is even and that the pleats look balanced.
Step 3: Install the Ceiling Fabric in Place
To give the tunnel a draped ceiling, attach some fabric to the top going over your left and right closed-off walls. This creates your canopy.
- Place two cloth pieces over the crossbars to create the ceiling (as shown in the video).
- Gently lay the fabric over the bars allowing it to drape naturally.
- Make sure to position the ceiling fabric at your desired height, remember your uprights will be elevated so this canopy will be much taller.
Step 4: Adjust Your Tunnel’s Height
You can change the tunnel’s height by lifting the uprights so that it is tall enough (at least 7 feet) for people passing through it. For more impact, you have the option to raise it as high as 10 feet.
Step 5: Develop the Entrance and Exit Points
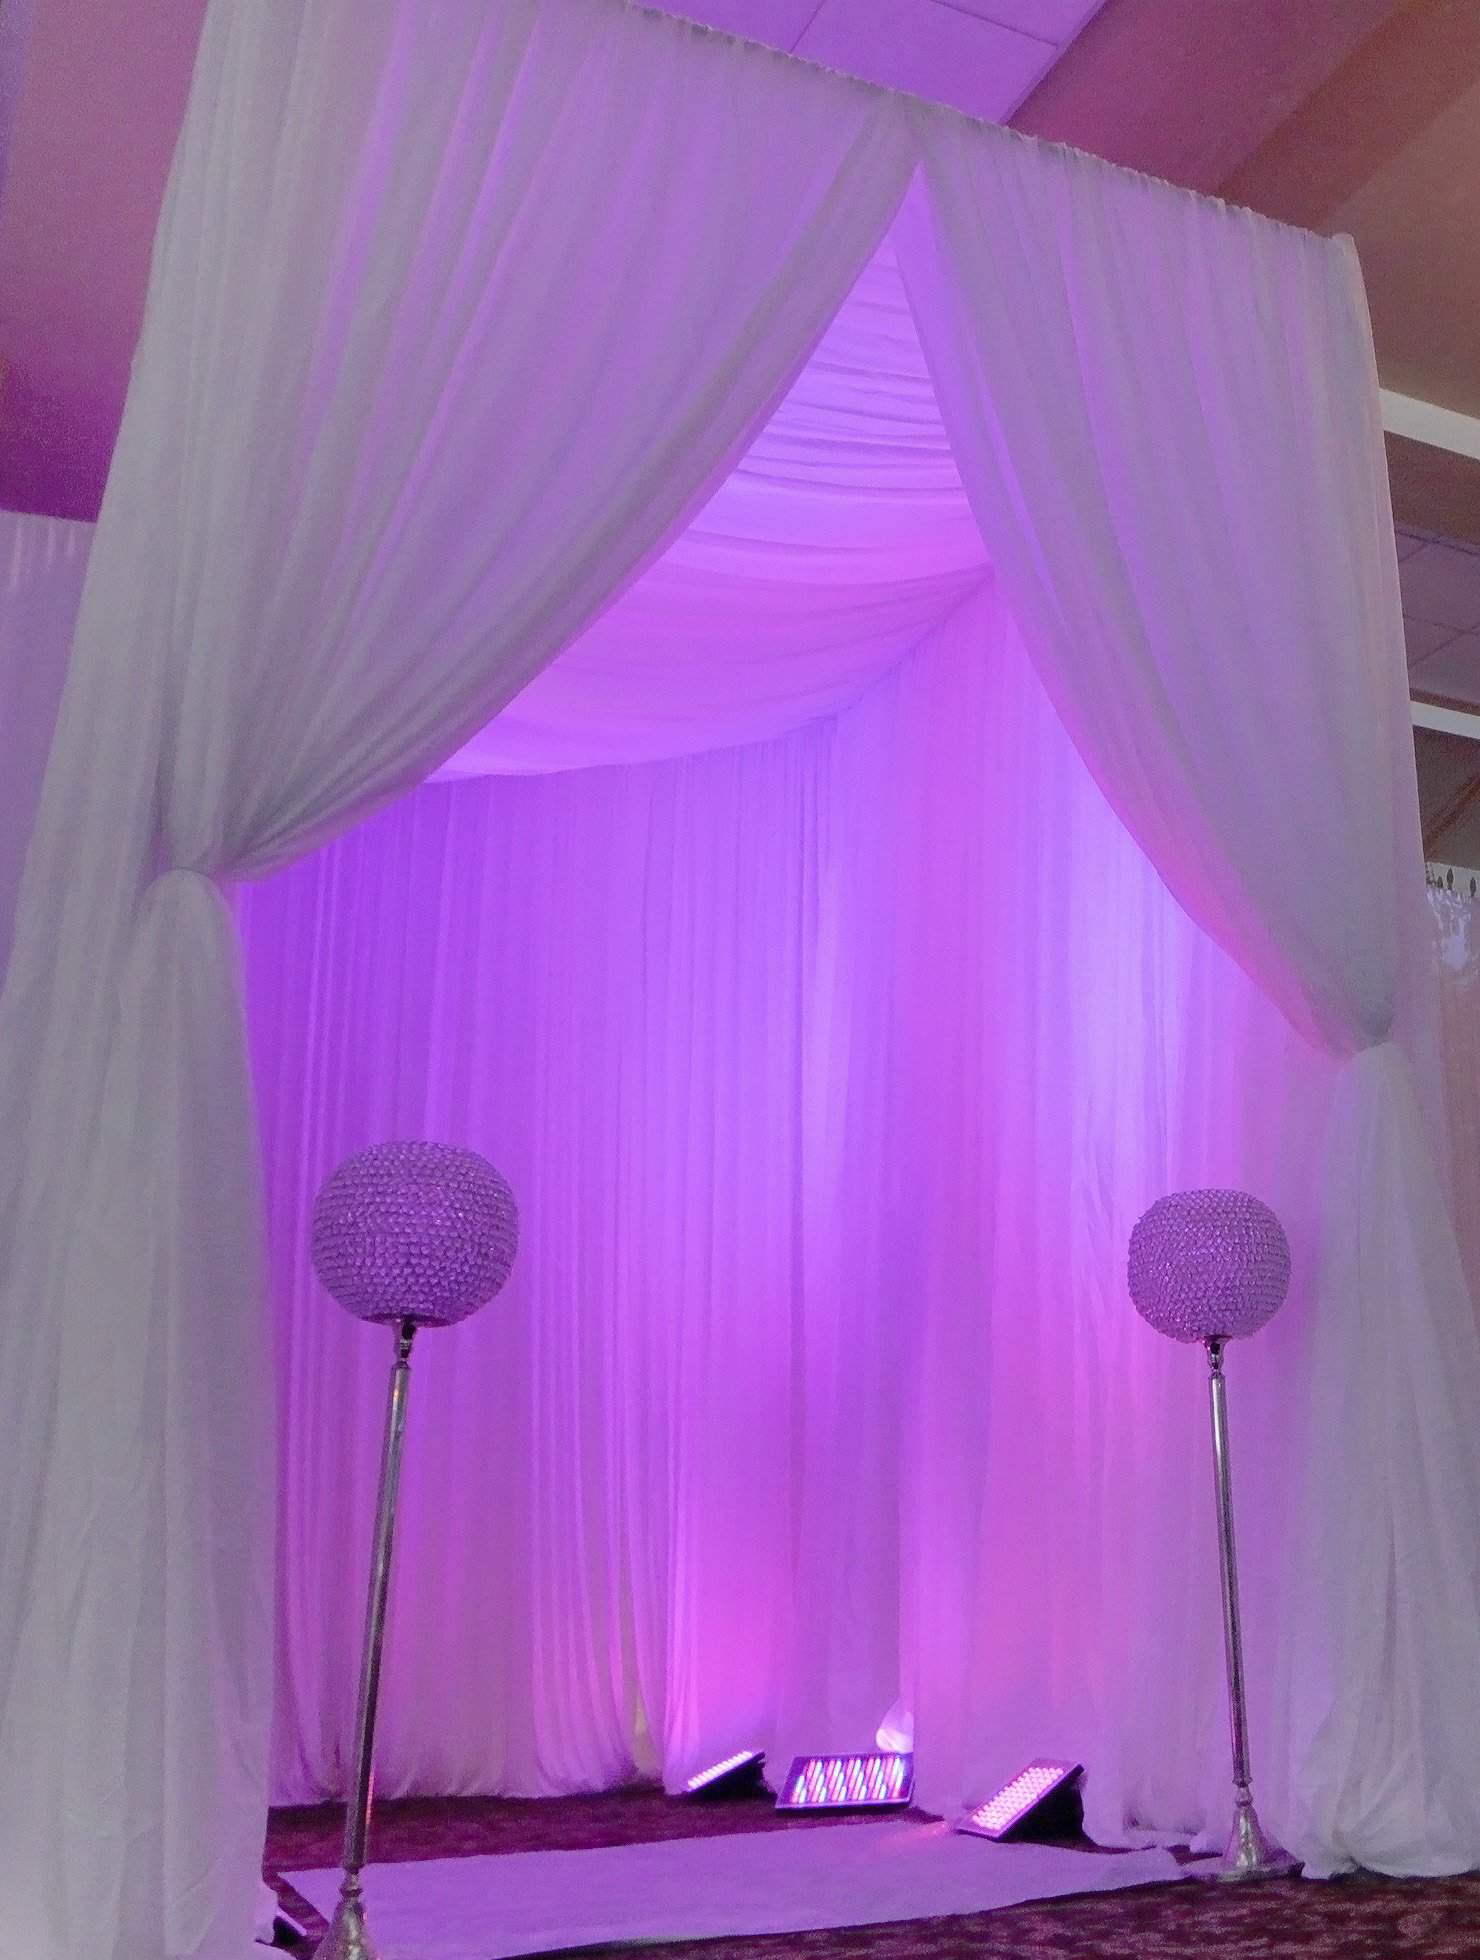
Pull the fabric on both ends of the tunnel to the sides and attach it with pipe cleaners. This is your entryway for guests to pass through. Consider adding design touches like garlands or more fabric colors to make it pop.
Step 6: Consider Incorporating Uplighting
For a vibe and more color choices in the tunnel area, place in (4) uplights in your tunnel. Place them inside the tunnel’s perimeter. You can also place them between the fabric to increase the walking space so guests don’t accidentally knock the lights over.
Planning a walkway for your wedding can be easy and cost less! By using simple pipe & drape along with our do-it-yourself tips, you can make a focal point with less vendors and less stress.
You will love the way this tunnel decor looks in your wedding photos
DIY wedding decorations can be just as stunning as those made by professionals. Ship Our Wedding provides the same equipment other vendors might use to recreate this timeless look.
Explore more articles on wedding decor suggestions & inspiration. Feel free to give us a call or message us on chat. Together we’ll create the dream wedding you deserve at a budget you can afford.
Founders Robert + Nicole Reno
With a combined (4) decades in the industry; we’ve trained hundreds, booked thousands, & partied with millions. Our first-hand experience allows us to empower others to succeed & be great… (read full bio)
Founders Robert + Nicole Reno
With a combined (4) decades in the industry; we’ve trained hundreds, booked thousands, & partied with millions. Our first-hand experience allows us to empower others to succeed & be great… (read full bio)

Brad & Annika
Cario, Nebraska
![]()

Jennifer & Val
Detroit, Michigan
![]()

Jose Rocha
Omaha, Nebraska
![]()

The content of this website is intended for informational purposes only & does not constitute legal, financial, or credit advice.


