


Description
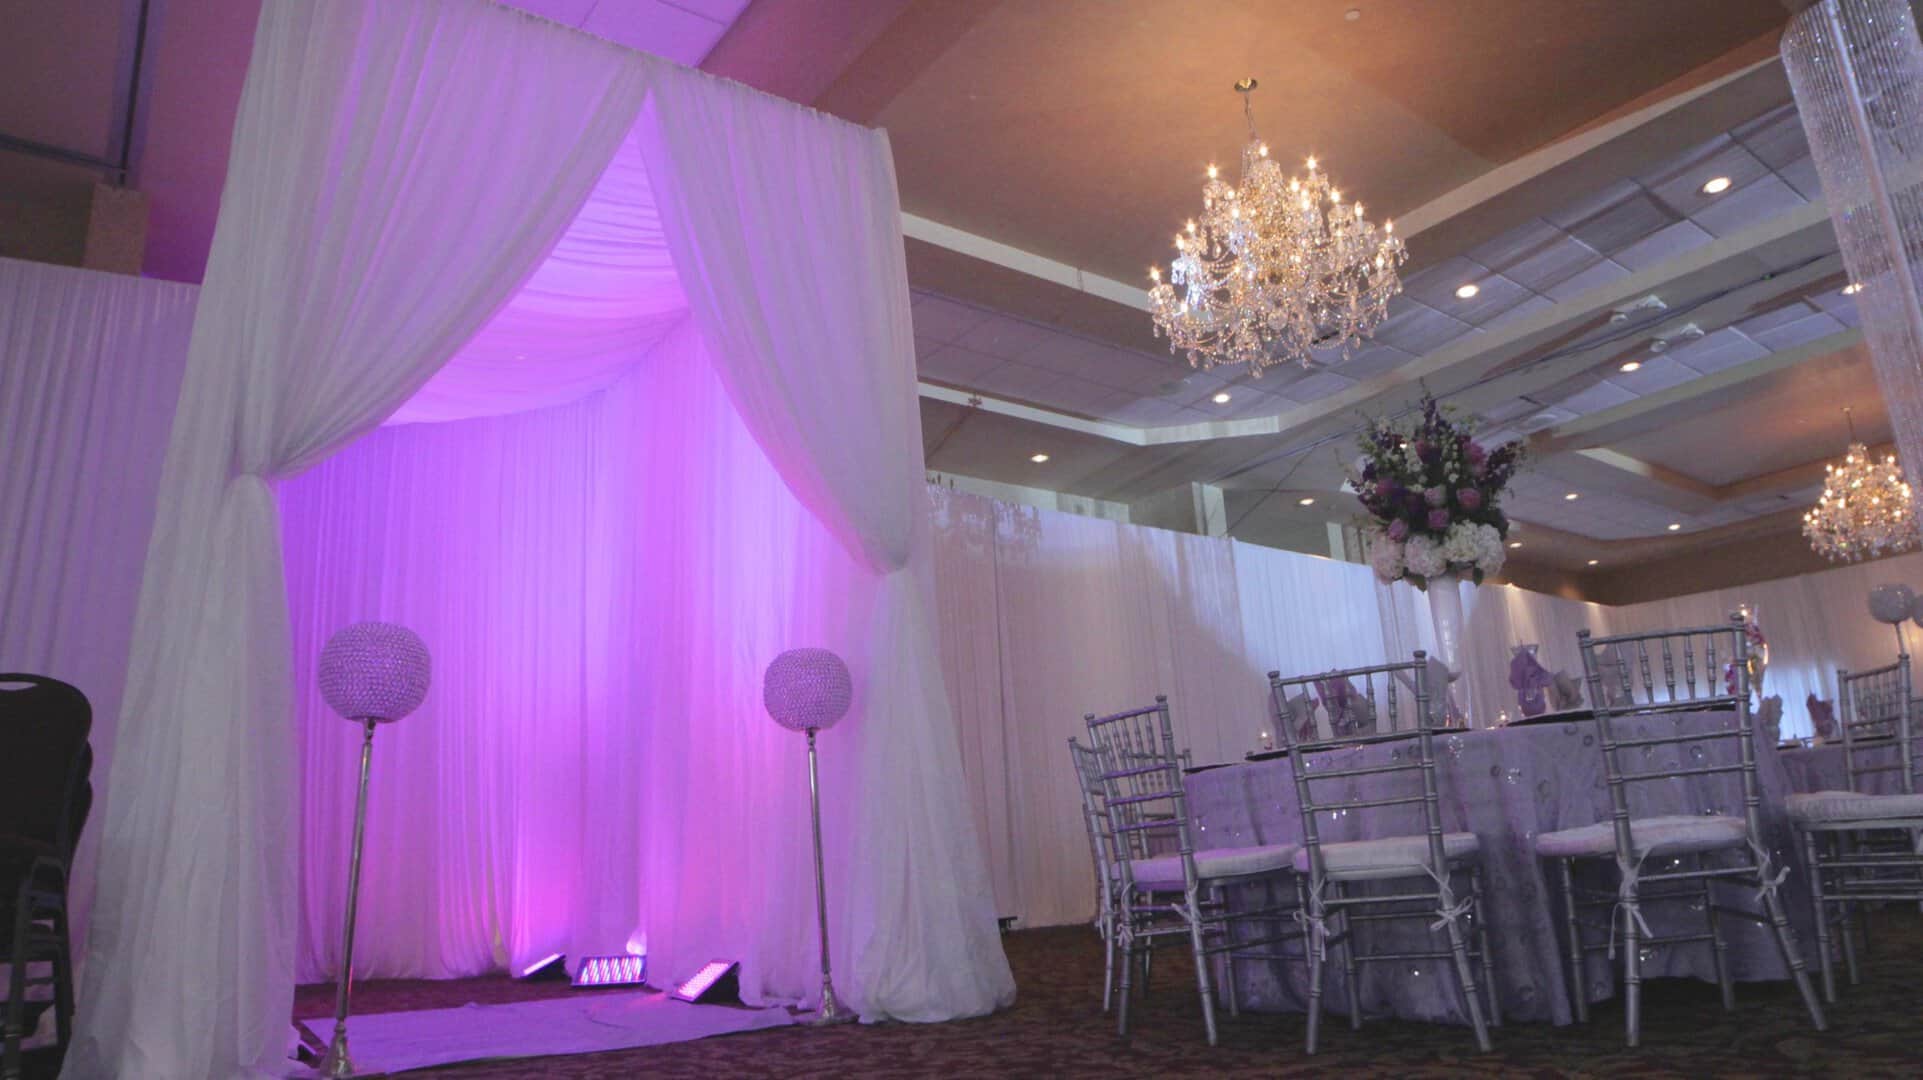
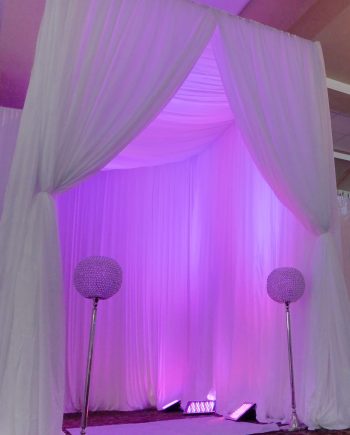
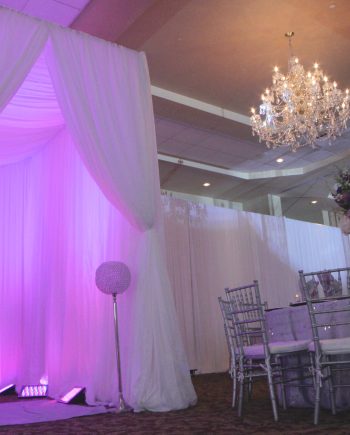
Tunnels Make Everything Grand
Tunnels Make Everything Grand
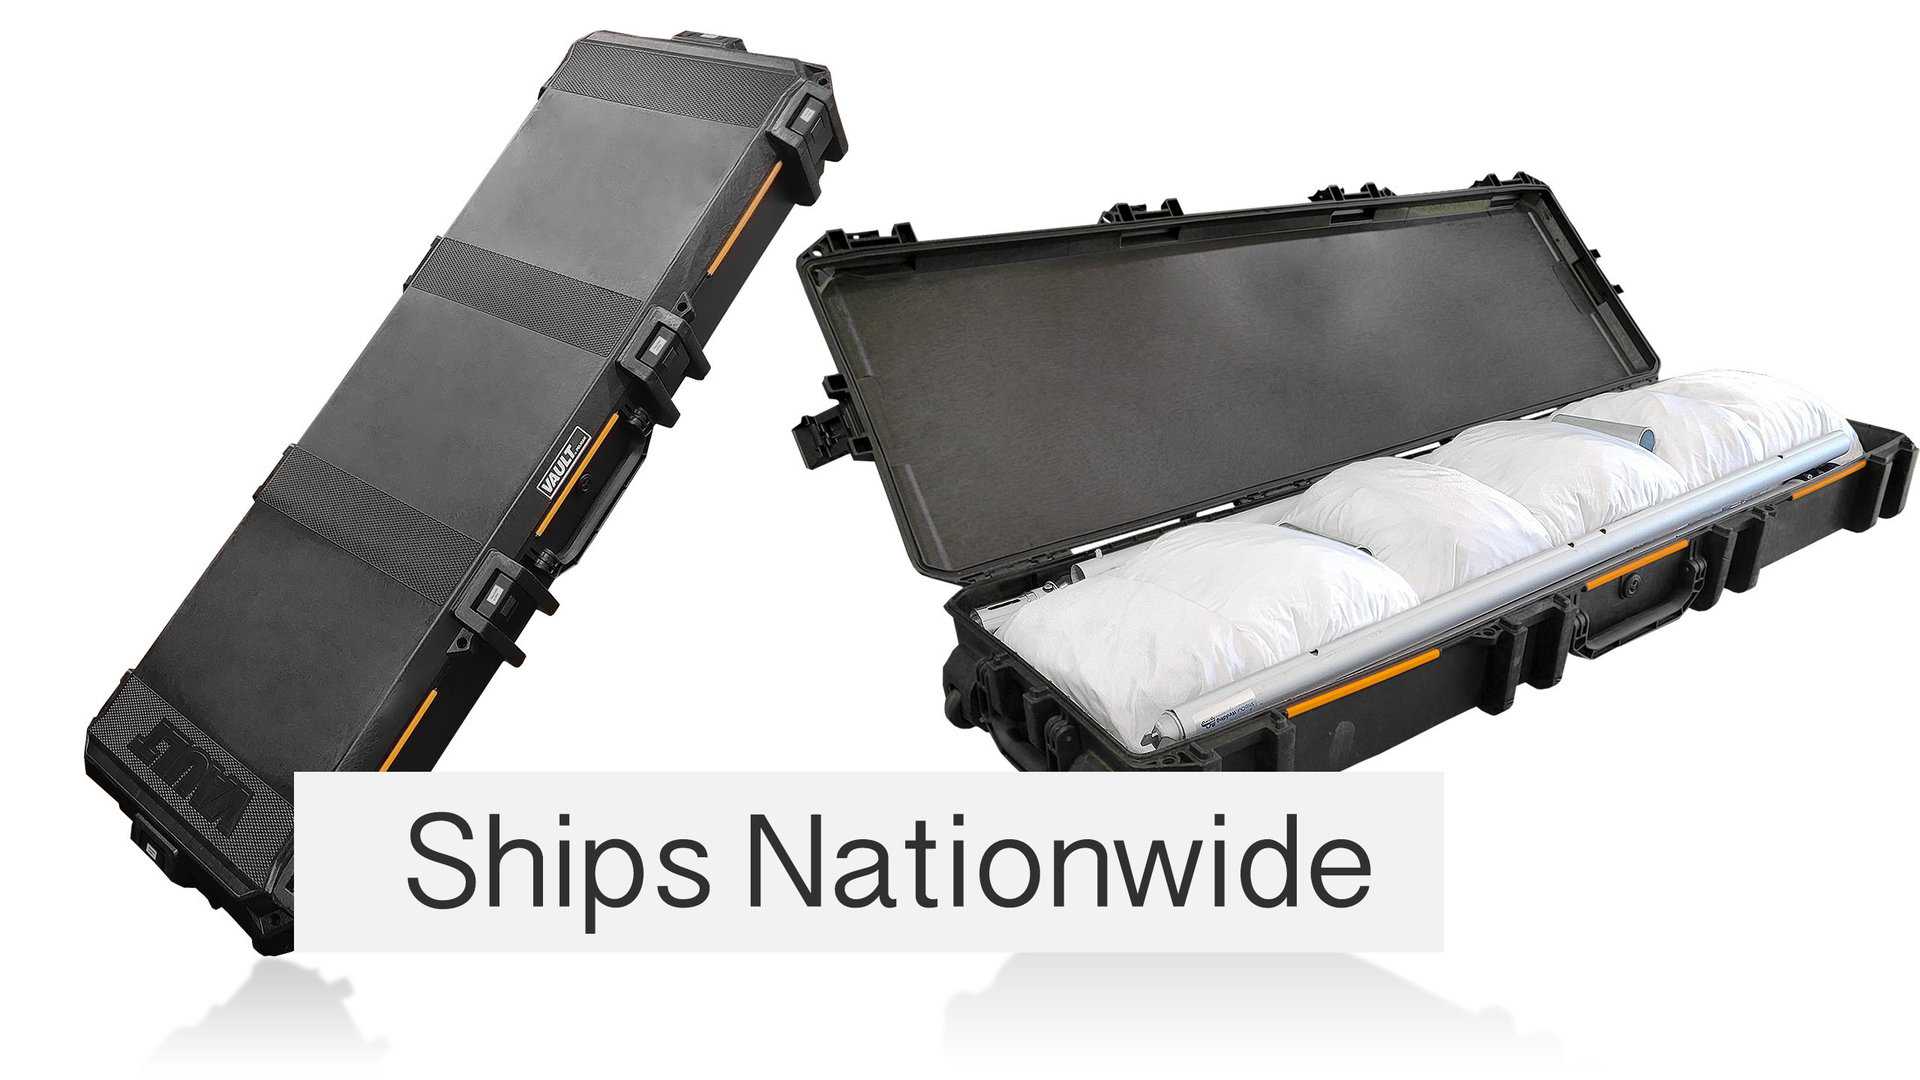
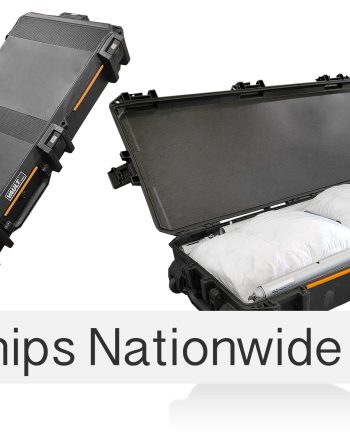
Open Your Box
✓ Kit arrives week of the party
✓ User-friendly box has wheels
✓ Includes everything you need

Open Your Box
✓ Kit arrives week of the party
✓ User-friendly box has wheels
✓ Includes everything you need

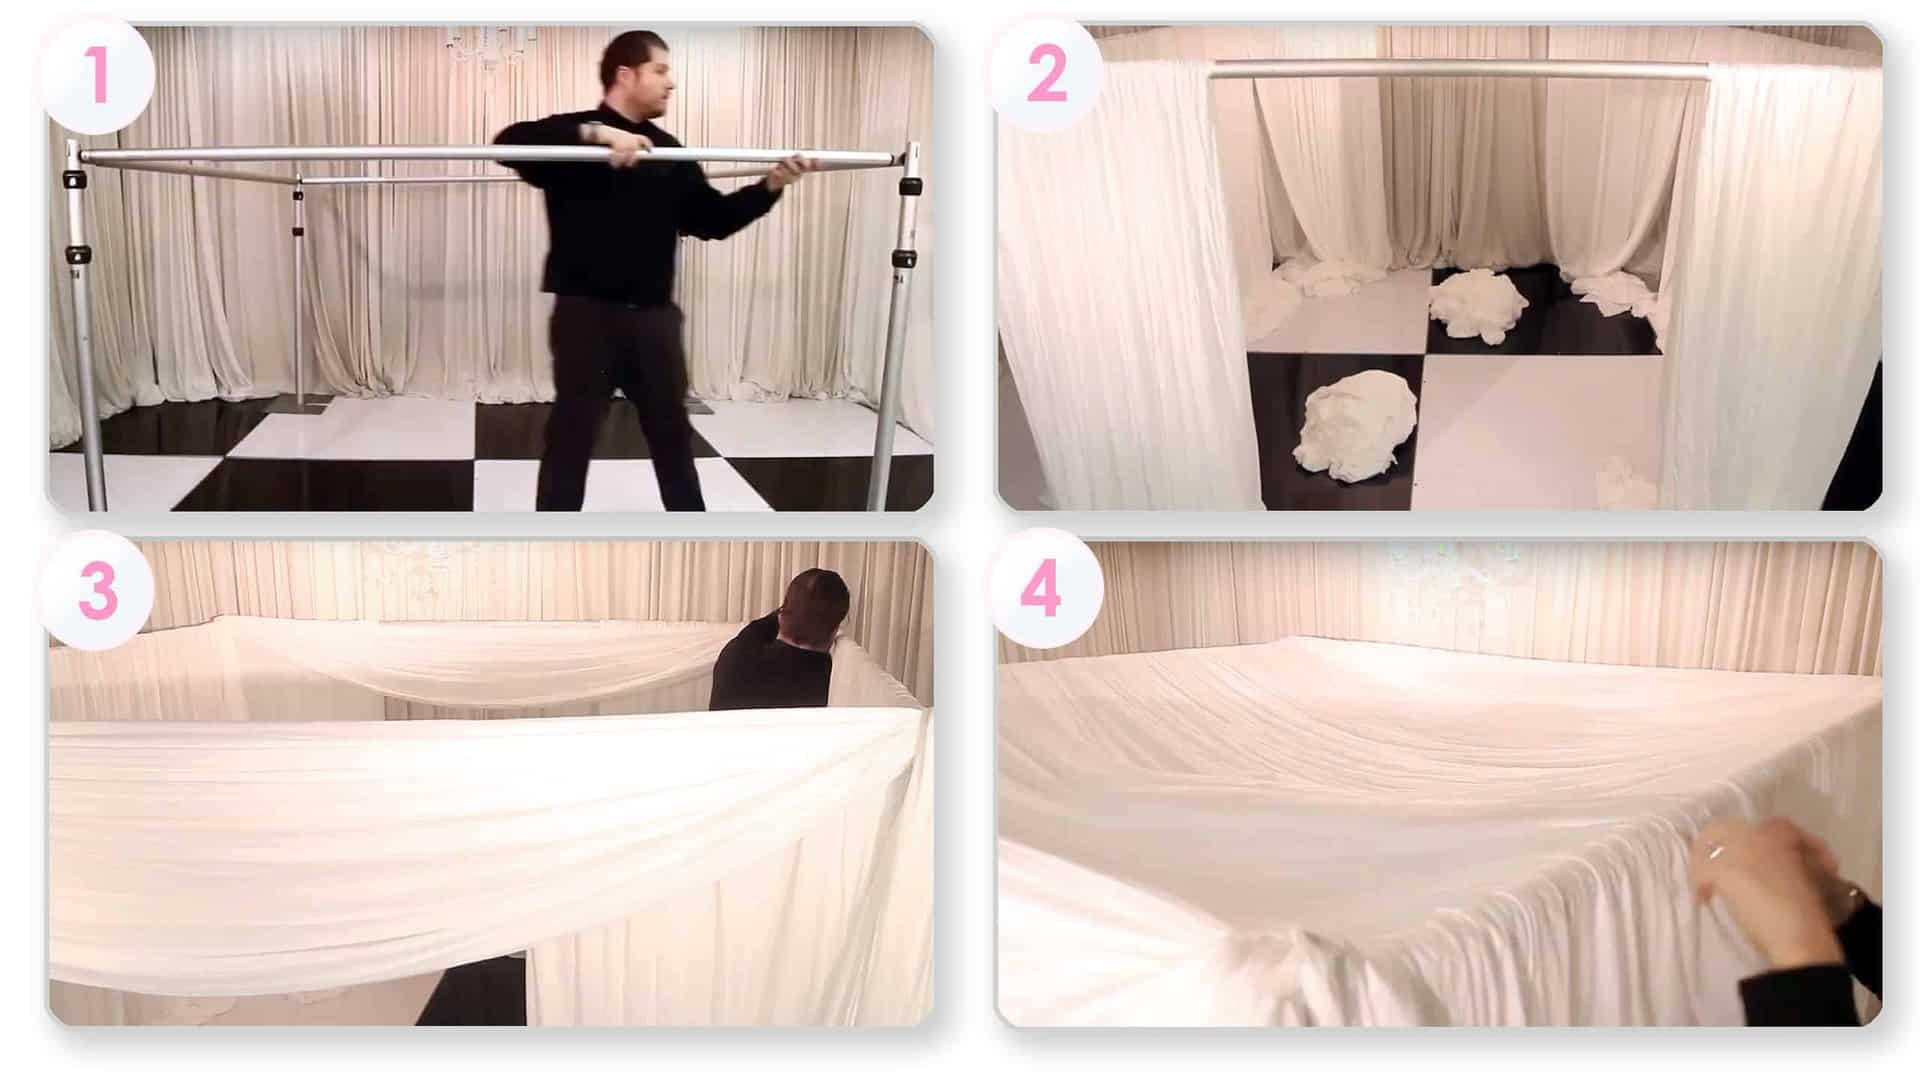
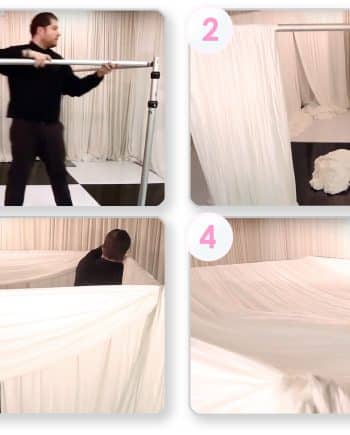
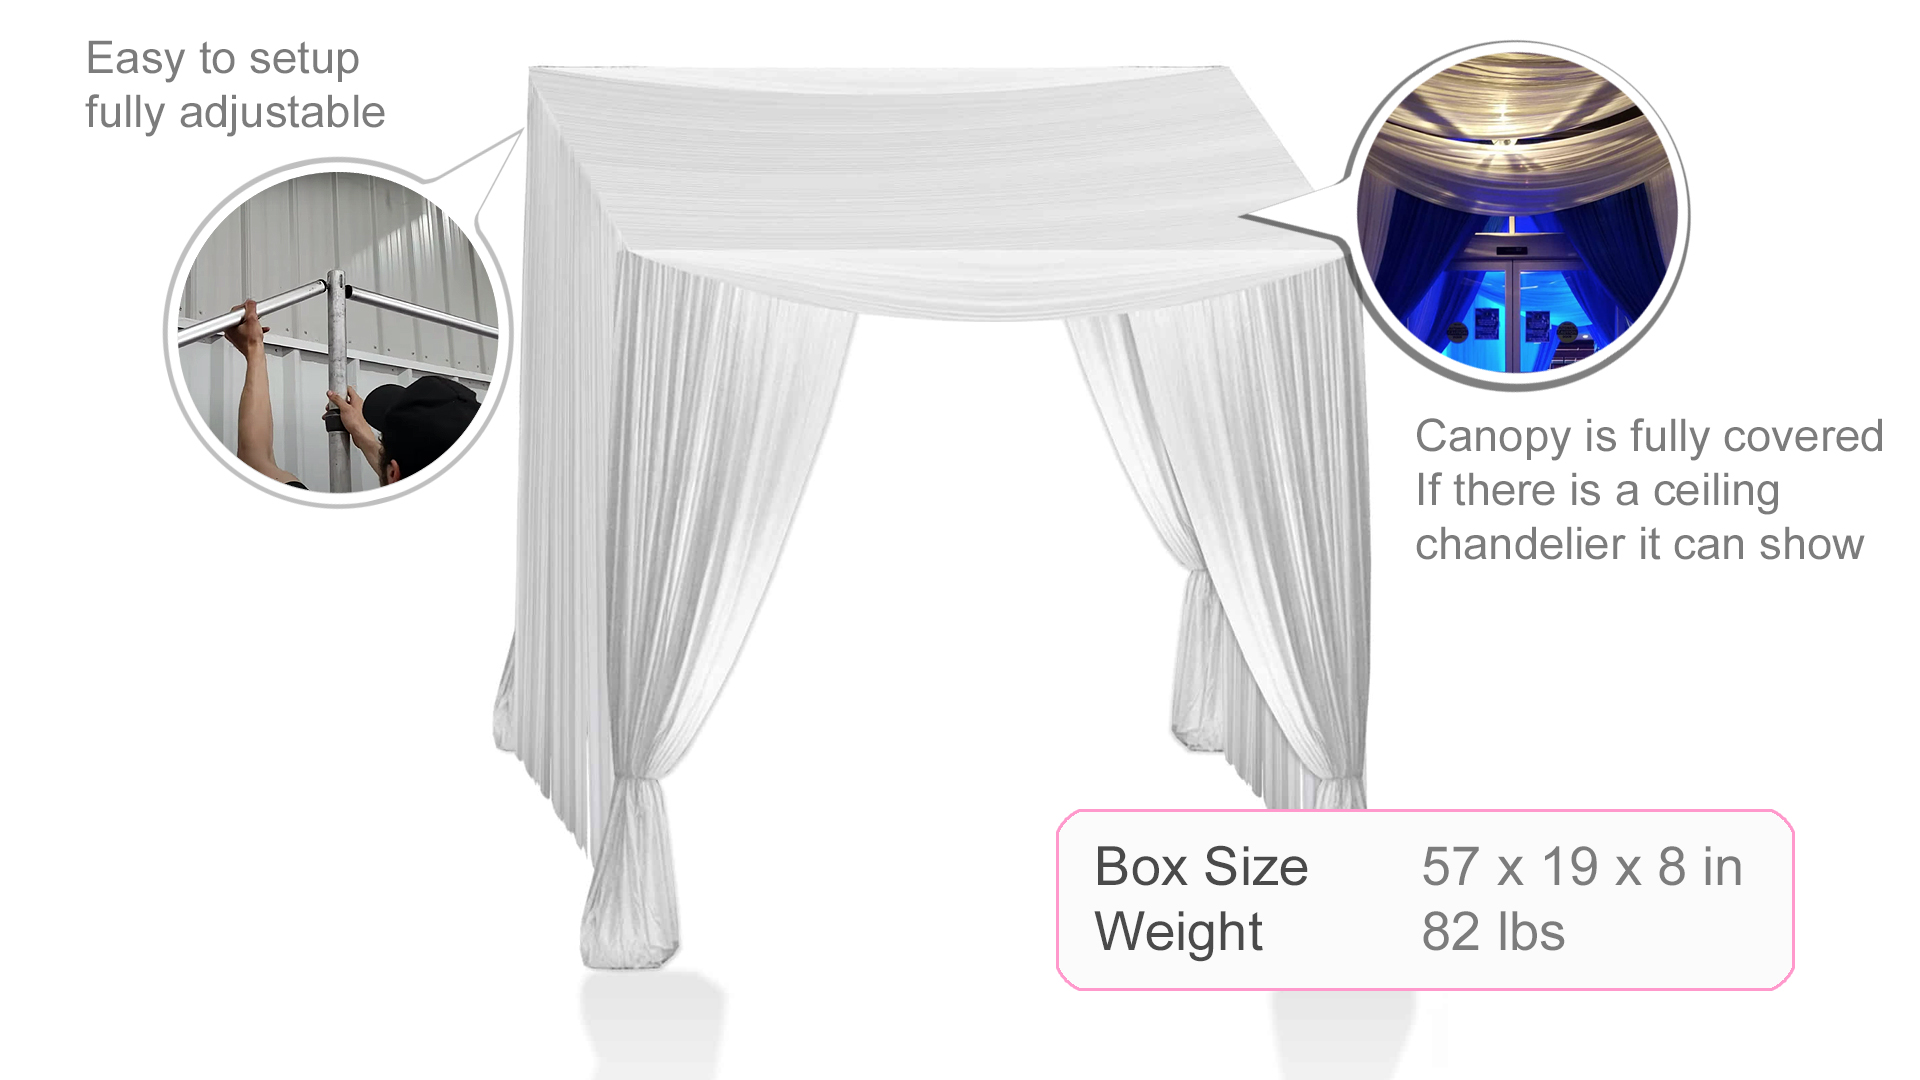
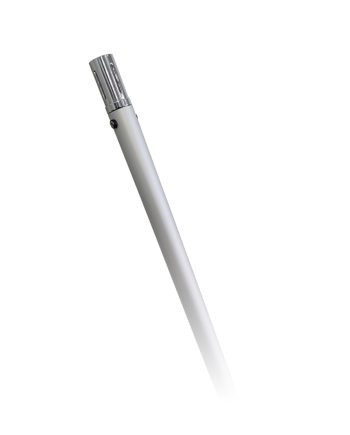
5-Minute Setup
✓ Just set it, drape it, & raise it
✓ Return shipping label is in box
✓ Return (2) days after the date
5-Minute Setup
✓ Just set it, drape it, & raise it
✓ Return shipping label is in box
✓ Return (2) days after the date
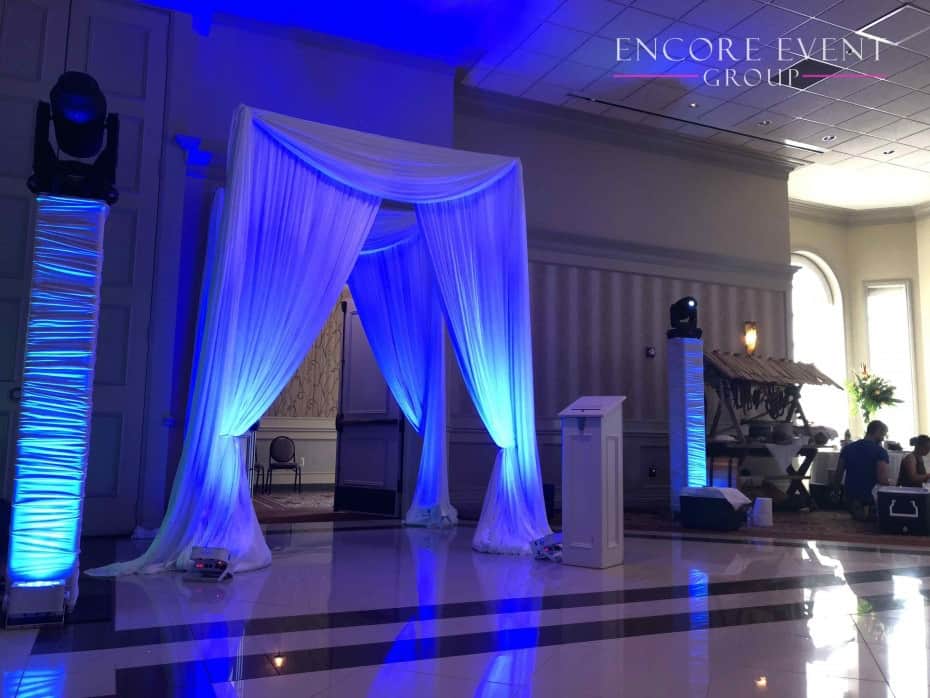
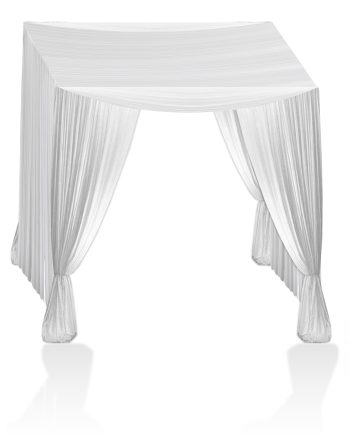
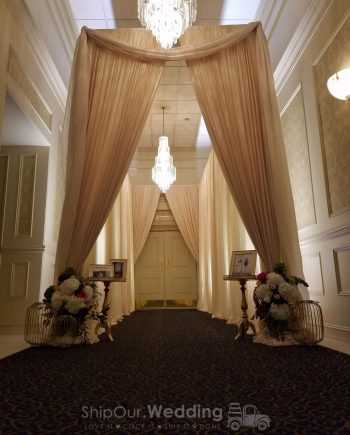
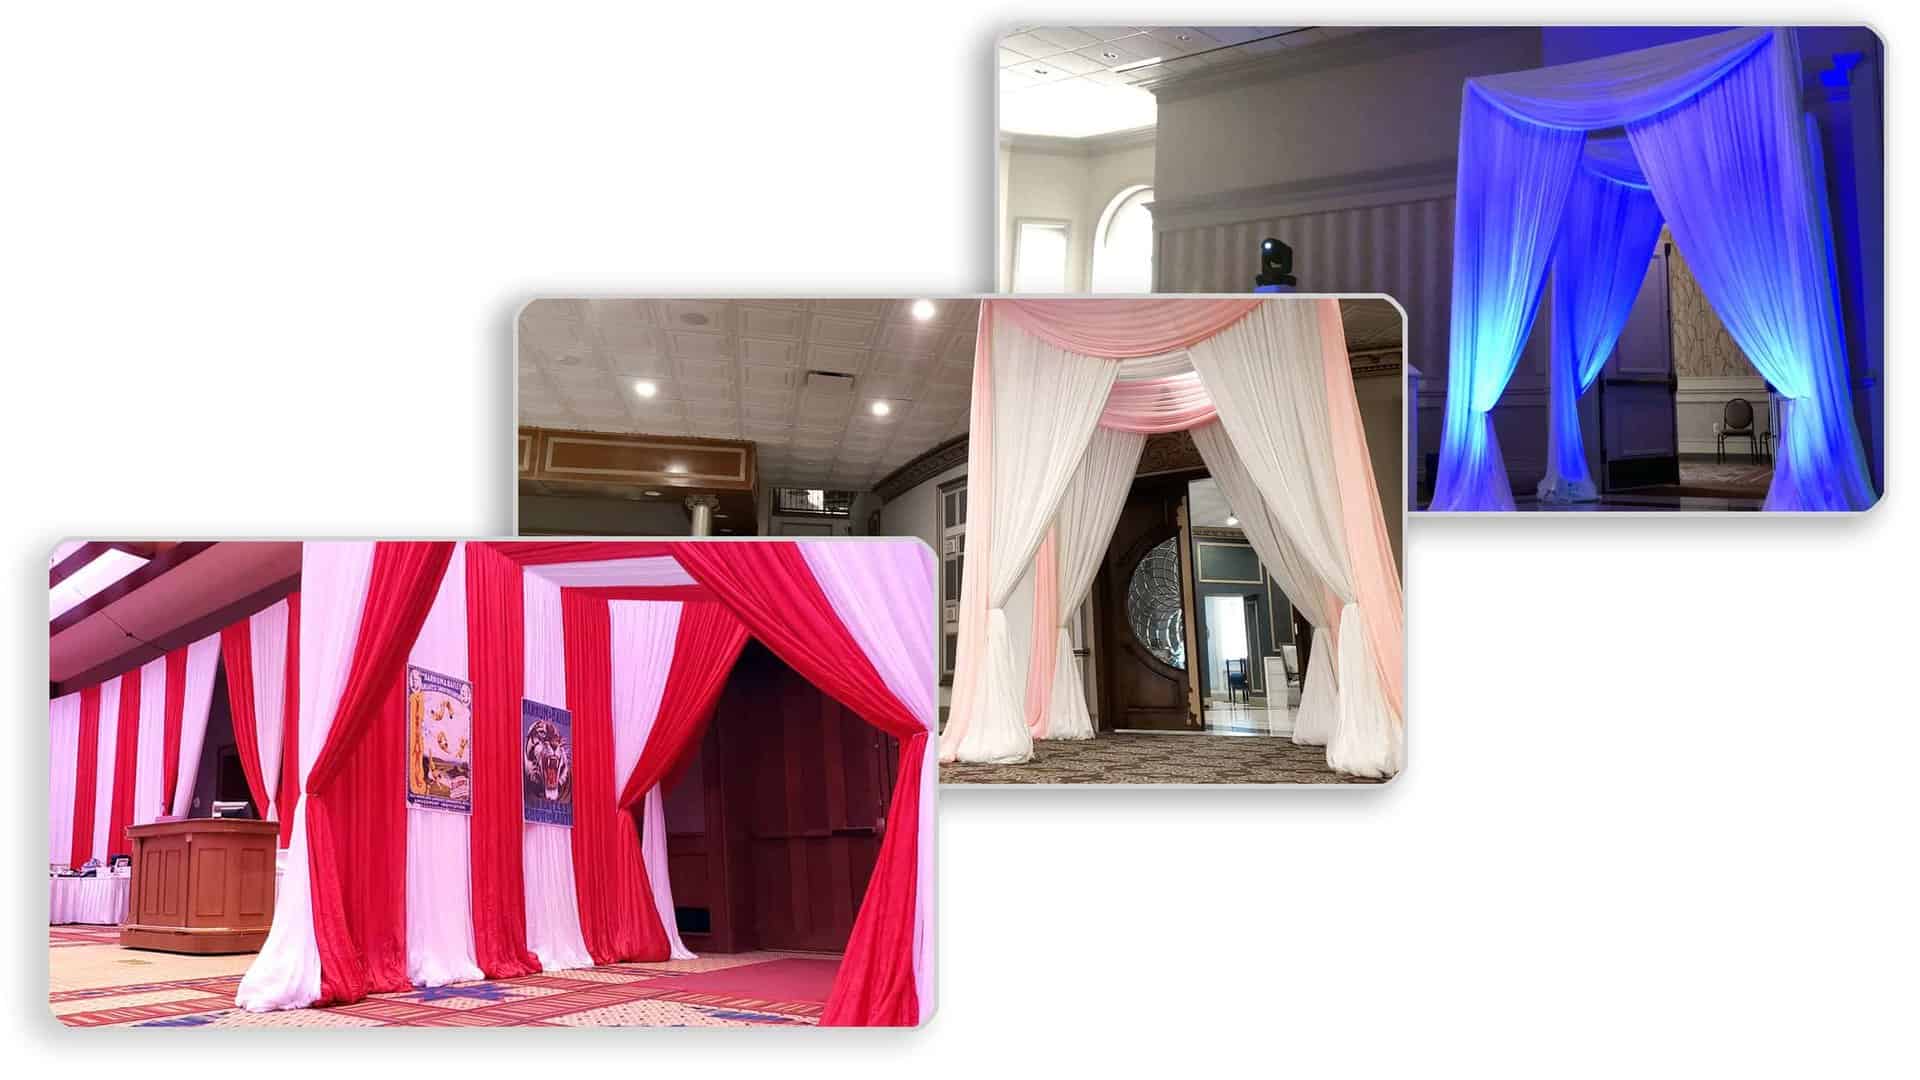
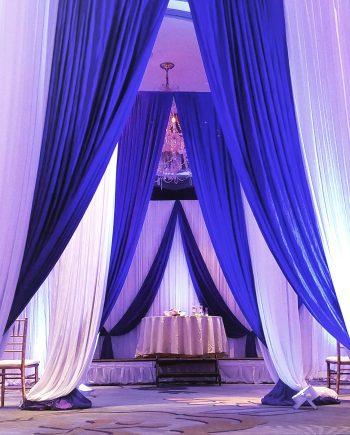
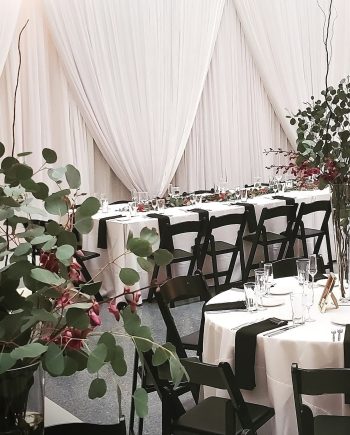
Enhance Your Tunnel
Enhance Your Tunnel
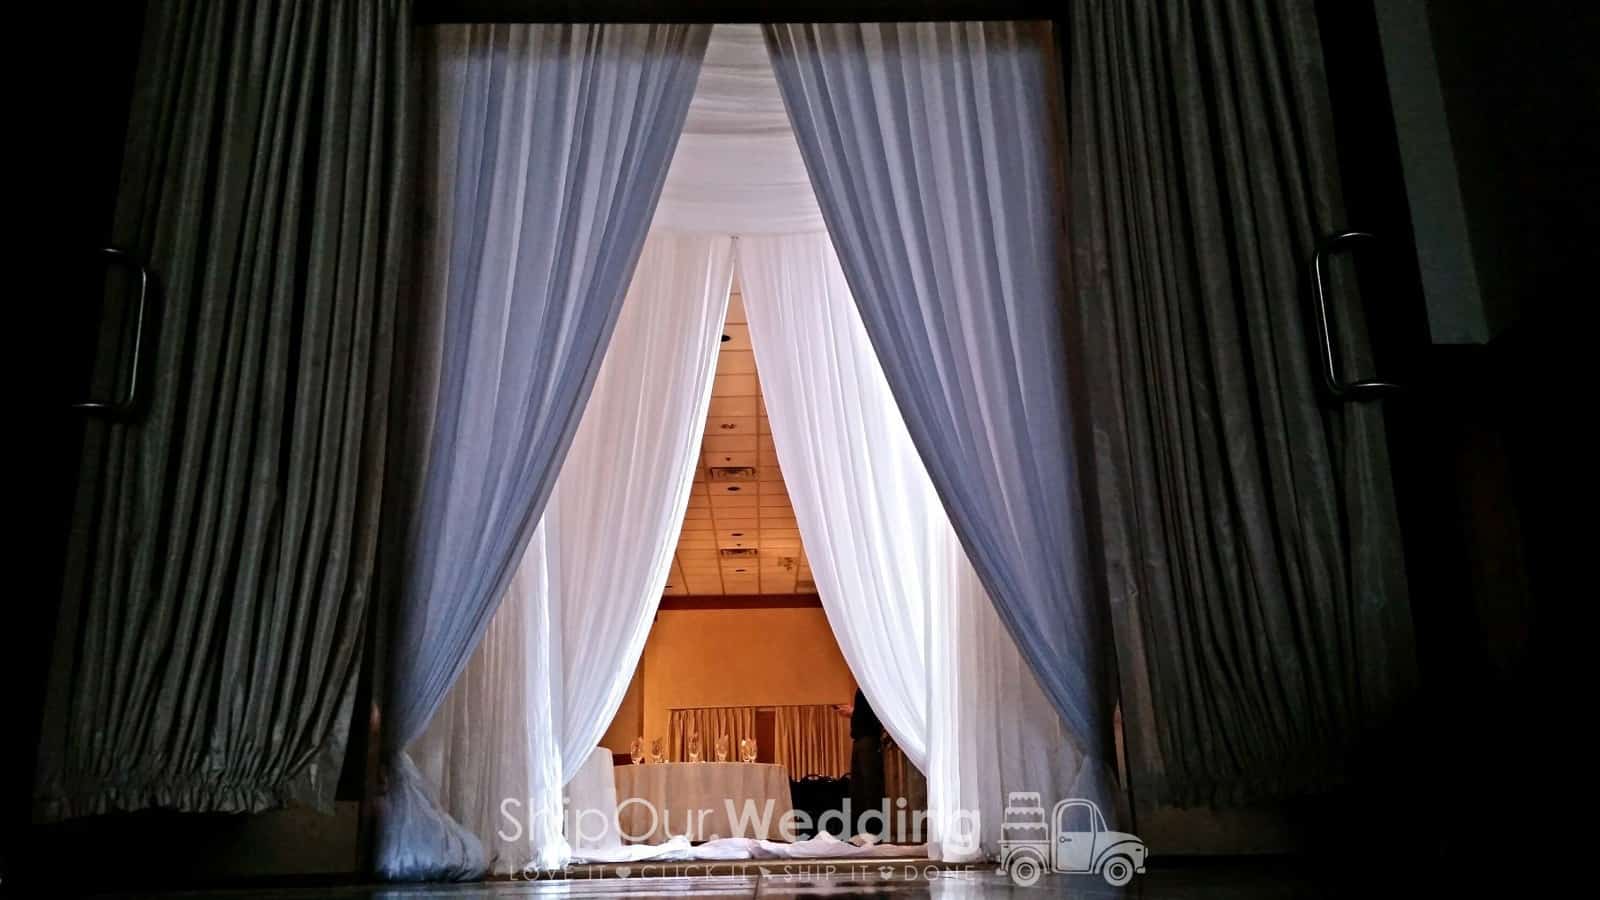
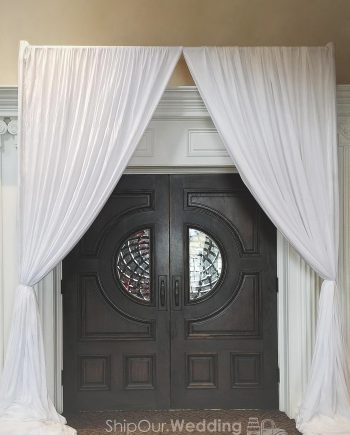
The Kit You Need
✓ Easily decorate your entrance
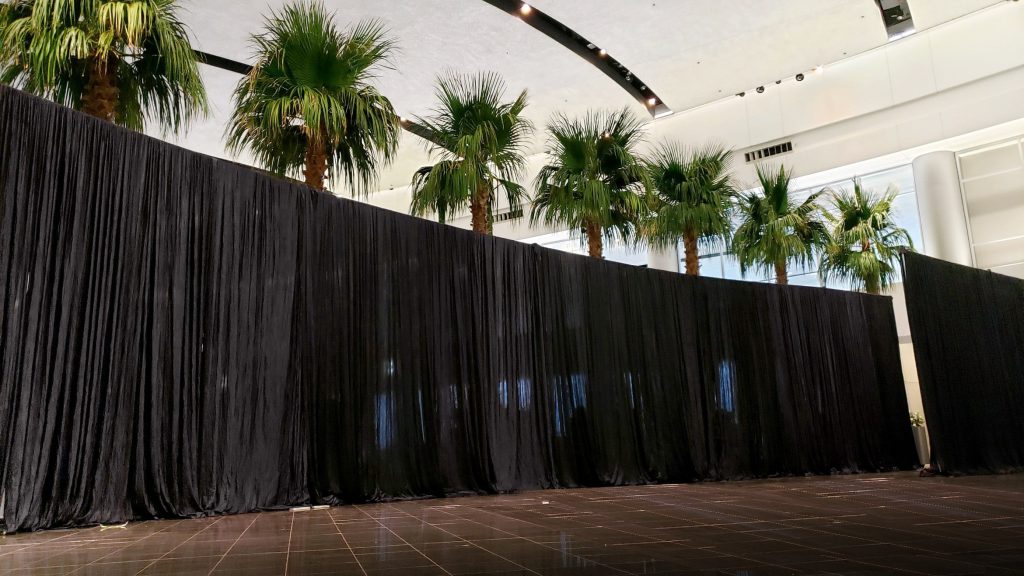
✓ Improve the look of a hallway
✓ Funnel guests toward an area
The Kit You Need
✓ Easily decorate your entrance
✓ Improve the look of a hallway
✓ Funnel guests toward an area
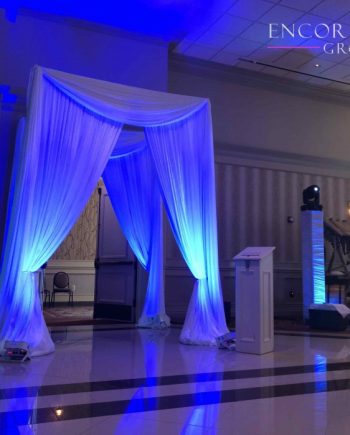
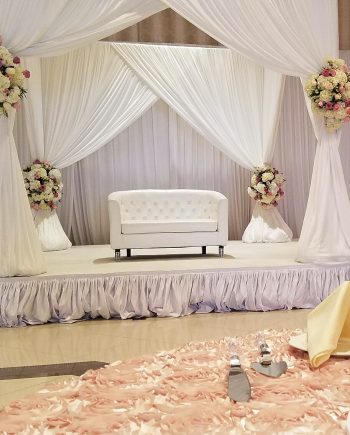
Easily Do More

Easily Do More

DIY on Your Time
✓ Shipping schedule prevents delays
✓ Extra time factored into shipments
✓ Get E-mail of tracking notifications
DIY on Your Time
✓ Shipping schedule prevents delays
✓ Extra time factored into shipments
✓ Get E-mail of tracking notifications
Simple DIY Guides
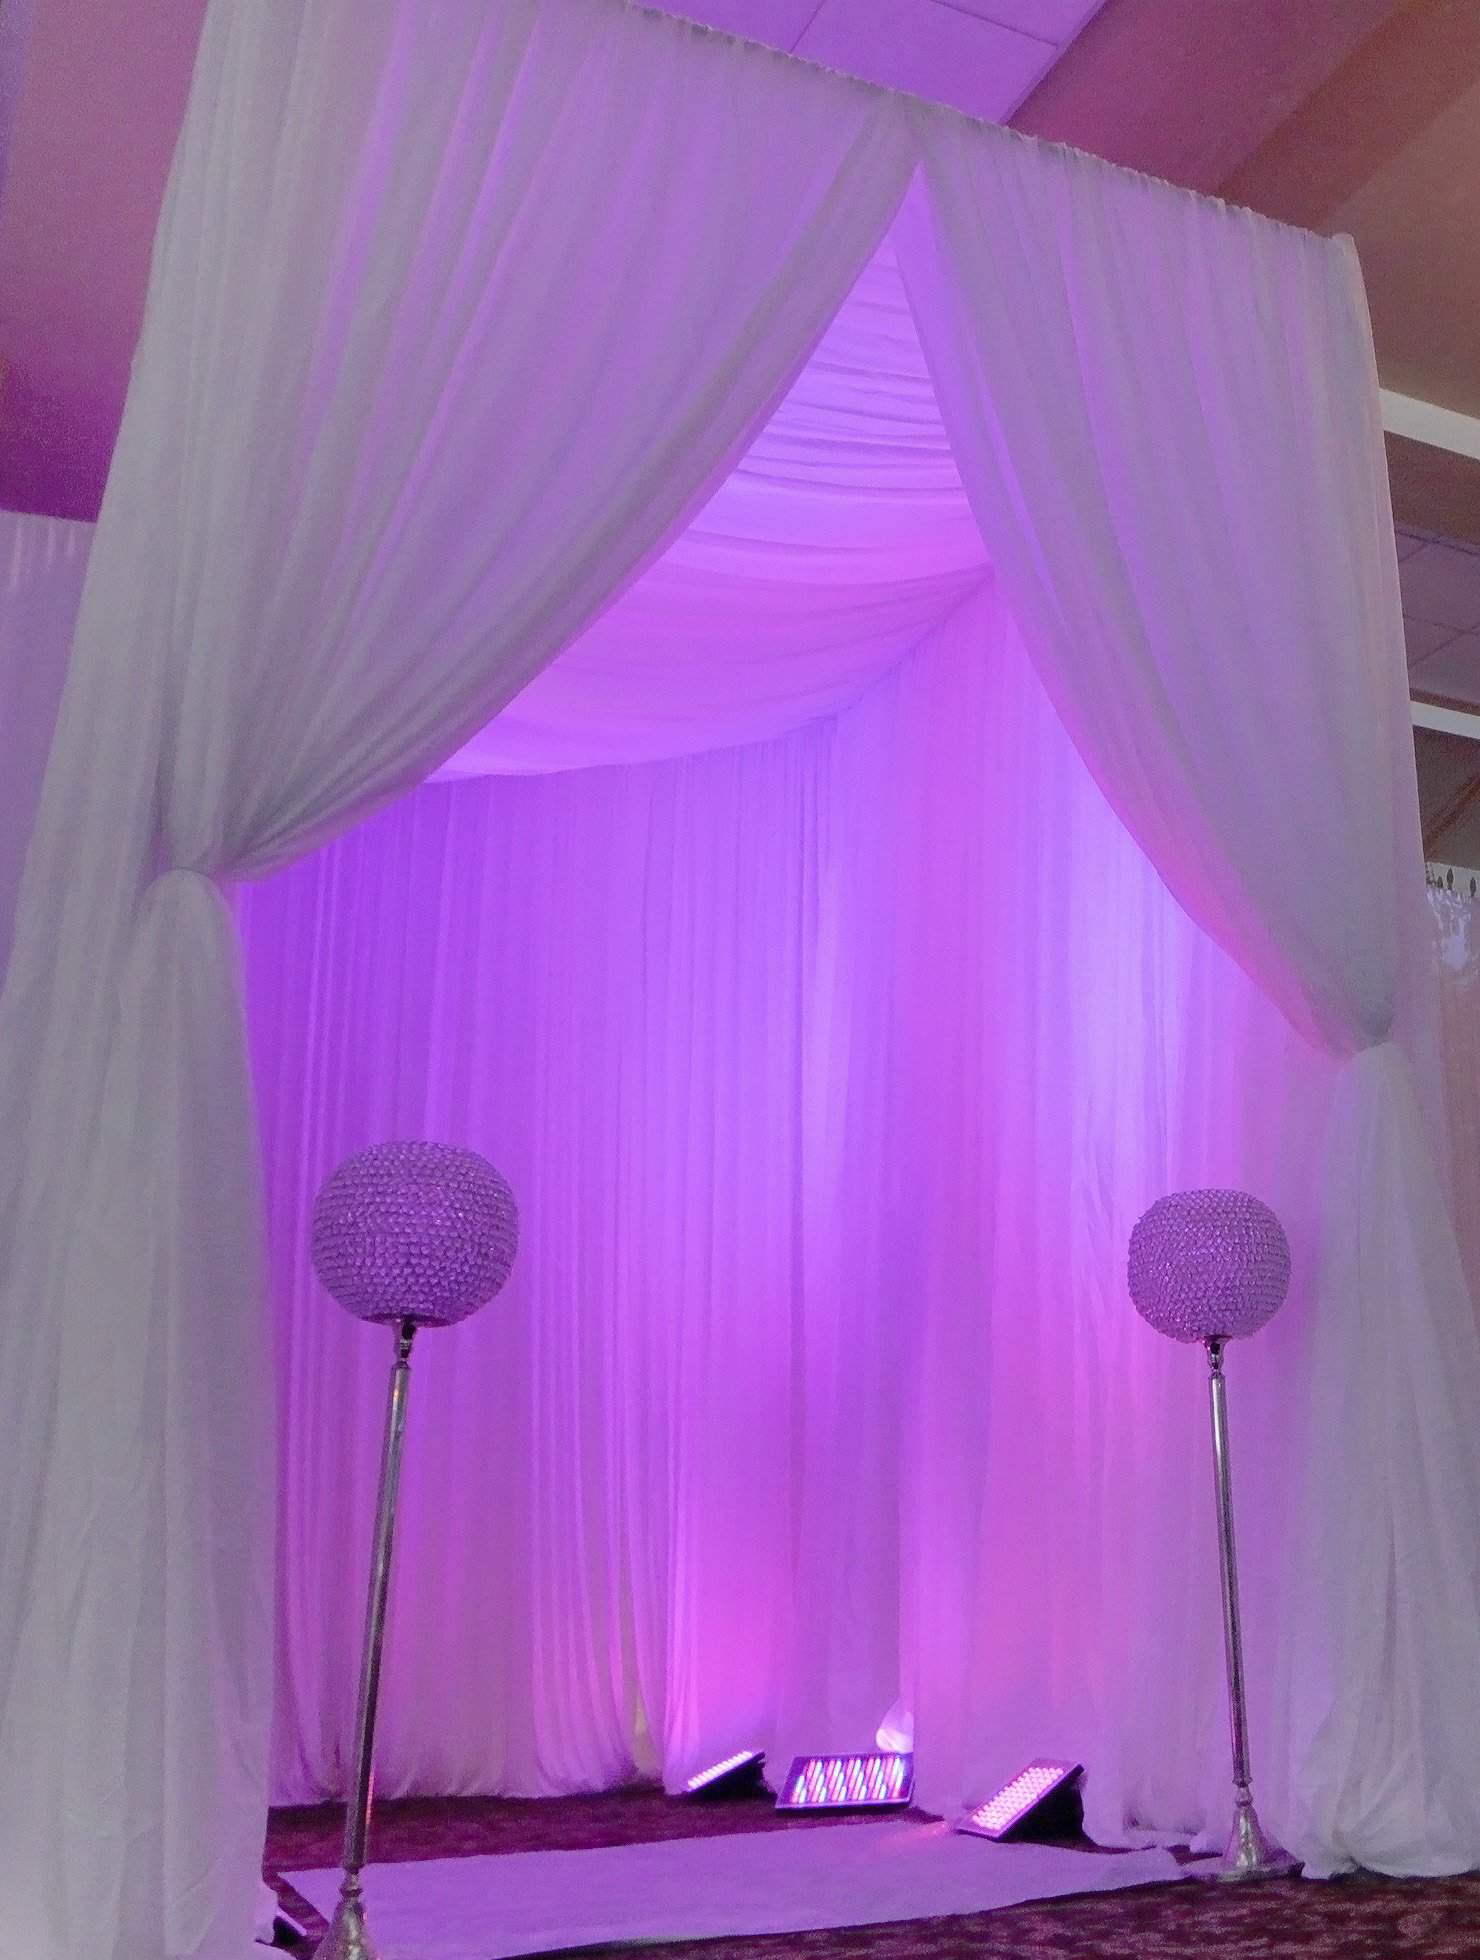
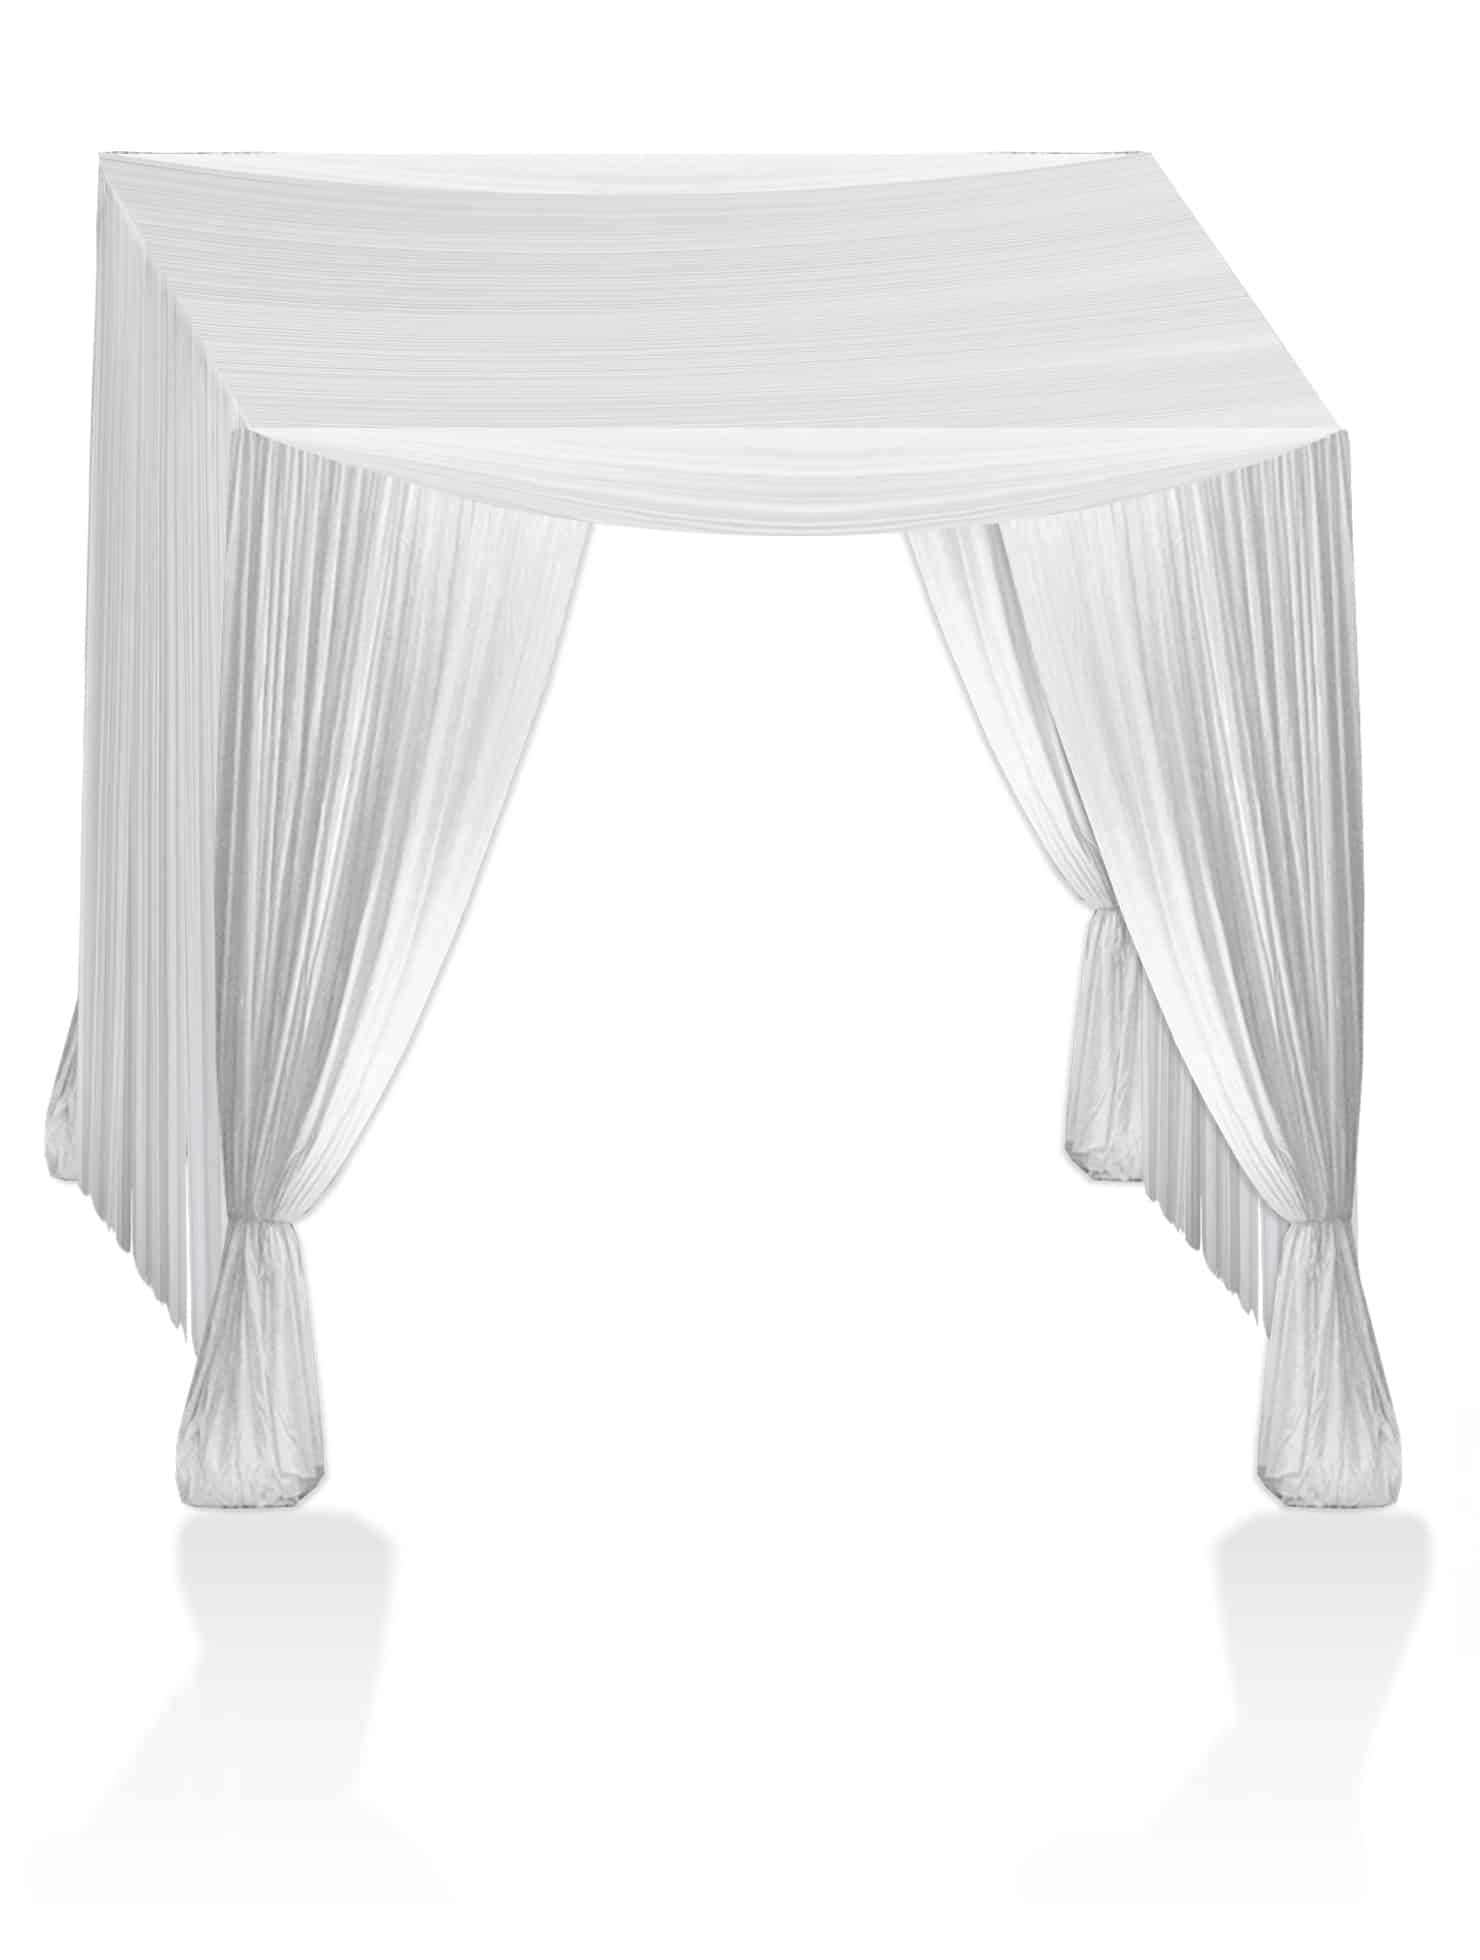
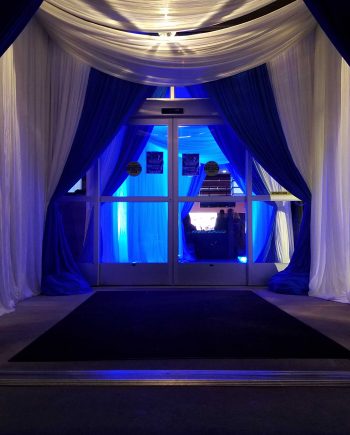
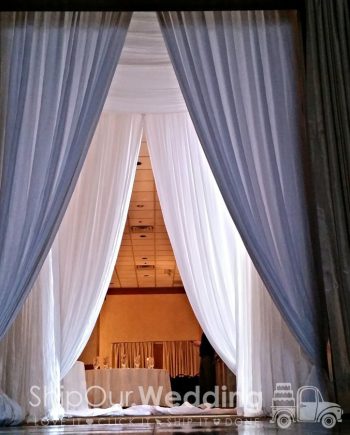
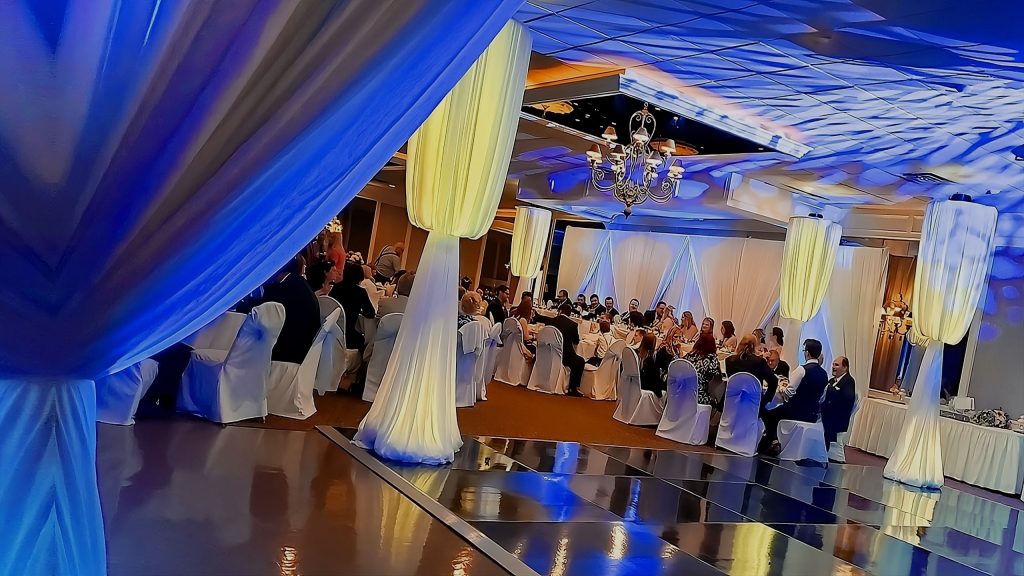
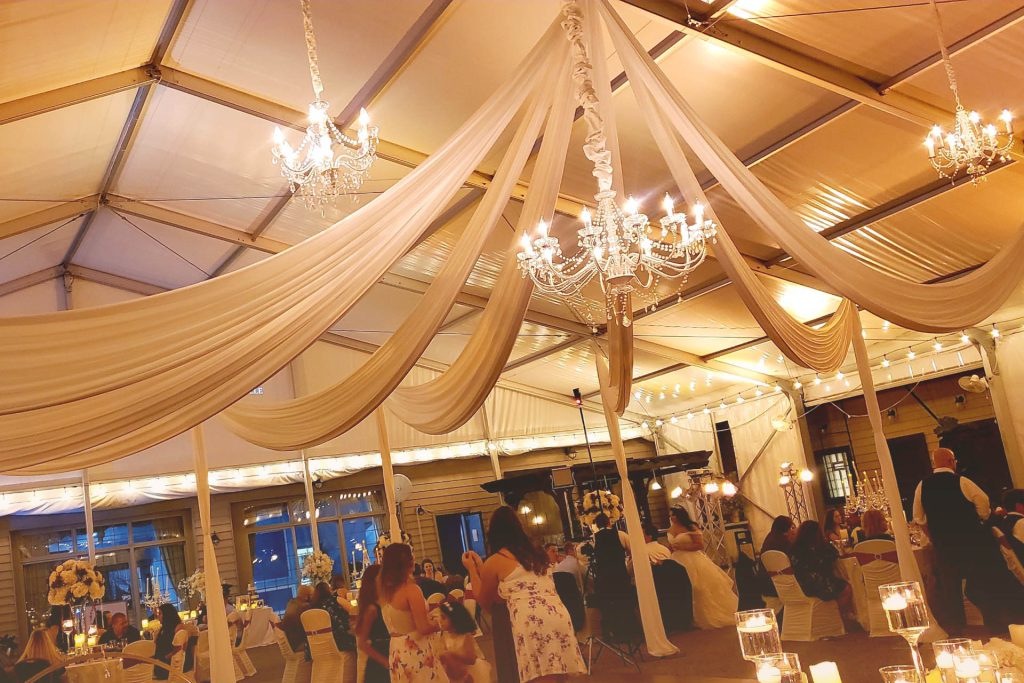
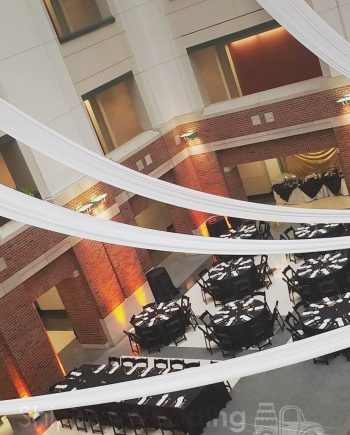
Rent draped doorway tunnels & cover up your entrances completely. This helps venues that have hallways that need to be hidden. The tunnel has a fully enclosed canopy that hides part of the ceiling. We rent you this tunnel in 10-foot sections.
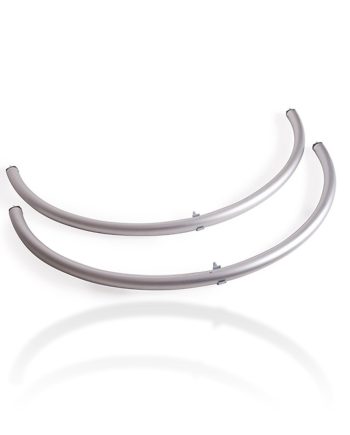
If you need more coverage, then add another tunnel to your package. If you need less coverage, then extended crossbars to a minimum length of 7 feet. If you are searching for easy wedding décor on a budget, then keep reading to learn more about DIY tunnel draping rentals. Read More...
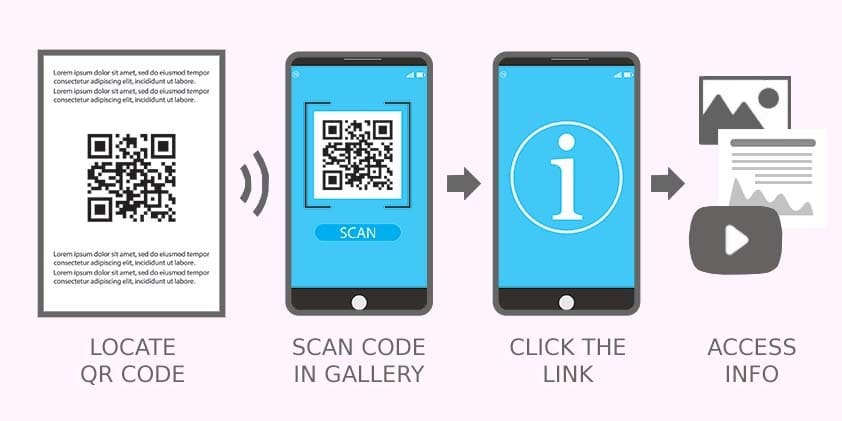
 Scan for
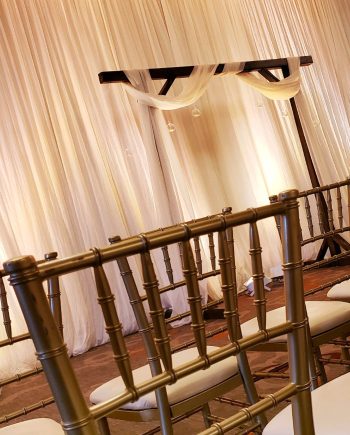


Reviews
There are no reviews yet.