


Description
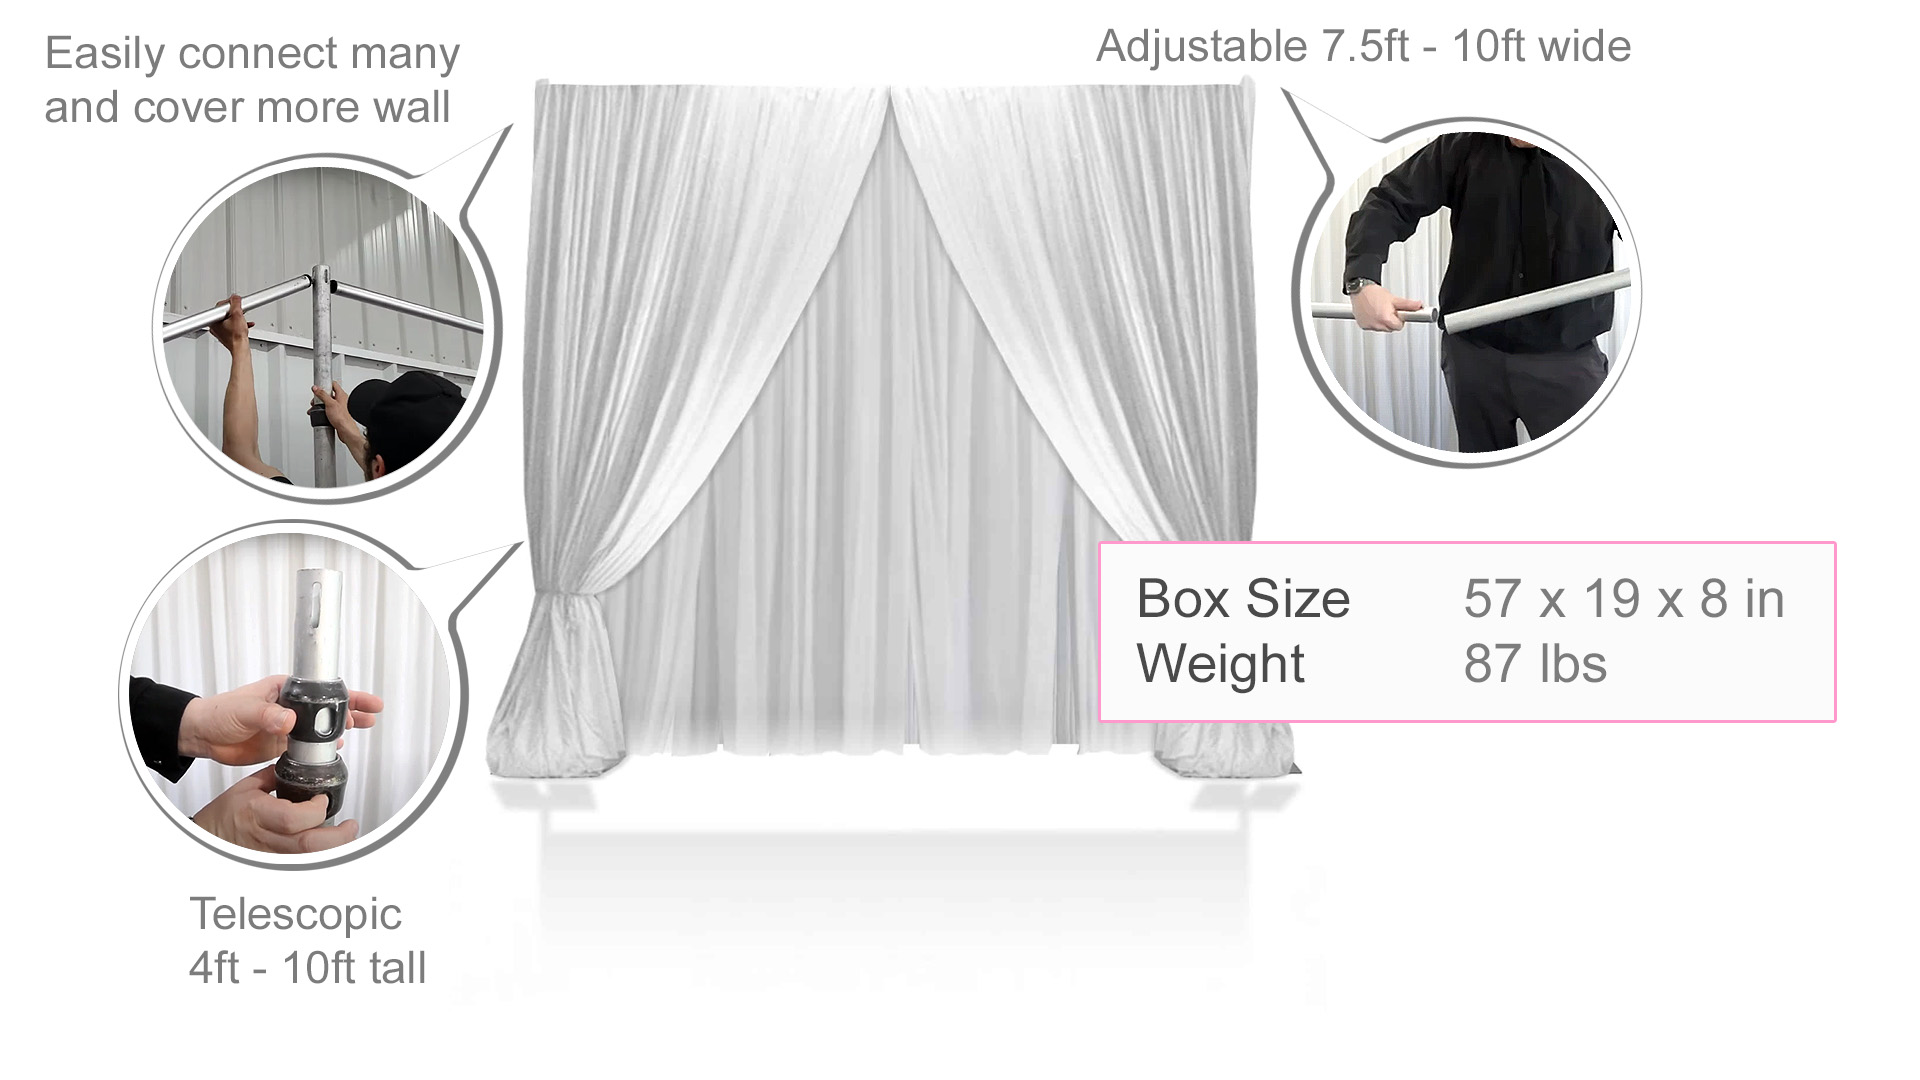
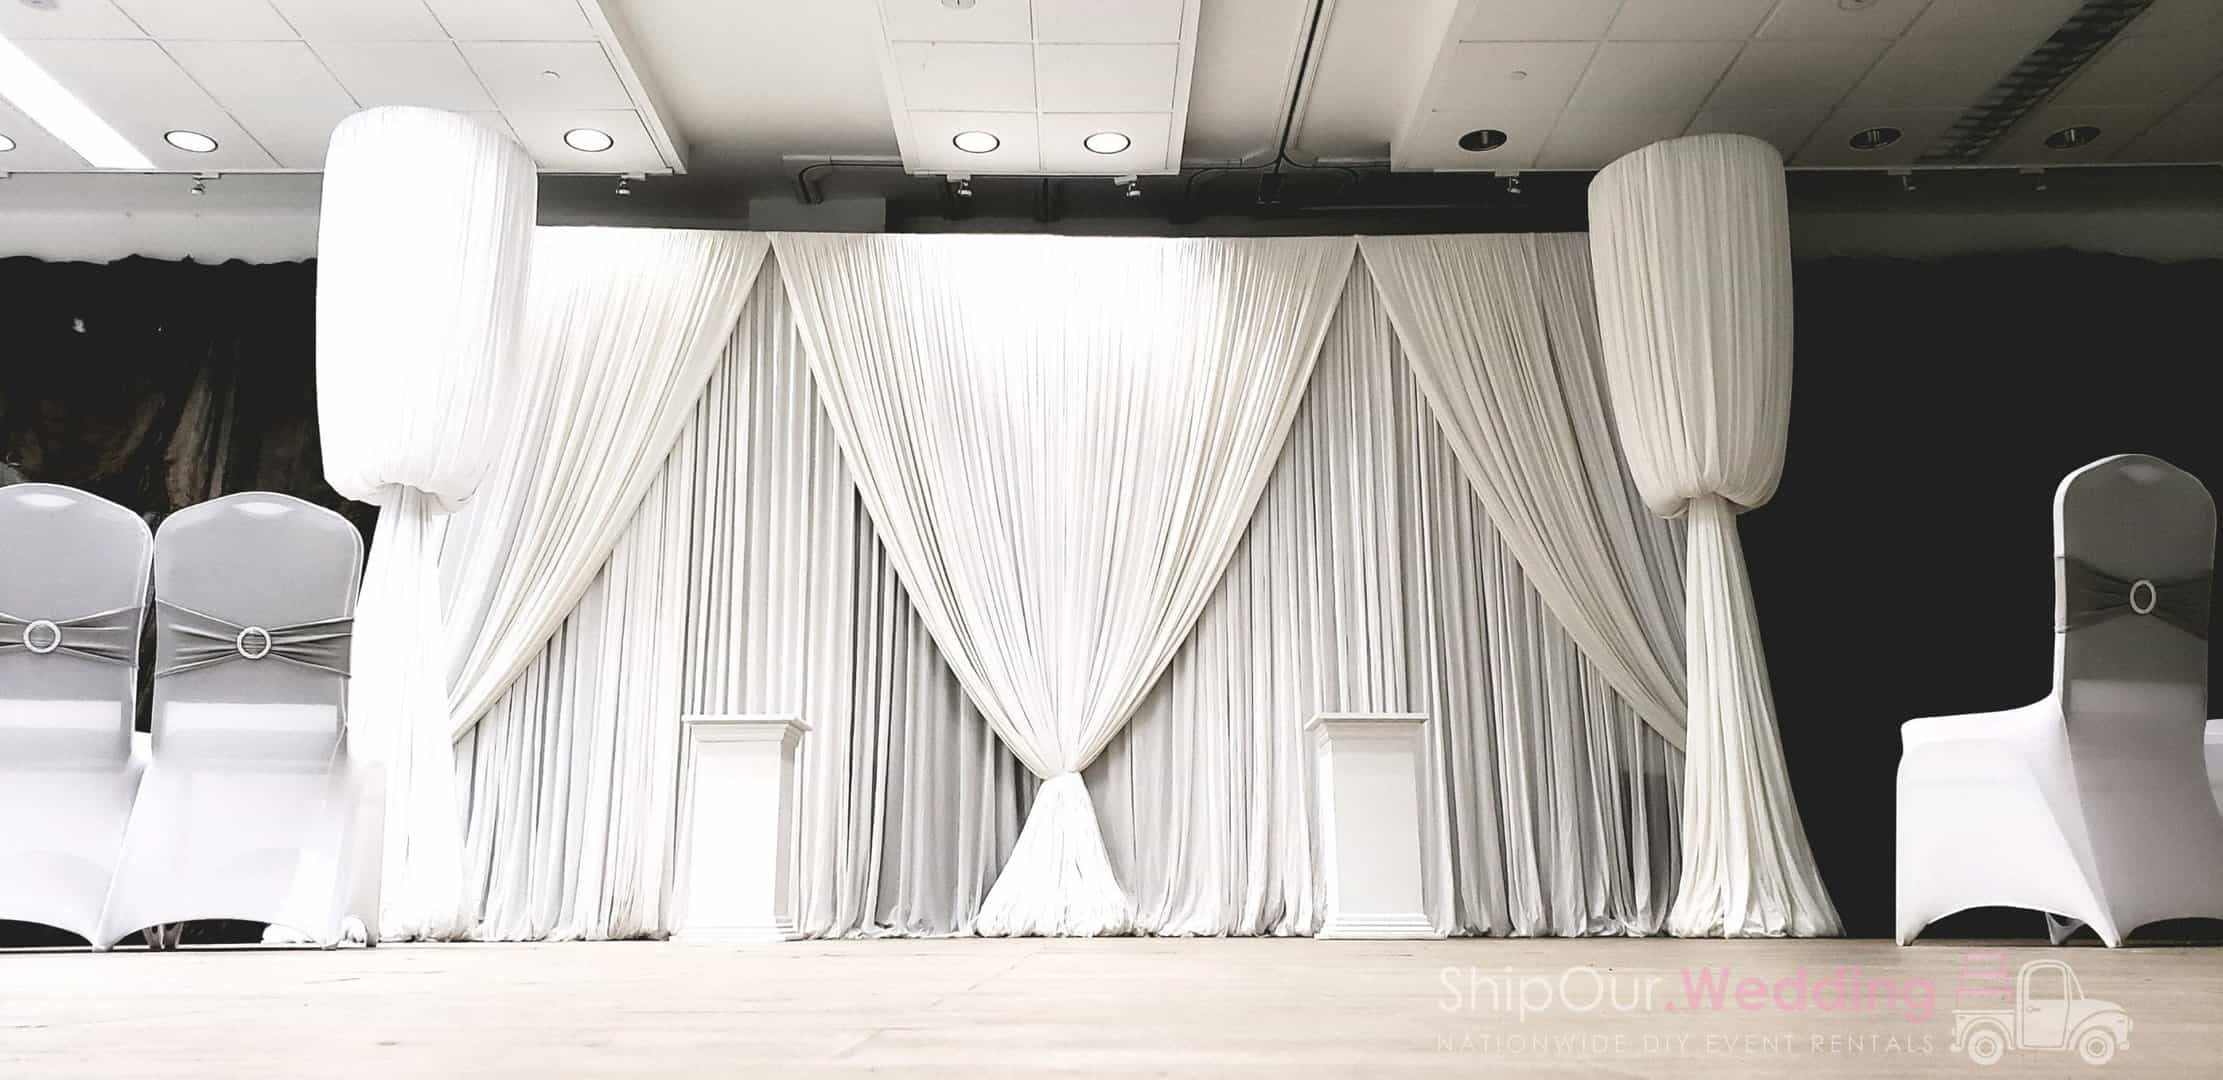
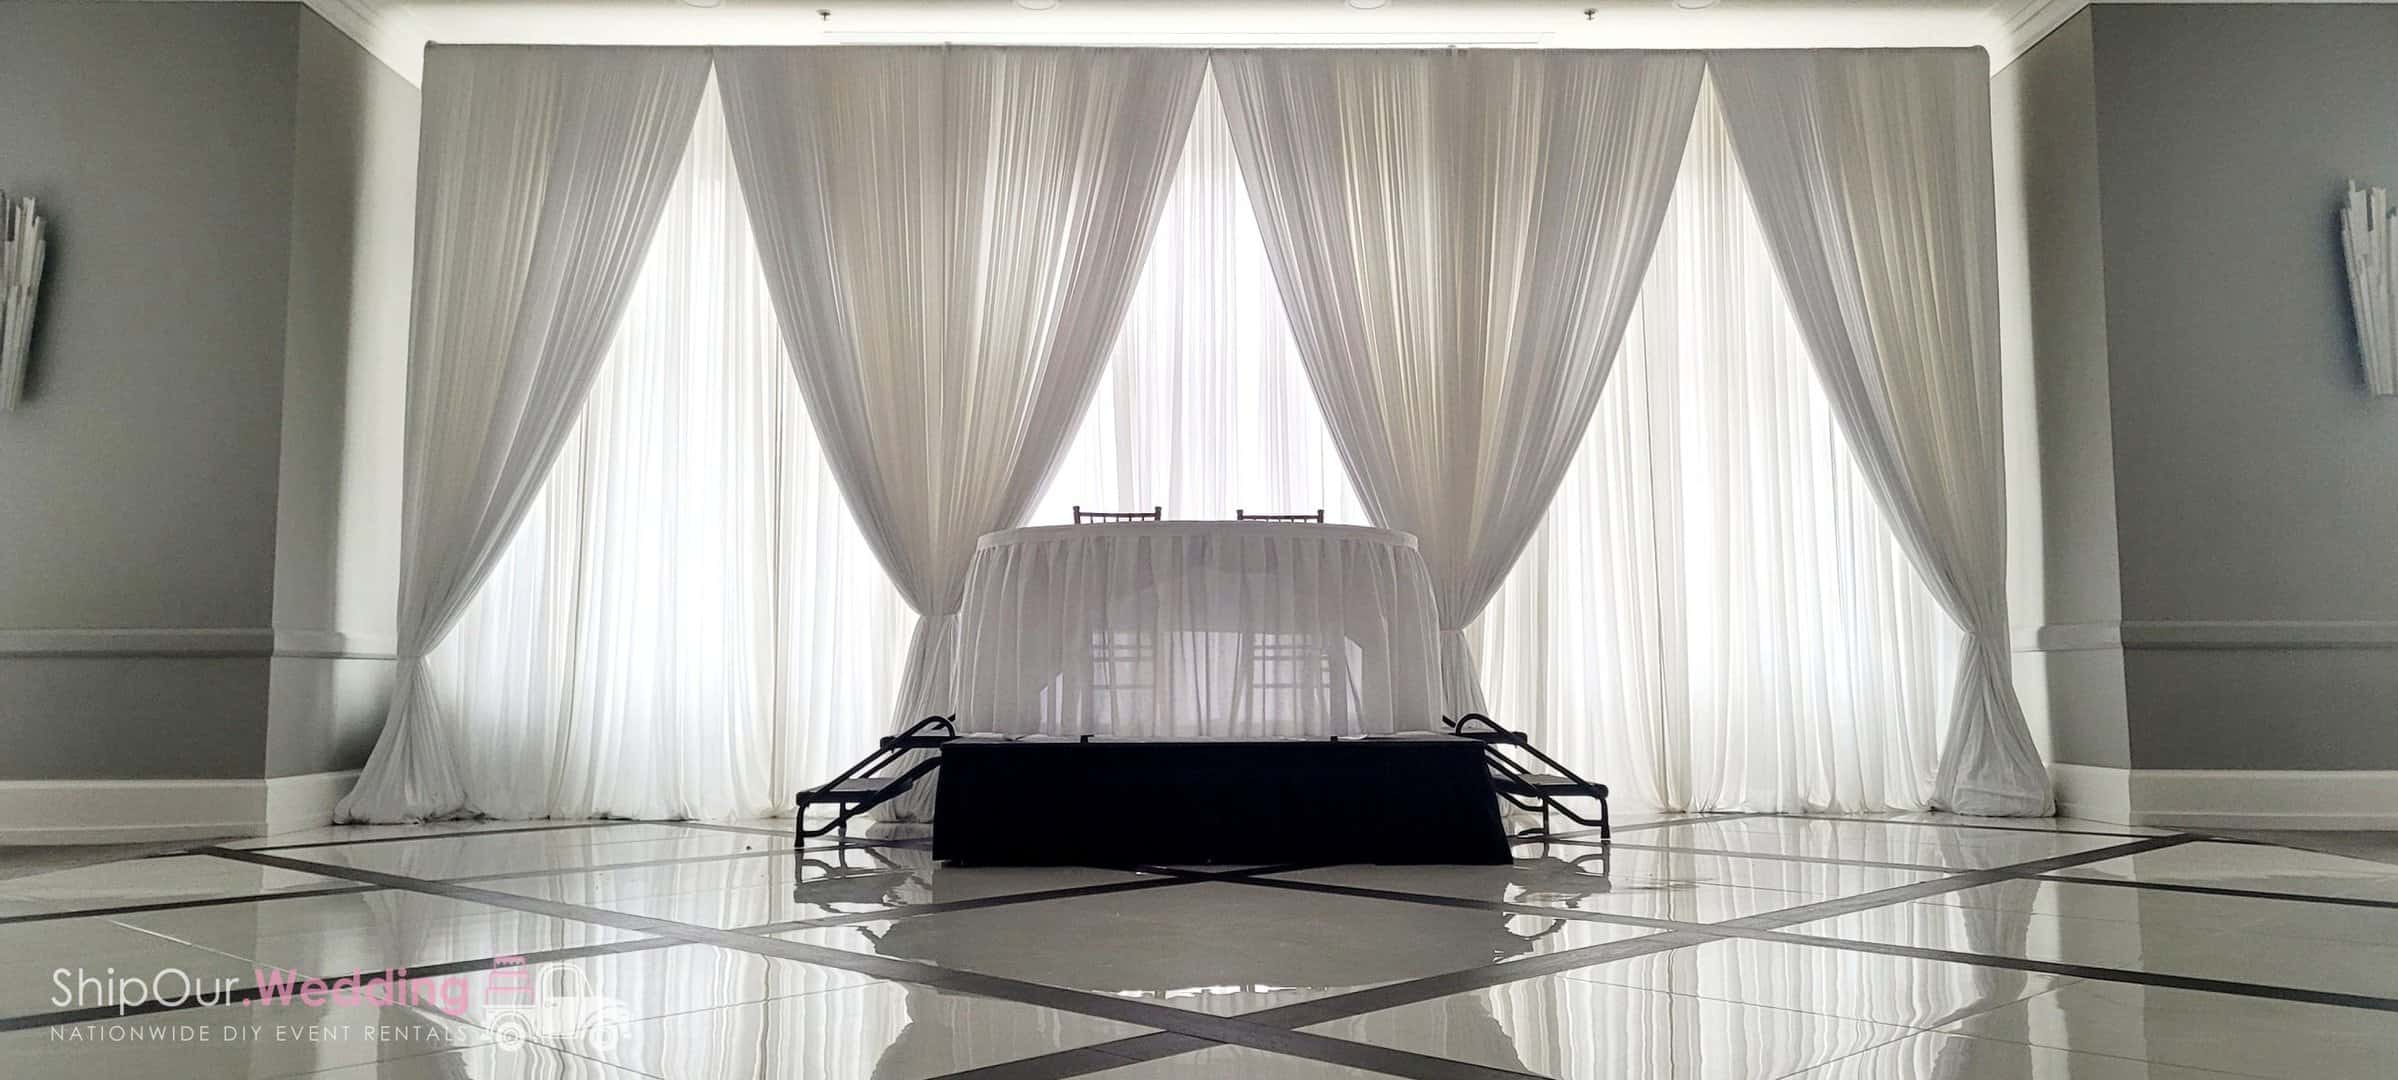
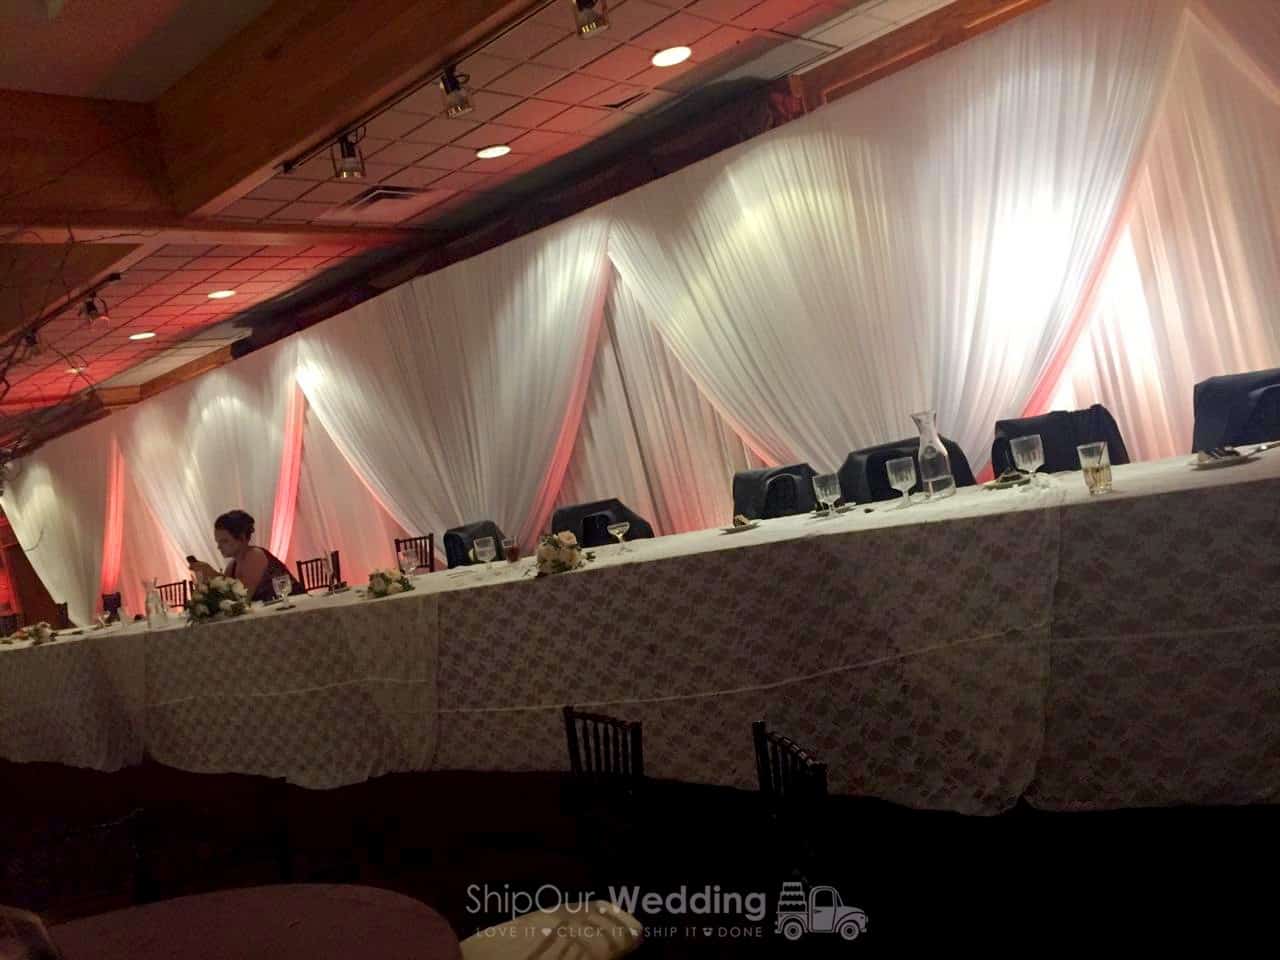
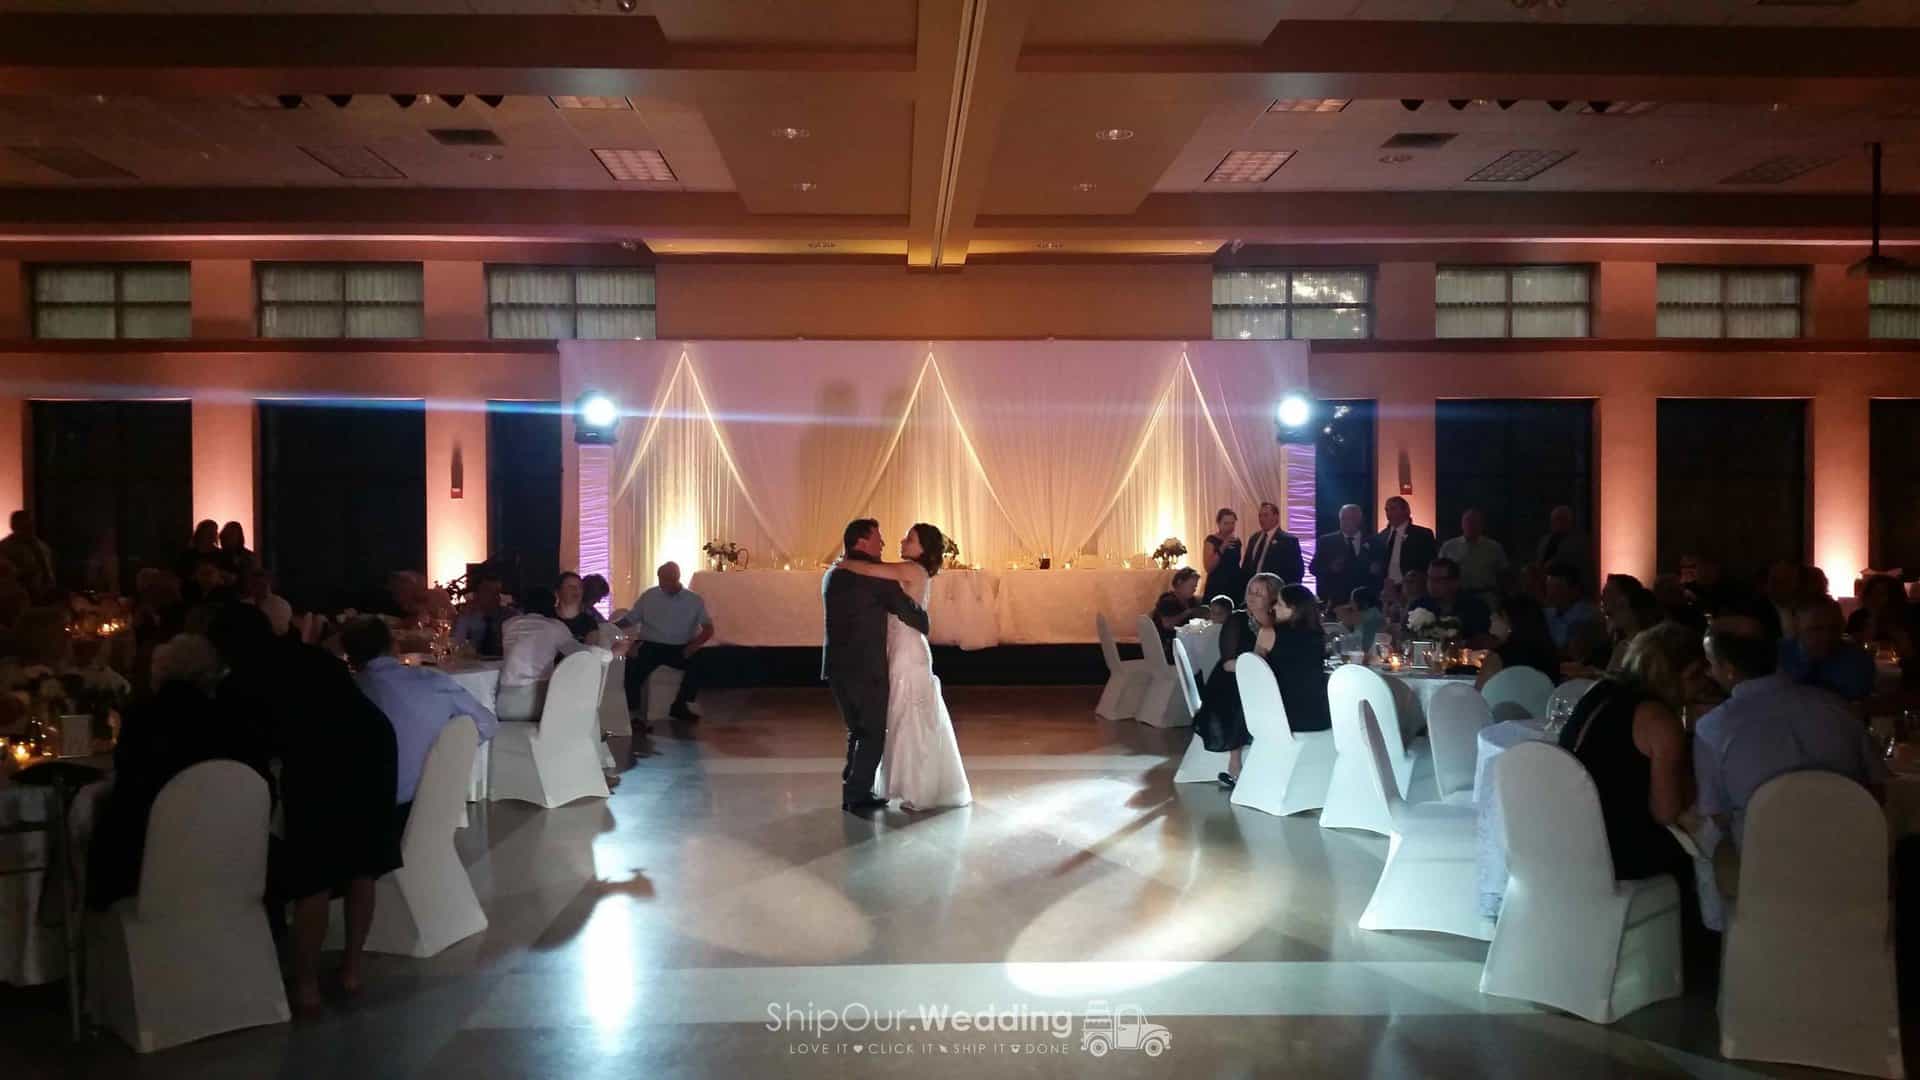
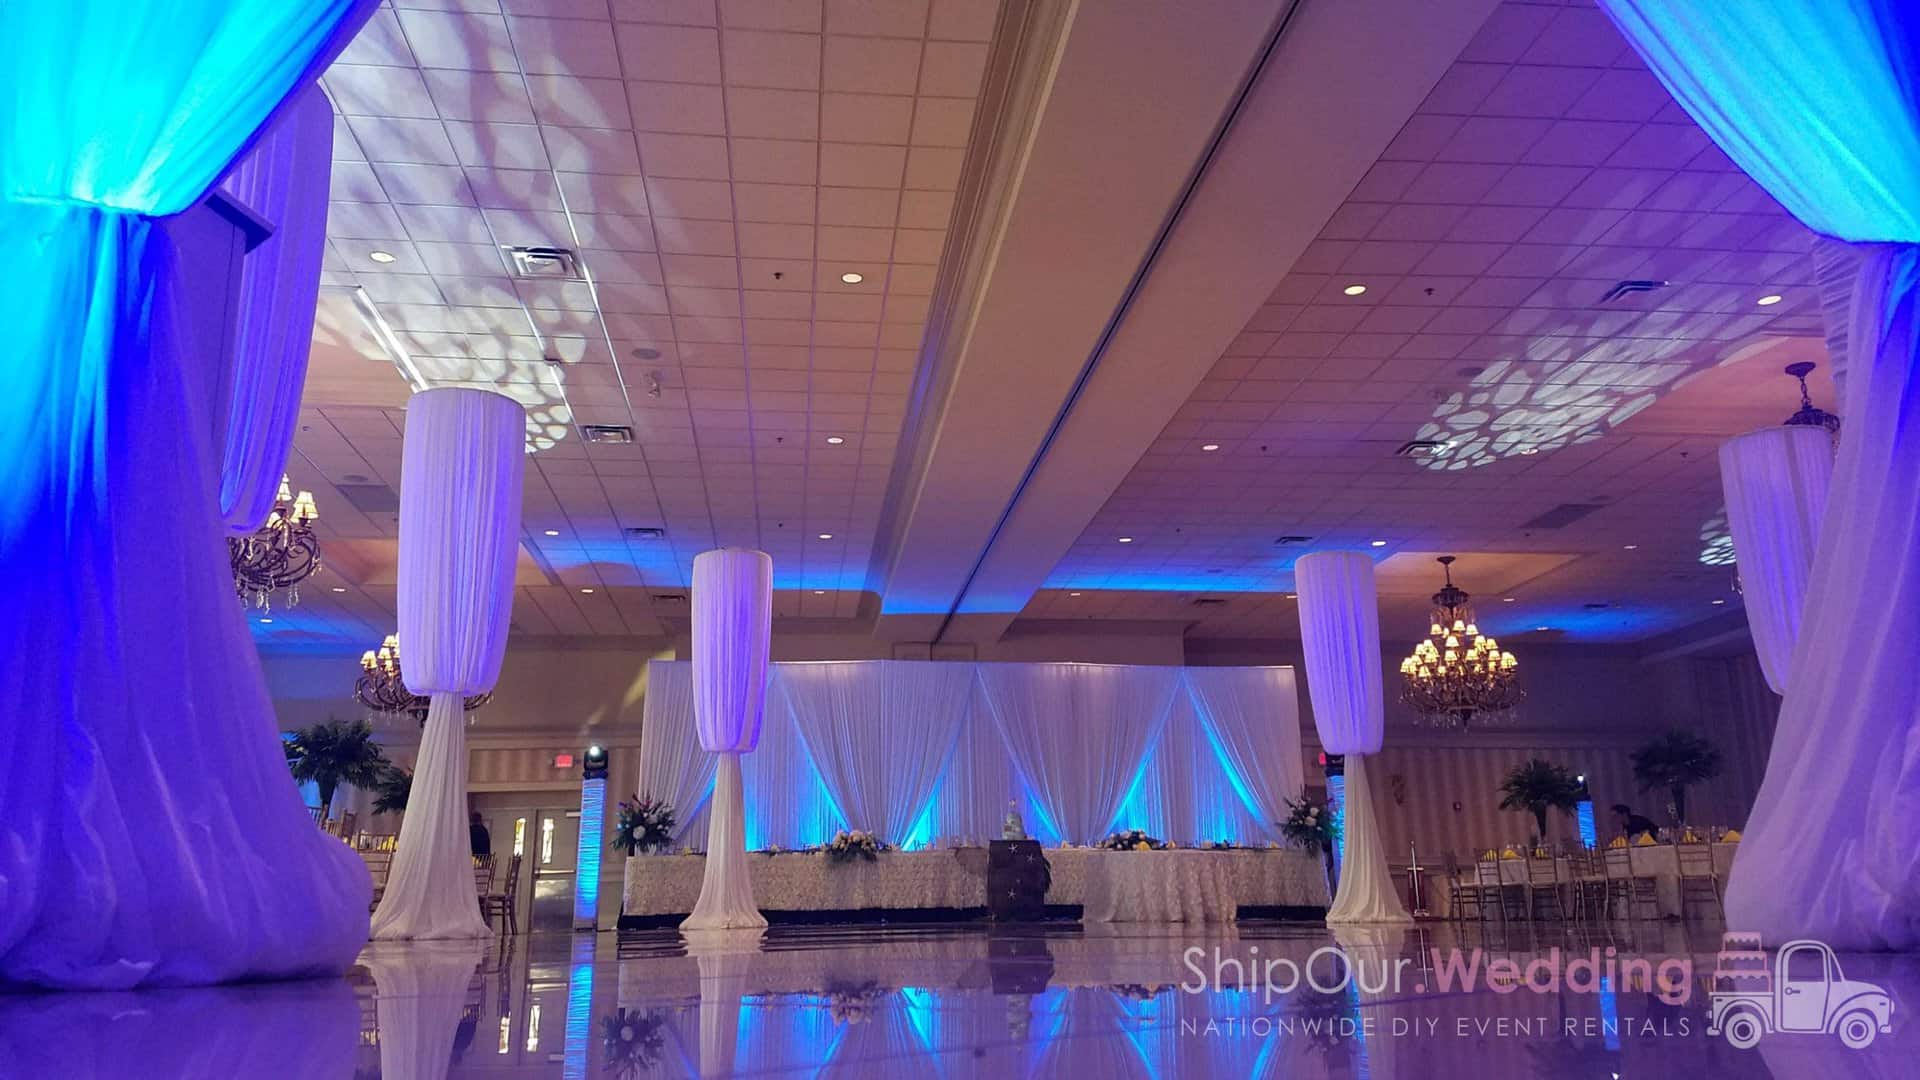
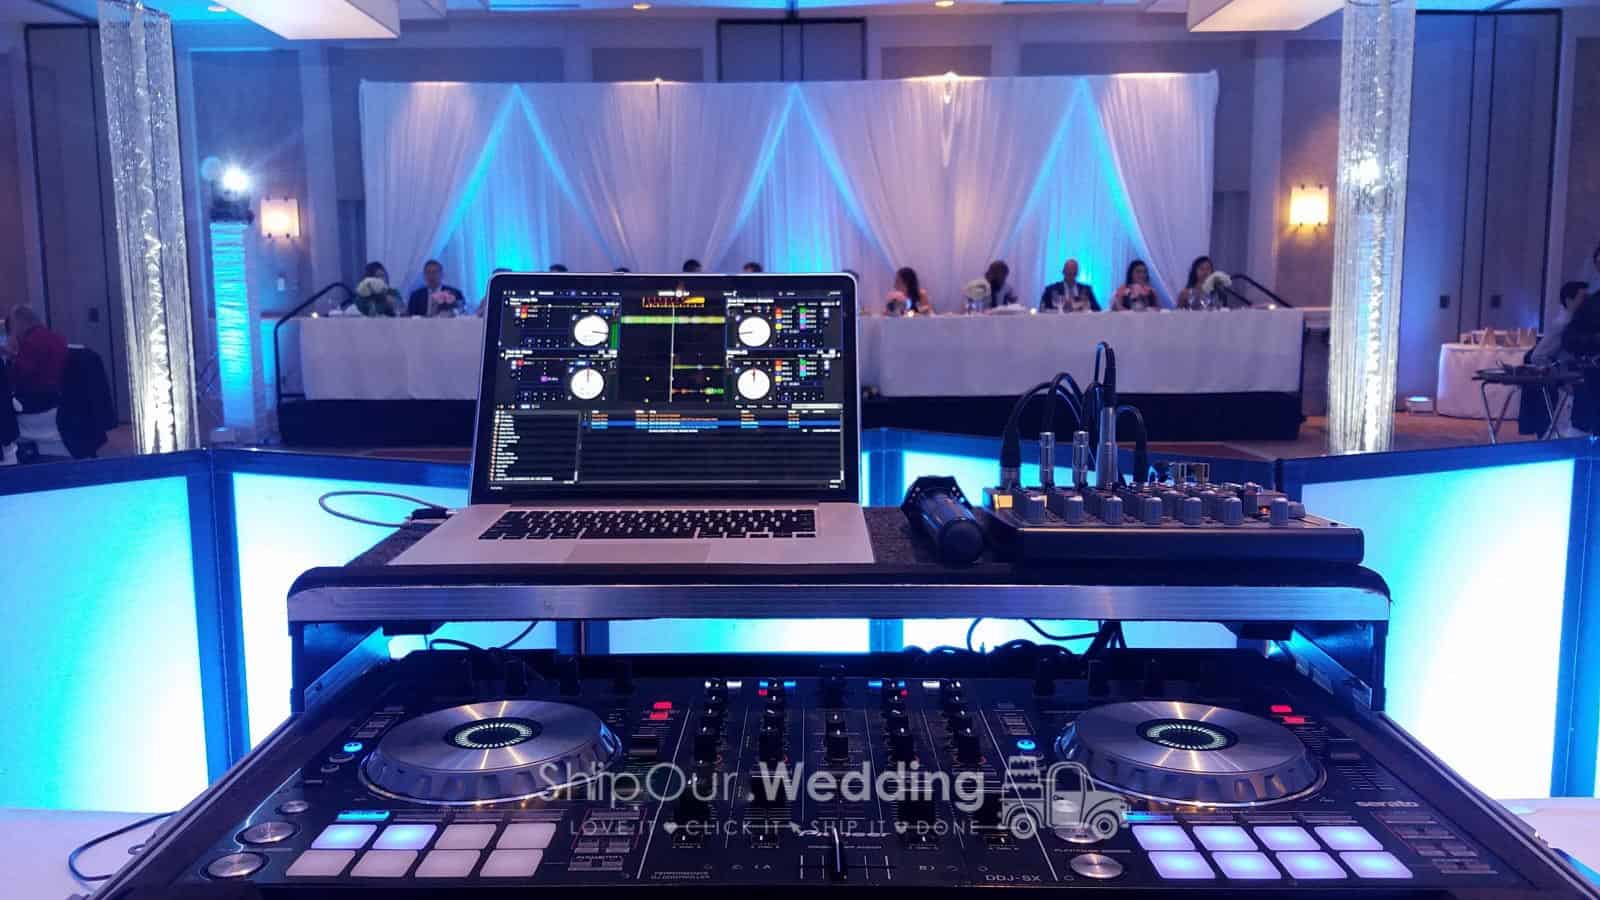
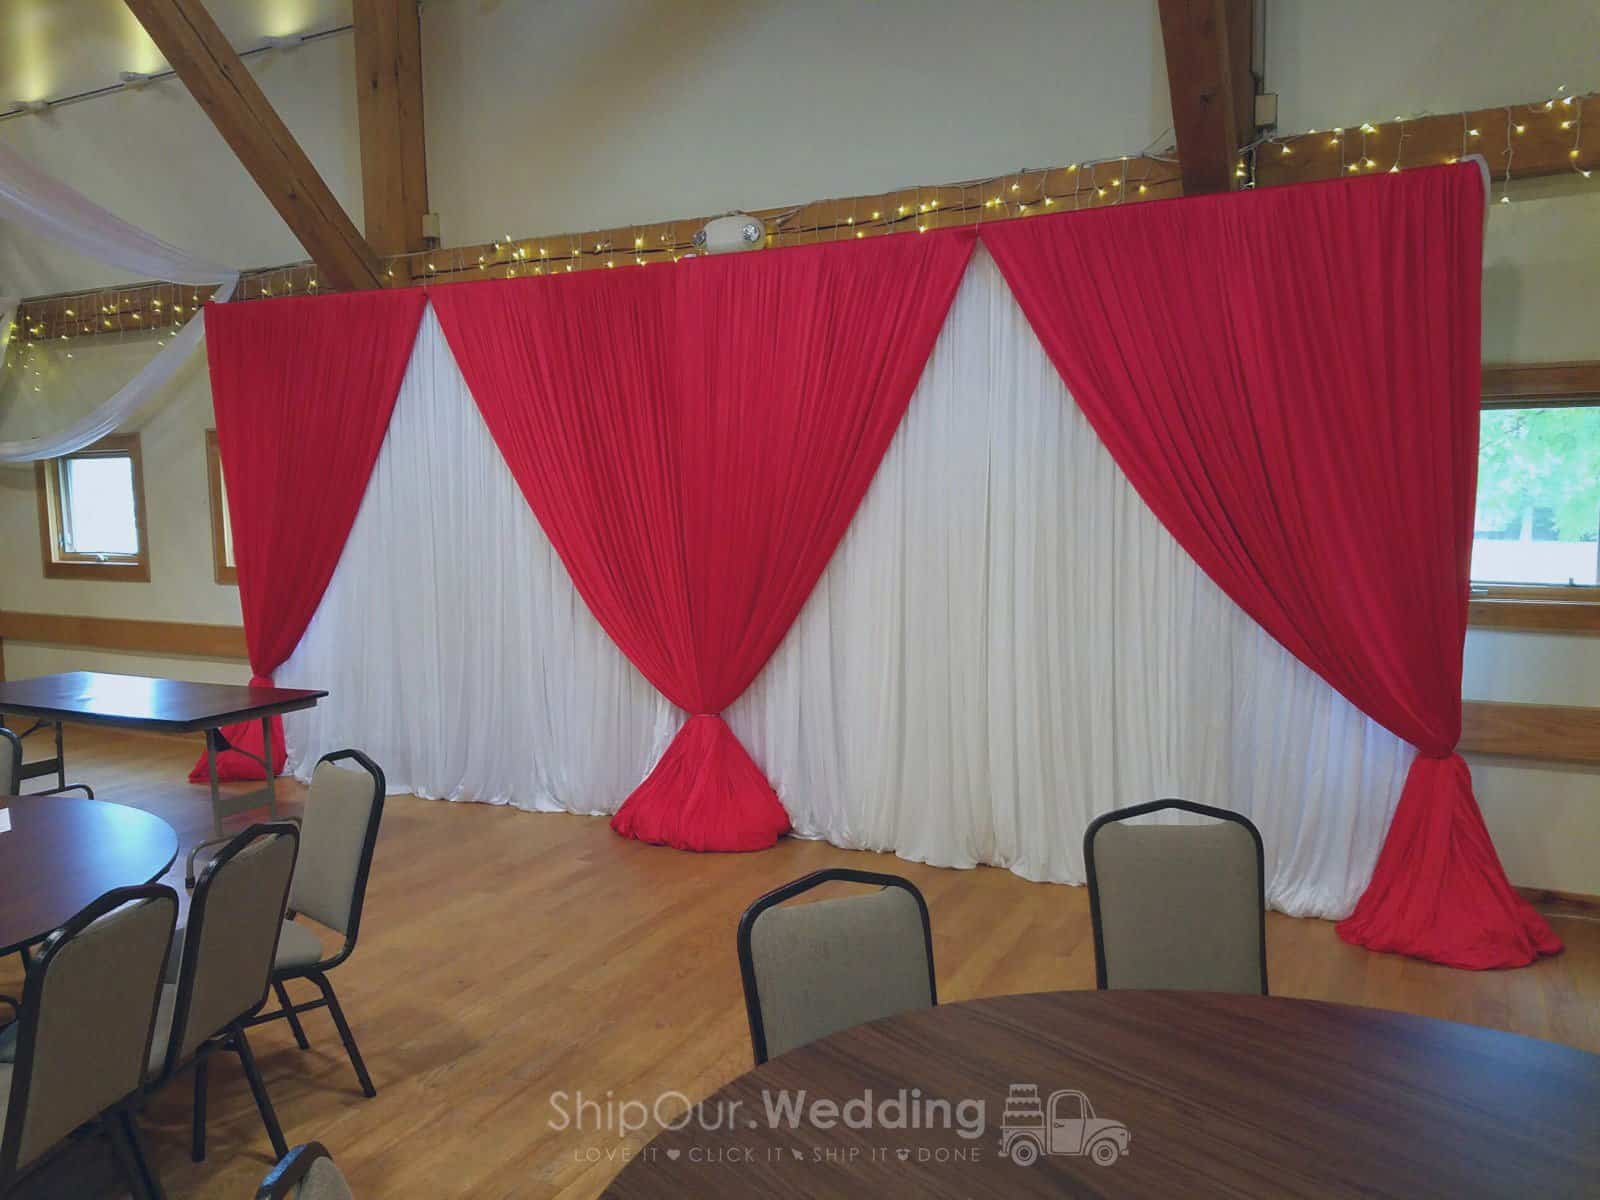
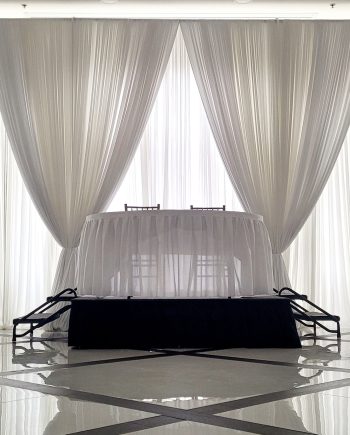
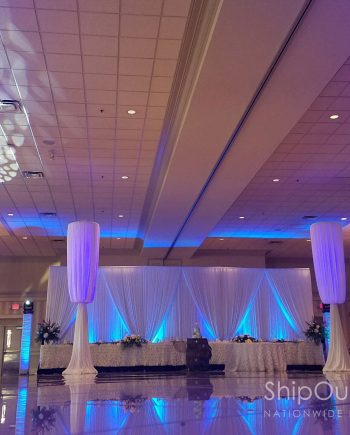
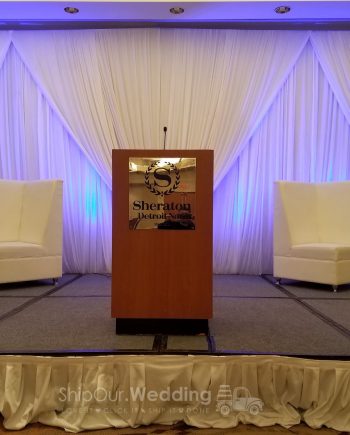
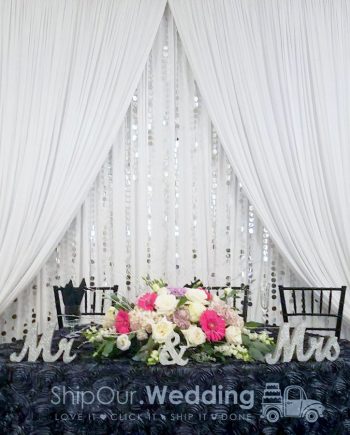
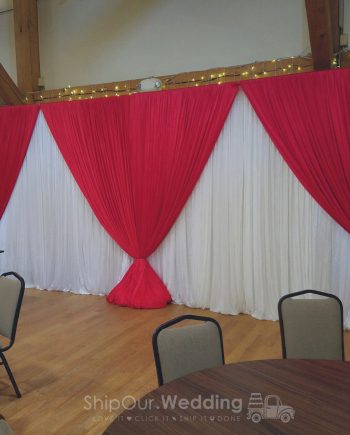
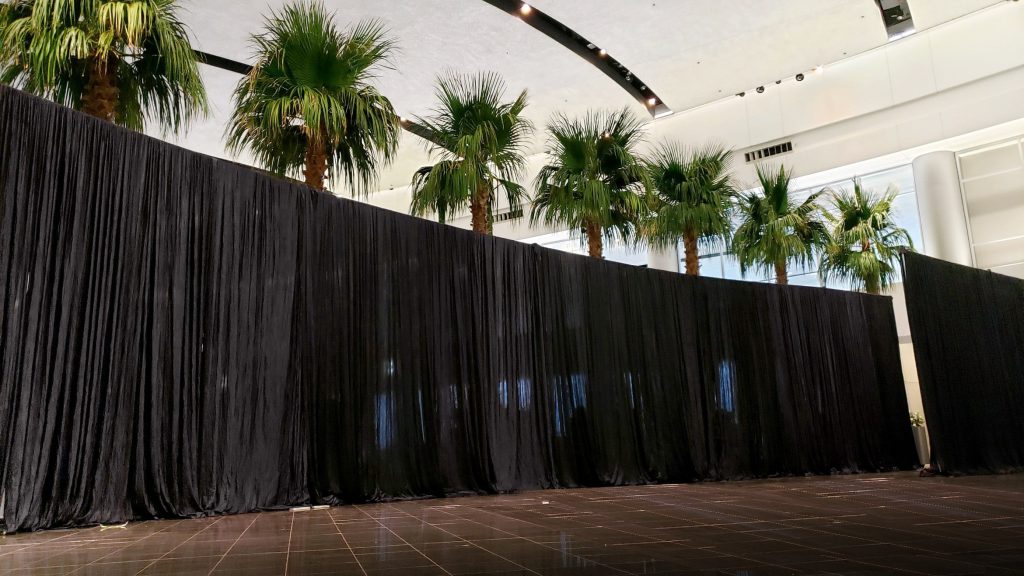
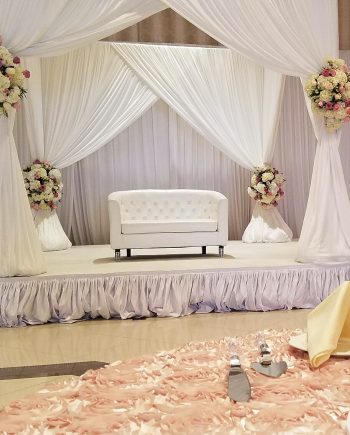
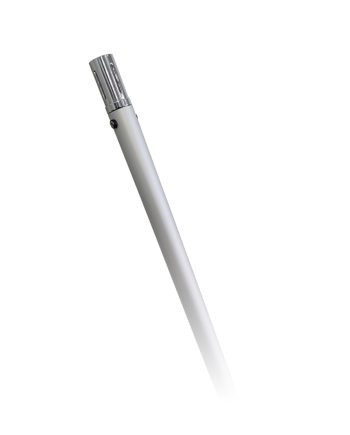
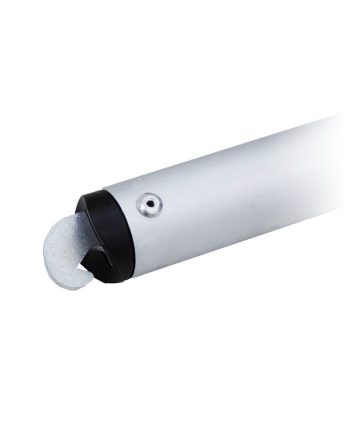
Our Signature Double Backdrop Stand
Our Signature Double Backdrop Stand
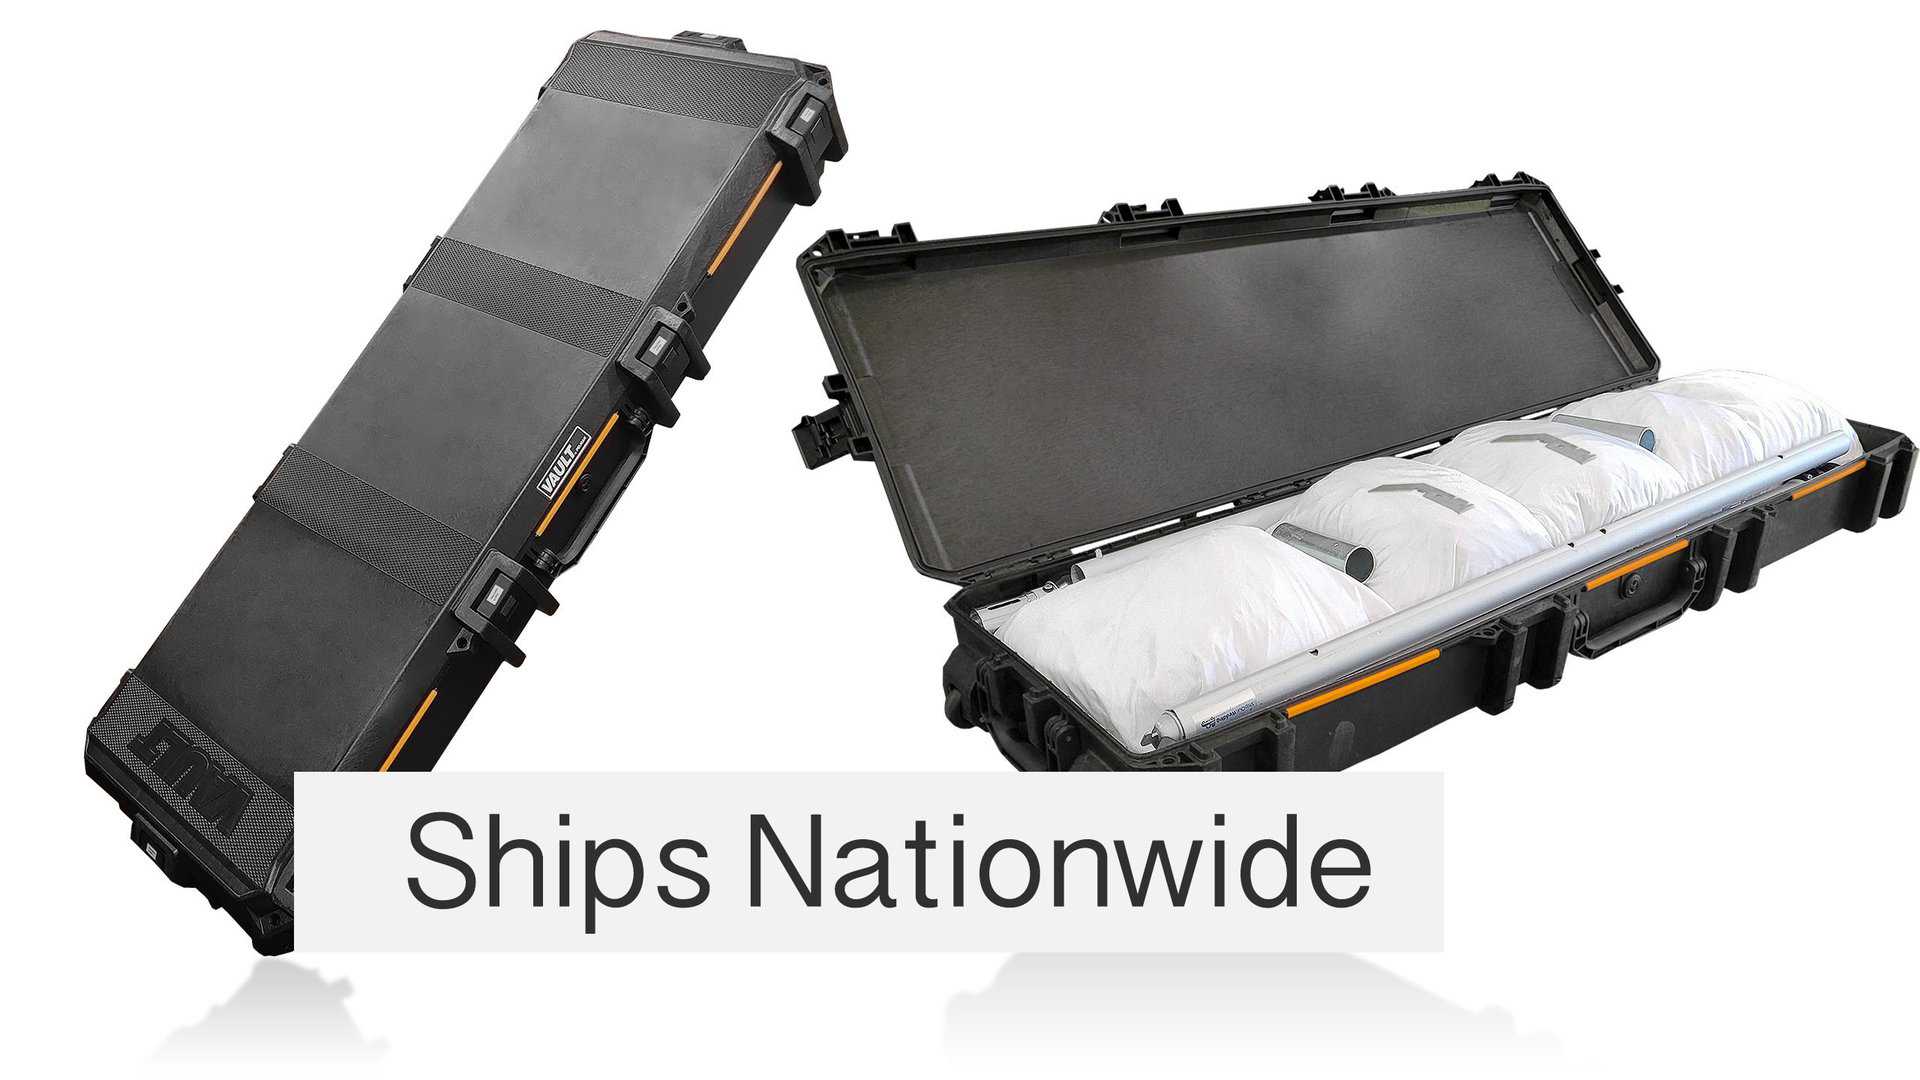
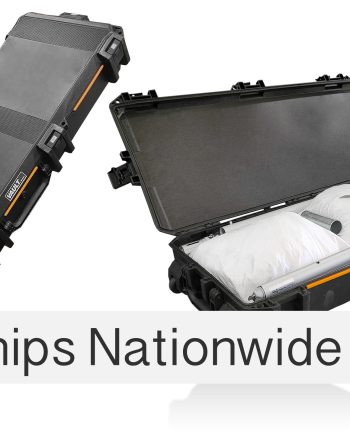
Open Your Box
✓ Kit arrives week of the party
✓ User-friendly box has wheels
✓ Includes everything you need

Open Your Box
✓ Kit arrives week of the party
✓ User-friendly box has wheels
✓ Includes everything you need

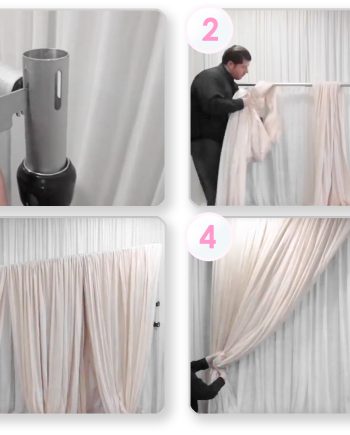
5-Minute Setup
✓ Just set it, drape it, & raise it
✓ Return shipping label is in box
✓ Return (2) days after the date
5-Minute Setup
✓ Just set it, drape it, & raise it
✓ Return shipping label is in box
✓ Return (2) days after the date
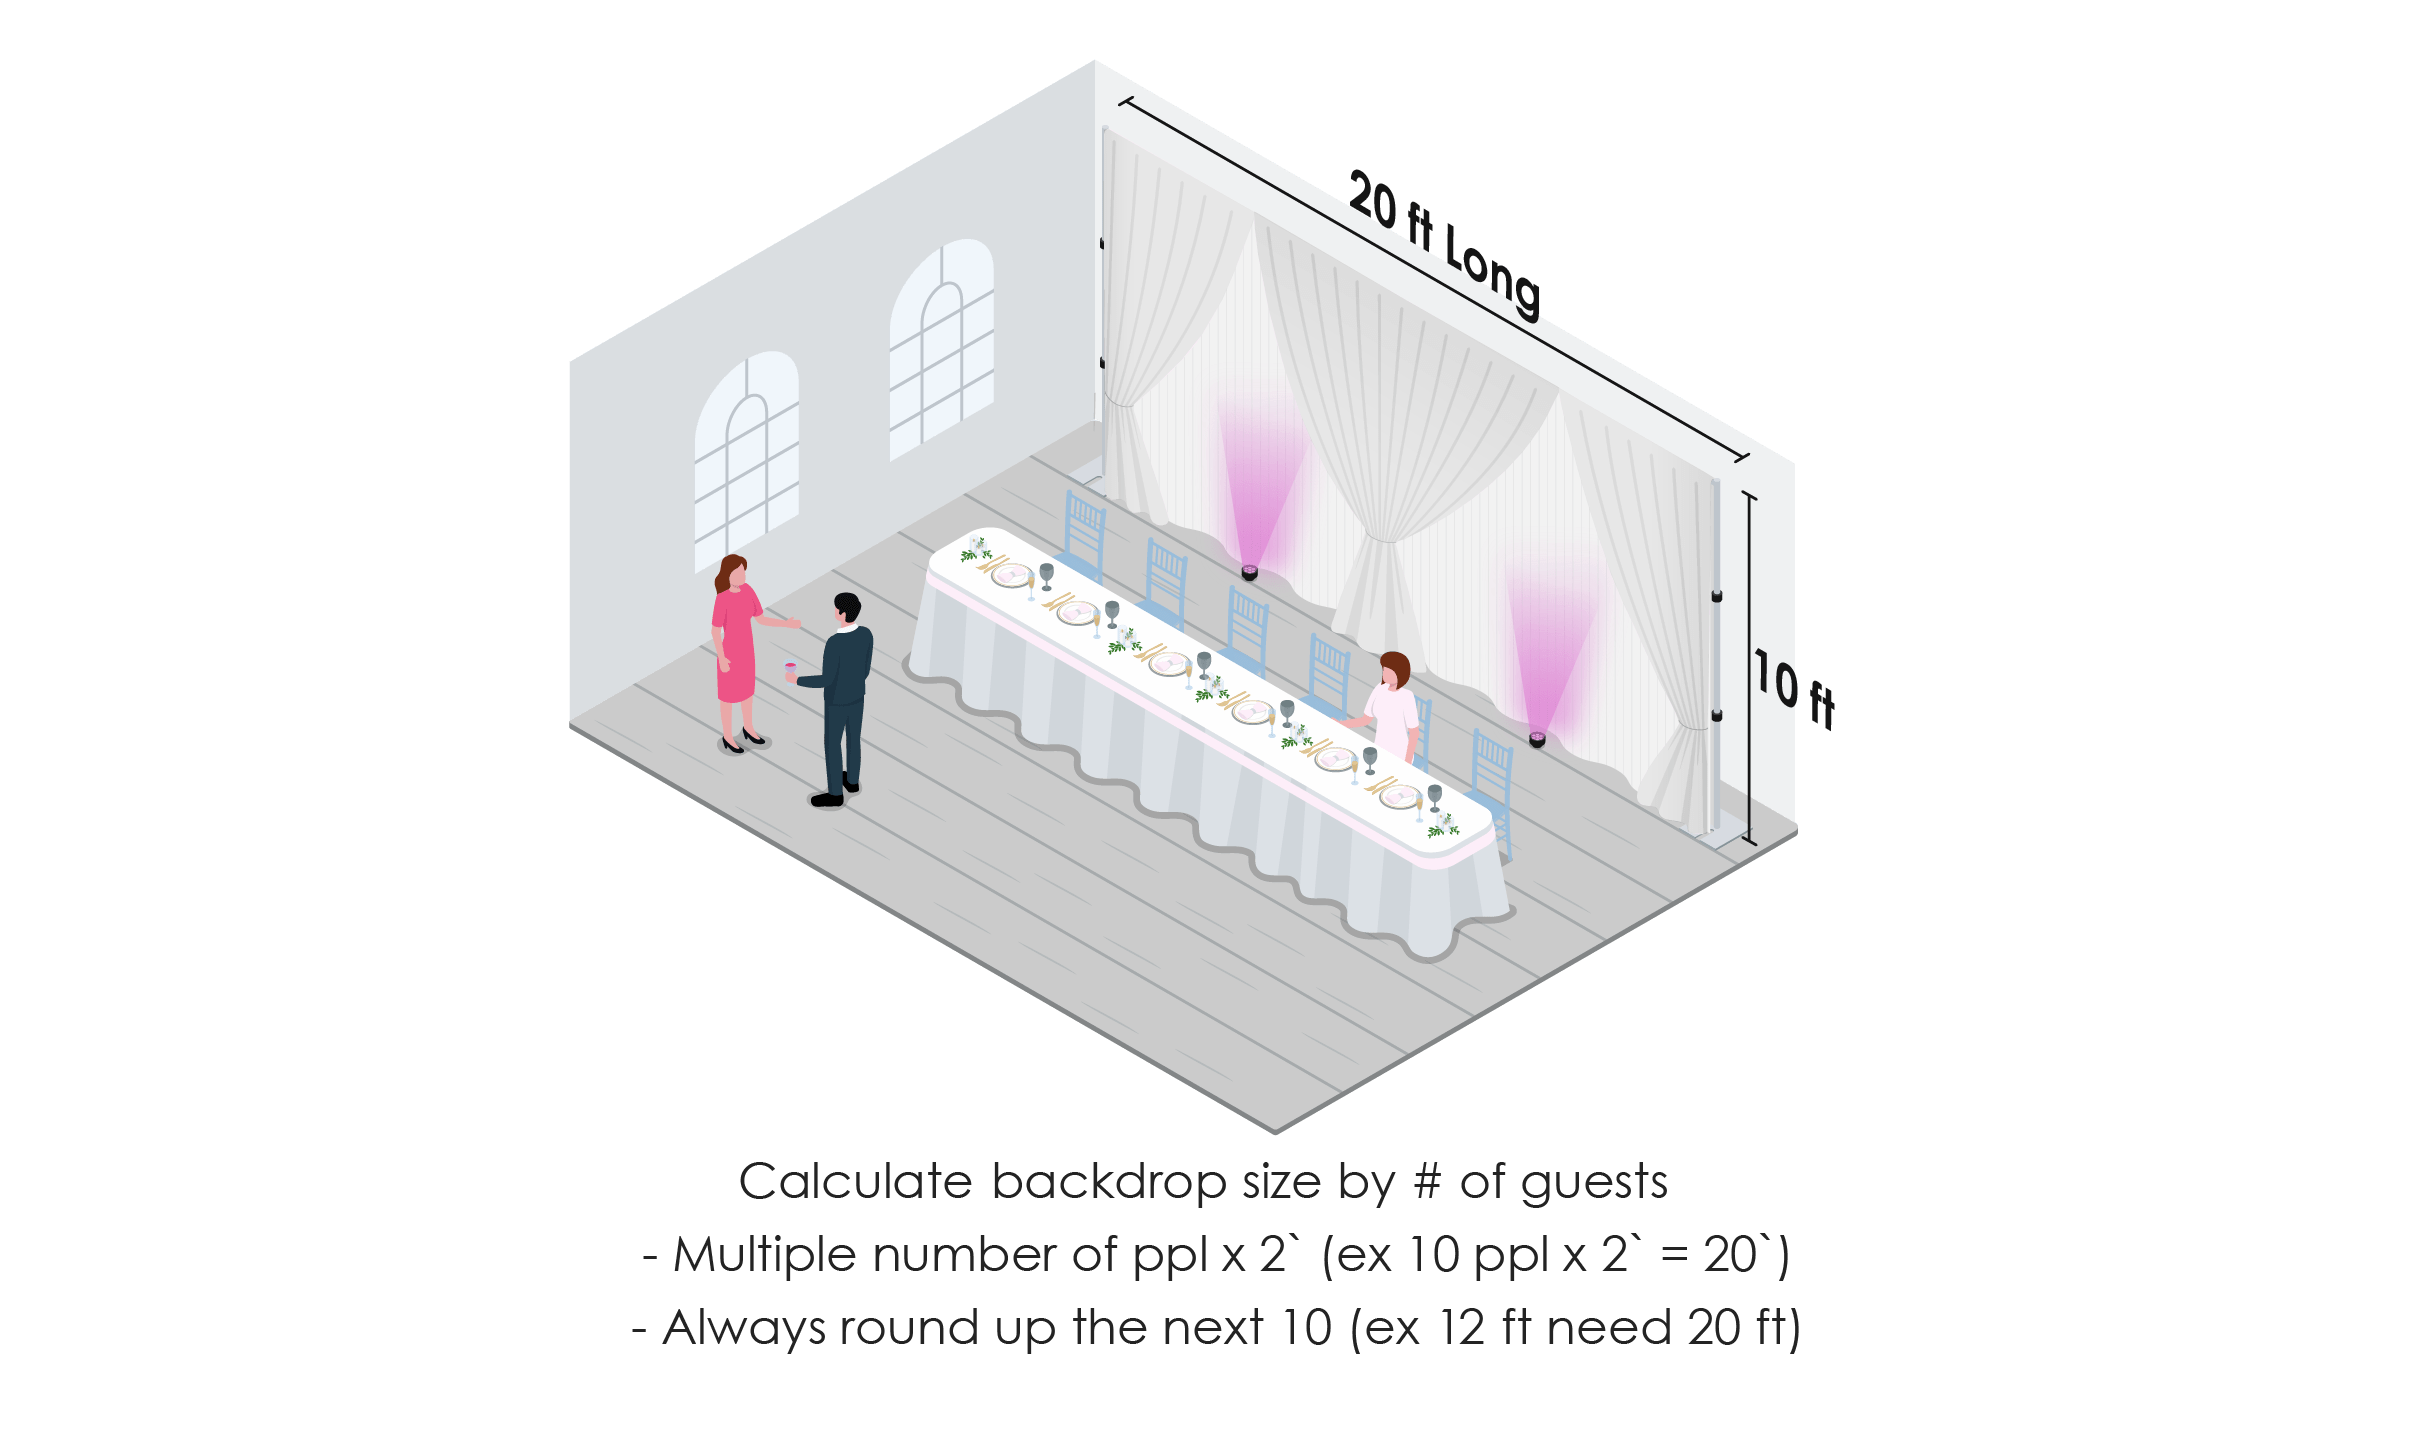
How to Measure
✓ Understand how much to rent
✓ Easy math to select backdrop
✓ Round it up so your kit will fit
How to Measure

✓ Understand how much to rent
✓ Easy math to select backdrop
✓ Round it up so your kit will fit
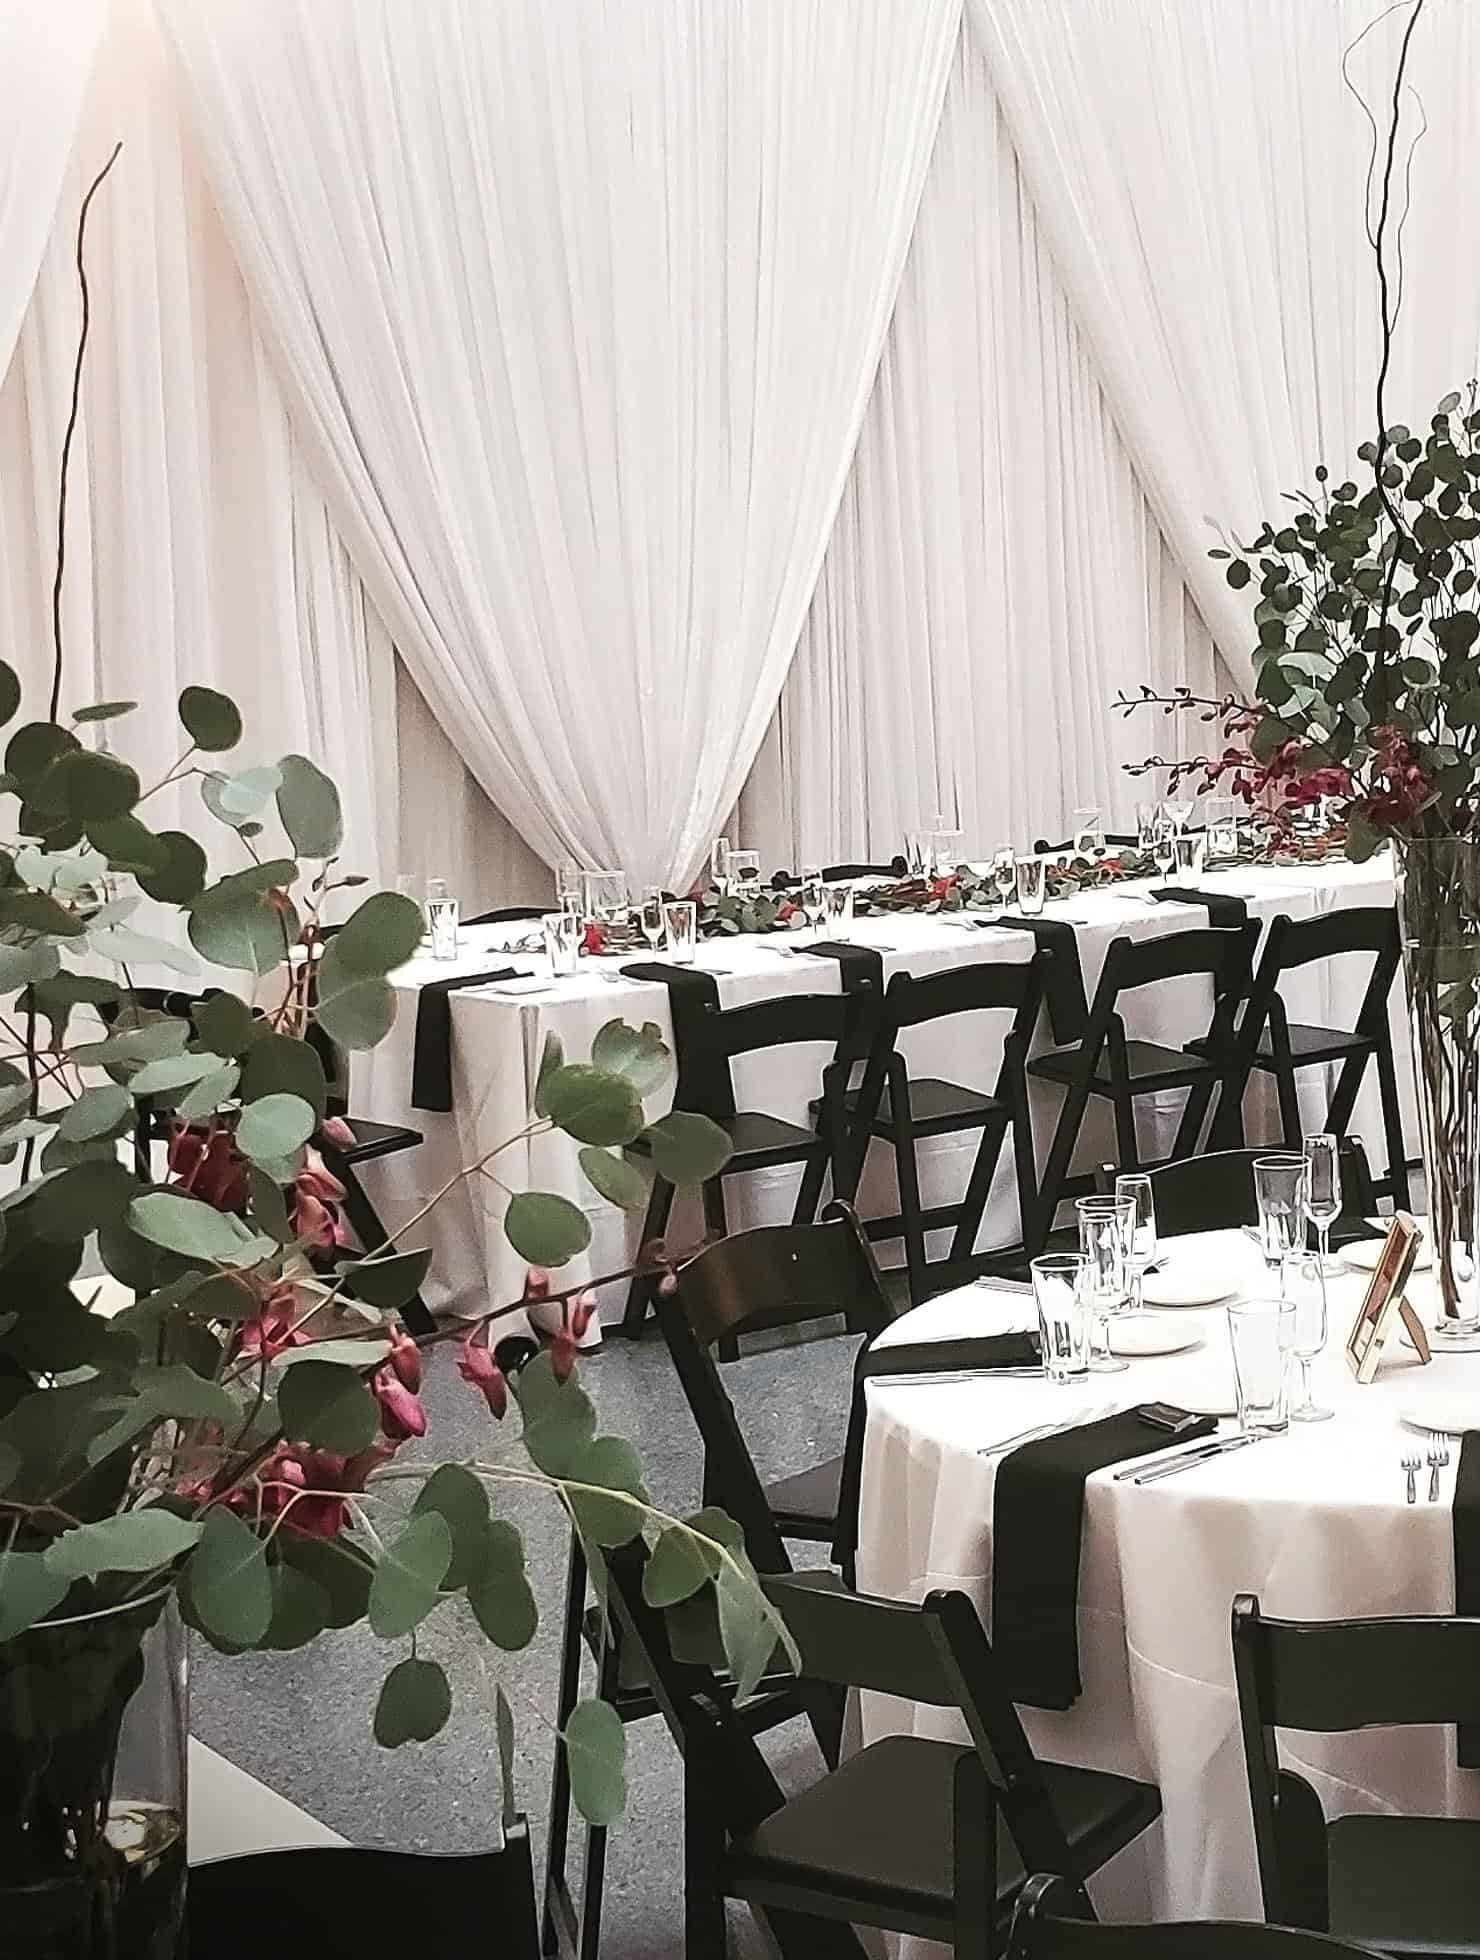
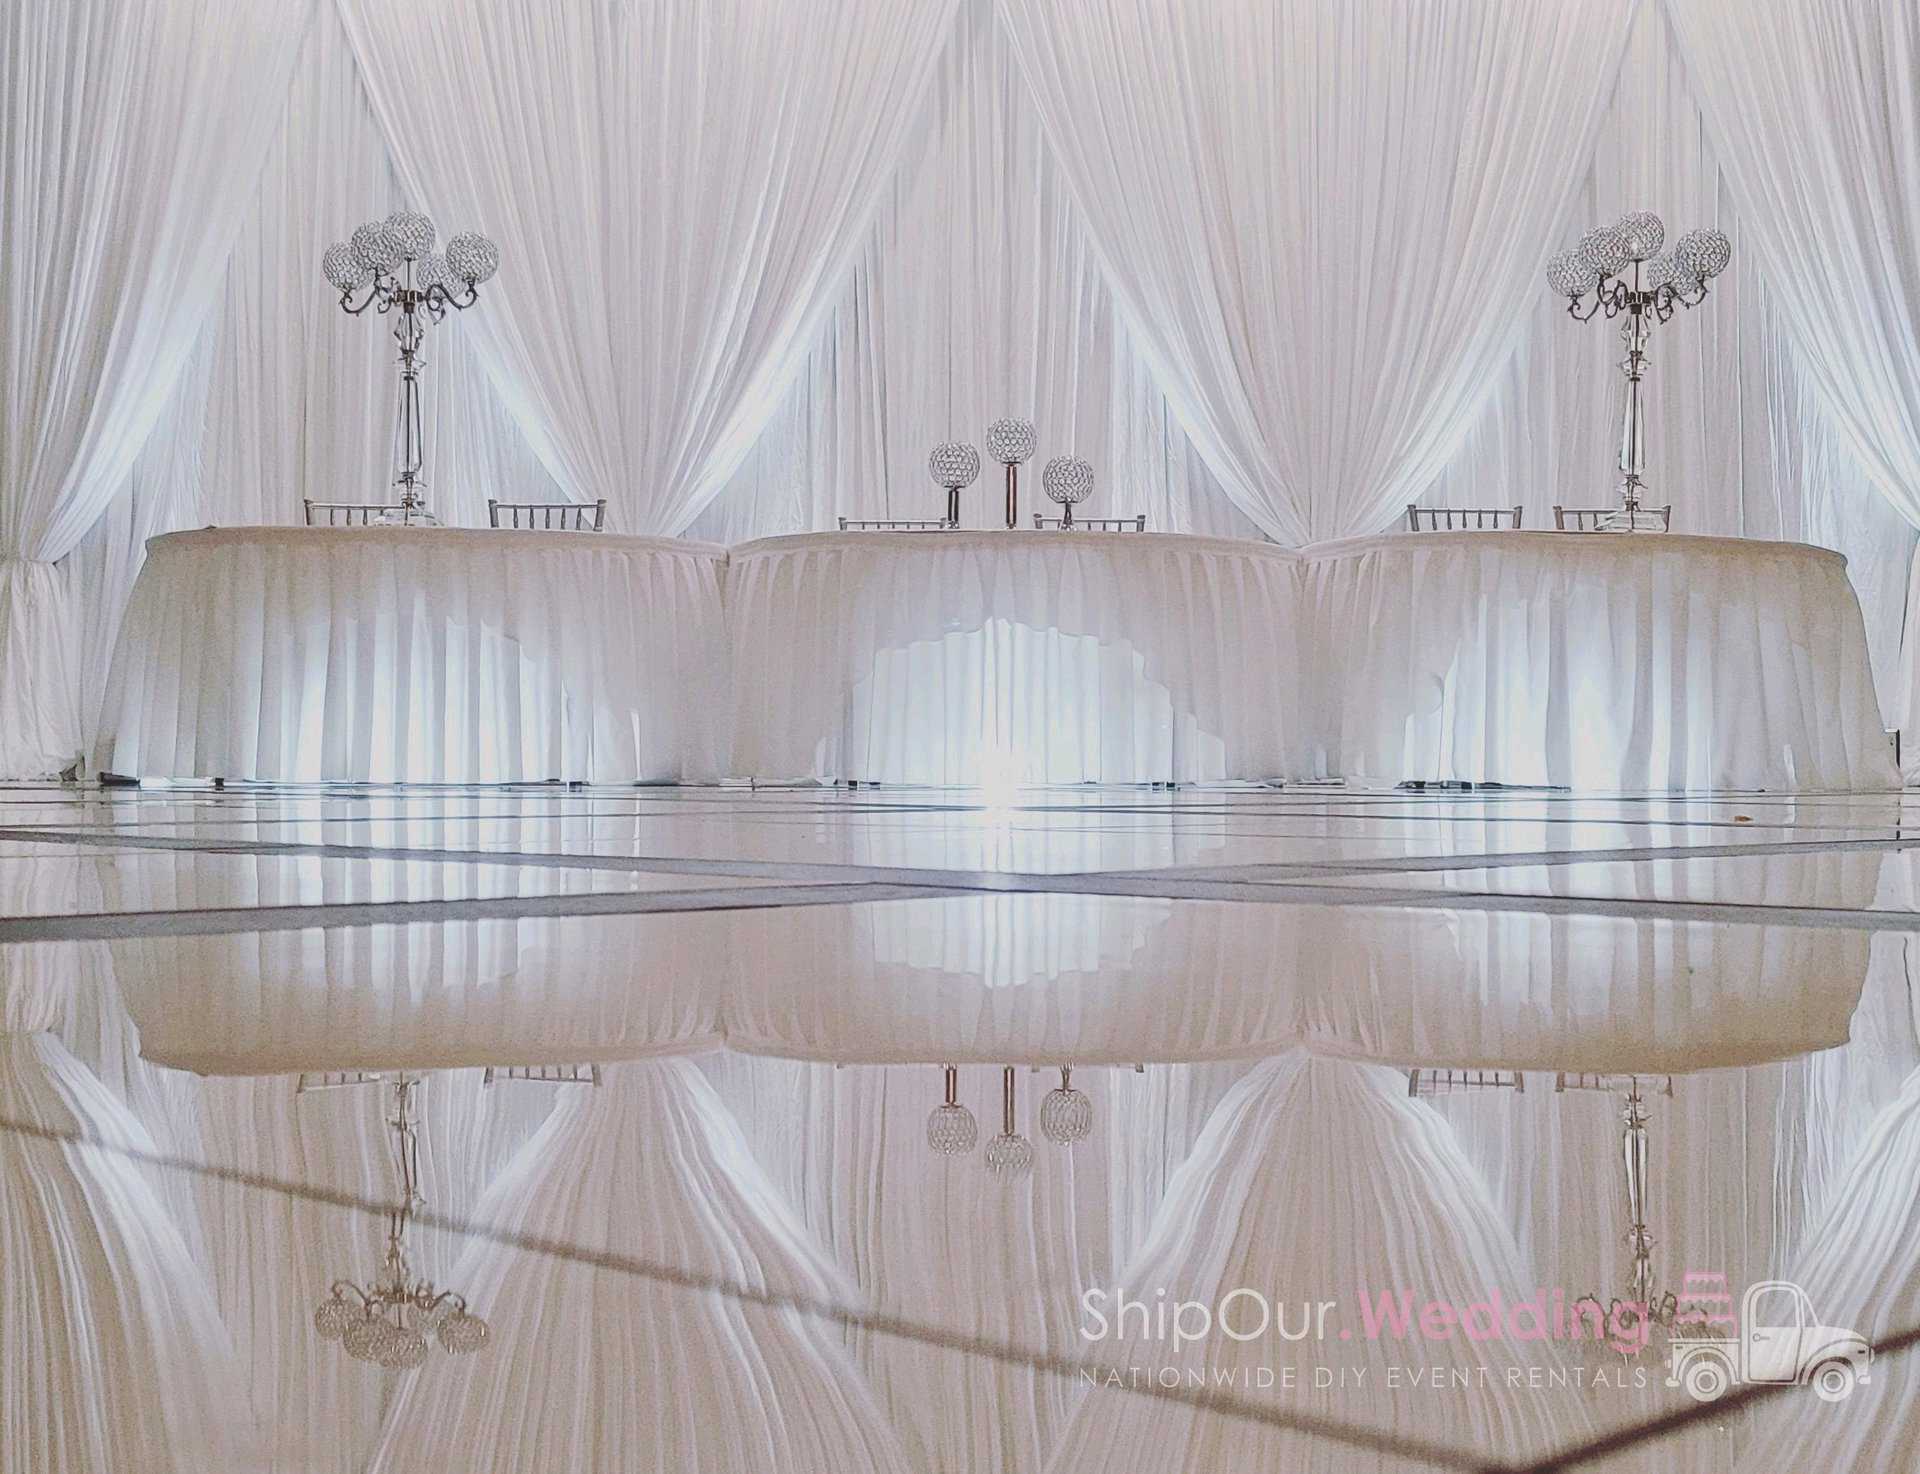
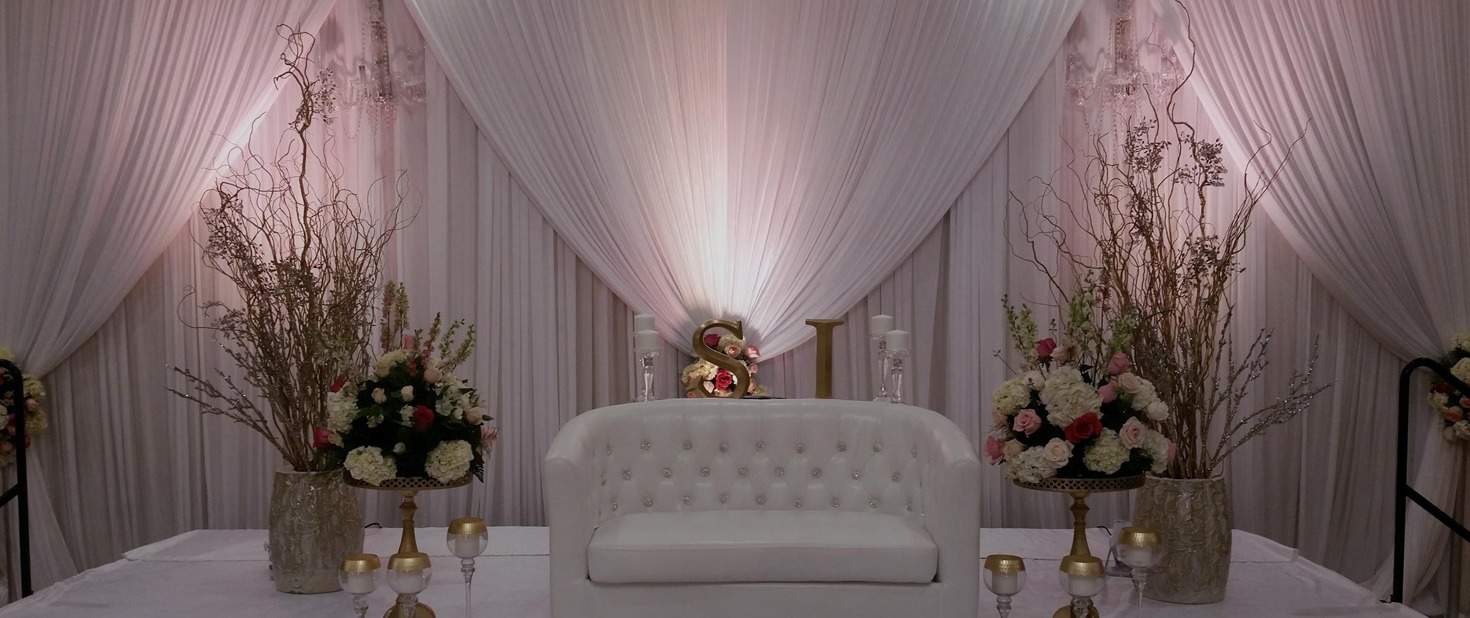
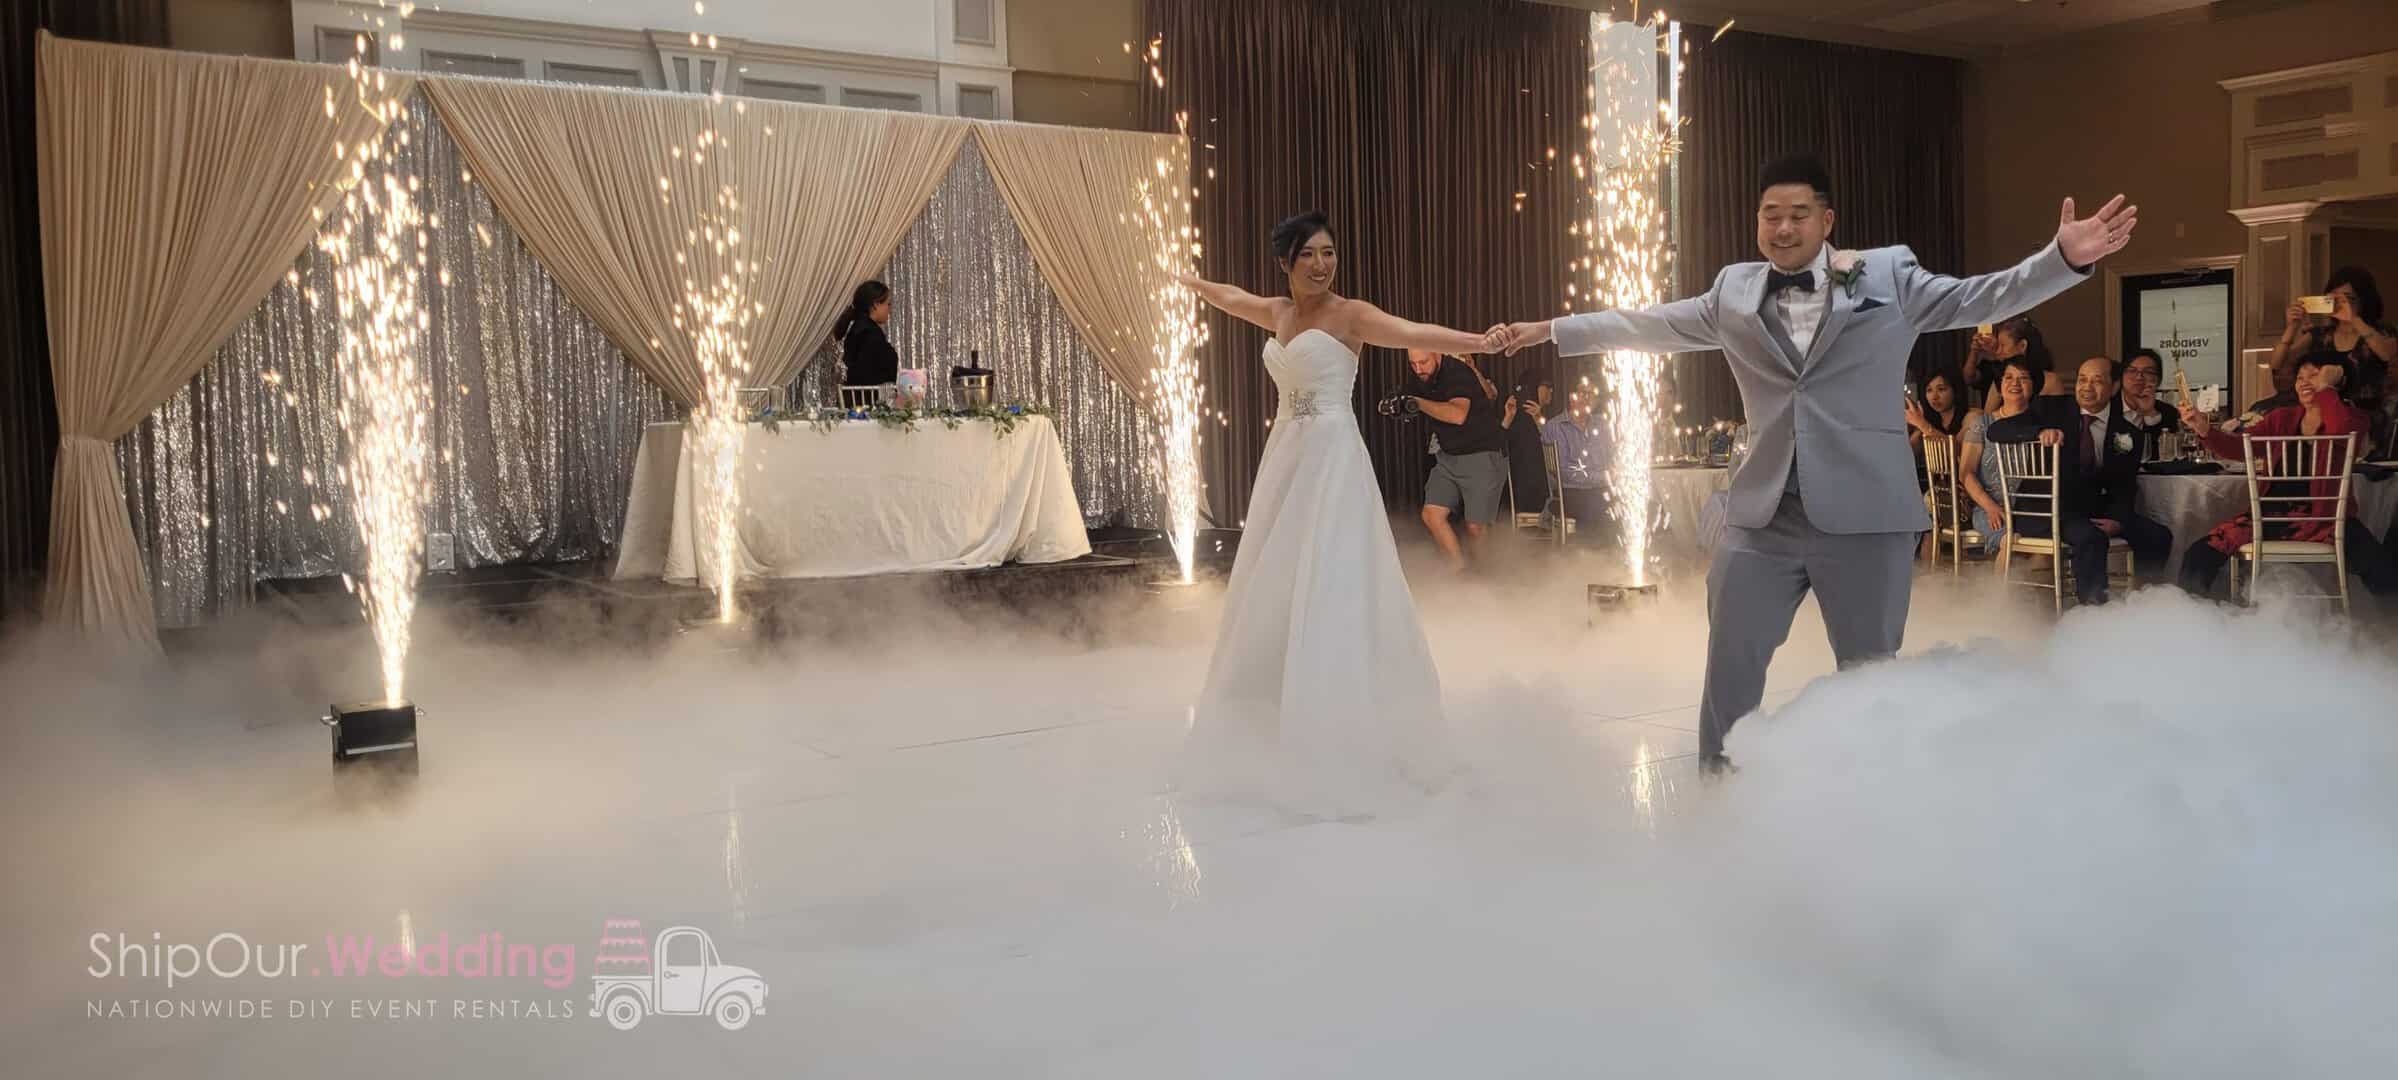
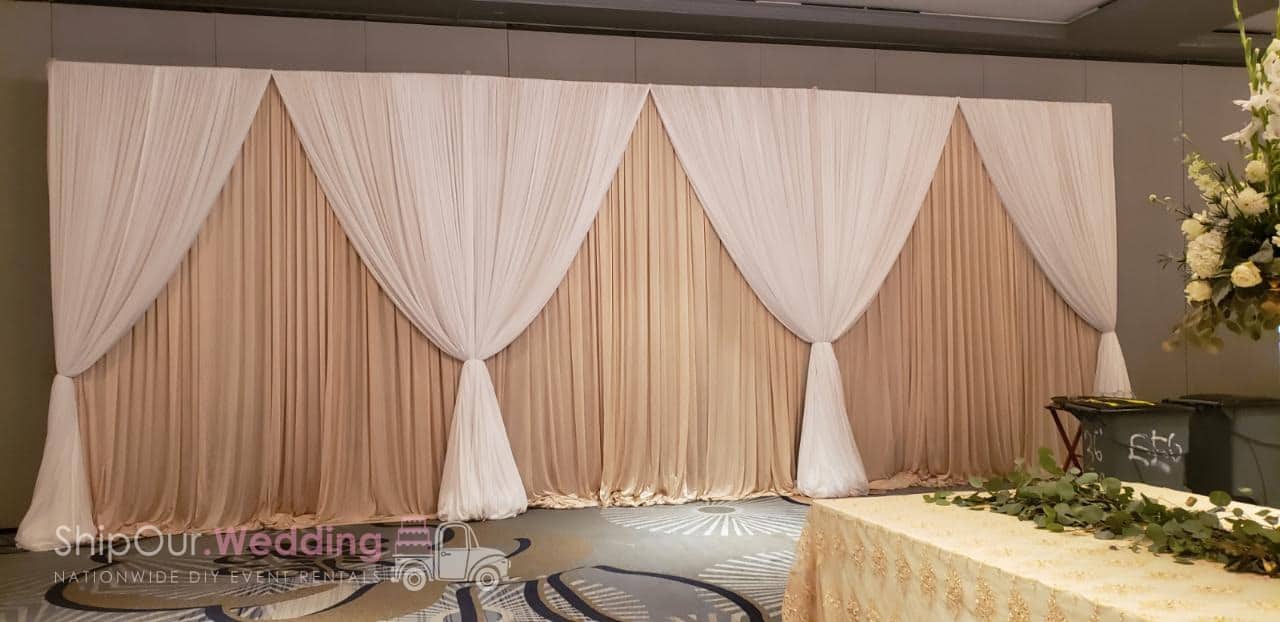
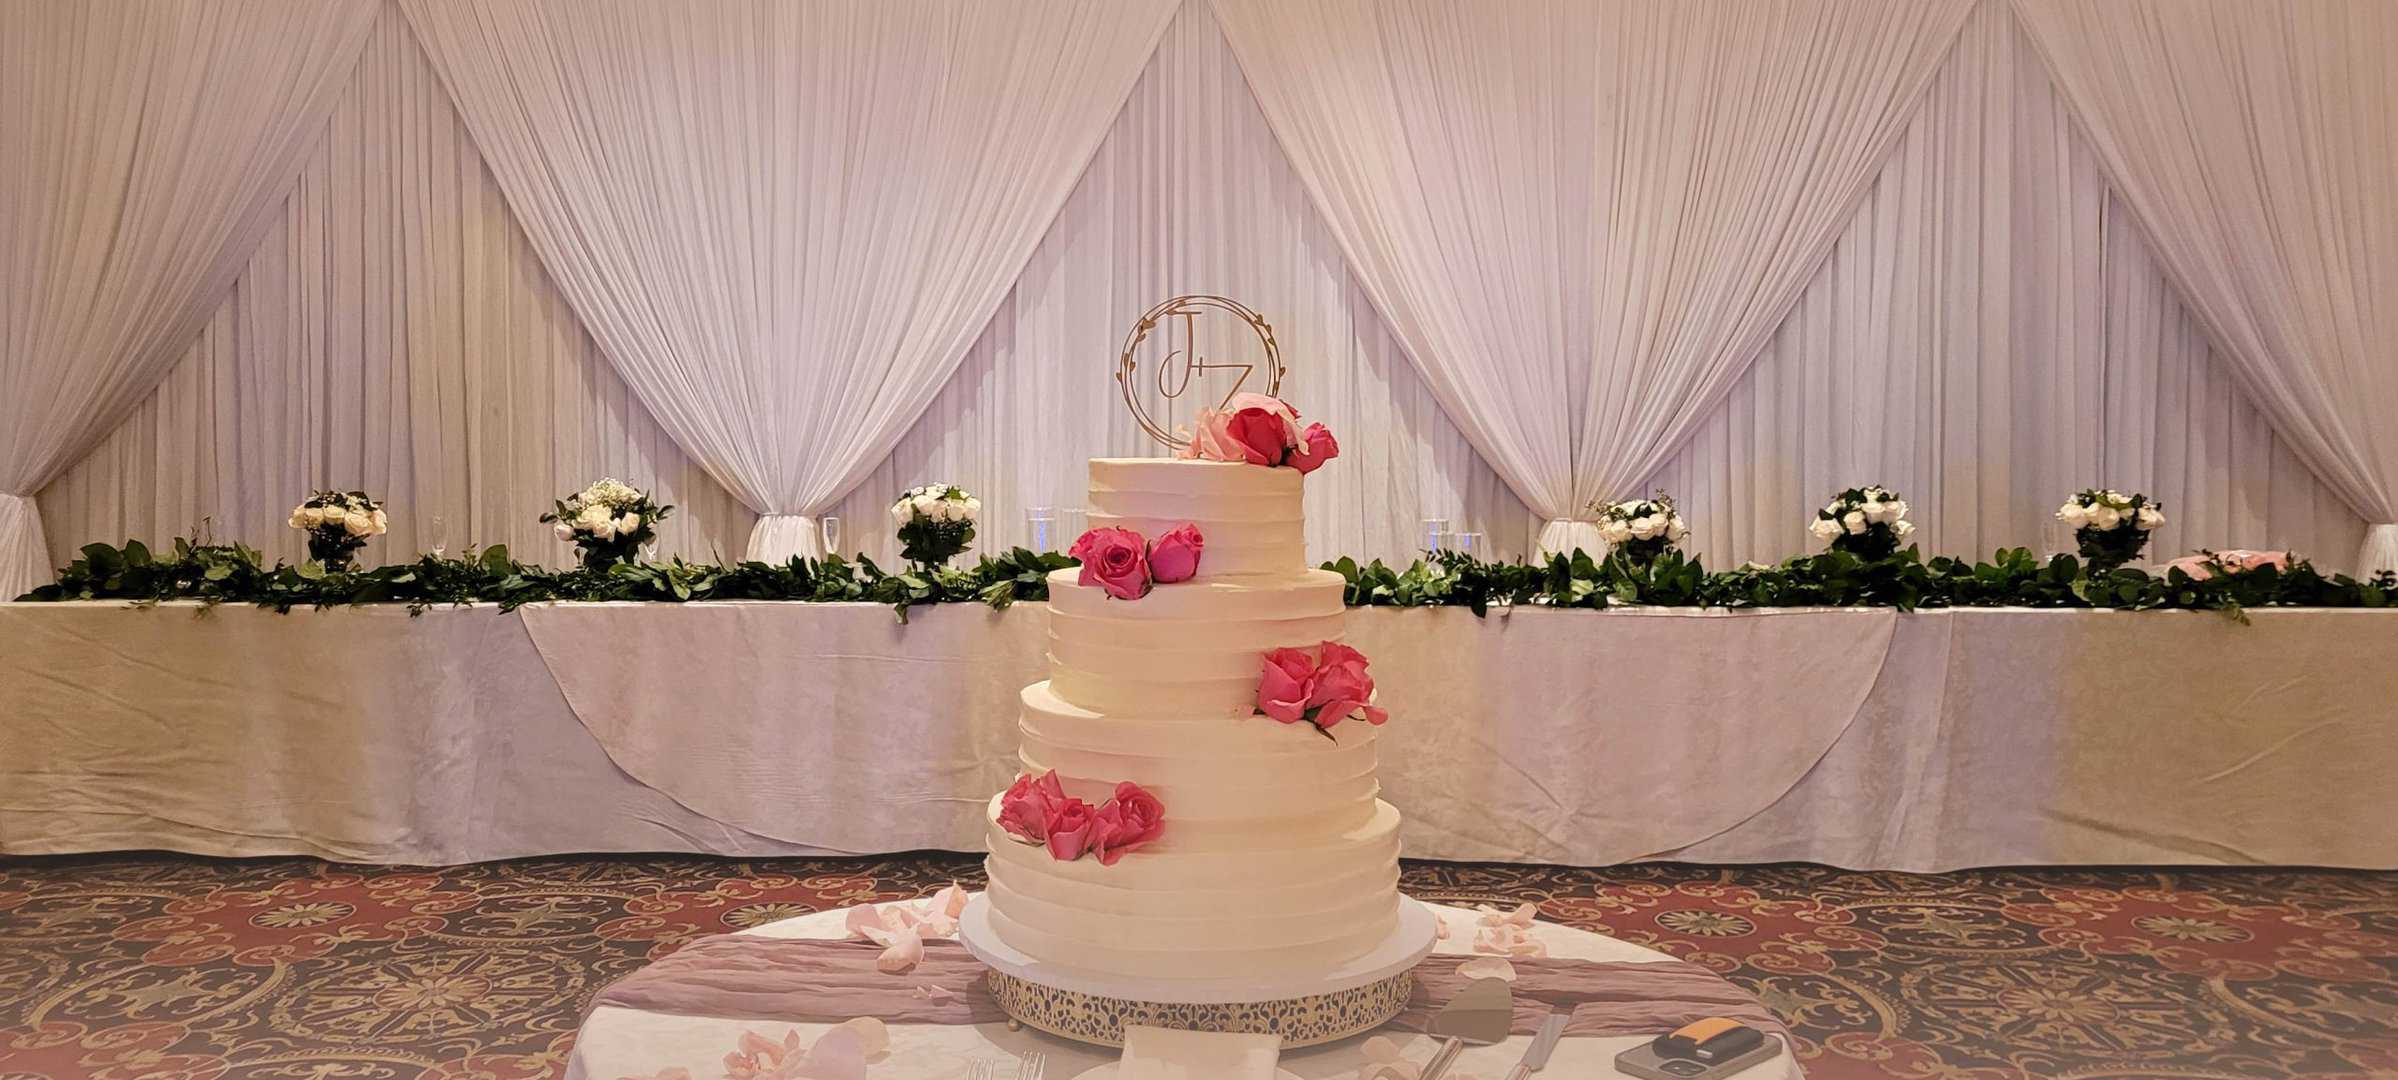
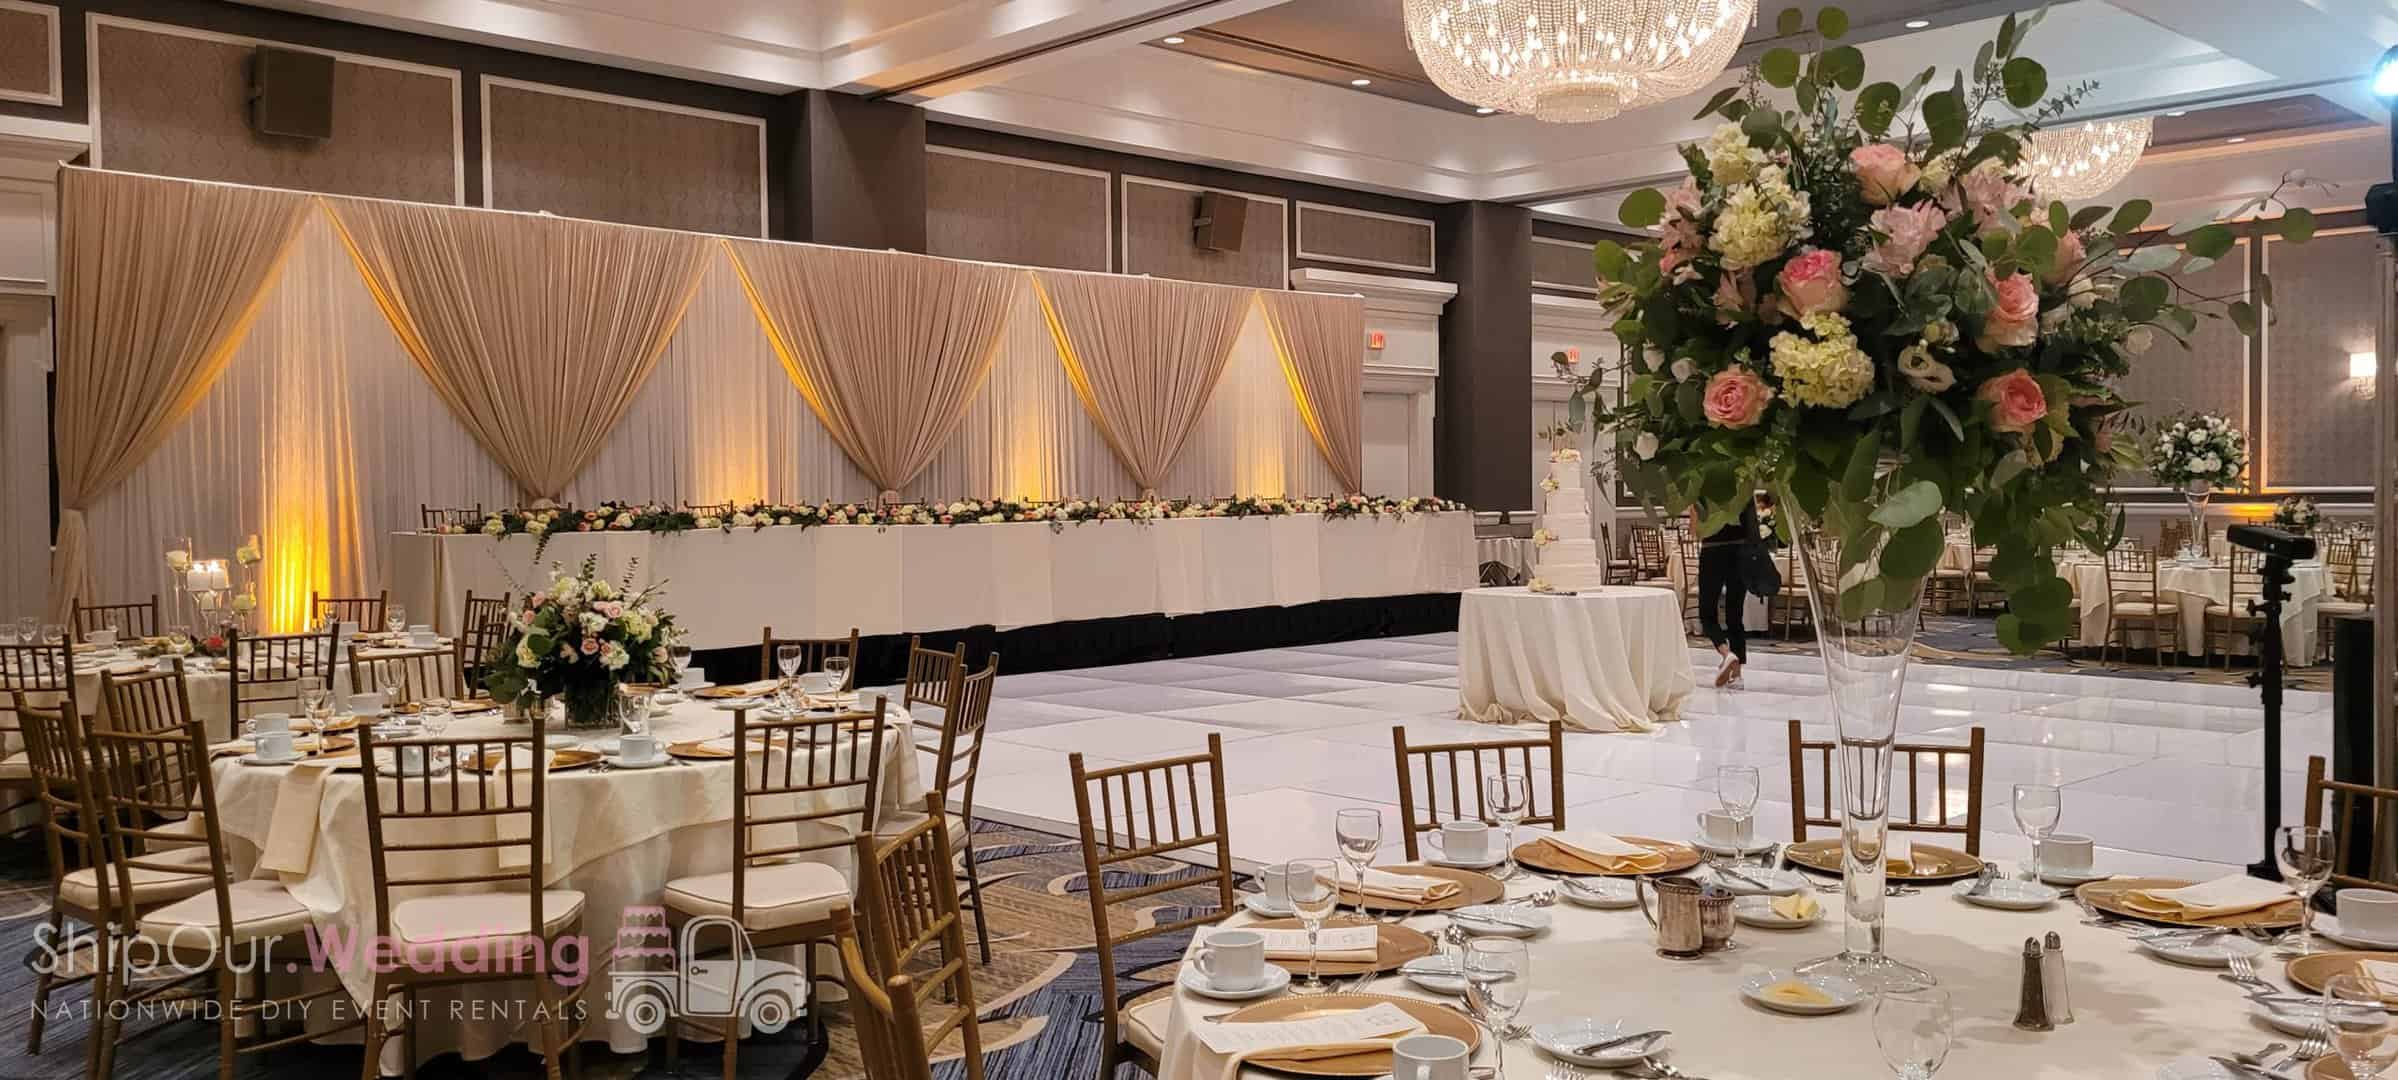
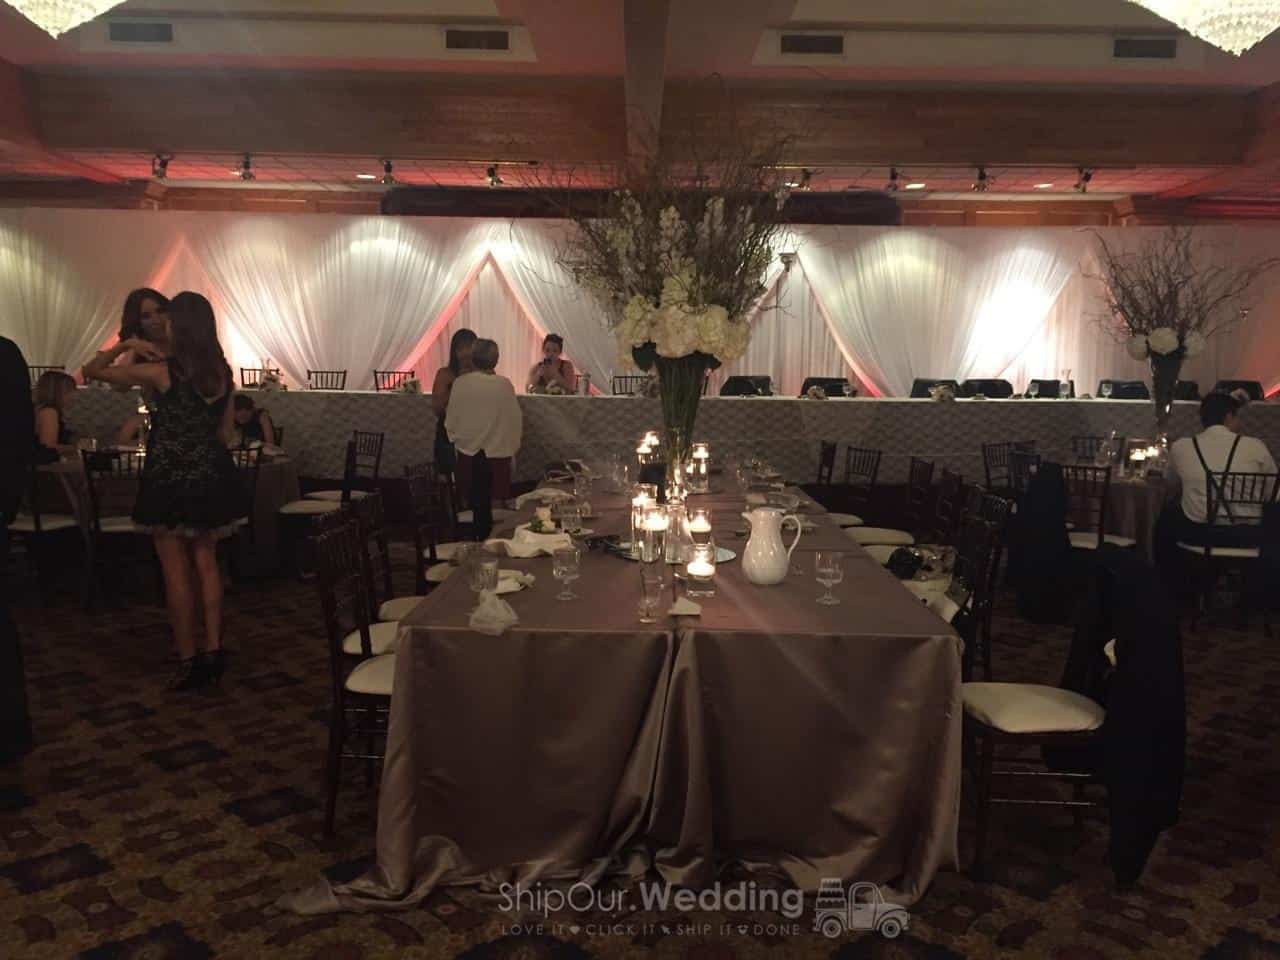
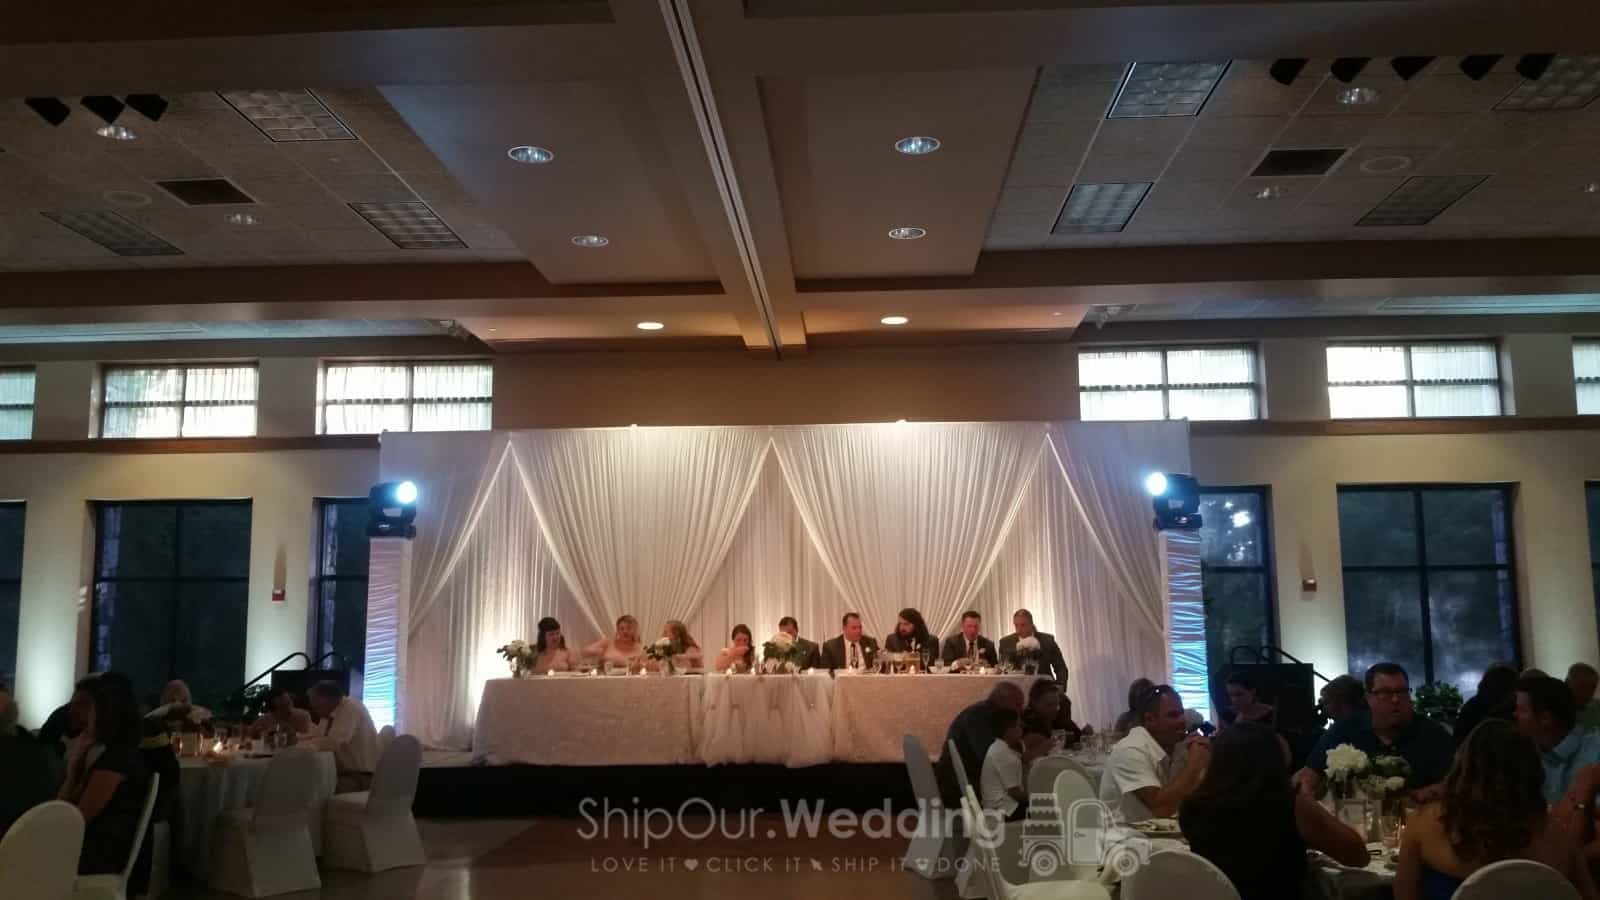
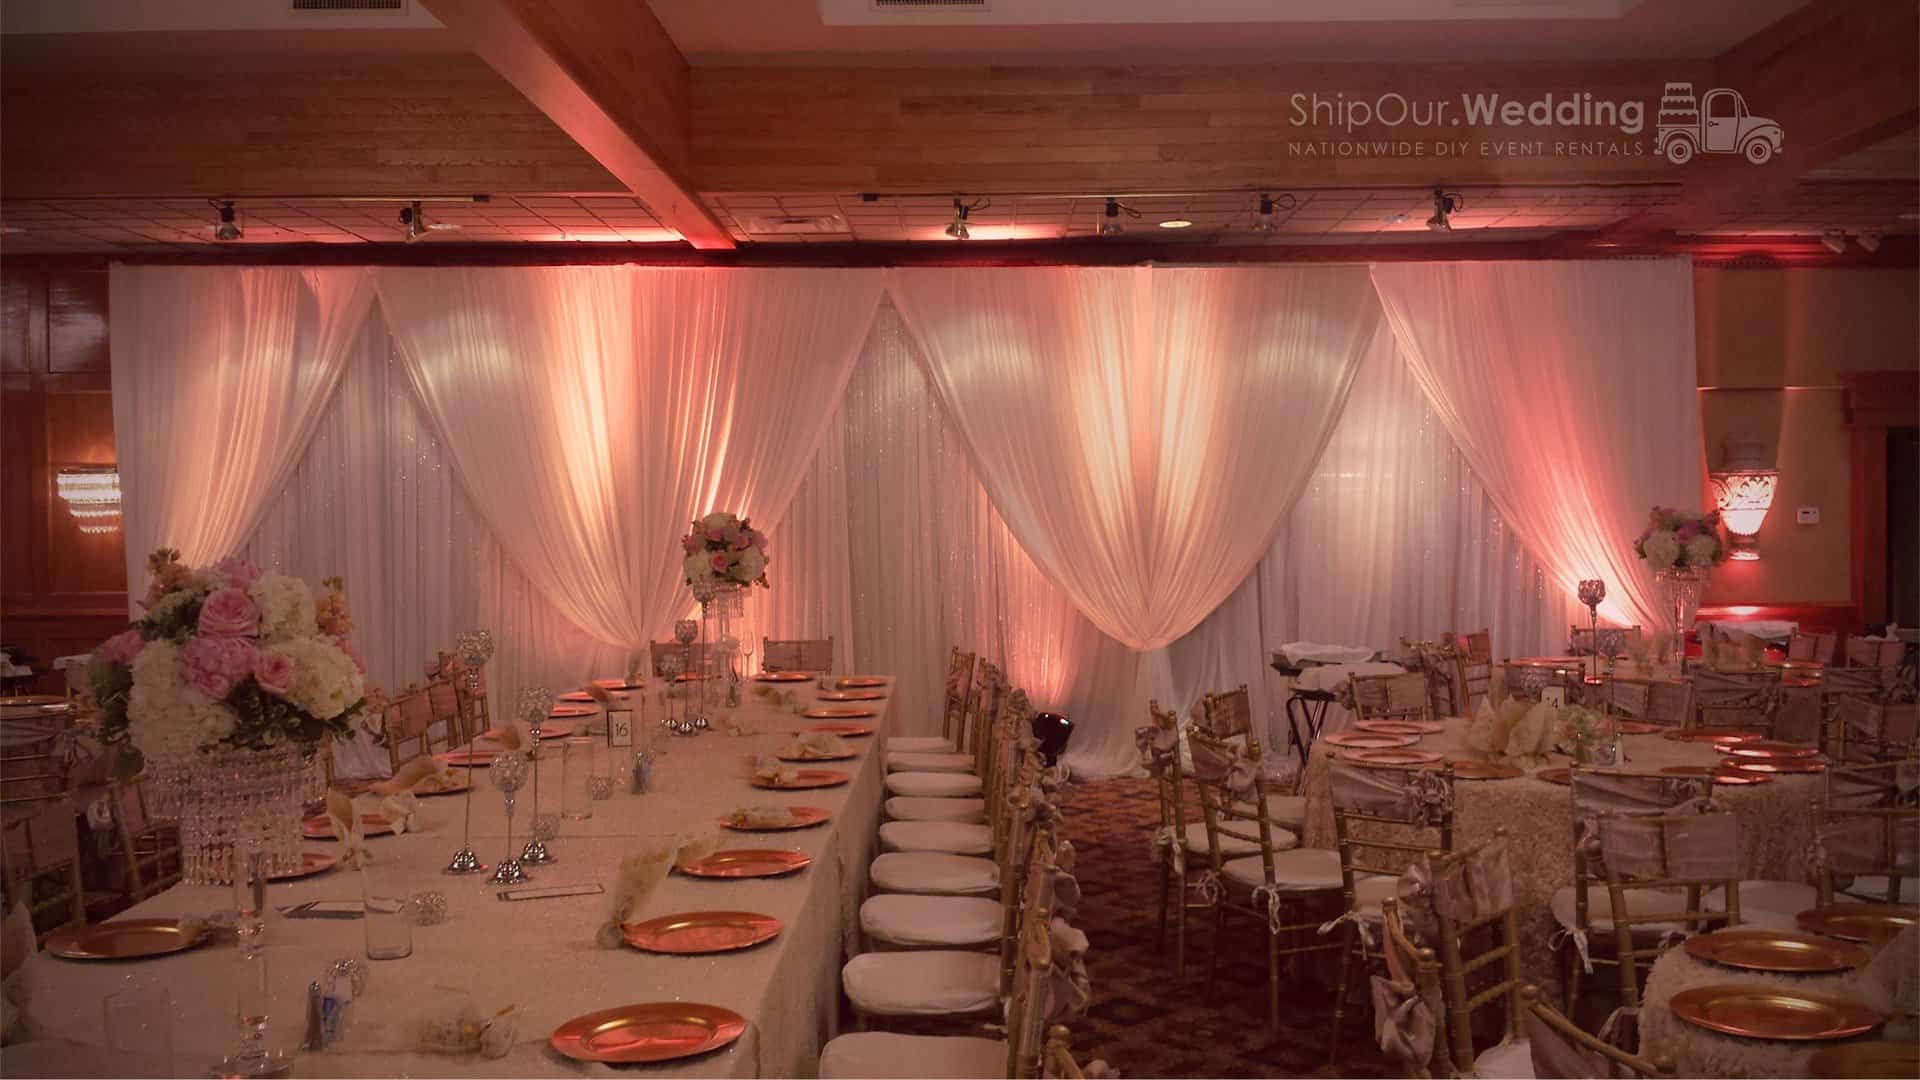
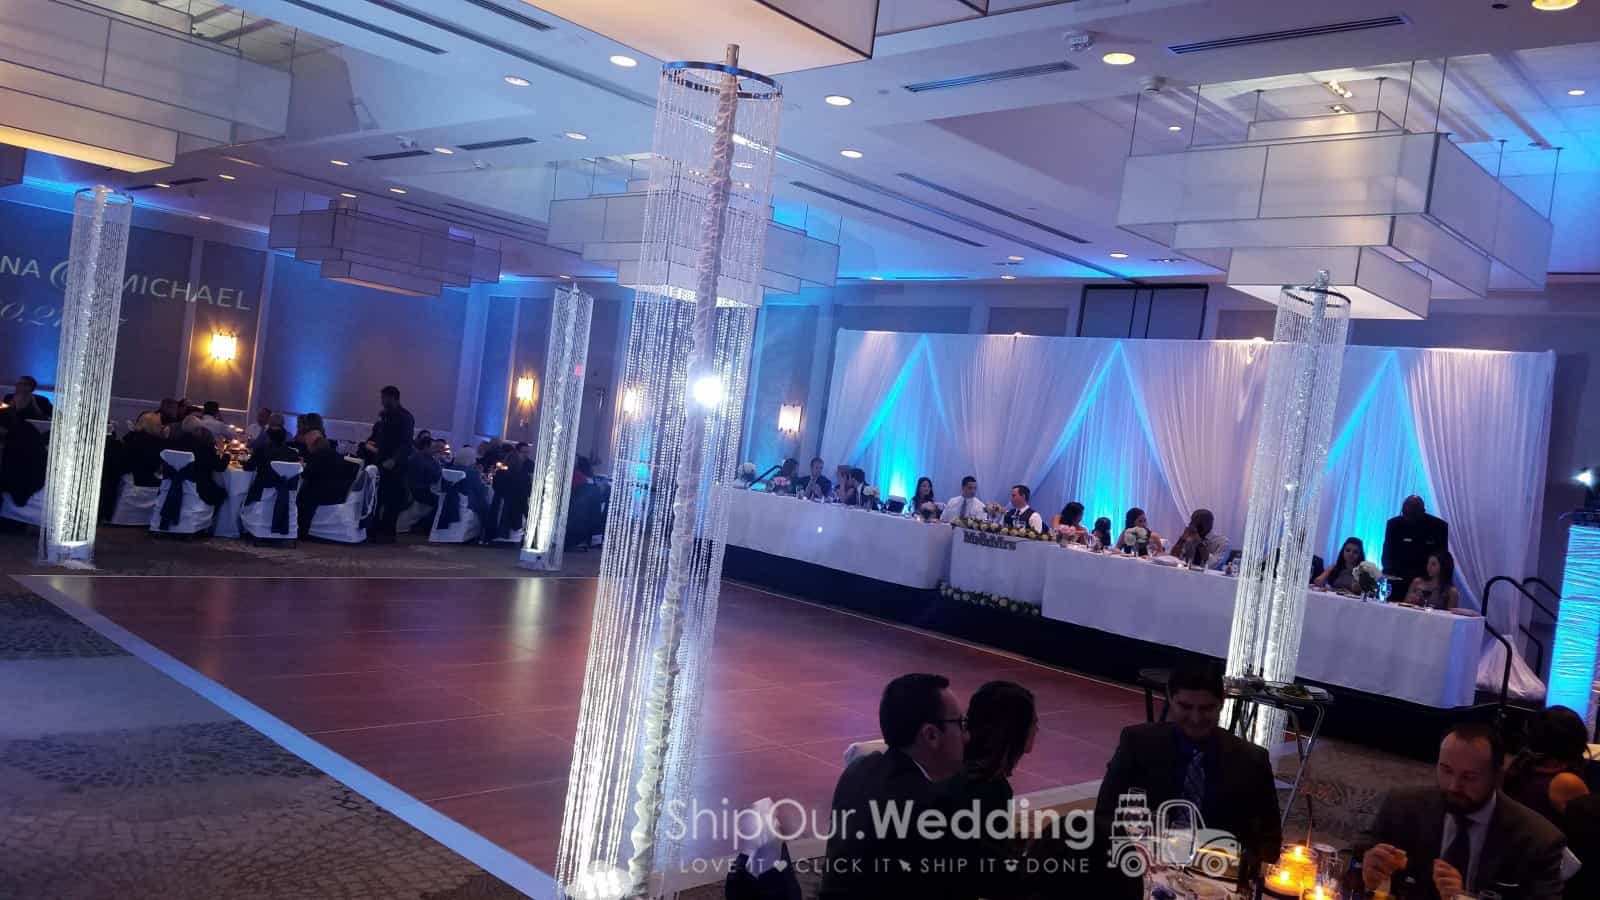
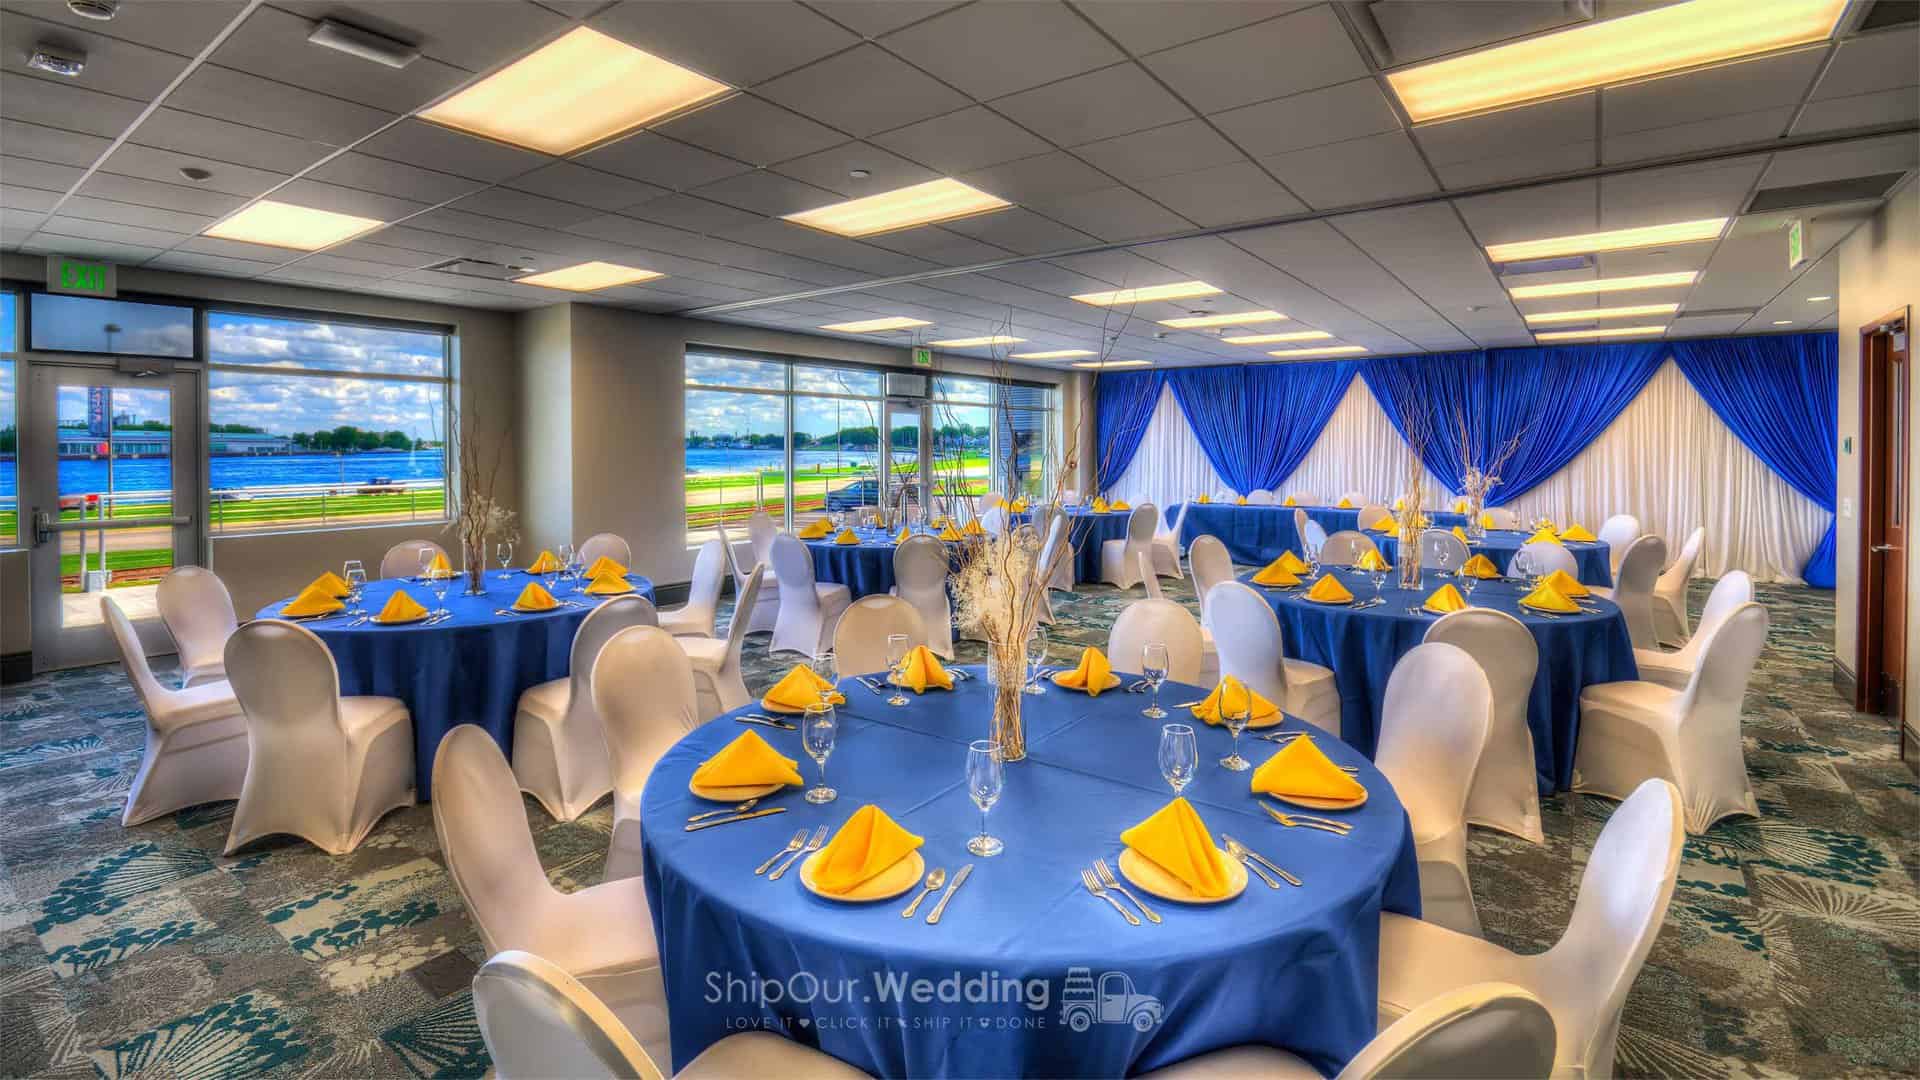
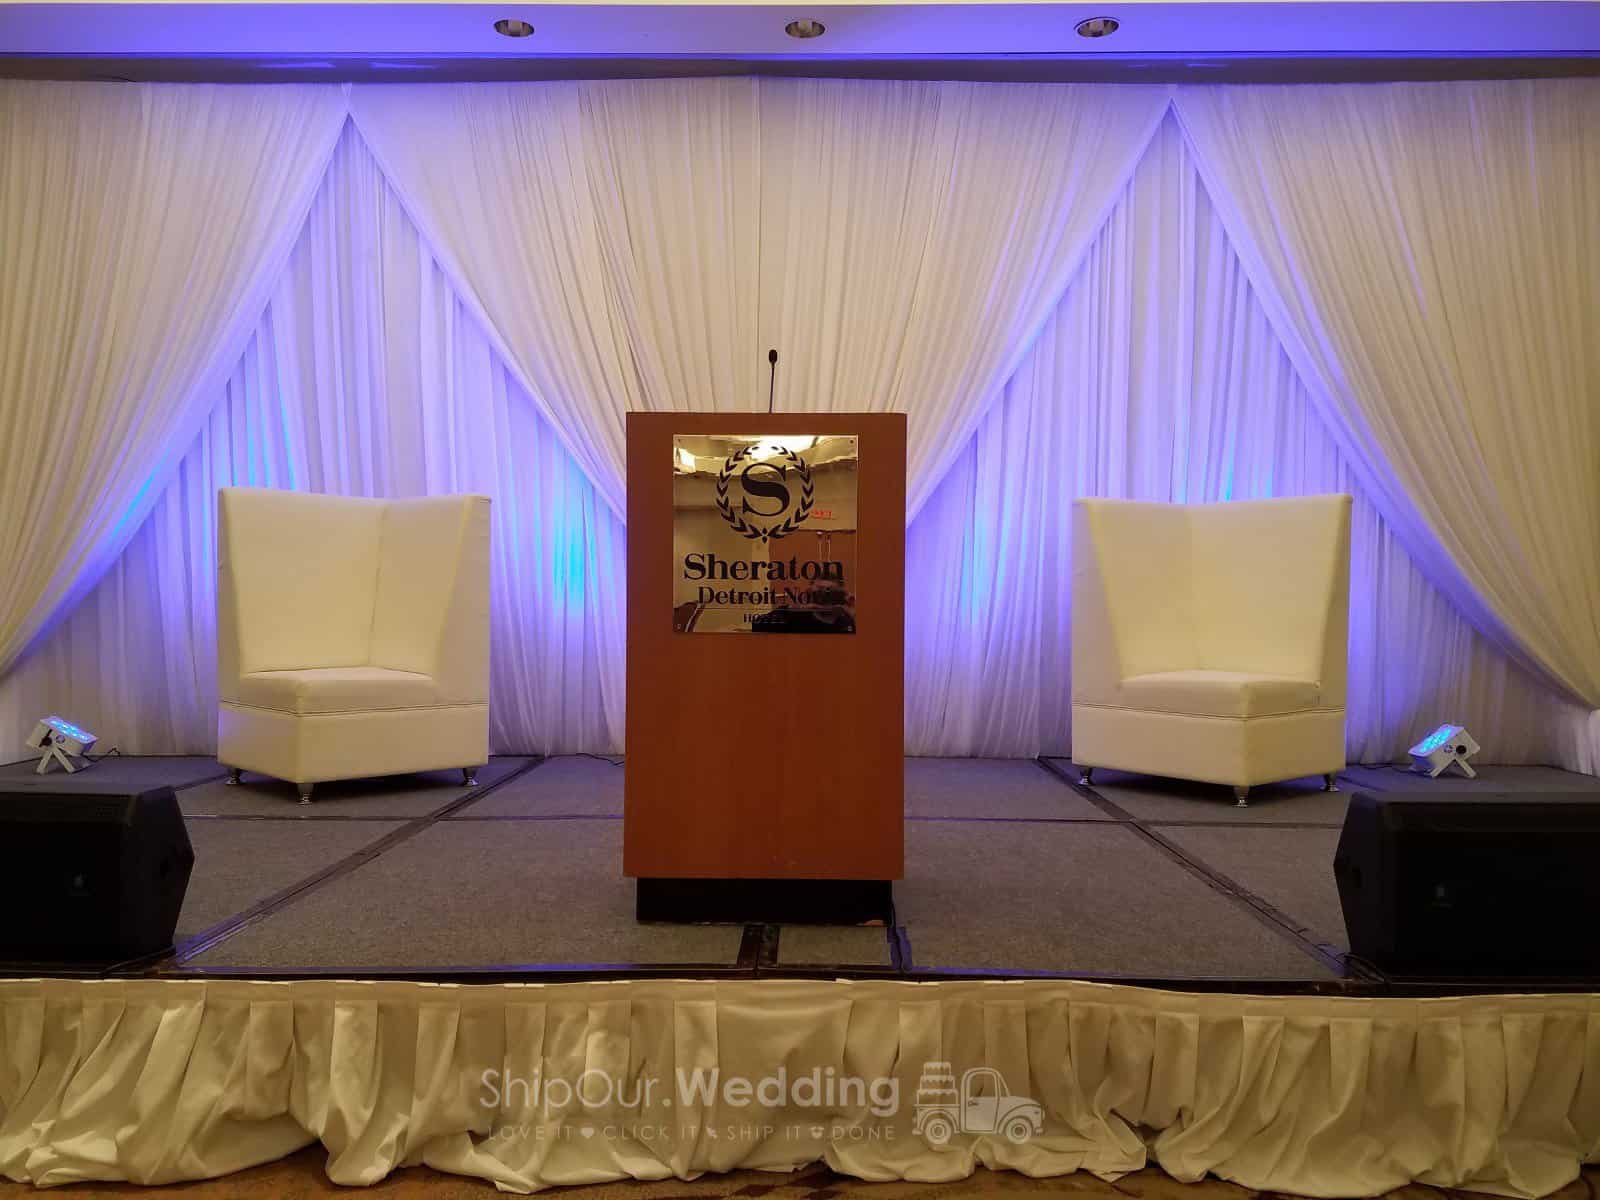
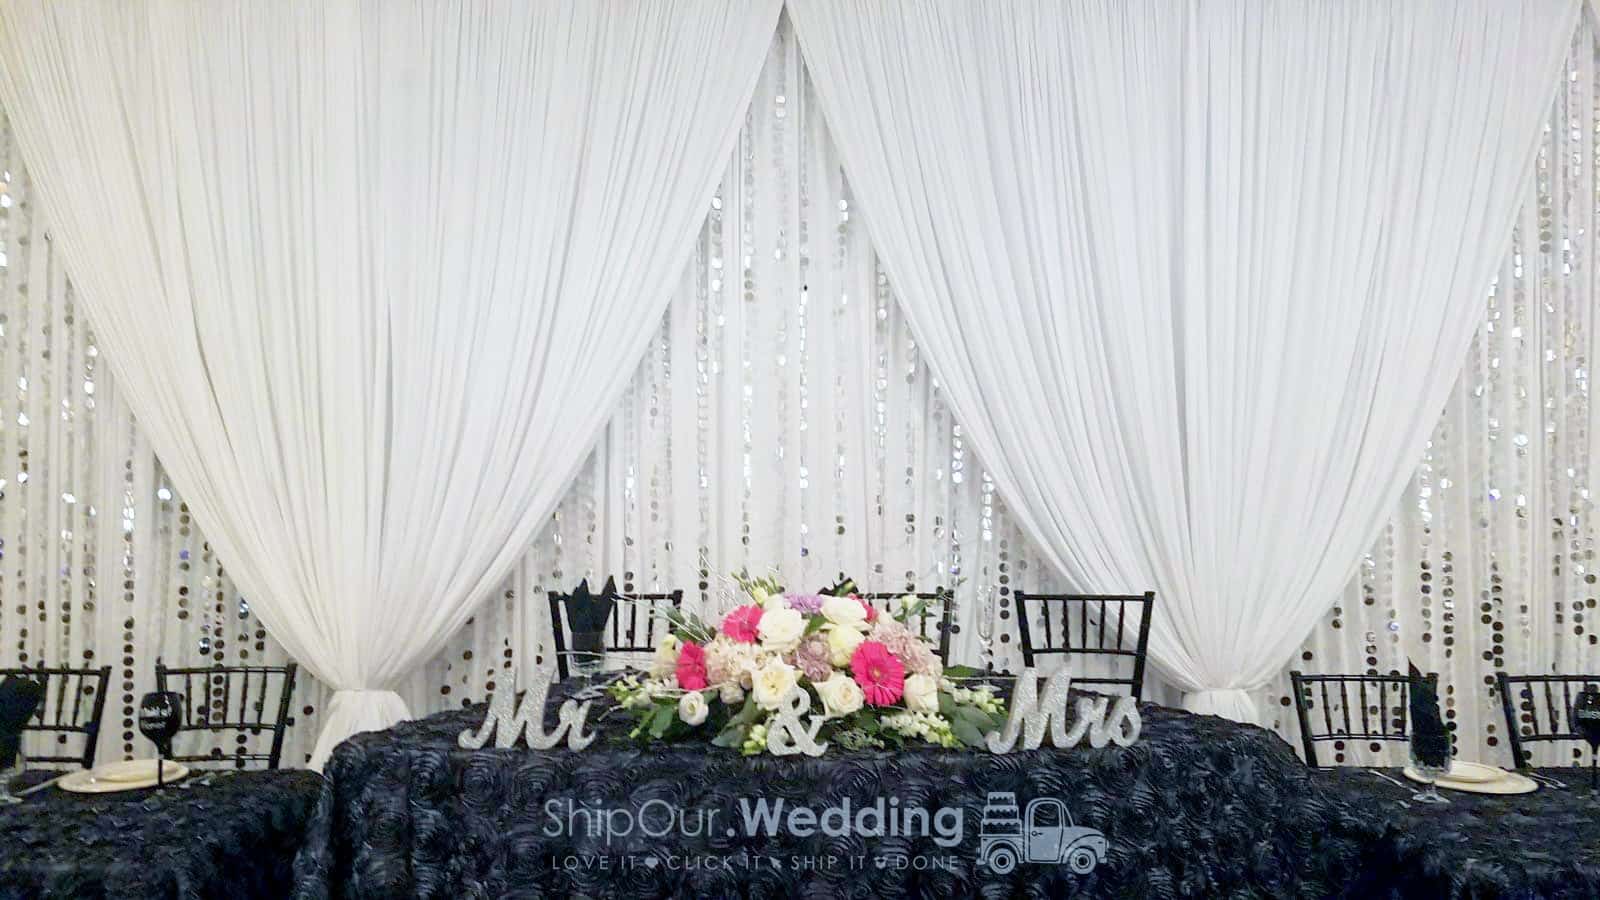
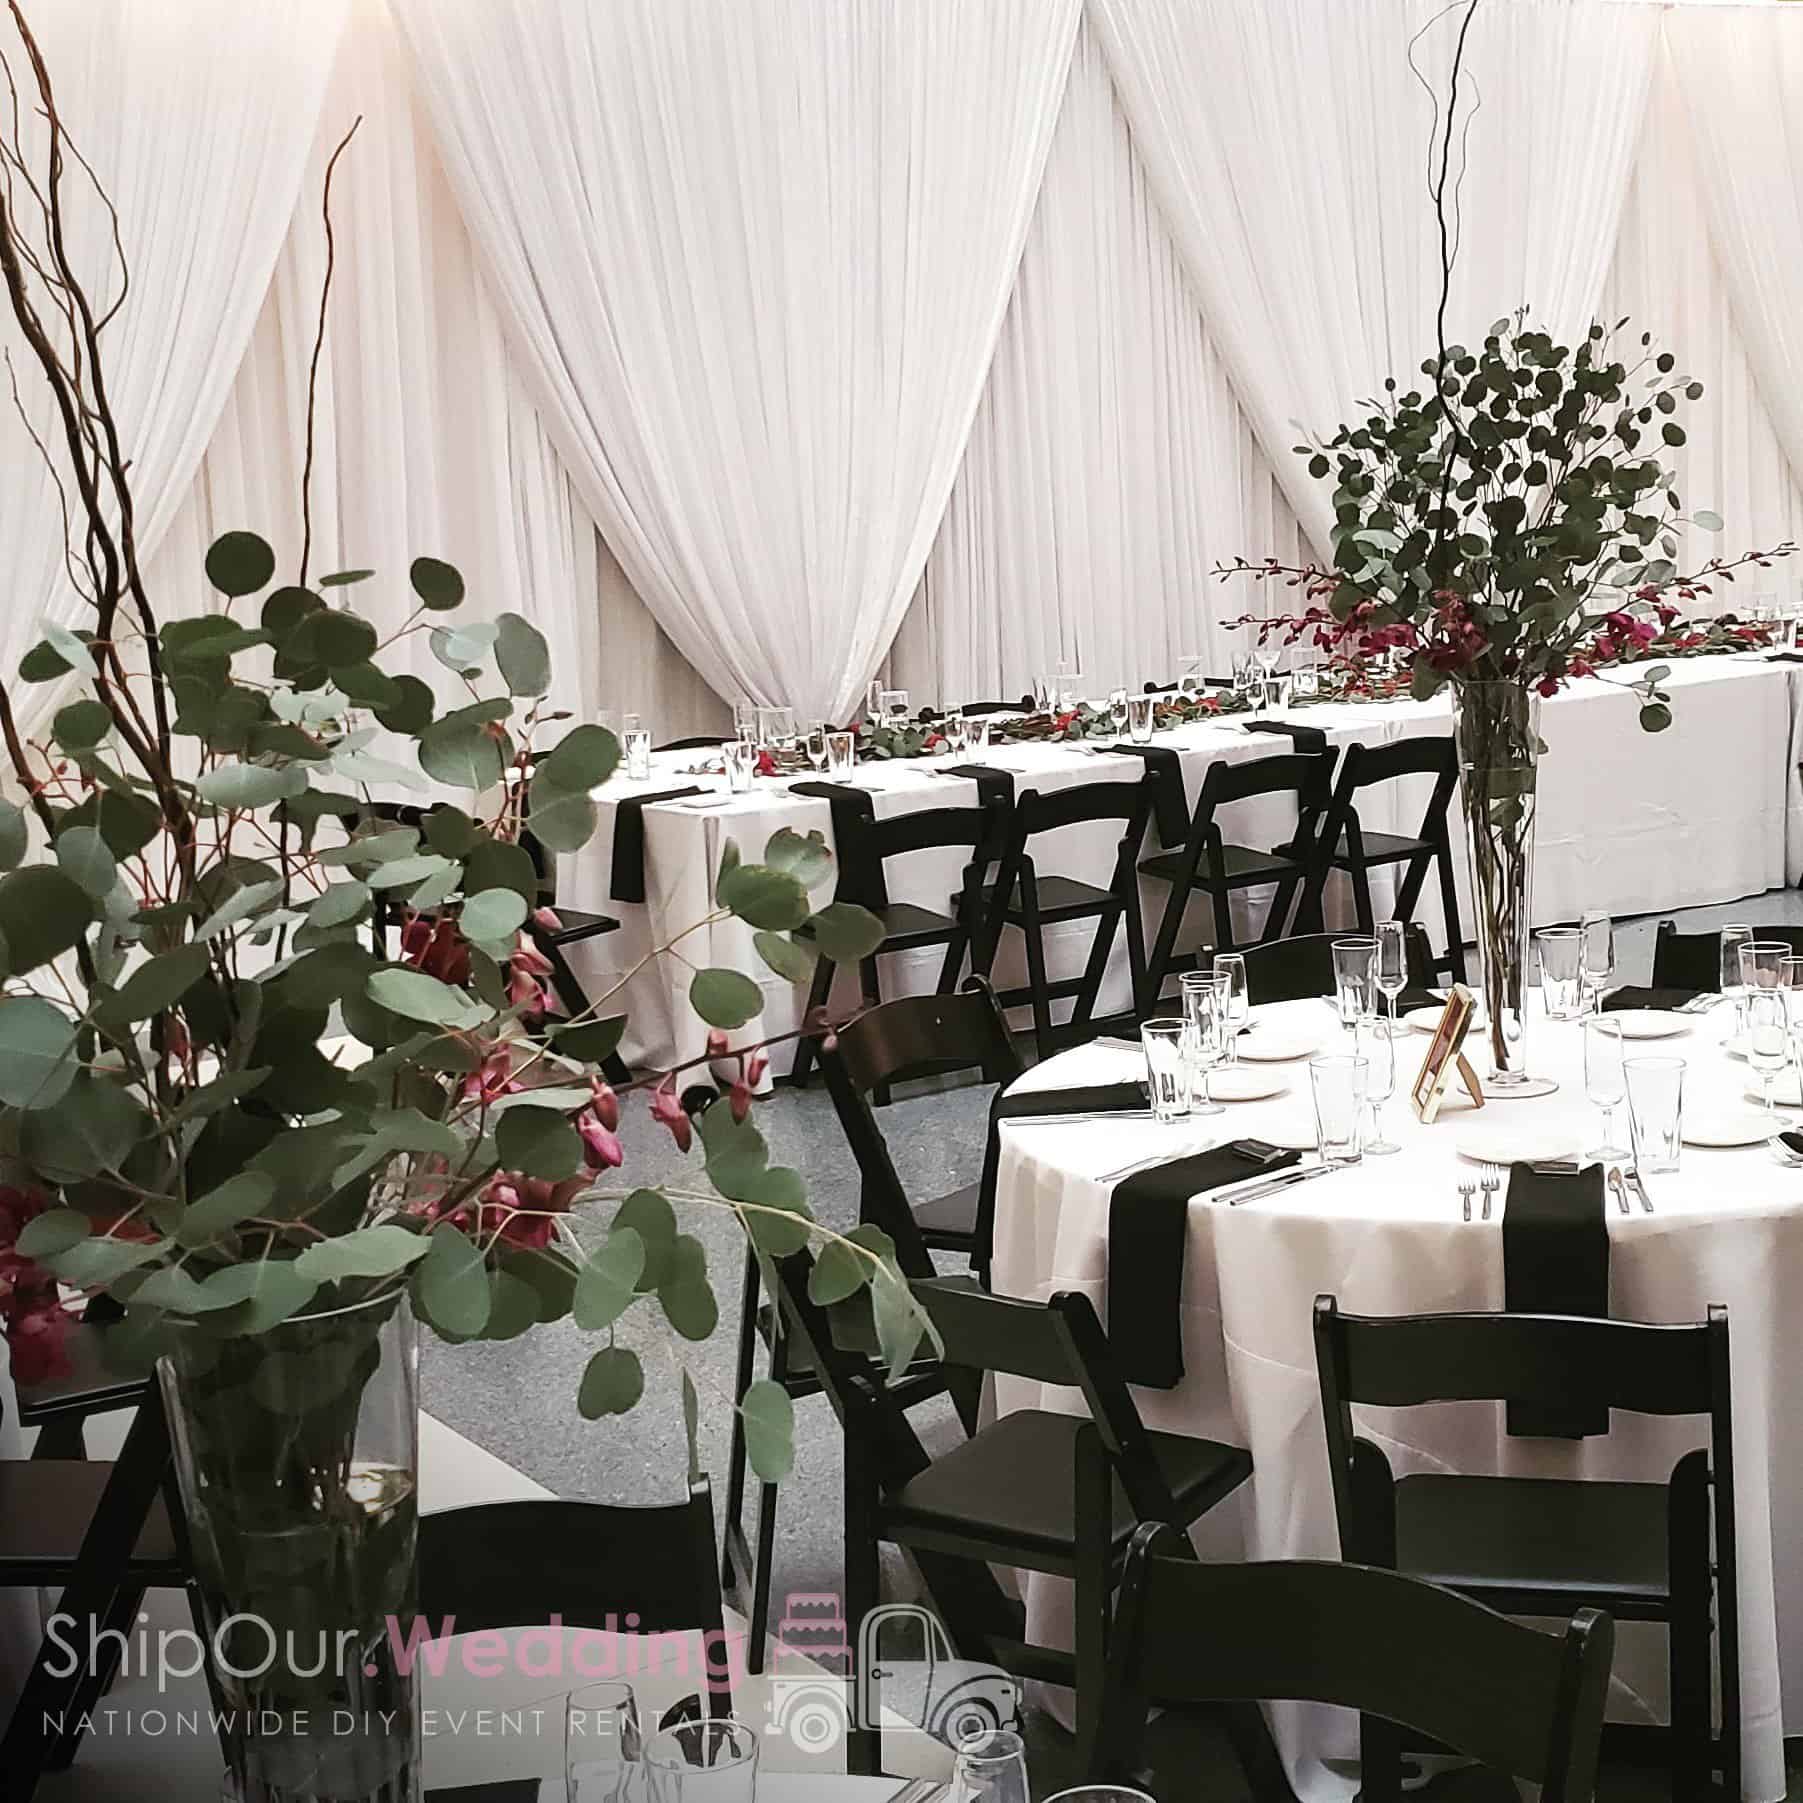
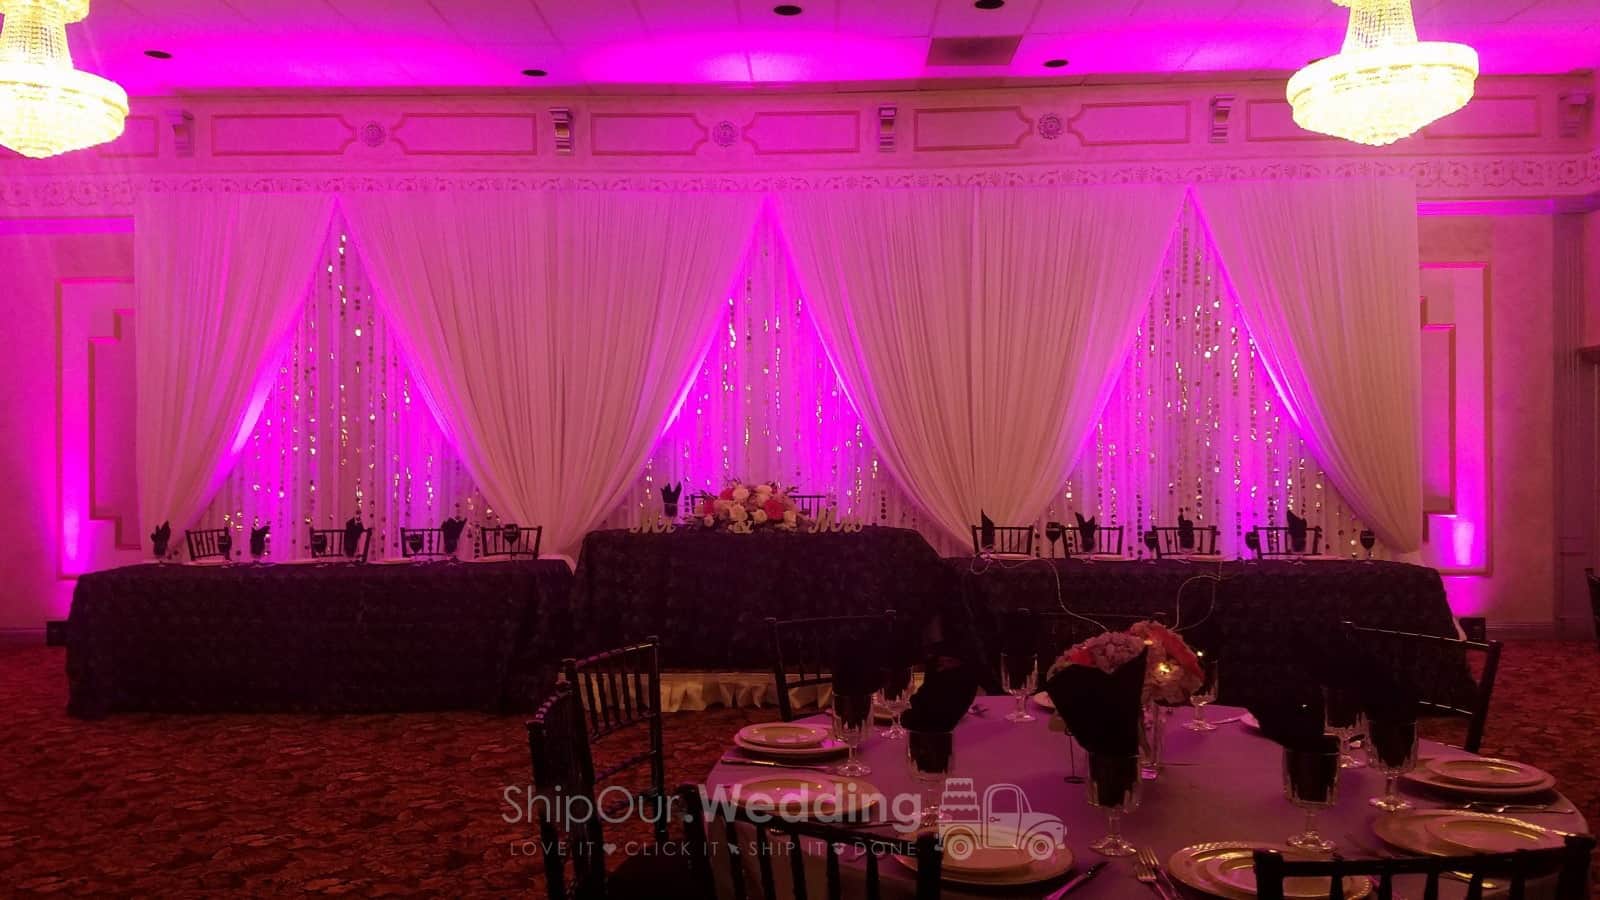
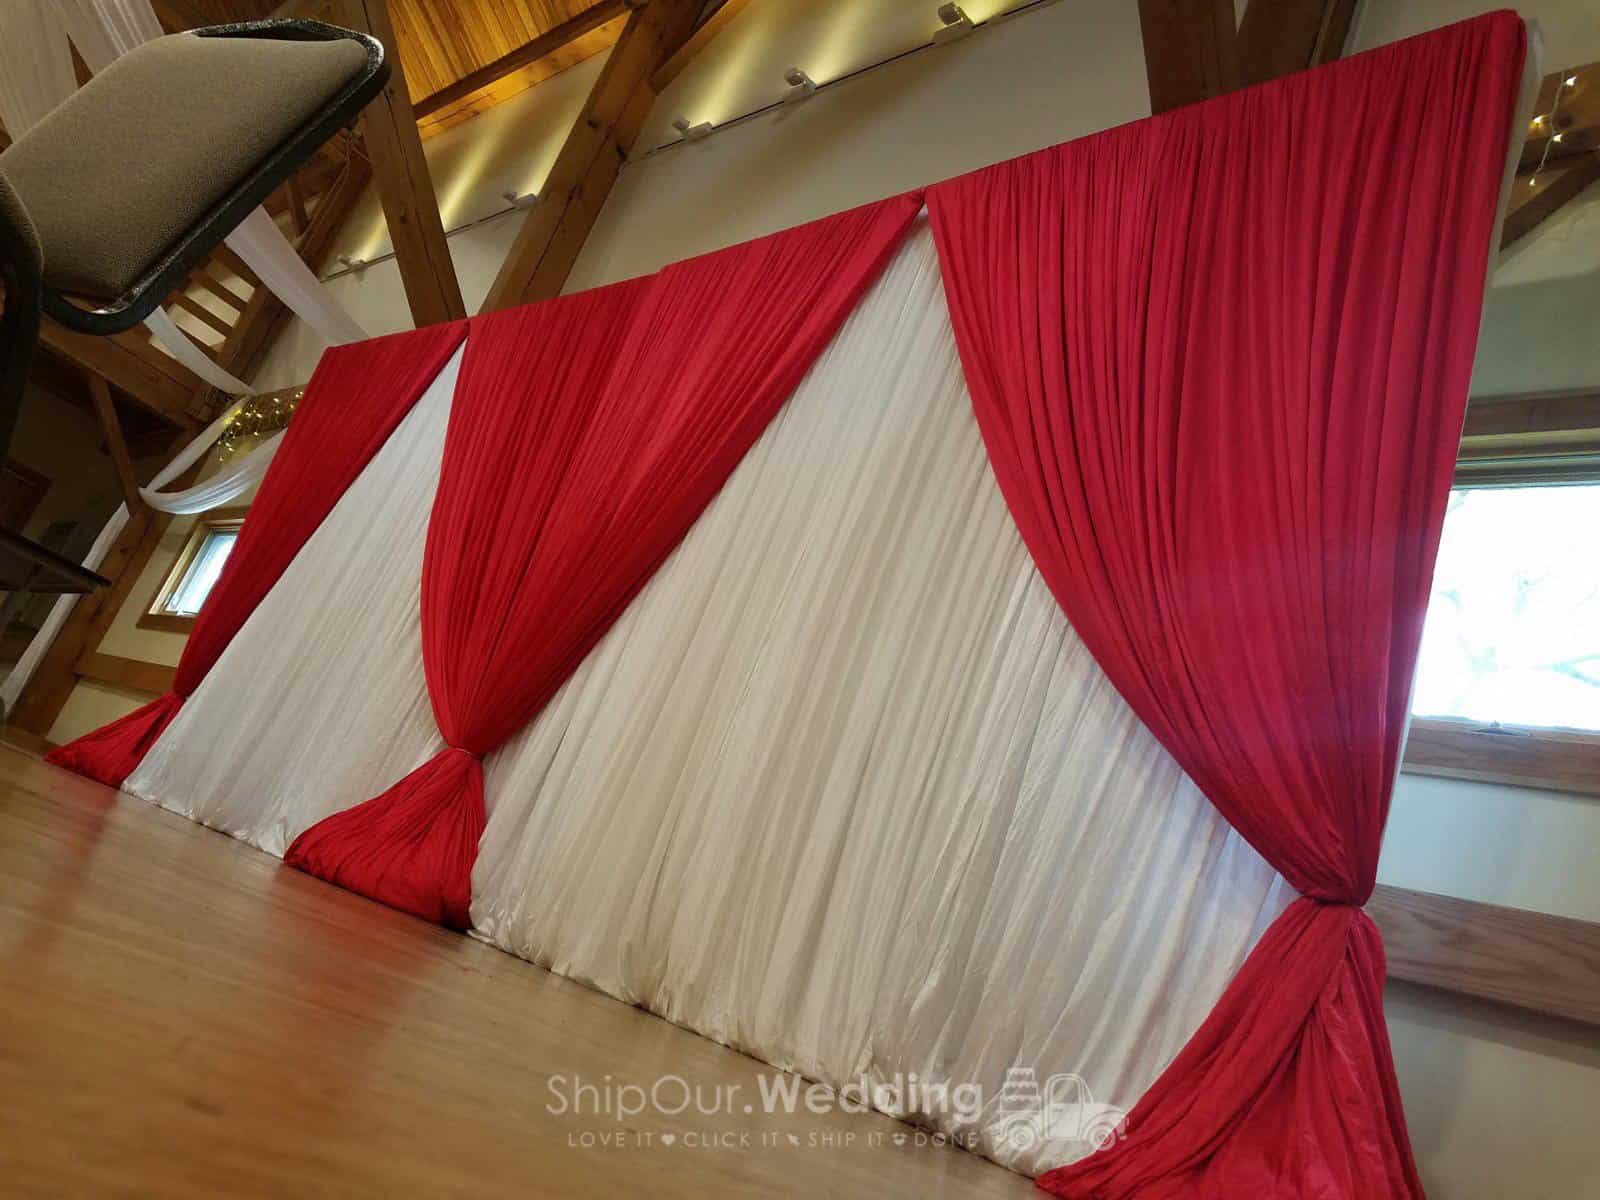
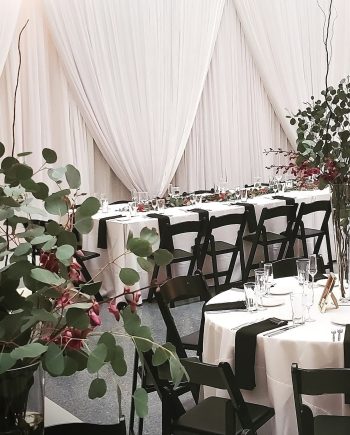
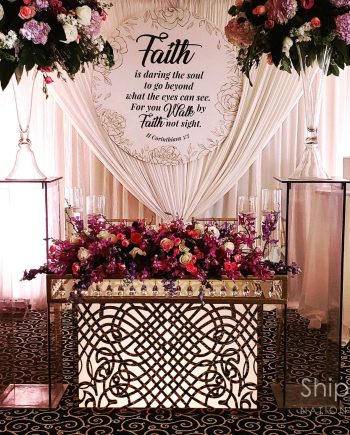
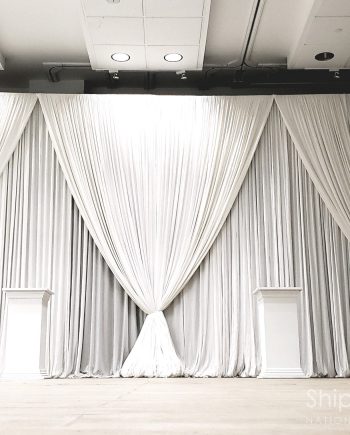
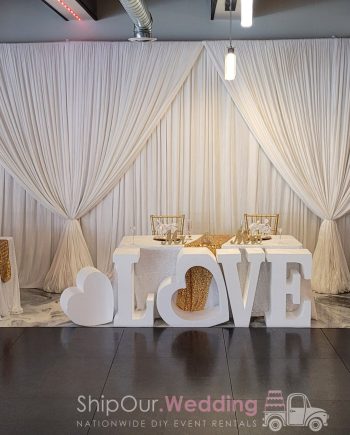
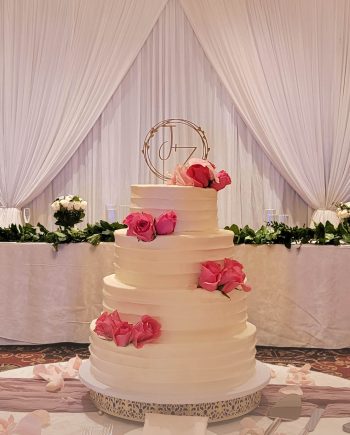
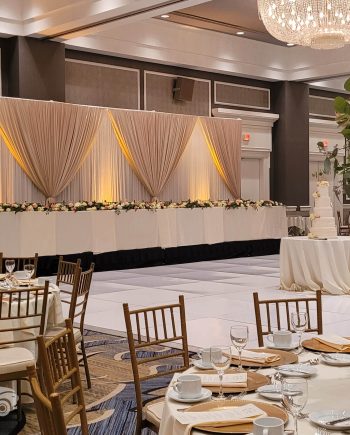
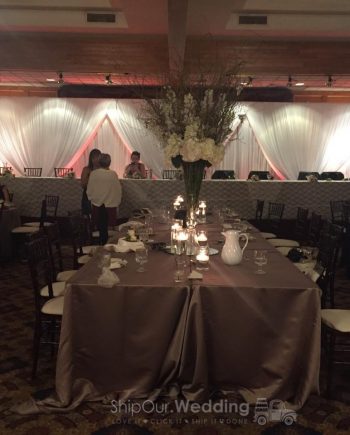
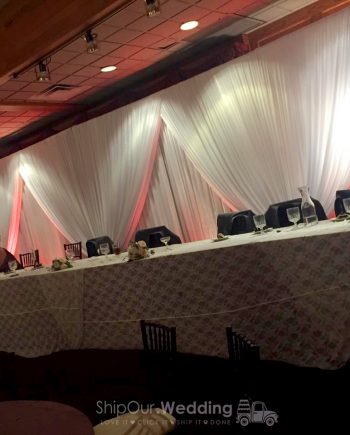
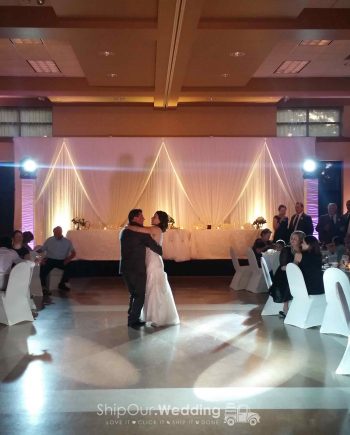
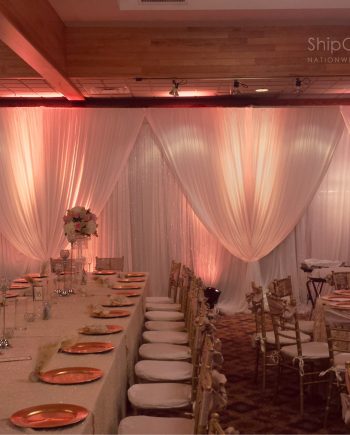
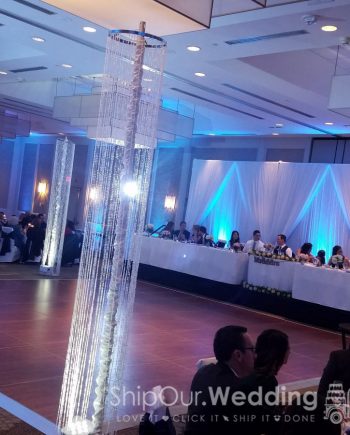
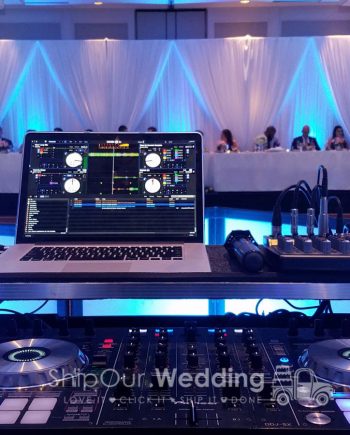
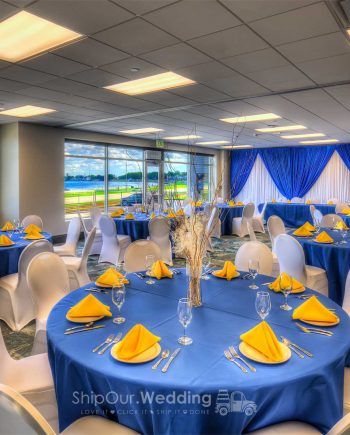
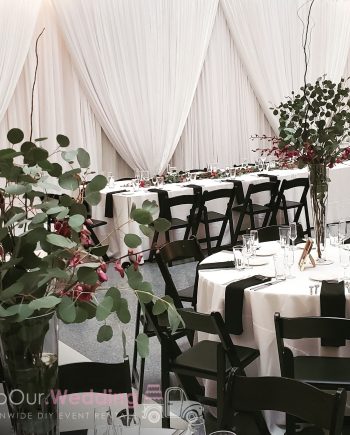
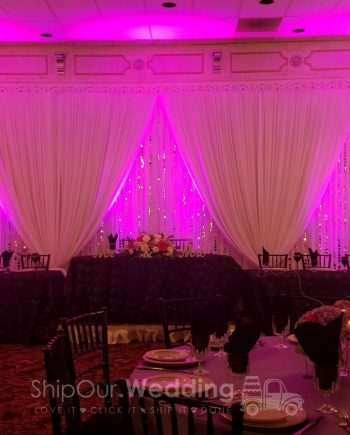
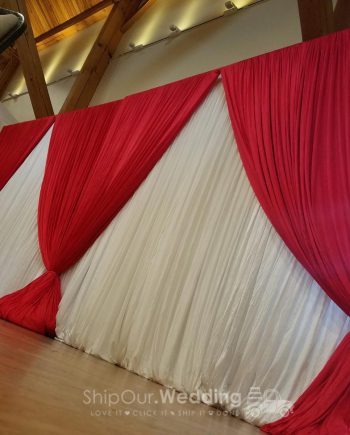
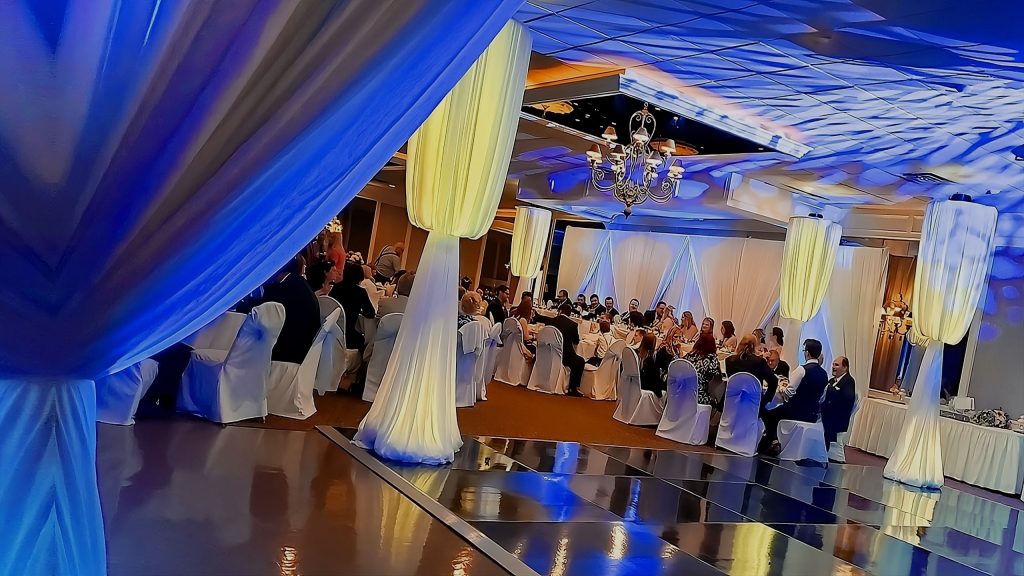
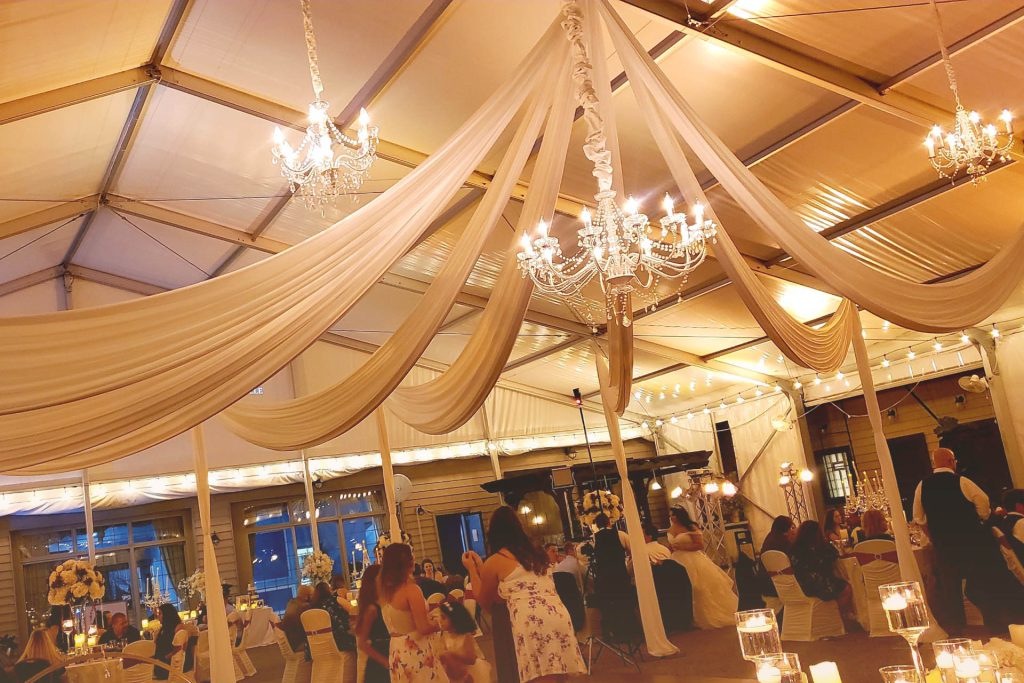
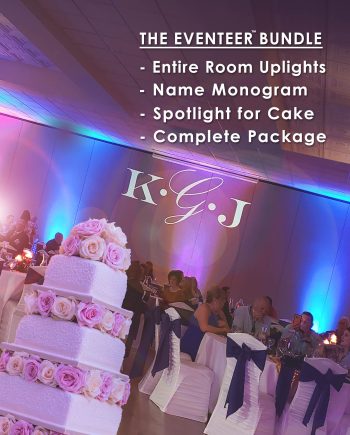
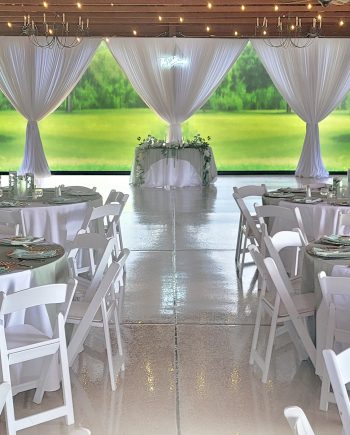
Backdrop Draping Ideas
Backdrop Ideas
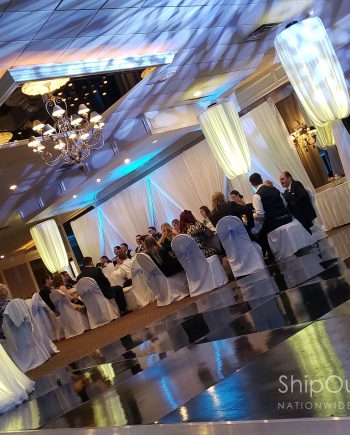
Easily Do More

Easily Do More
DIY on Your Time
✓ Shipping schedule prevents delays
✓ Extra time factored into shipments
✓ Get E-mail of tracking notifications
DIY on Your Time
✓ Shipping schedule prevents delays
✓ Extra time factored into shipments
✓ Get E-mail of tracking notifications
Simple DIY Guides
How to Measure? Easily determine how much fabric you should reserve for a backdrop. Multiply the number of guests that will be at your head table by 2, and the next round that up to the nearest 10.
If you have 7 people standing up for you in your wedding x 2 = 14, round up to the nearest 10 and make it a 20-foot backdrop. Let how to calculate draping measurements for a larger space. Read More...
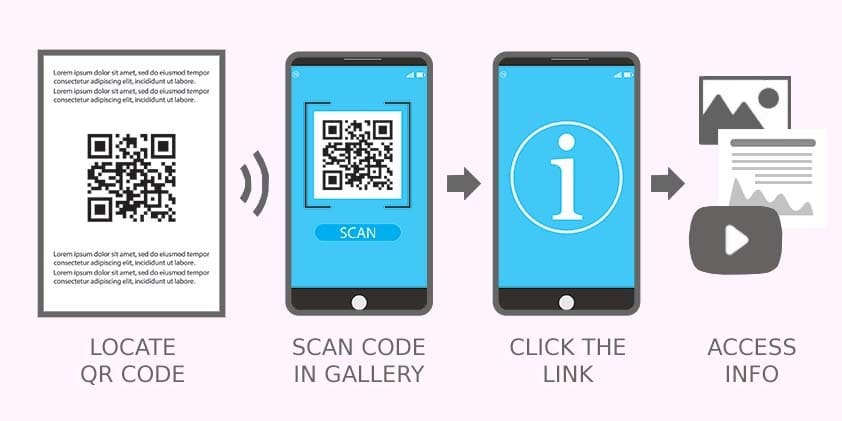
 Scan for
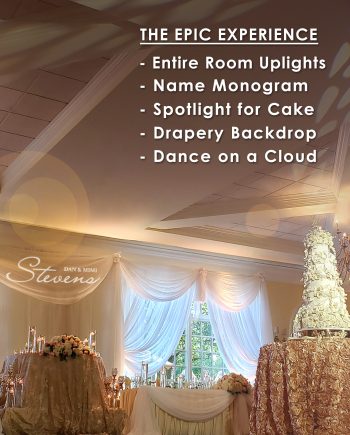


NBHABIB98 –
ShipOurWedding delivered well ahead of schedule, with seamless email tracking for hassle-free package receipt. Sturdy, well-packed boxes with easy-carry handles made handling a breeze. Simple video tutorials ensured a smooth setup, while the return process was equally convenient. The rental pieces were both functional and enjoyable to use. Highly recommended!