


Description
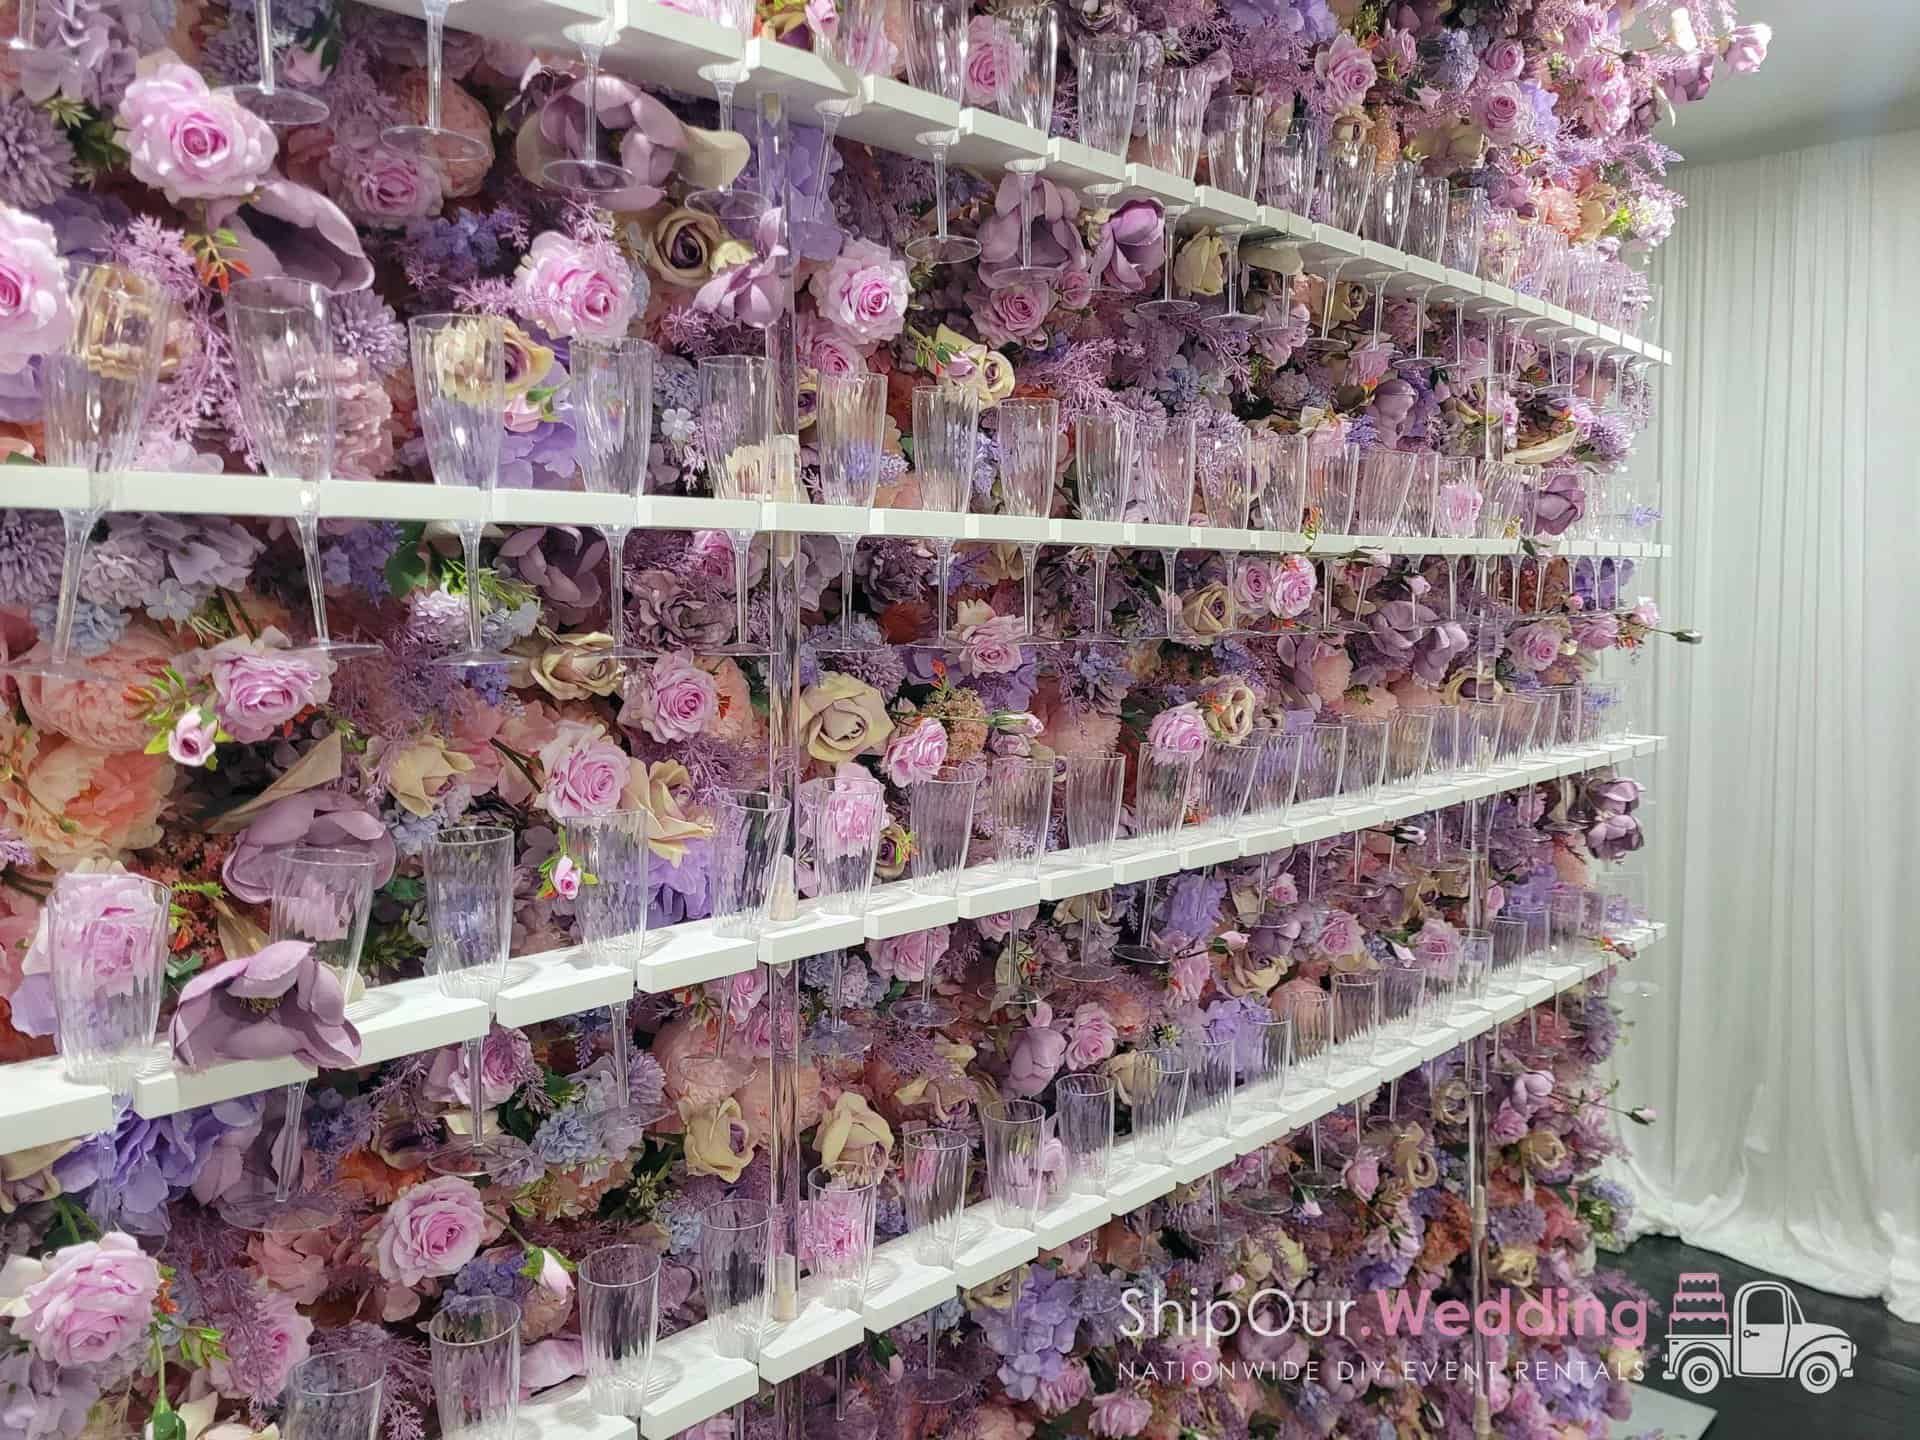
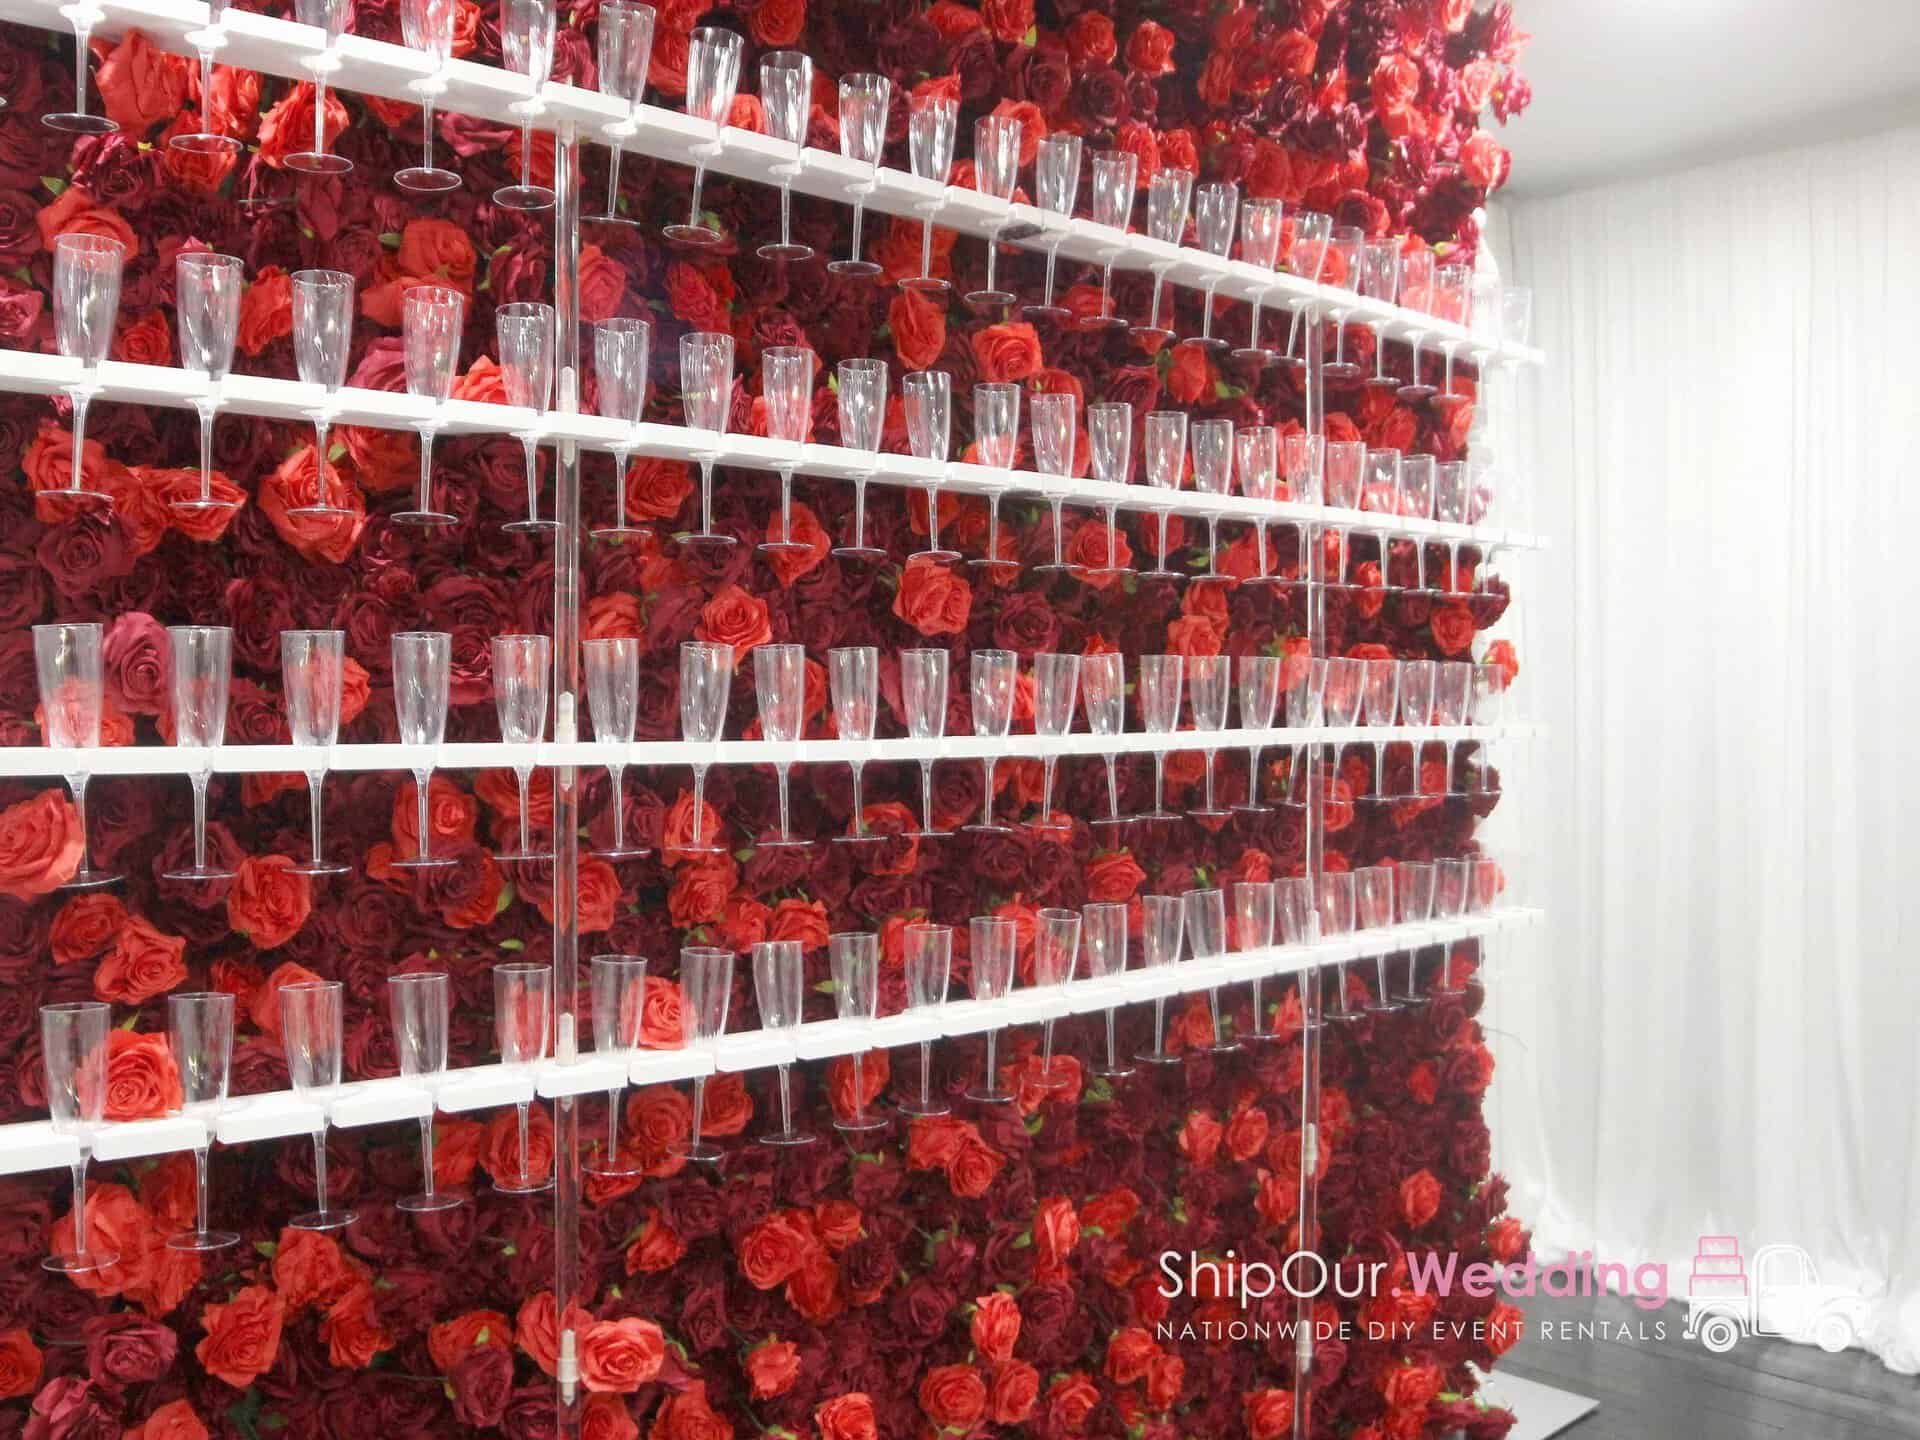
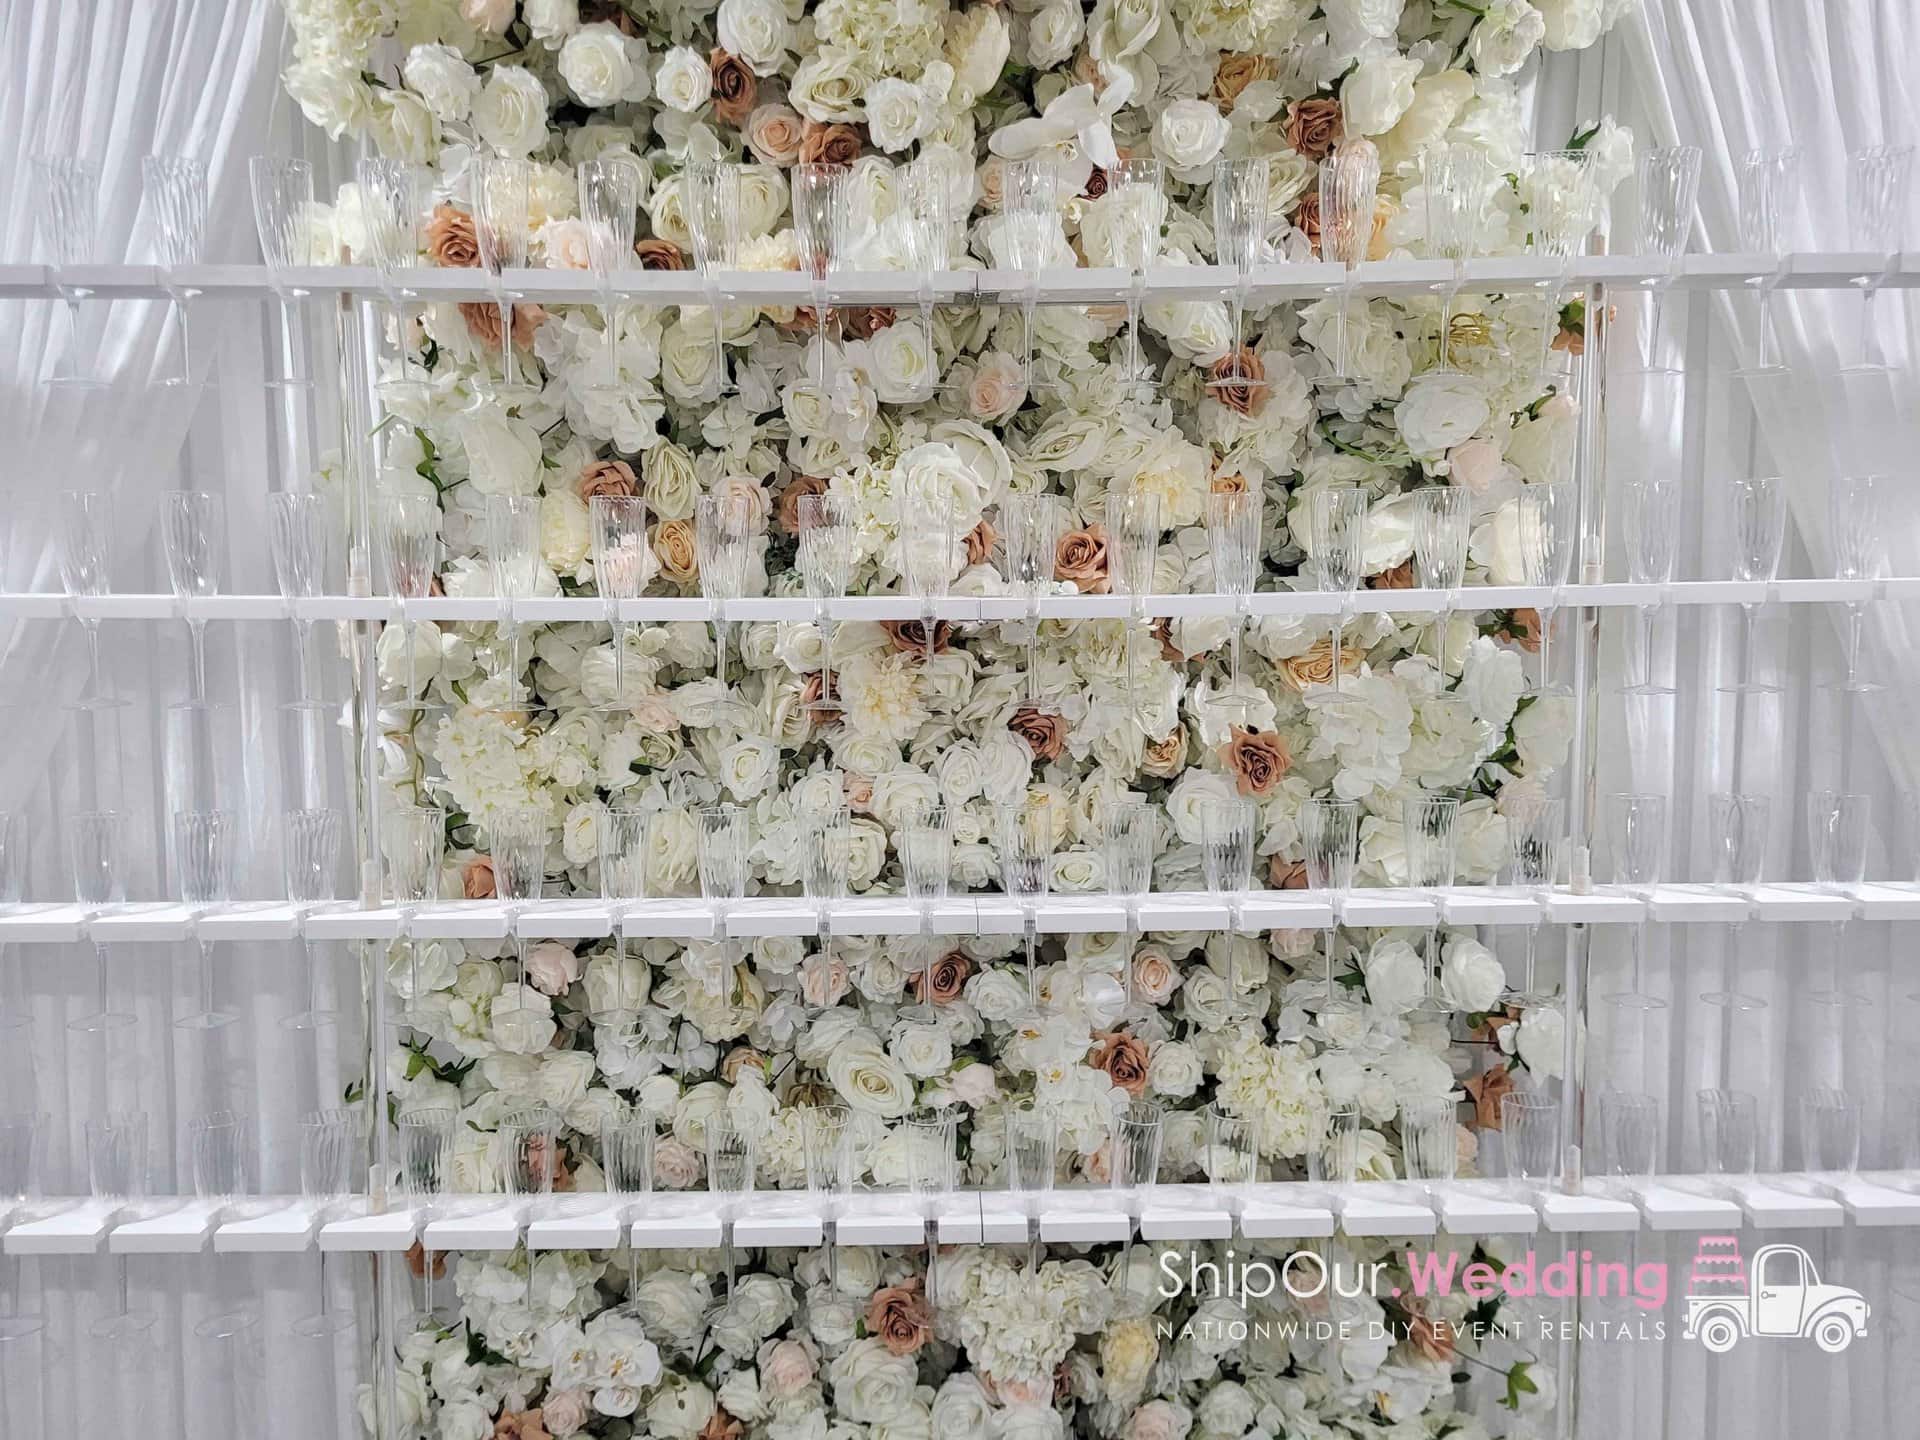
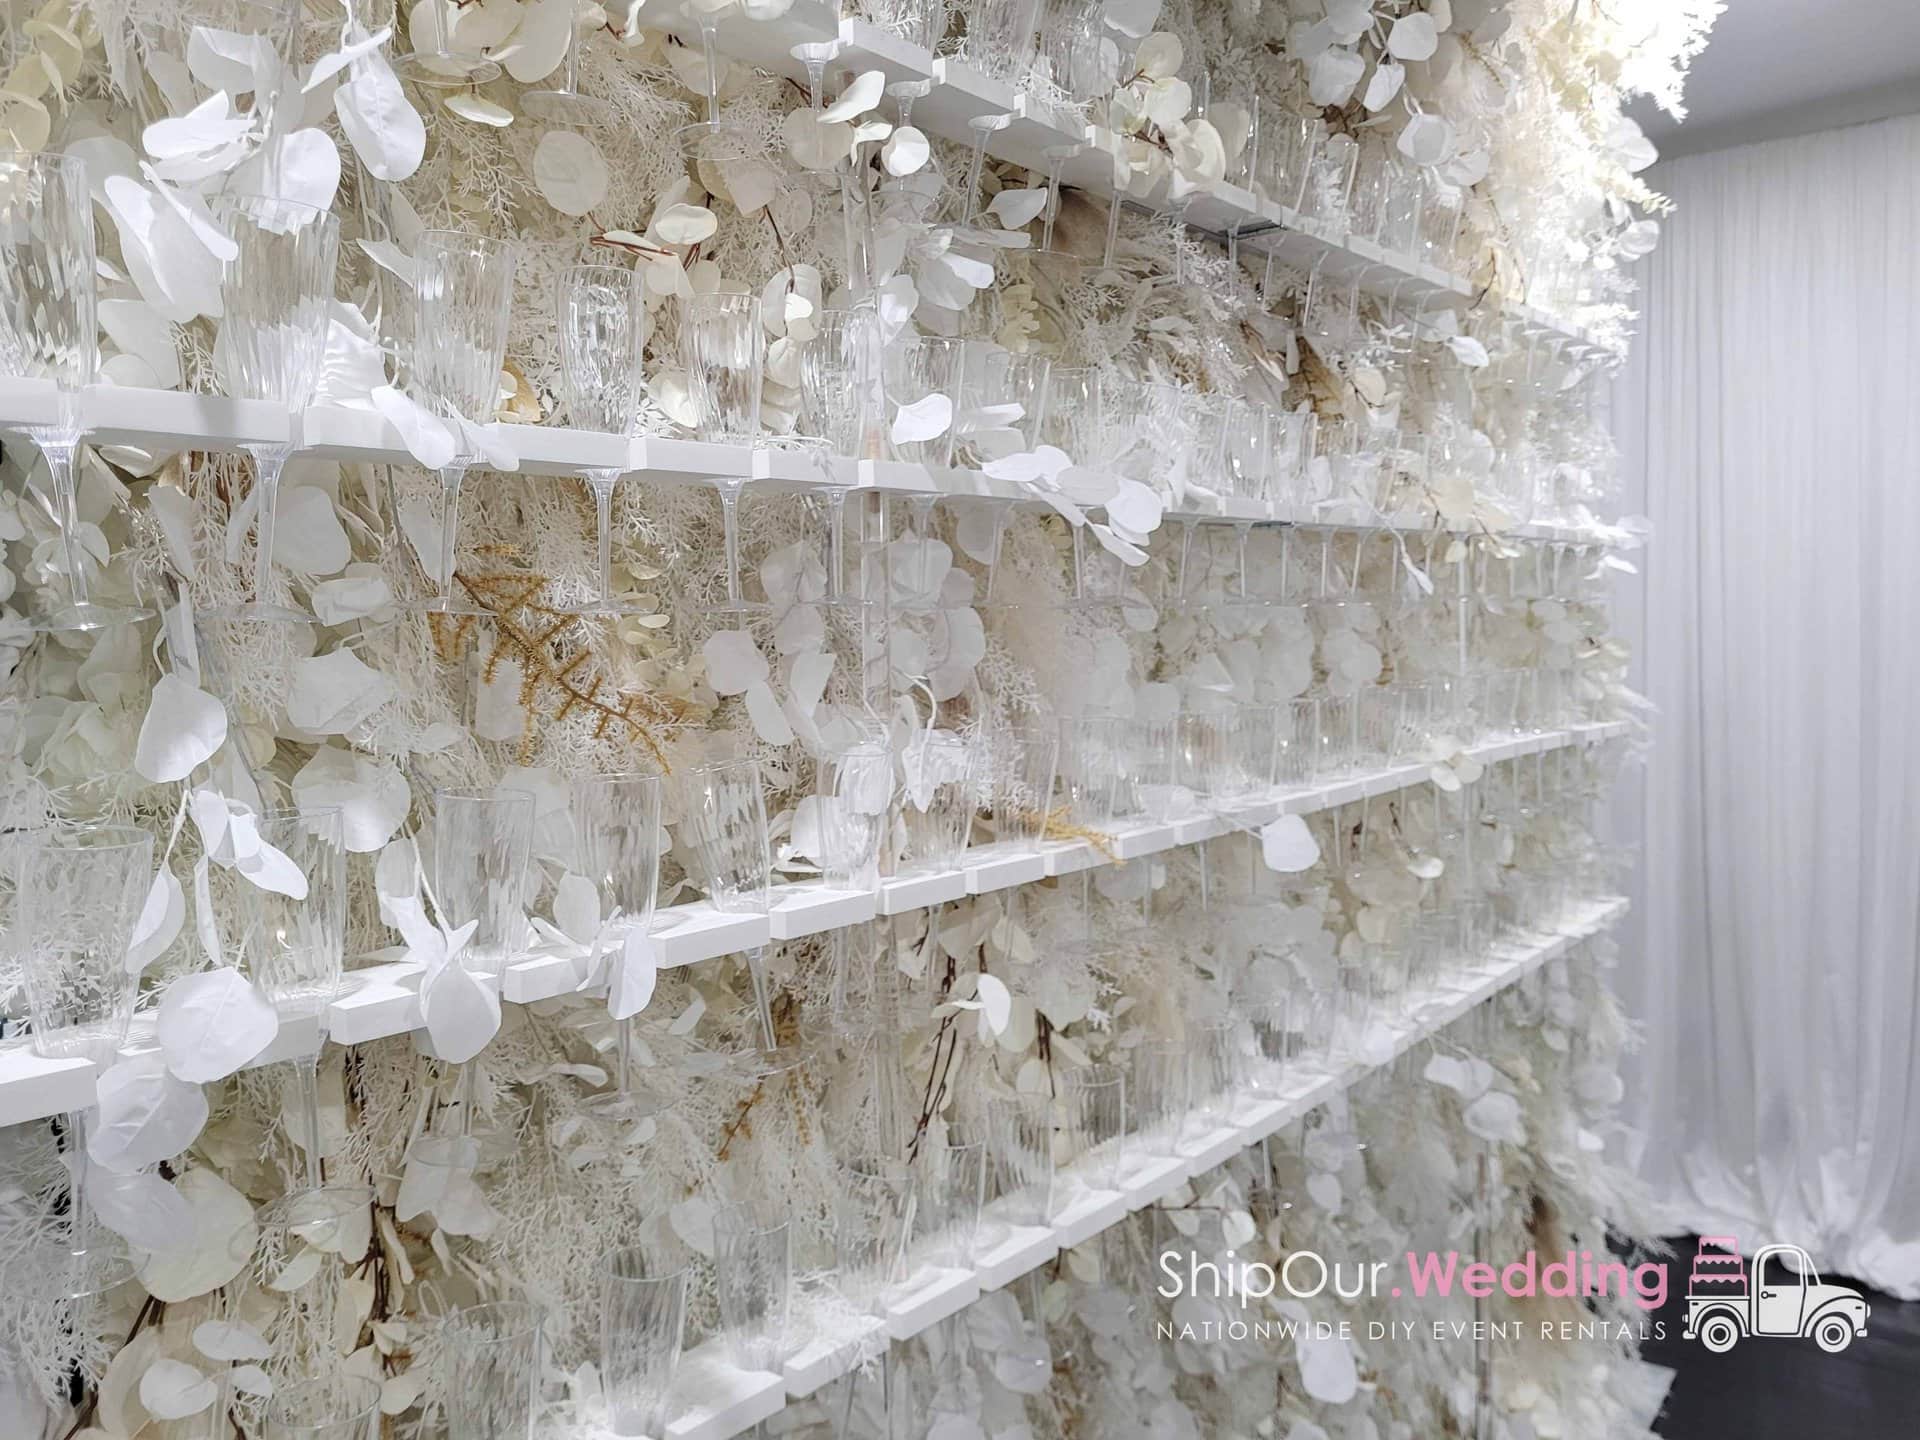
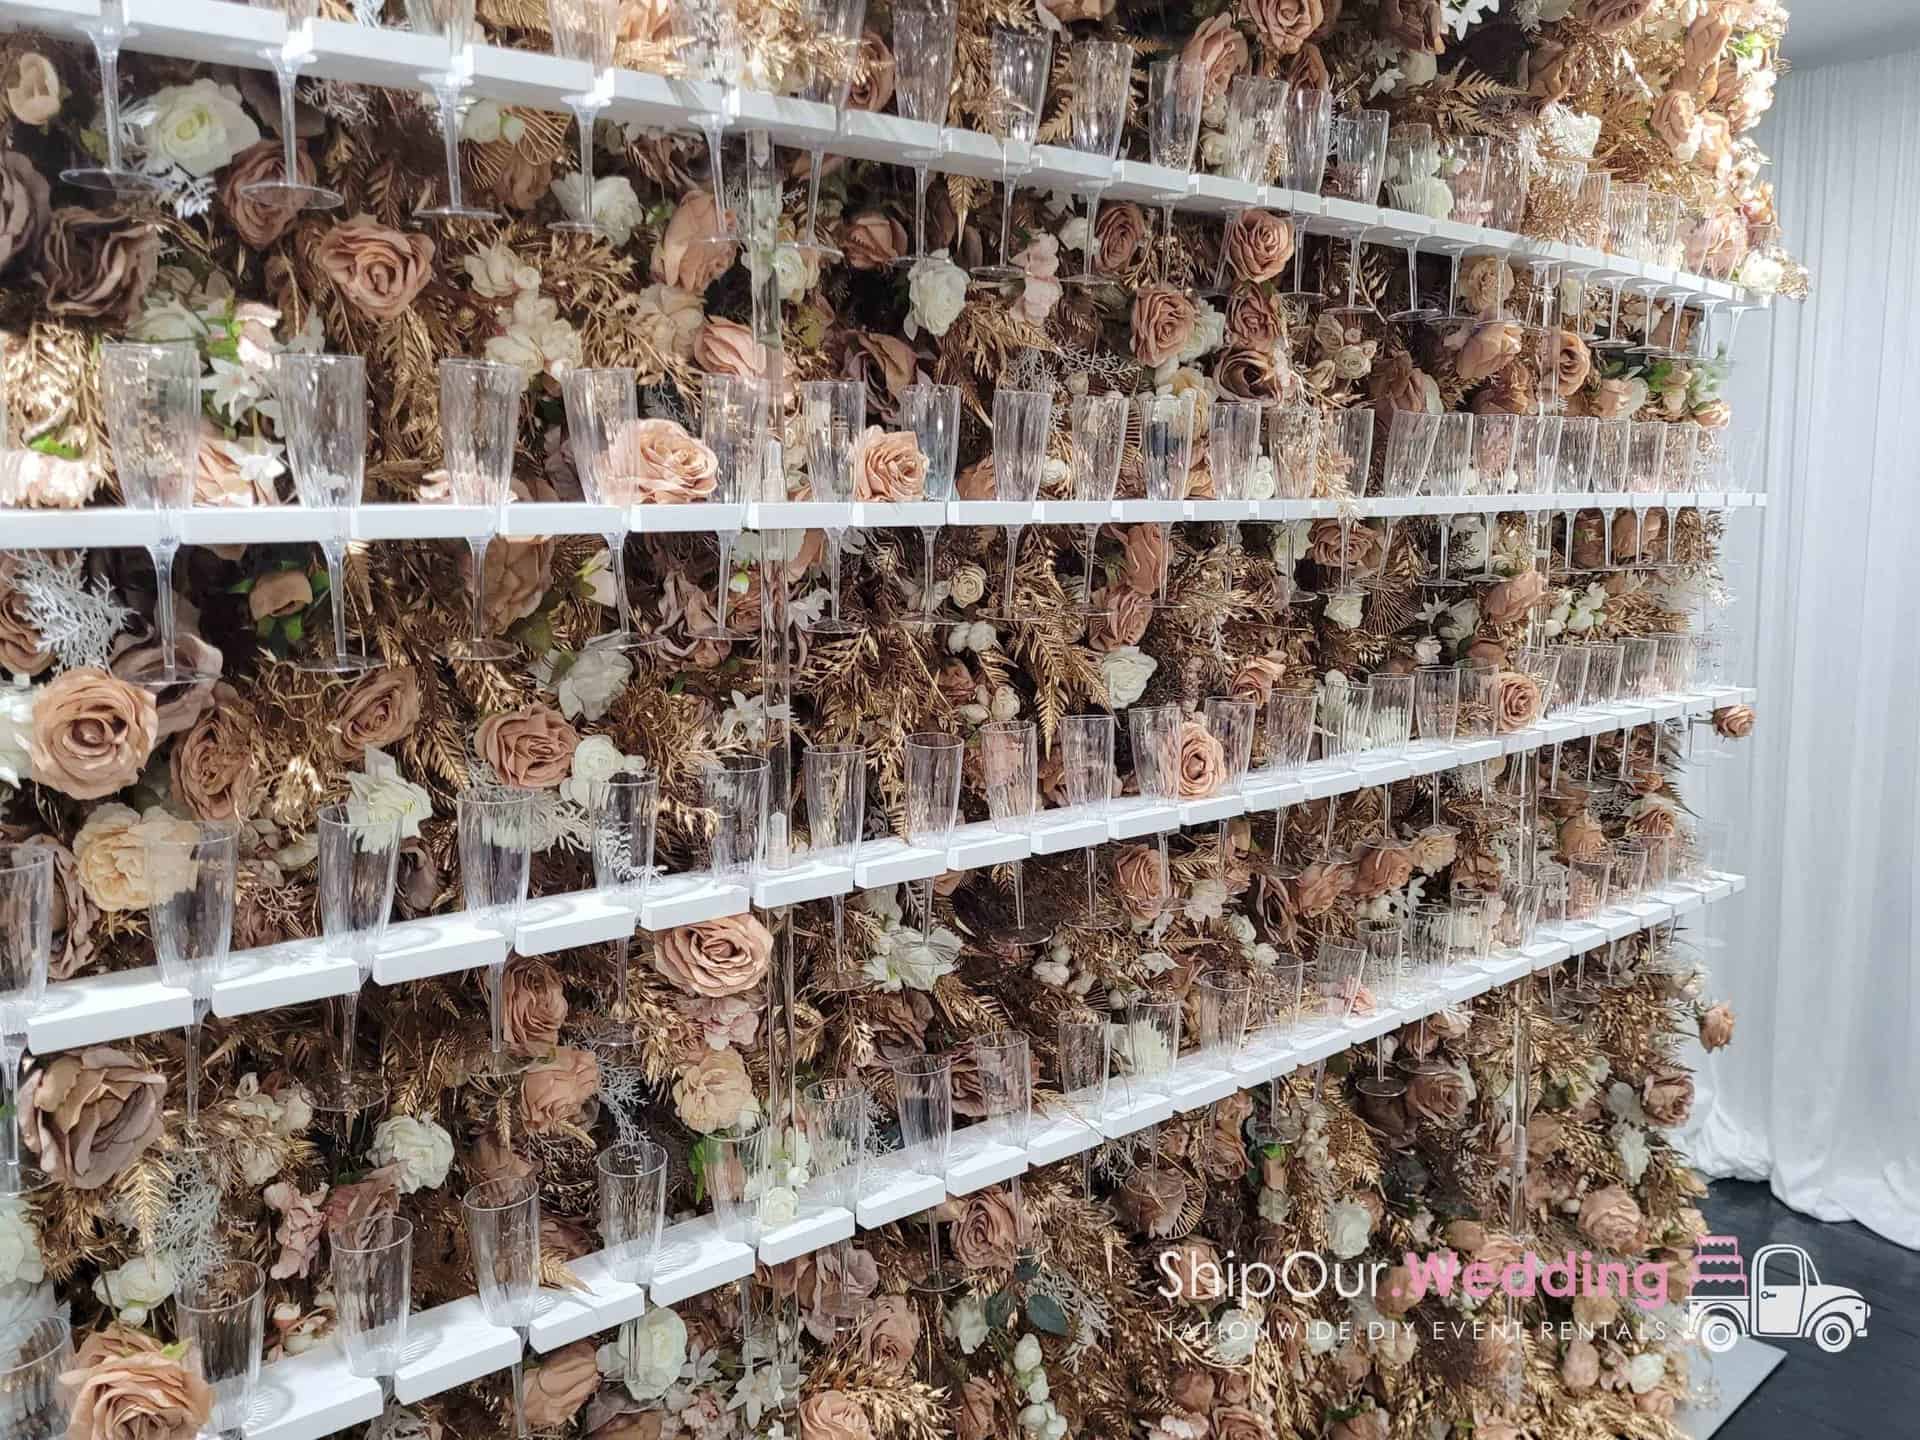
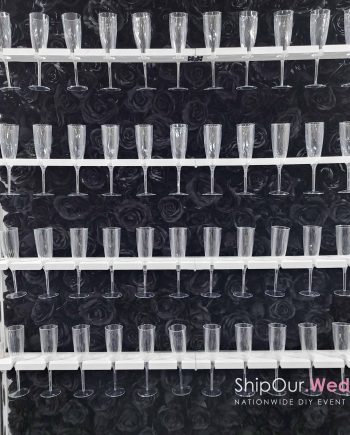
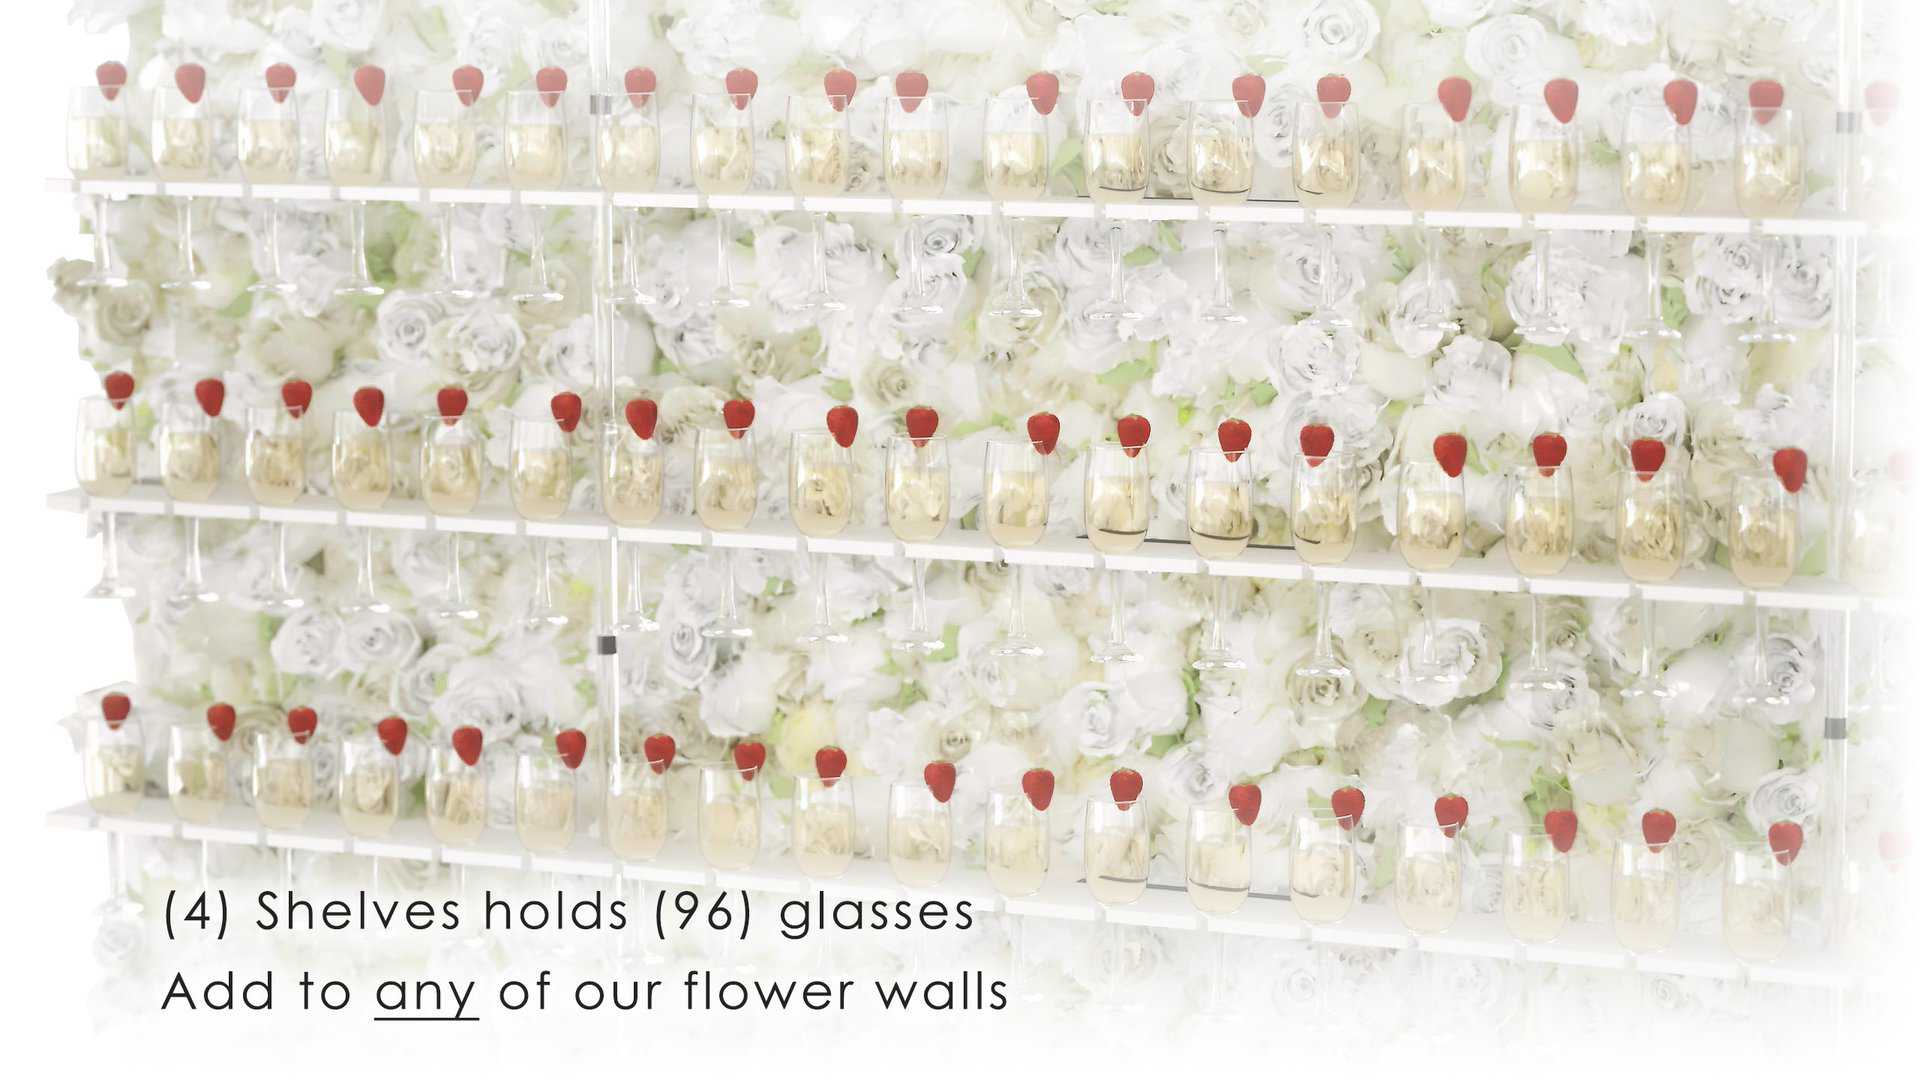
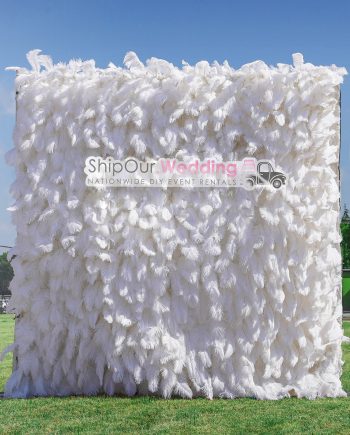
Your DIY Champagne Wall Solution
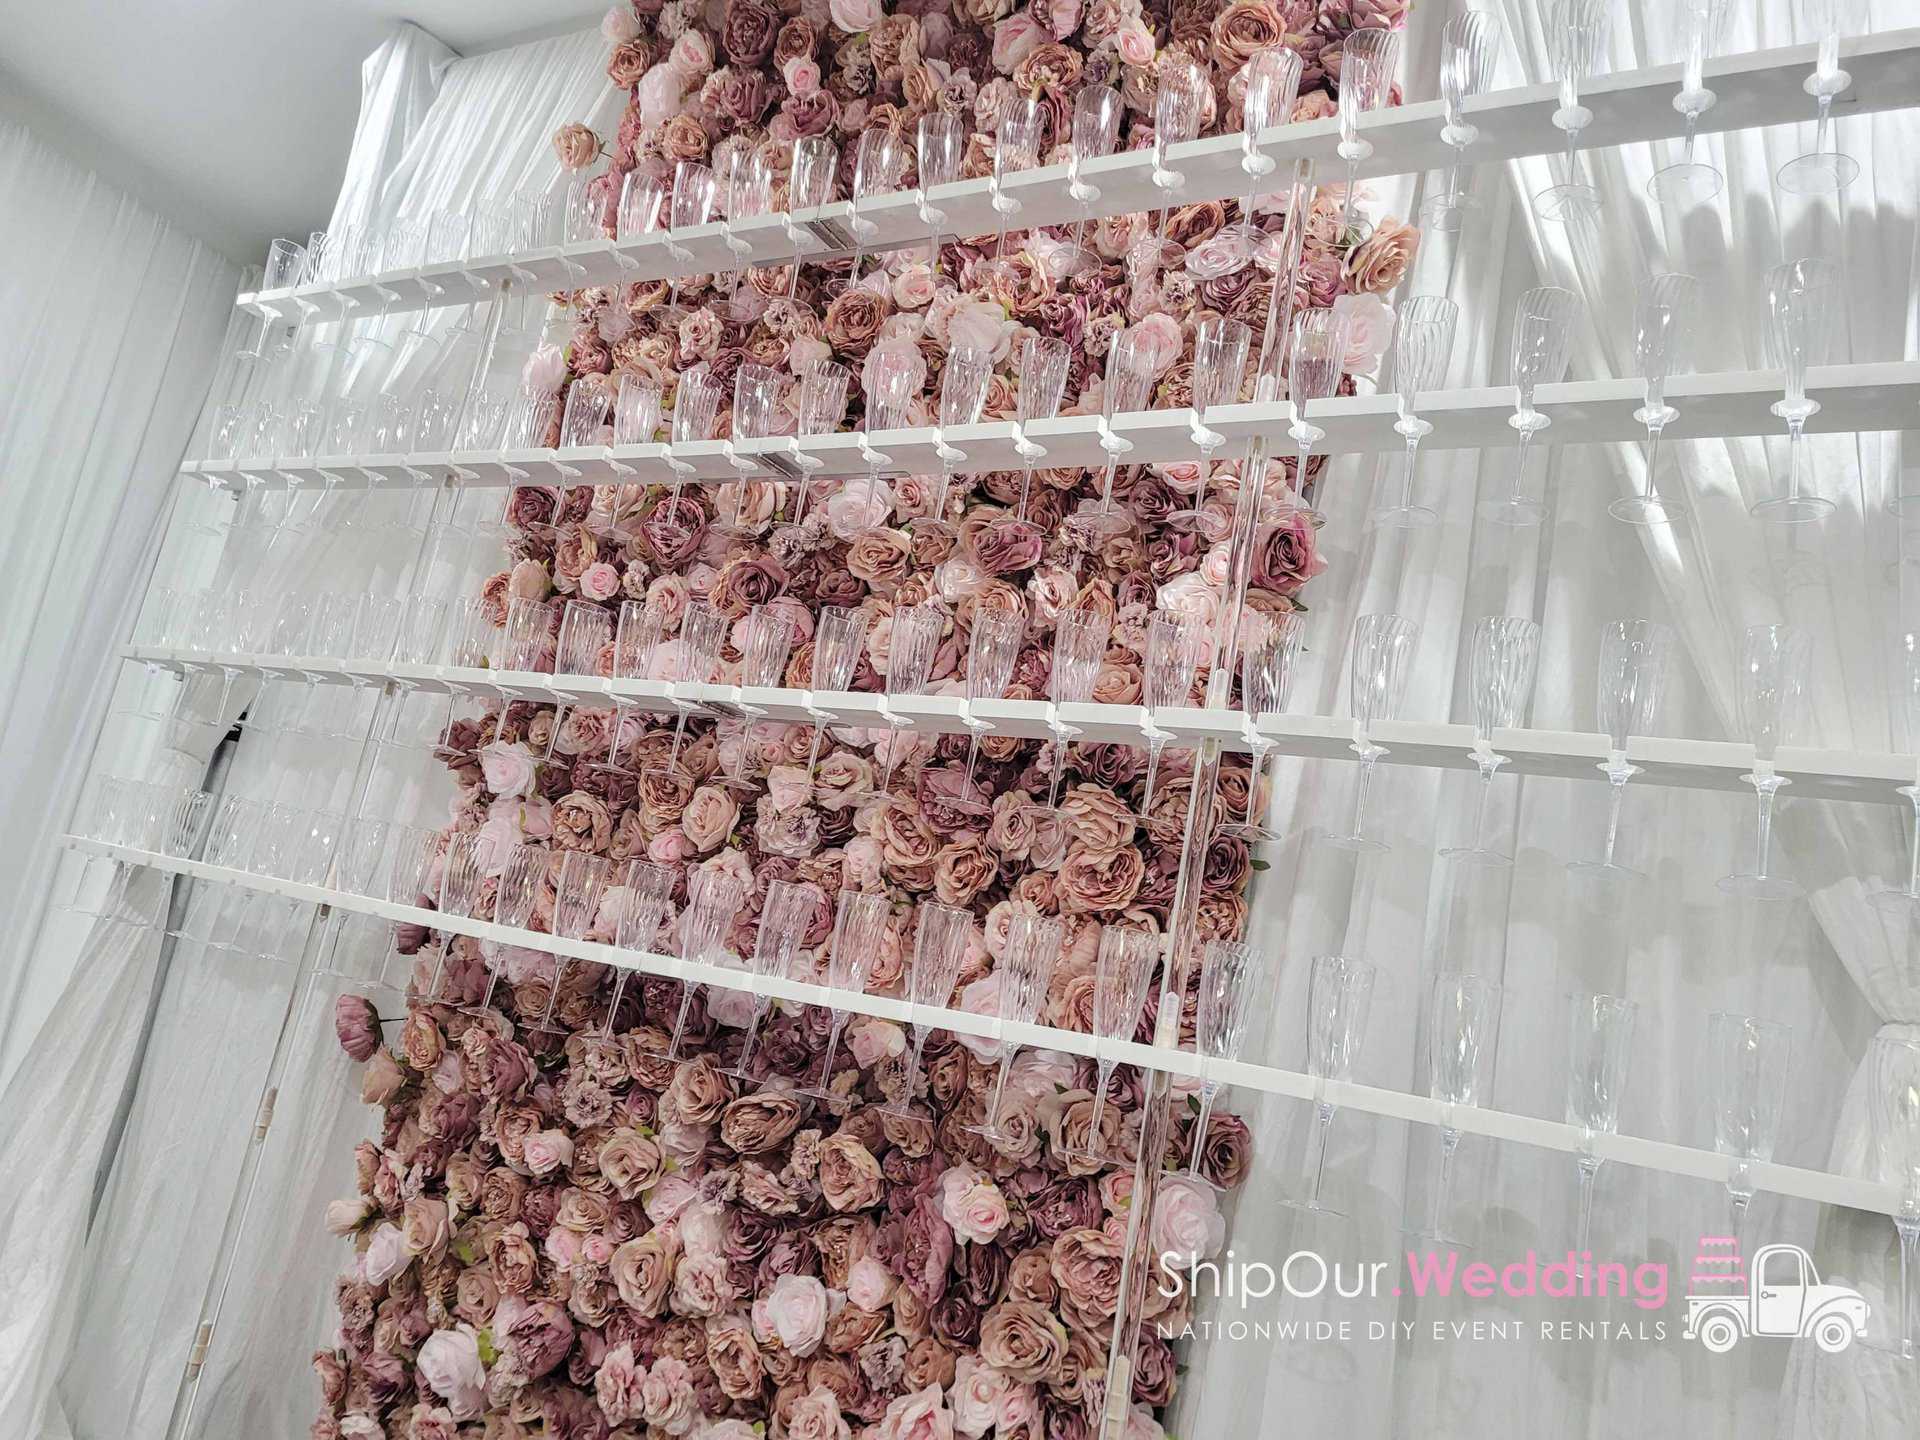
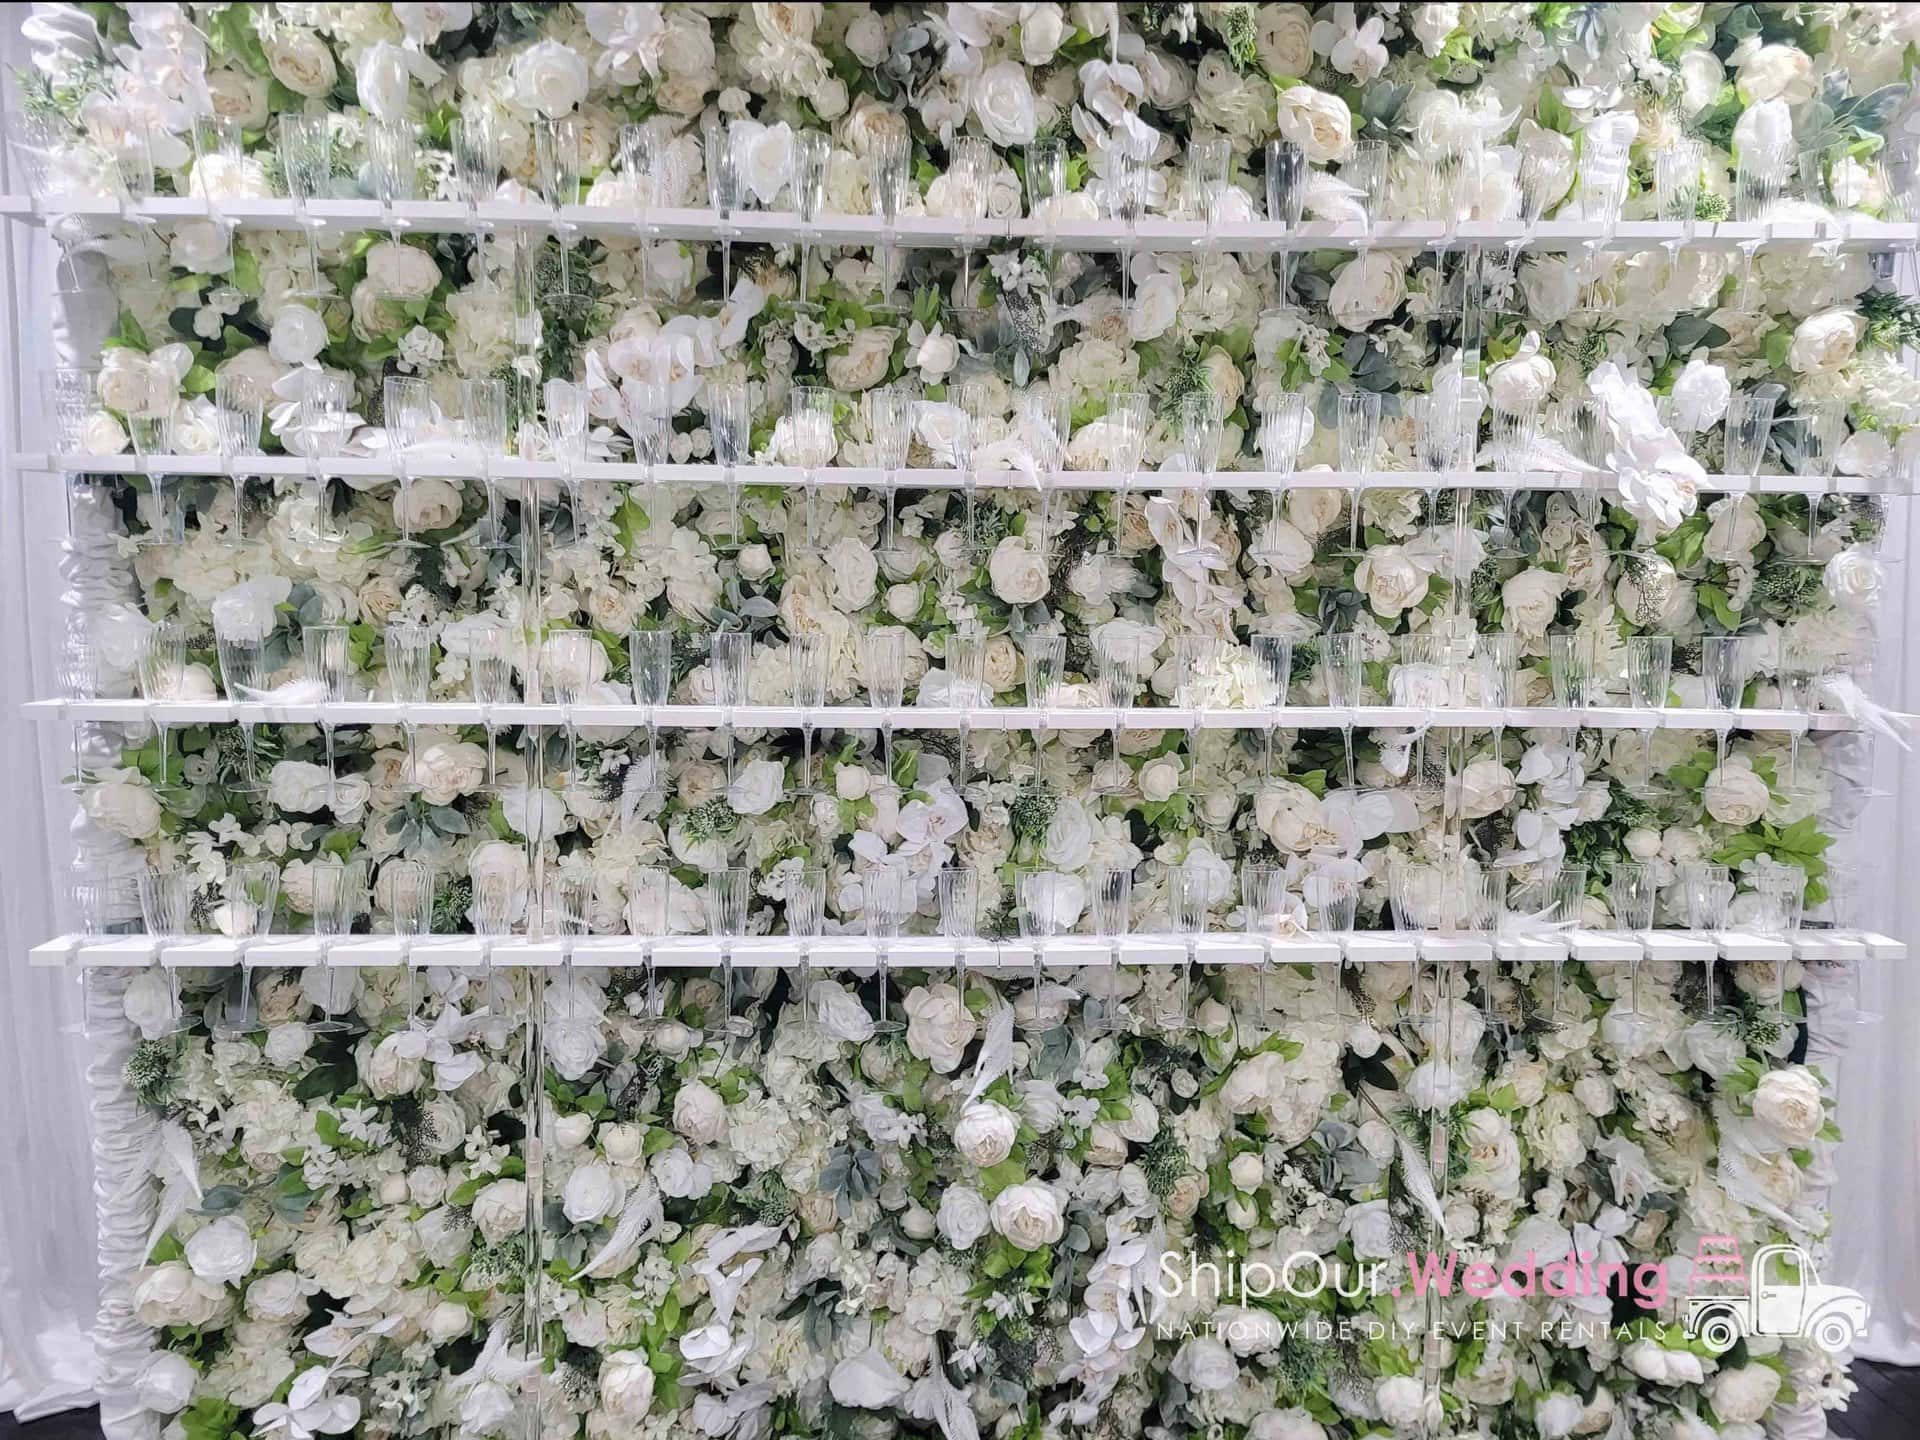
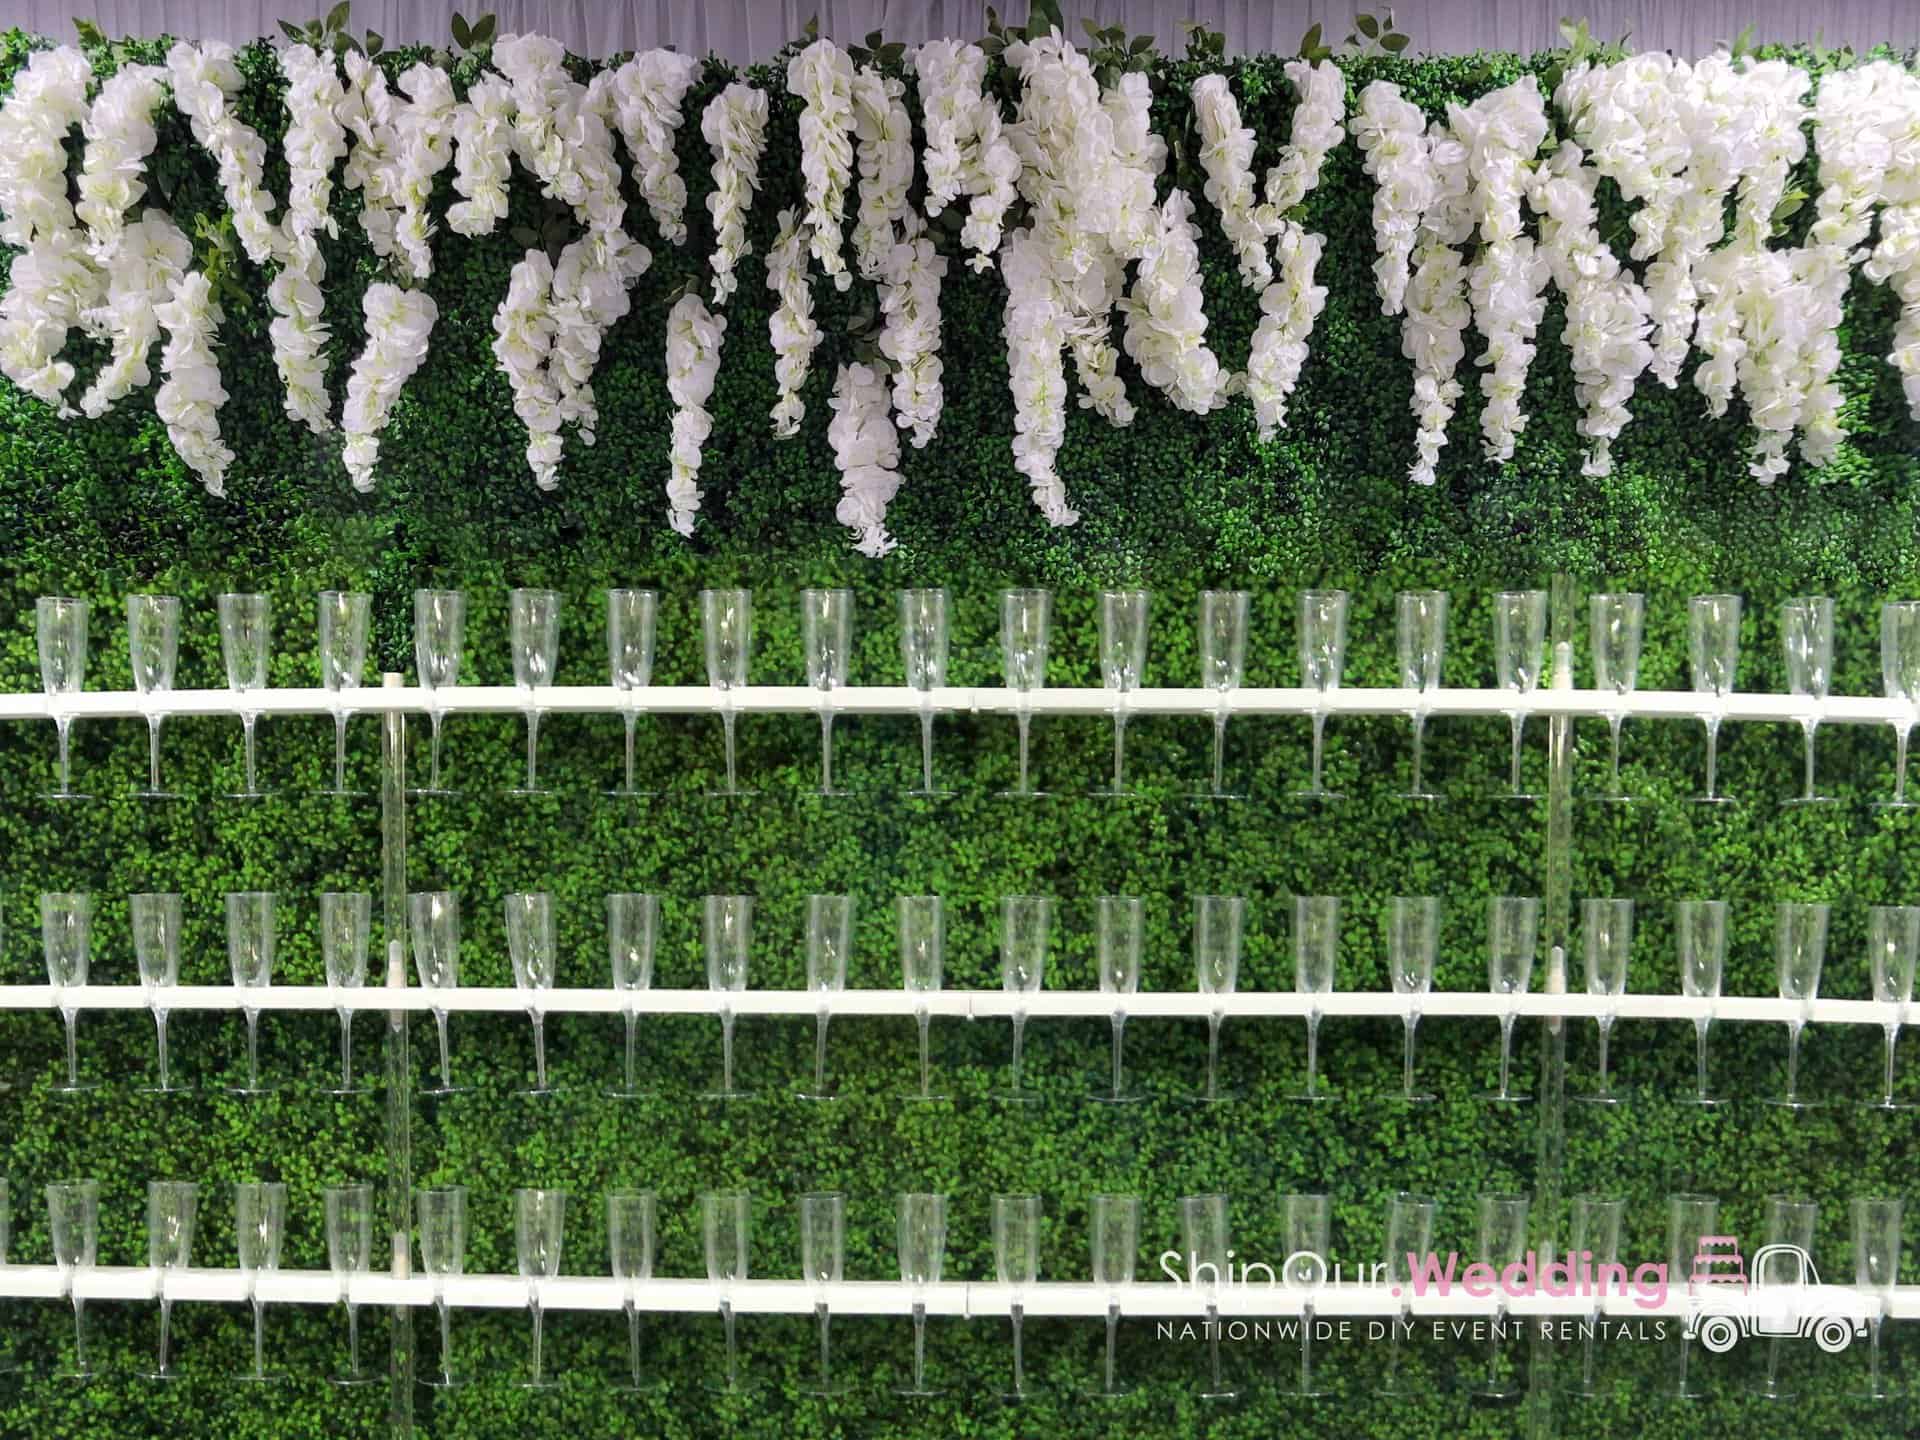
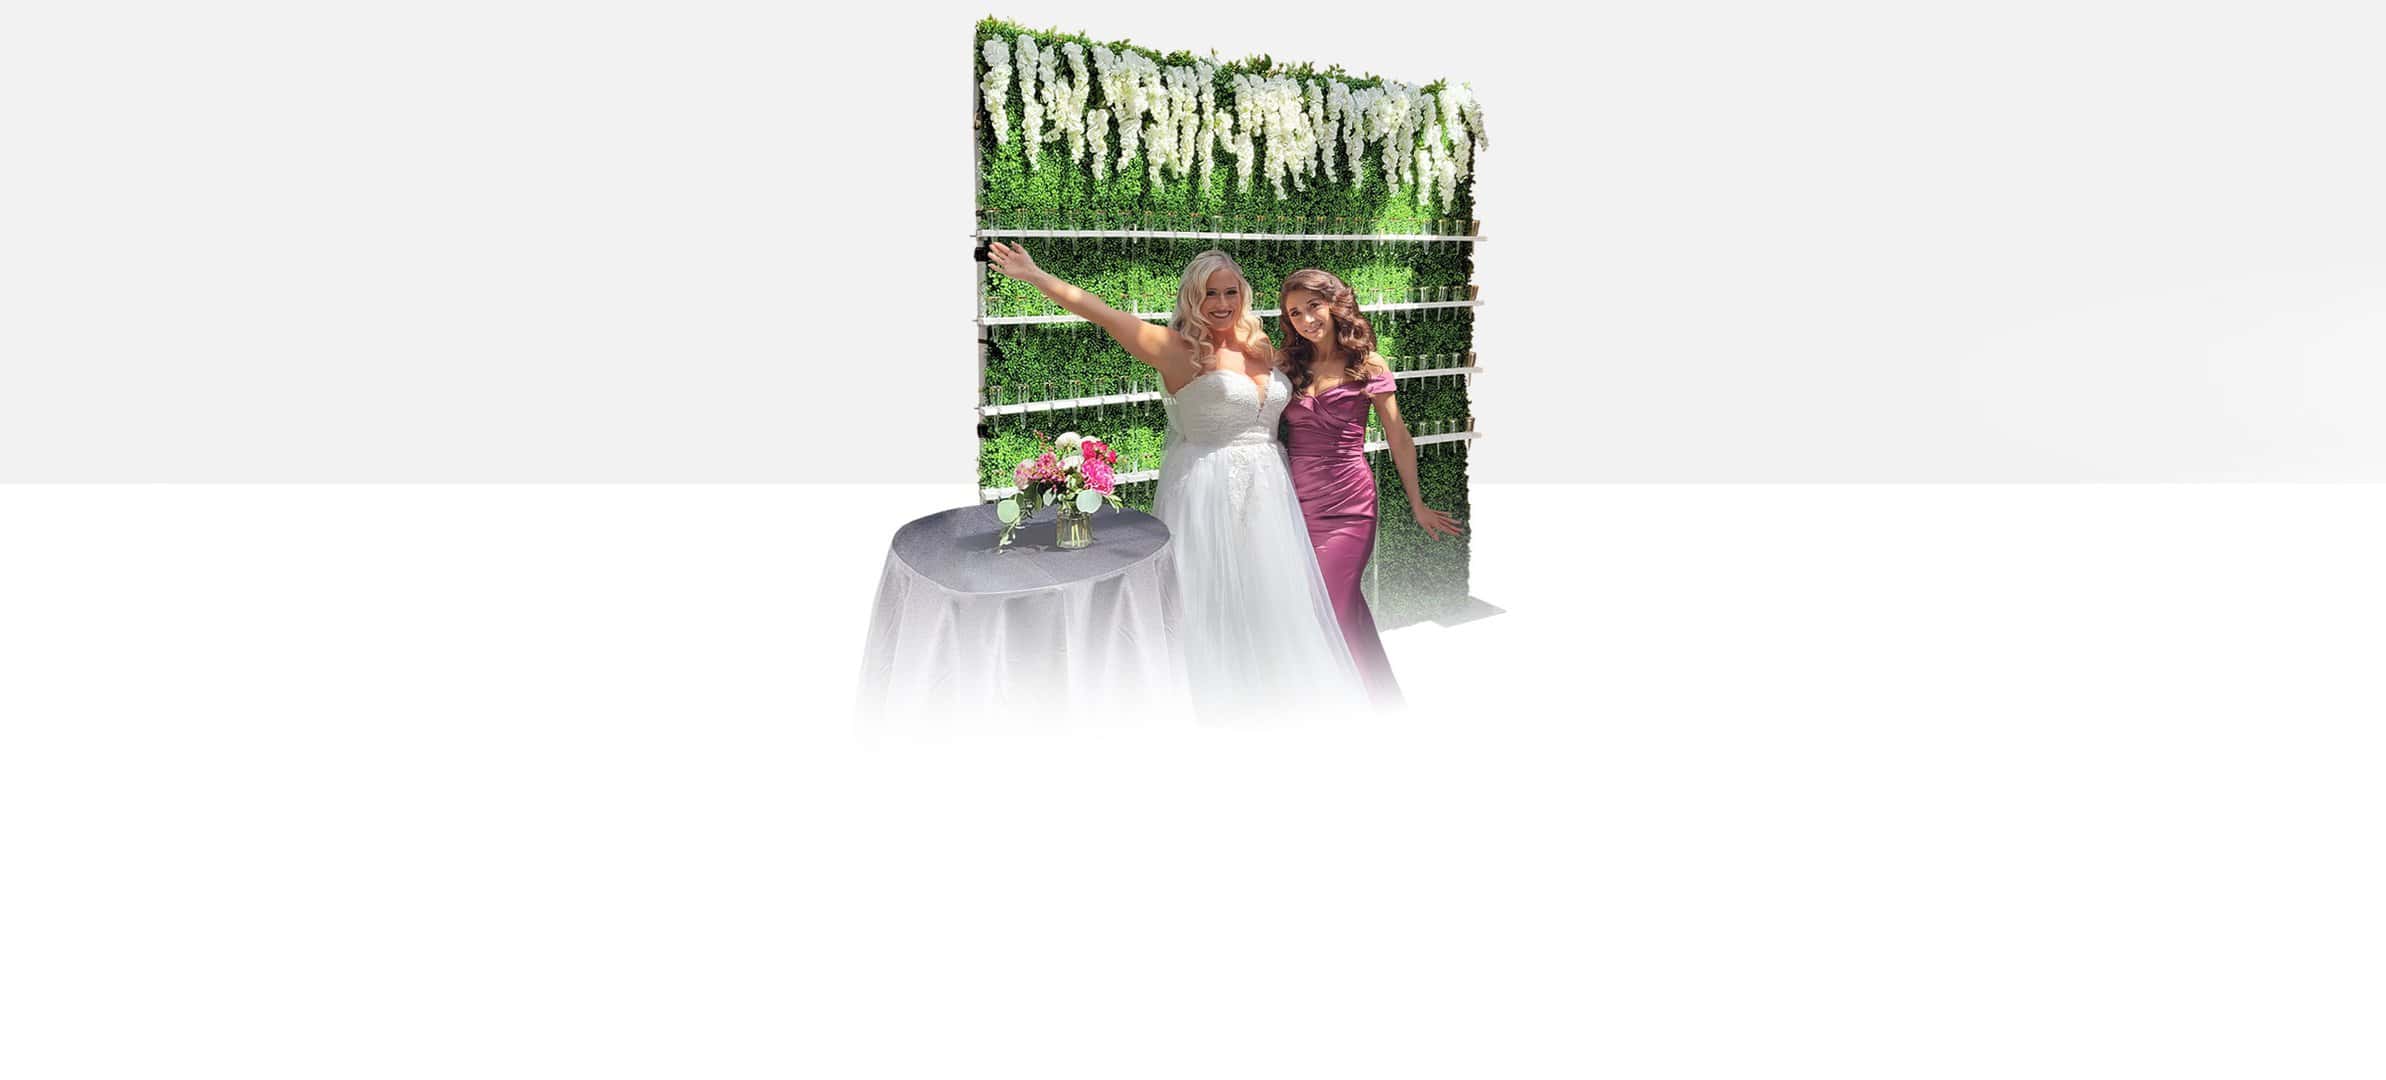
rental fits on any 8ft x 8ft flower wall with pipe & drape equipment...
Your DIY Champagne Wall Solution
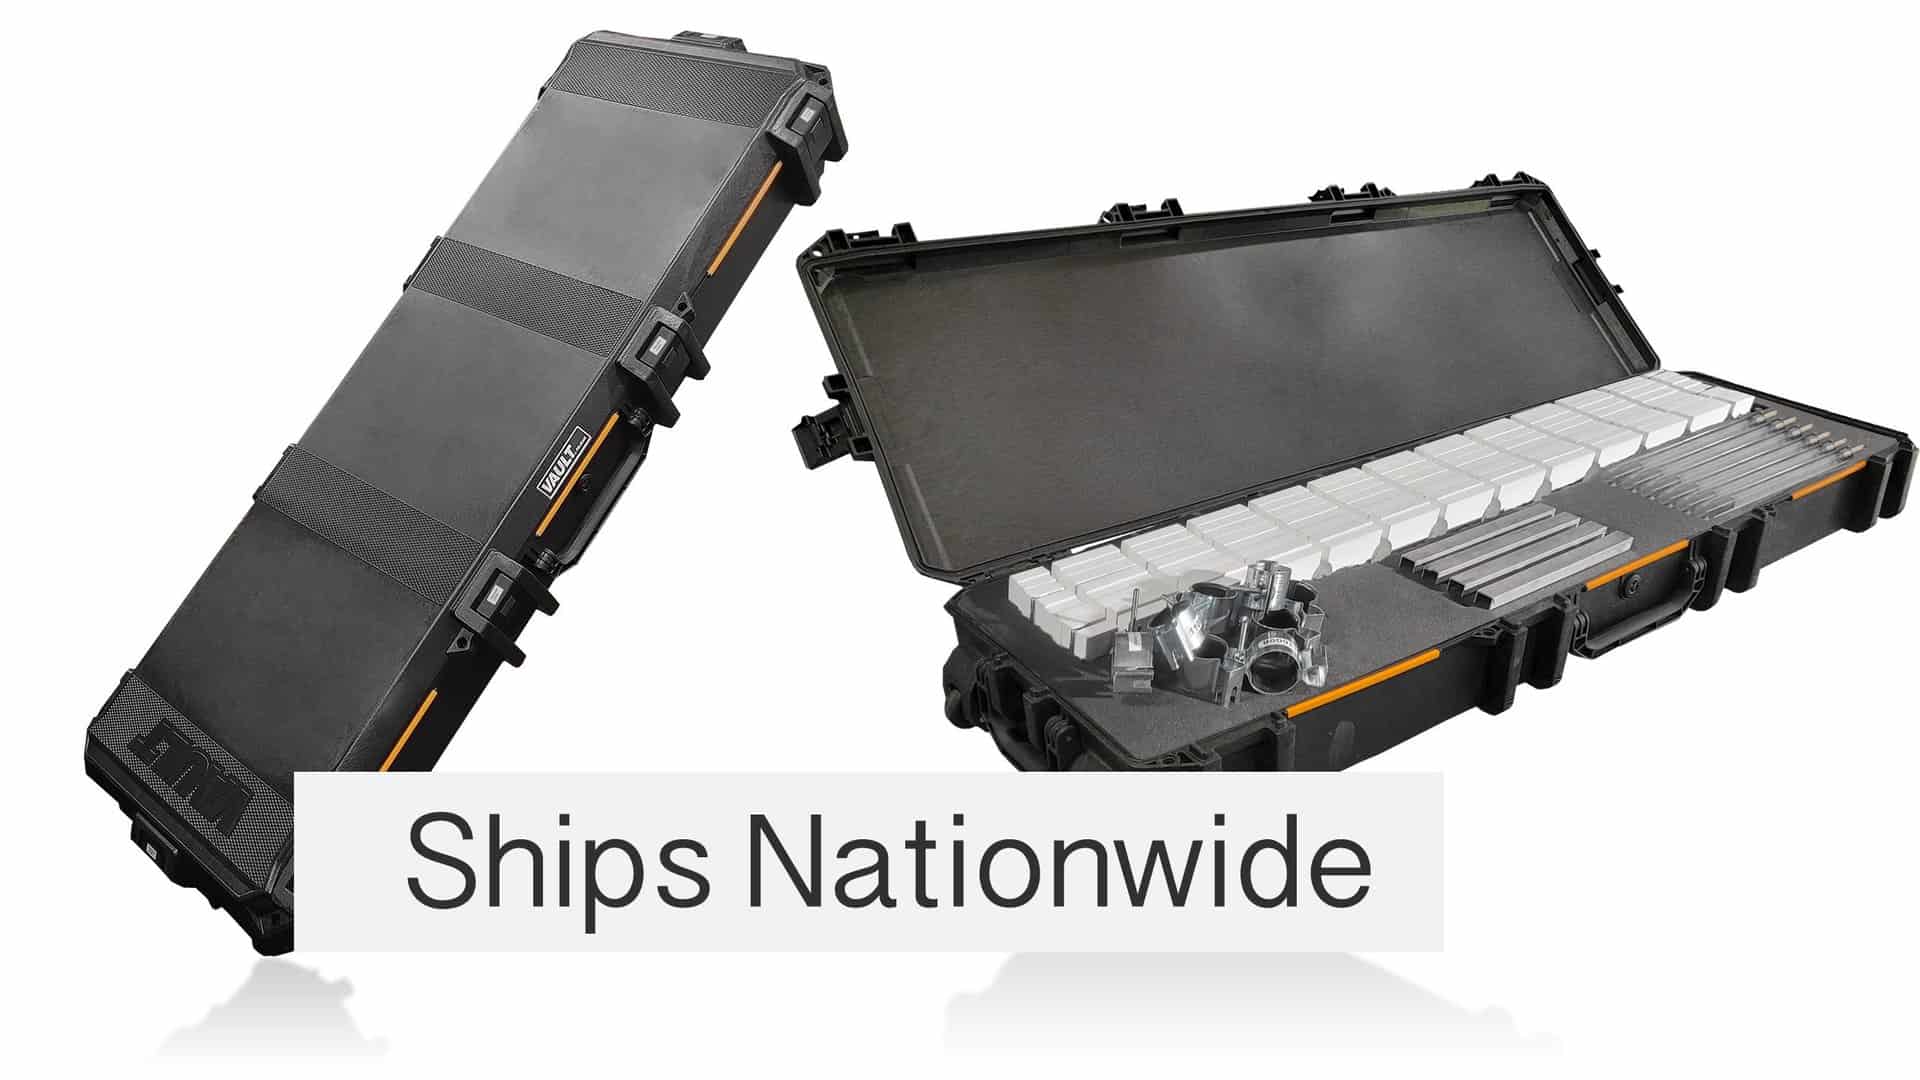
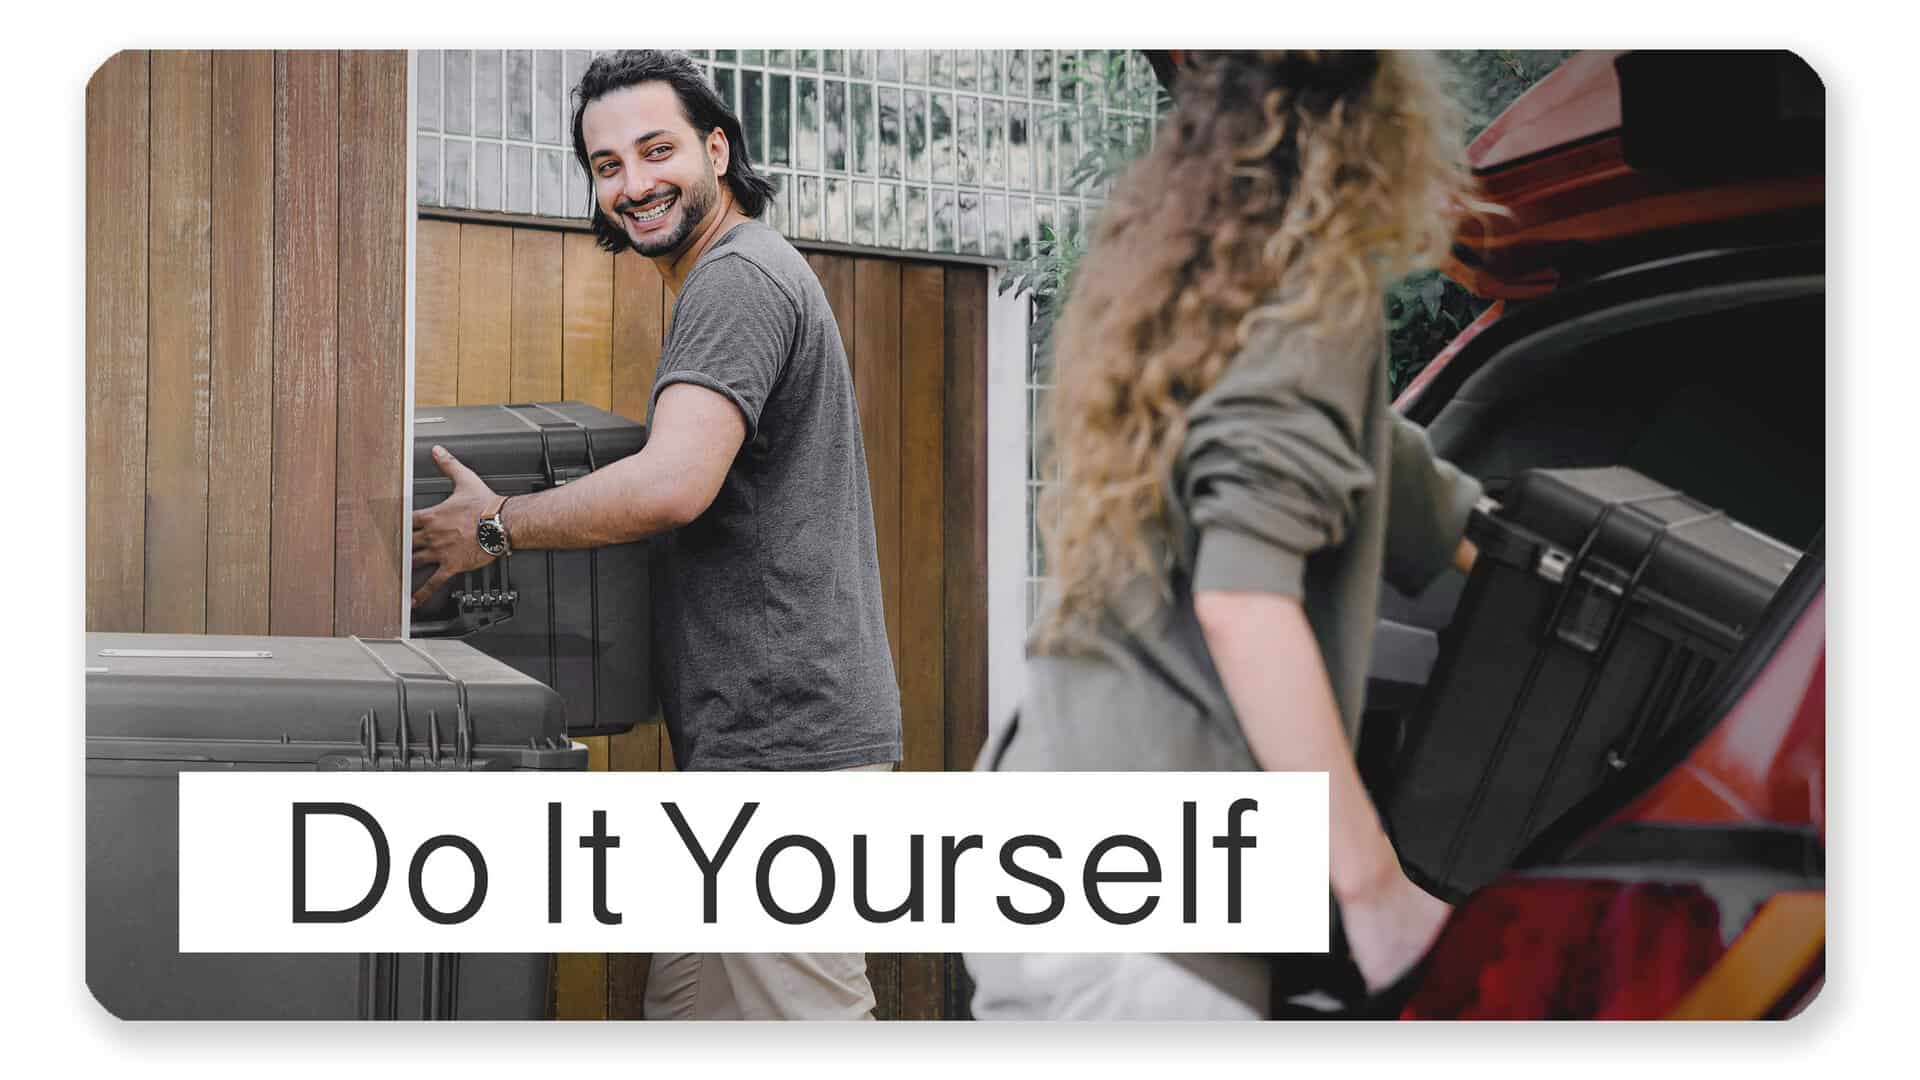
Patent Pending & Portable
✓ Kit arrives week of the party
✓ User-friendly box has wheels
✓ Includes everything you need
Patent Pending & Portable
✓ Kit arrives week of the party
✓ User-friendly box has wheels
✓ Includes everything you need
DIY Champagne Wall
✓ Hang it on a bar or zip garland
✓ Return shipping label is in box
✓ Return (2) days after the date
DIY Champagne Wall
✓ Hang it on a bar or zip garland
✓ Return shipping label is in box
✓ Return (2) days after the date
Instant Champagne
Instant Champagne
Easily Do More
Easily Do More
DIY on Your Time
✓ Shipping schedule prevents delays
✓ Extra time factored into shipments
✓ Get E-mail of tracking notifications
DIY on Your Time
✓ Shipping schedule prevents delays
✓ Extra time factored into shipments
✓ Get E-mail of tracking notifications


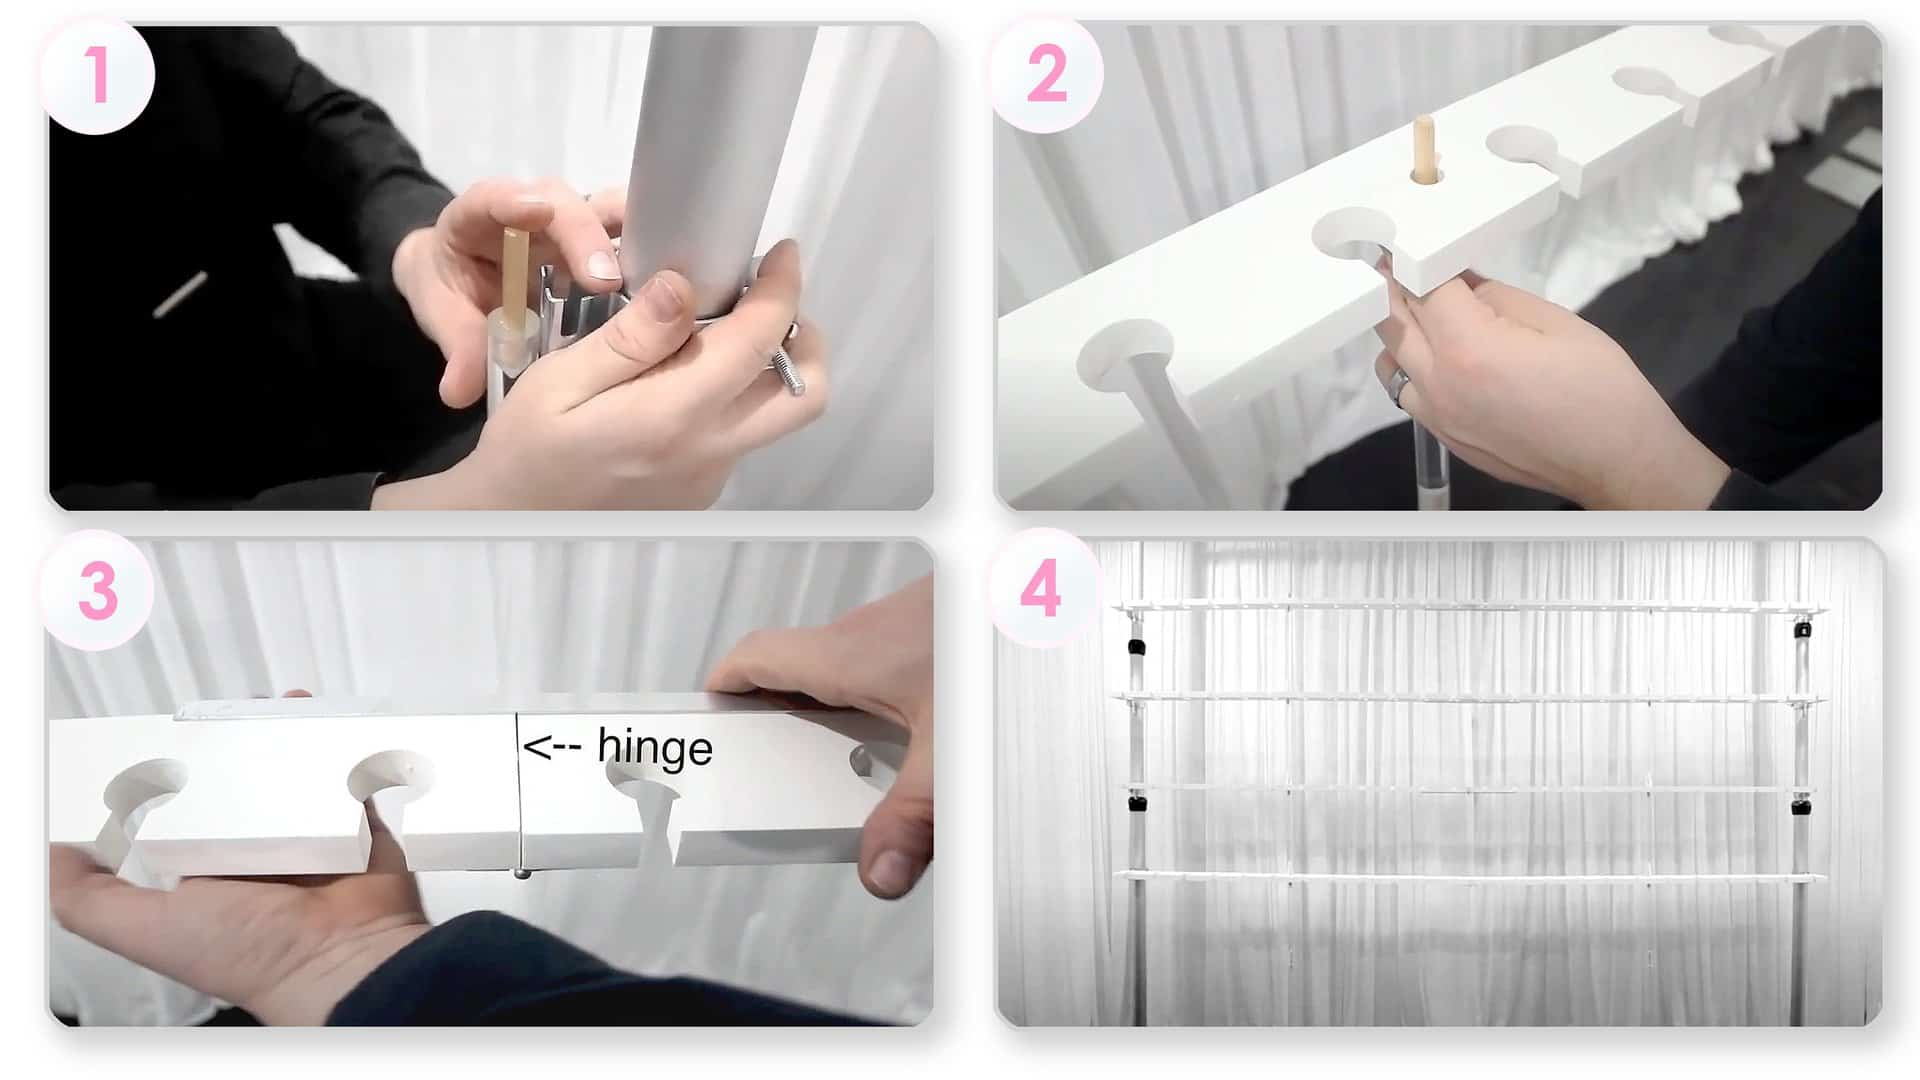
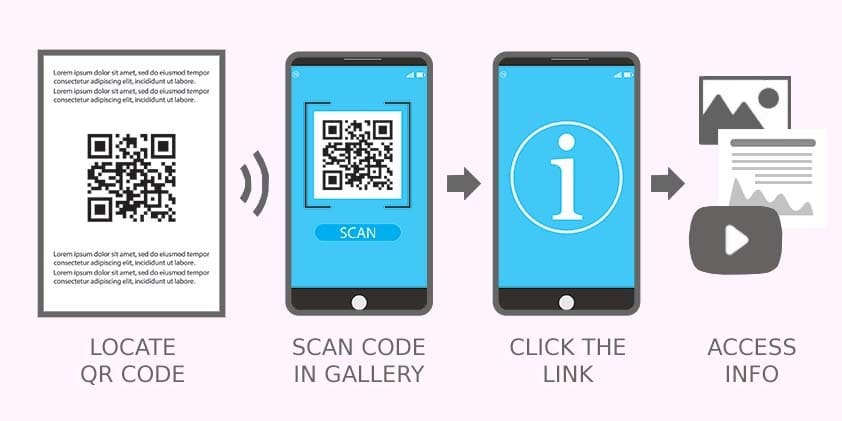
Simple DIY Guides
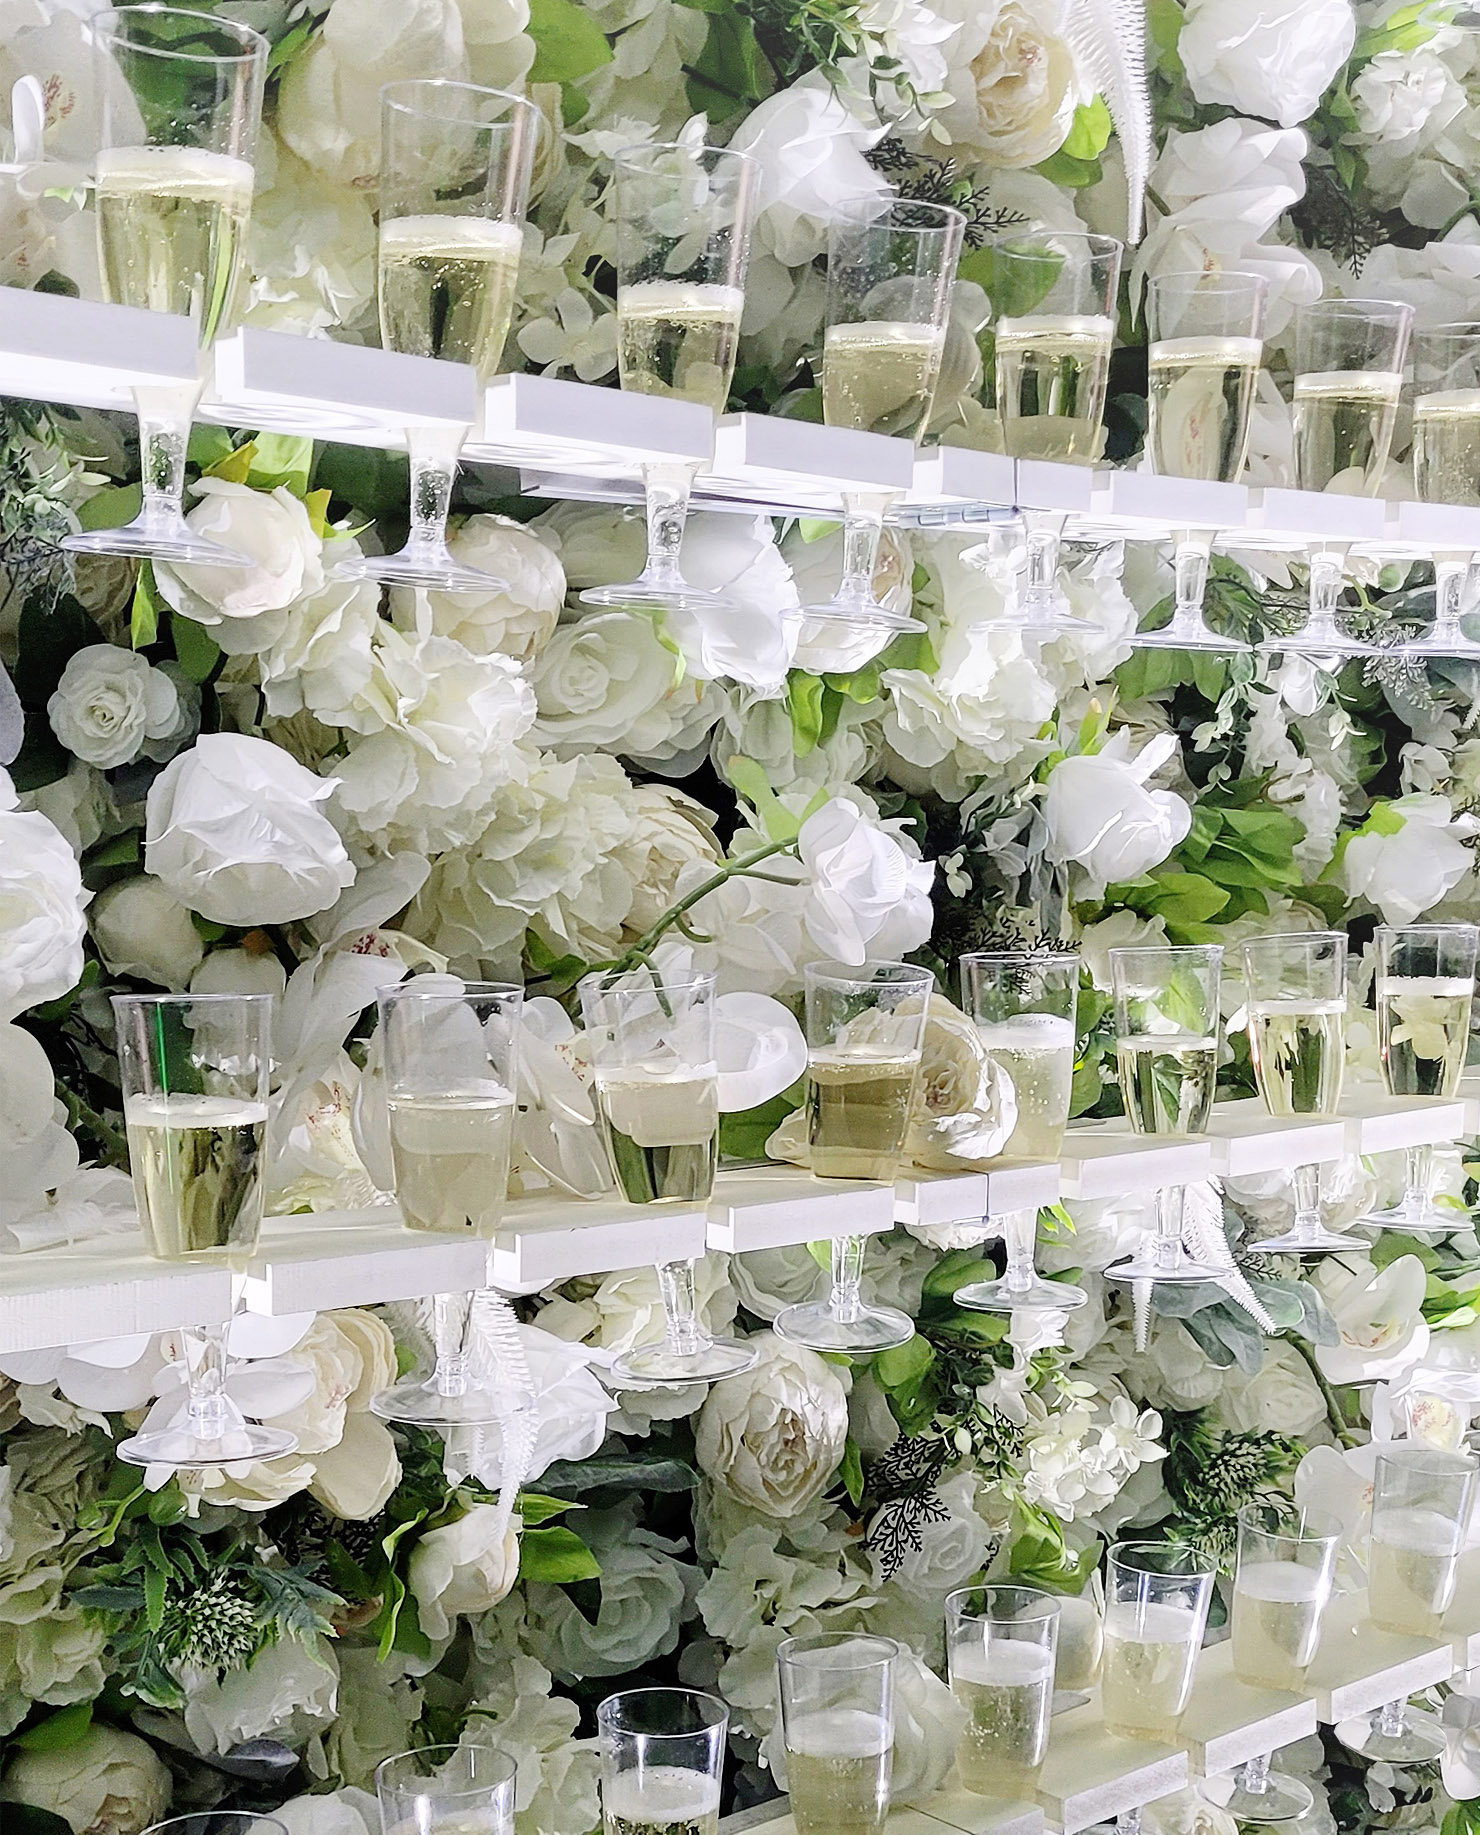
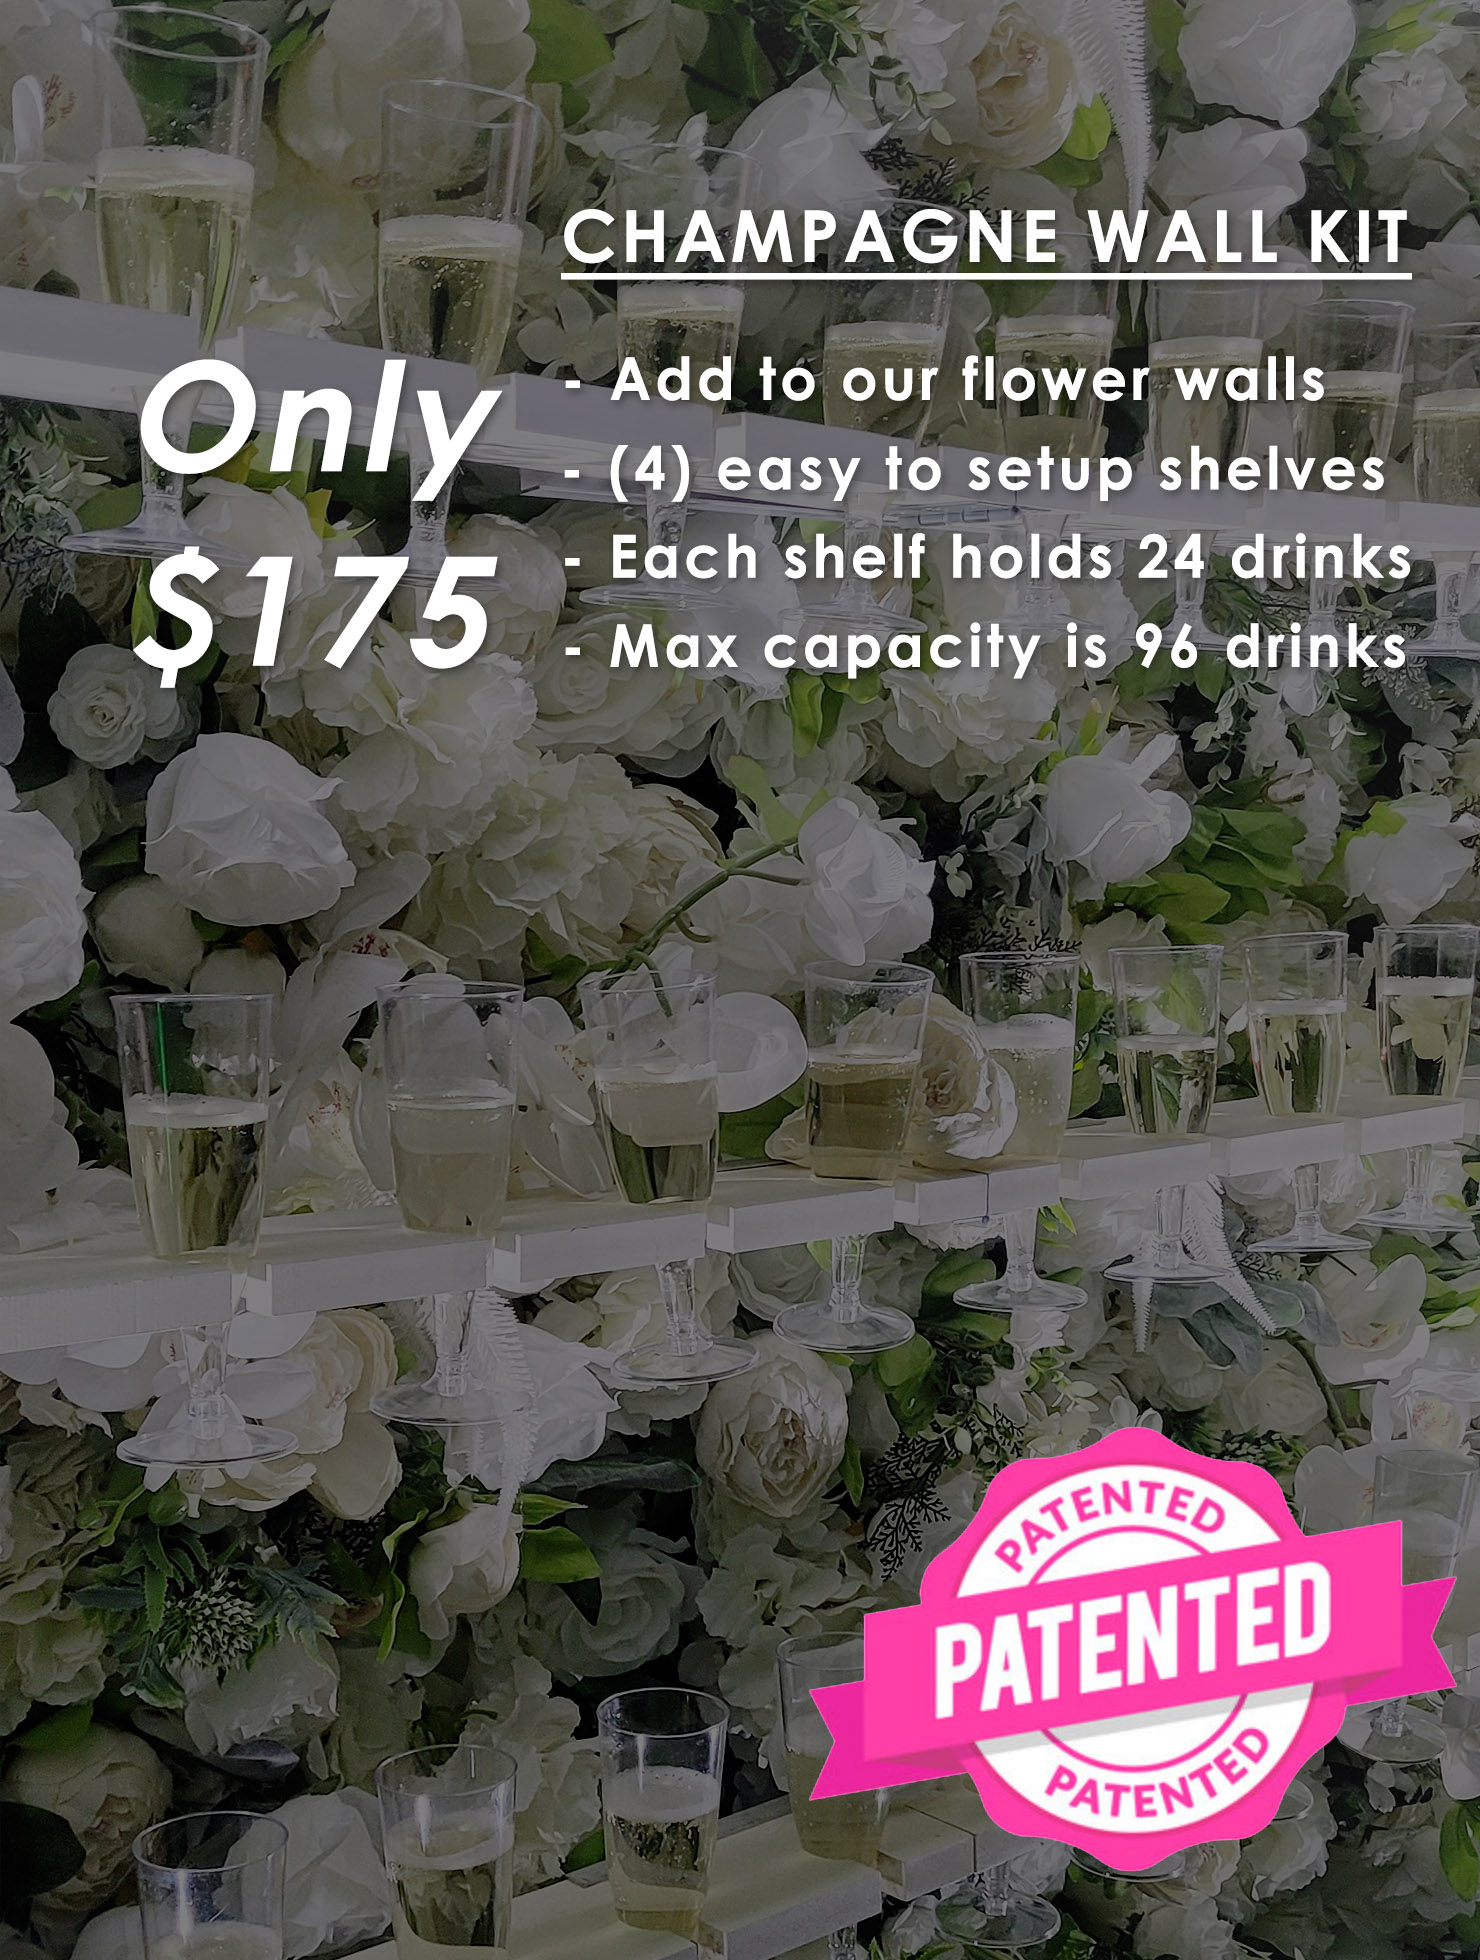
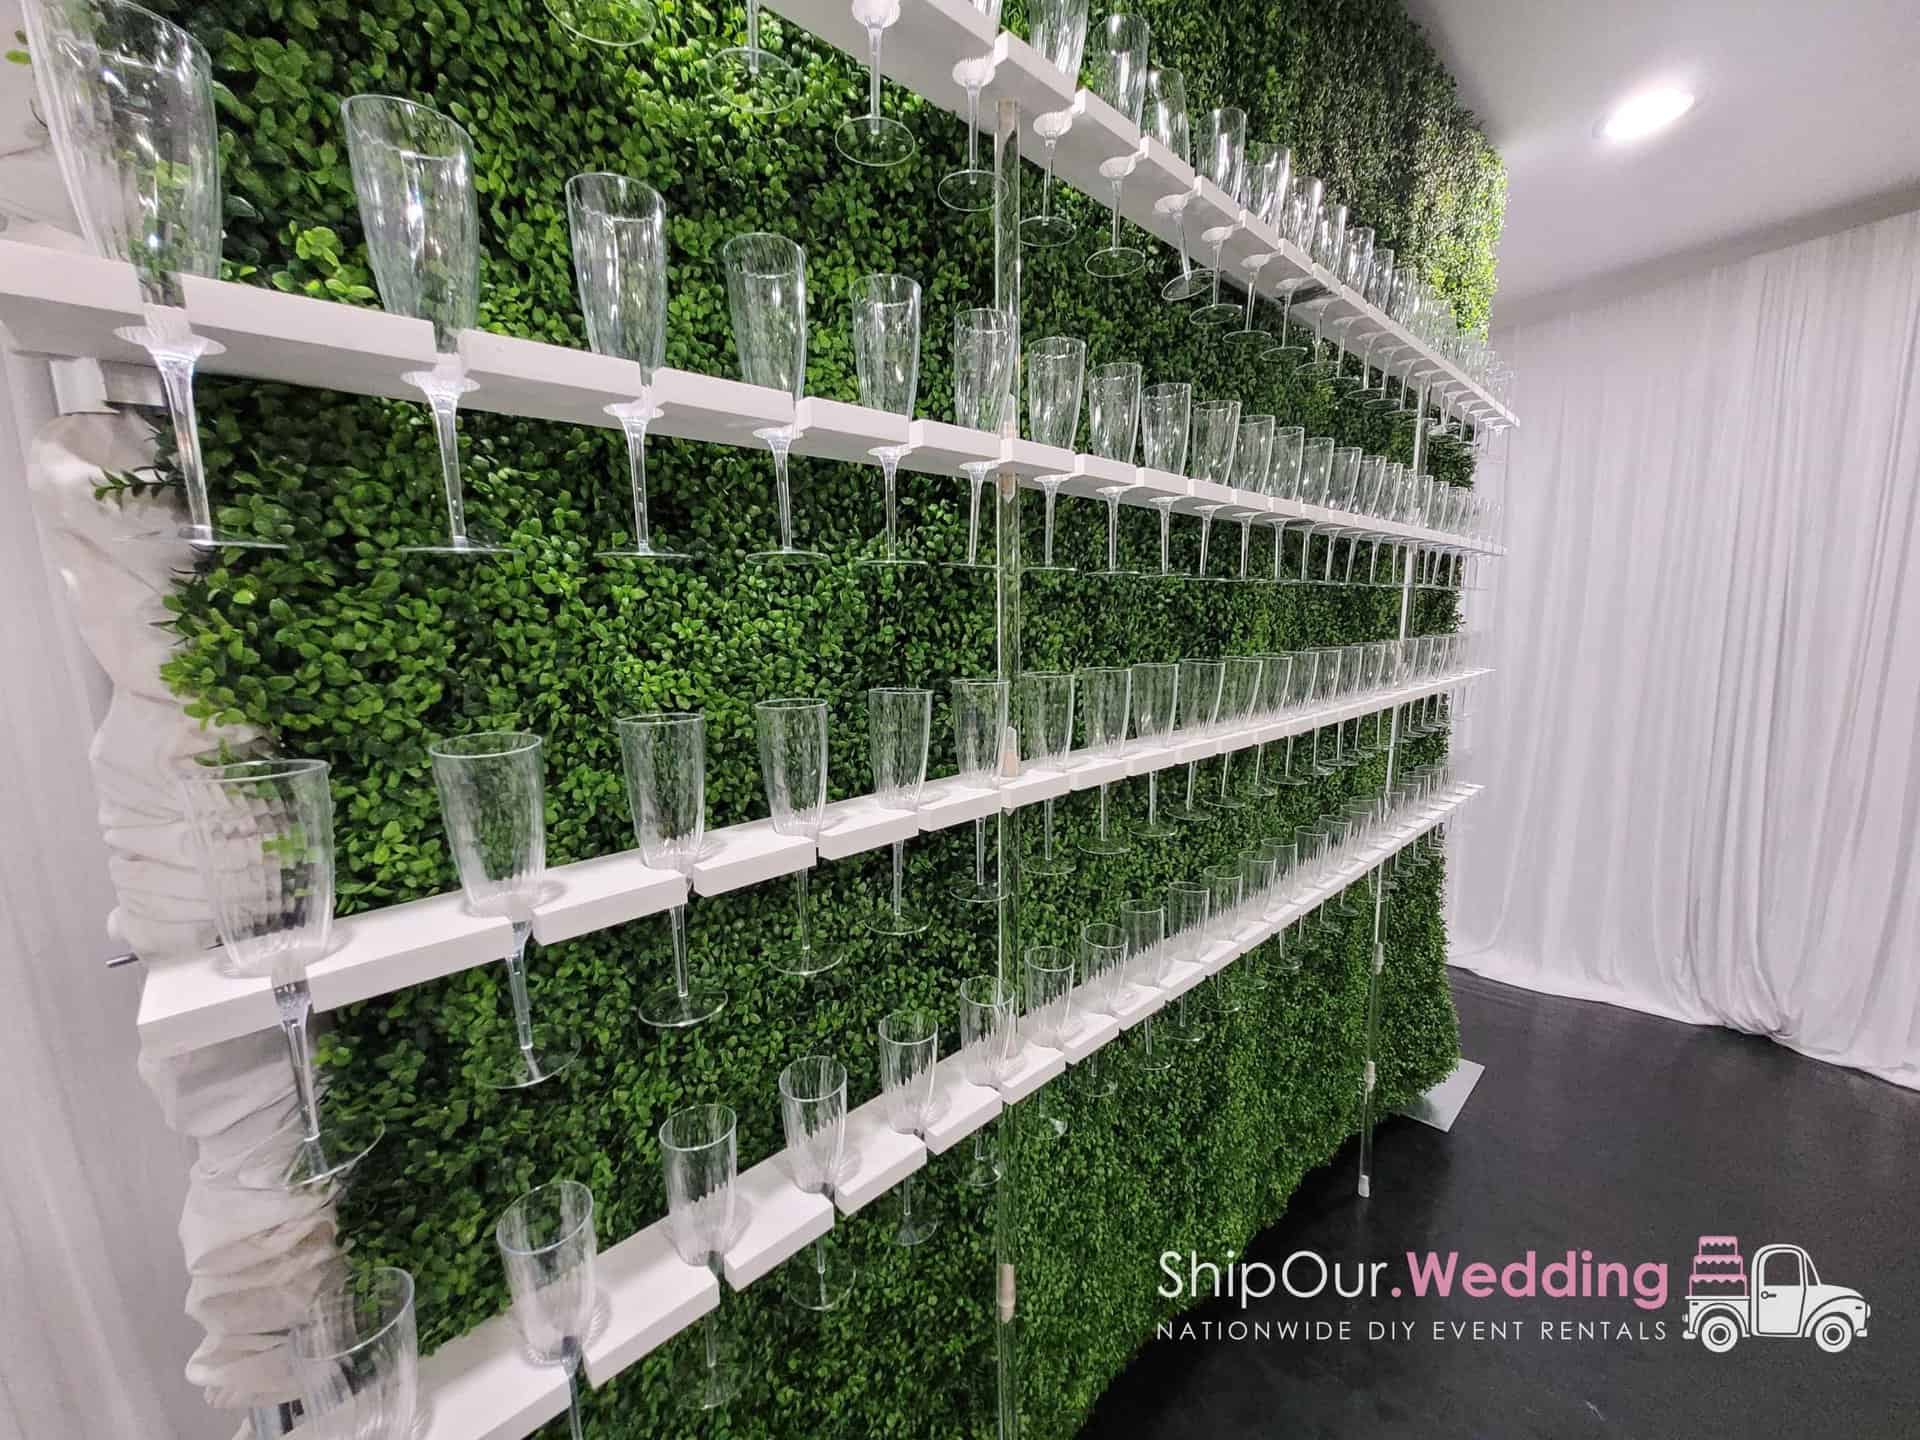
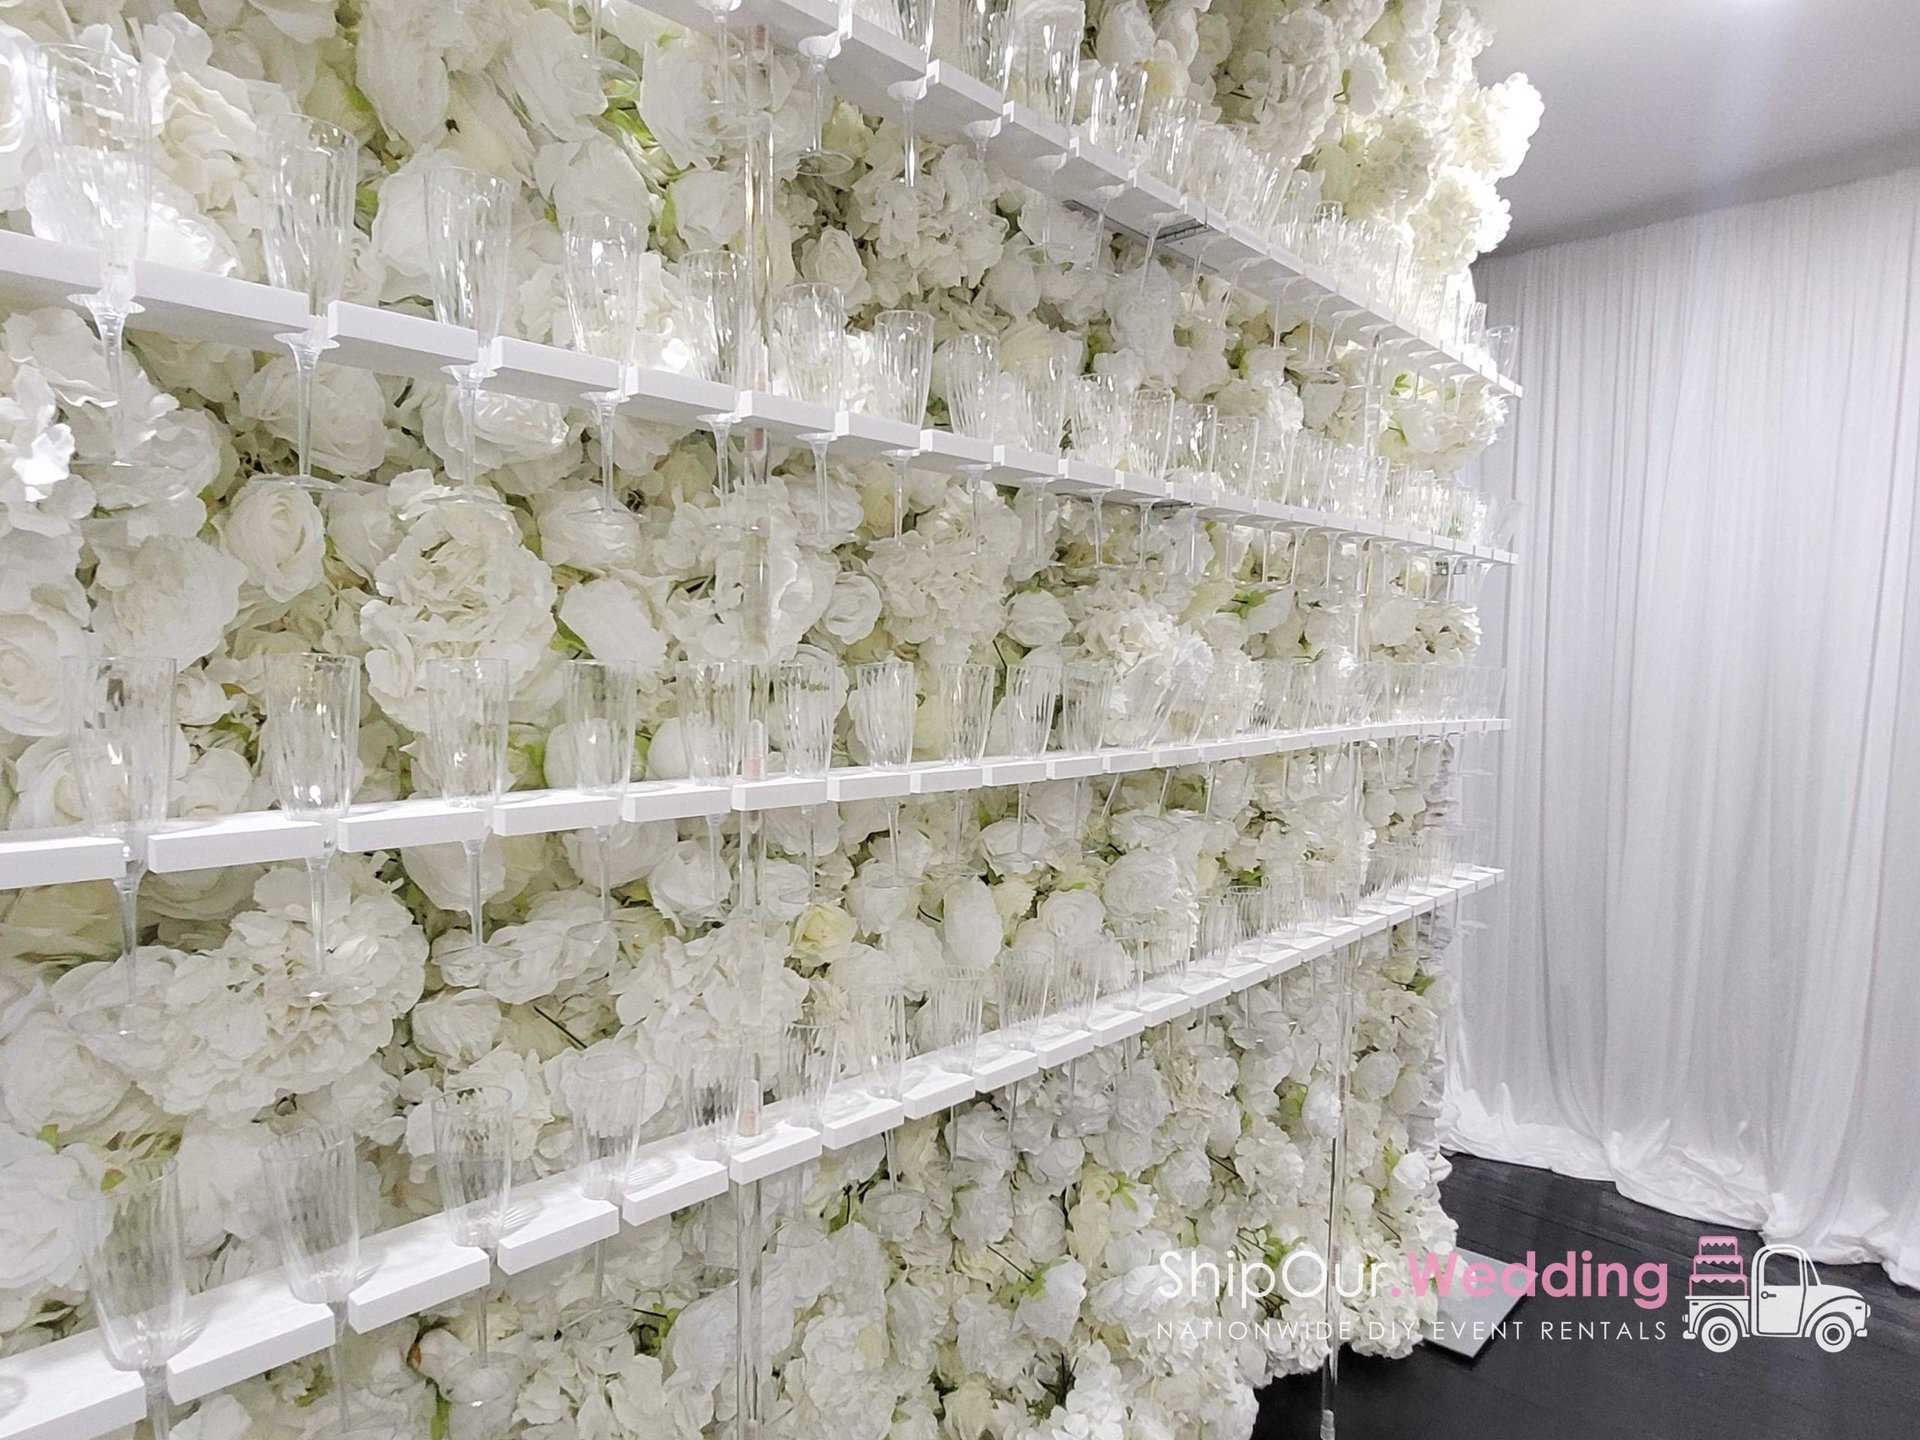
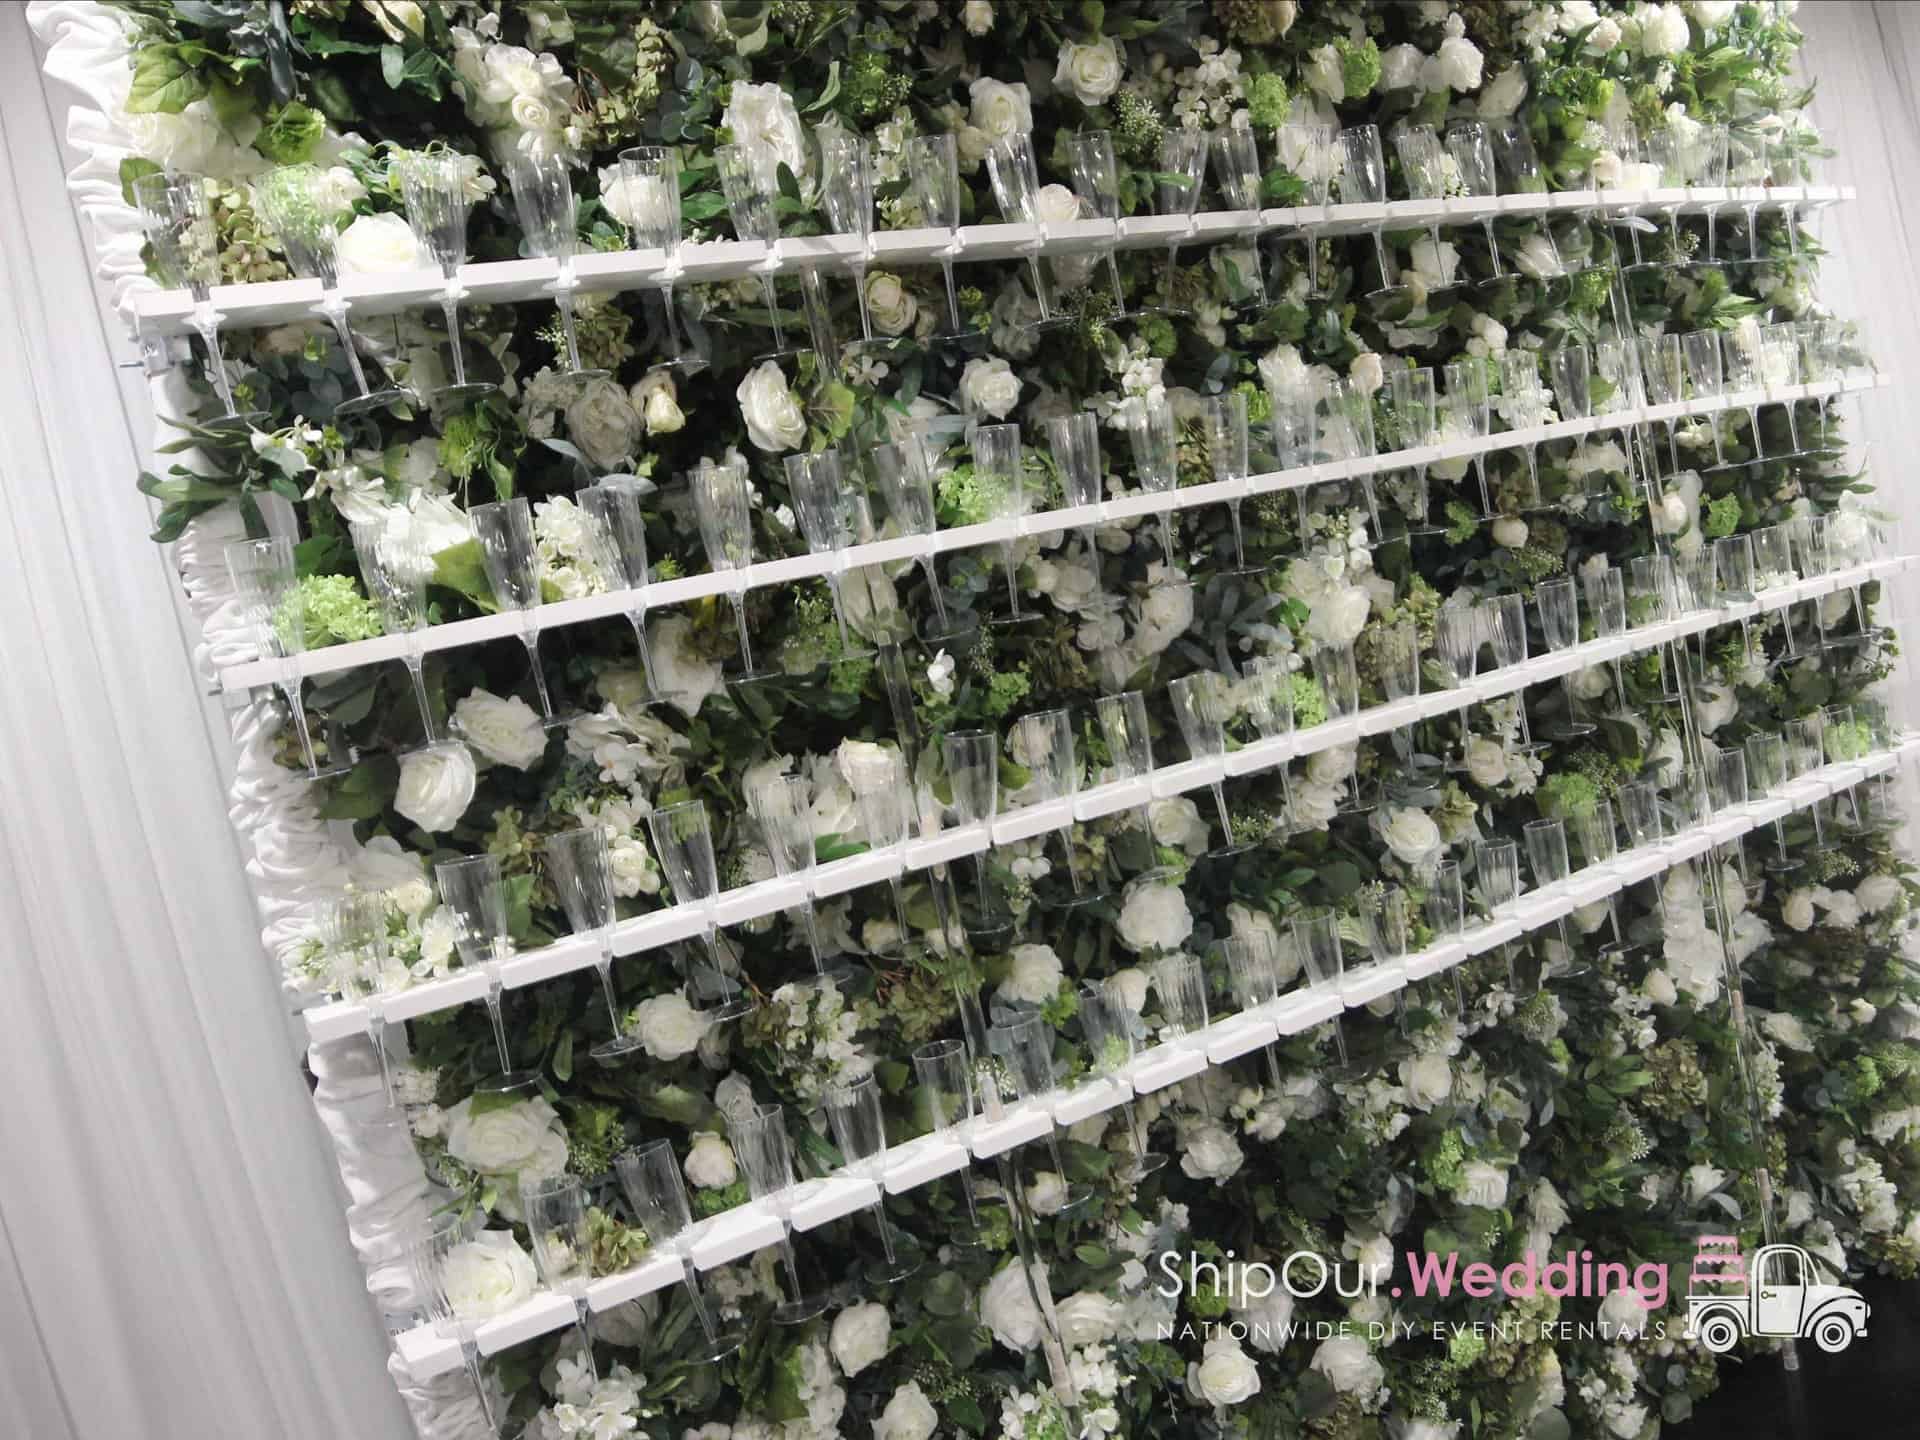
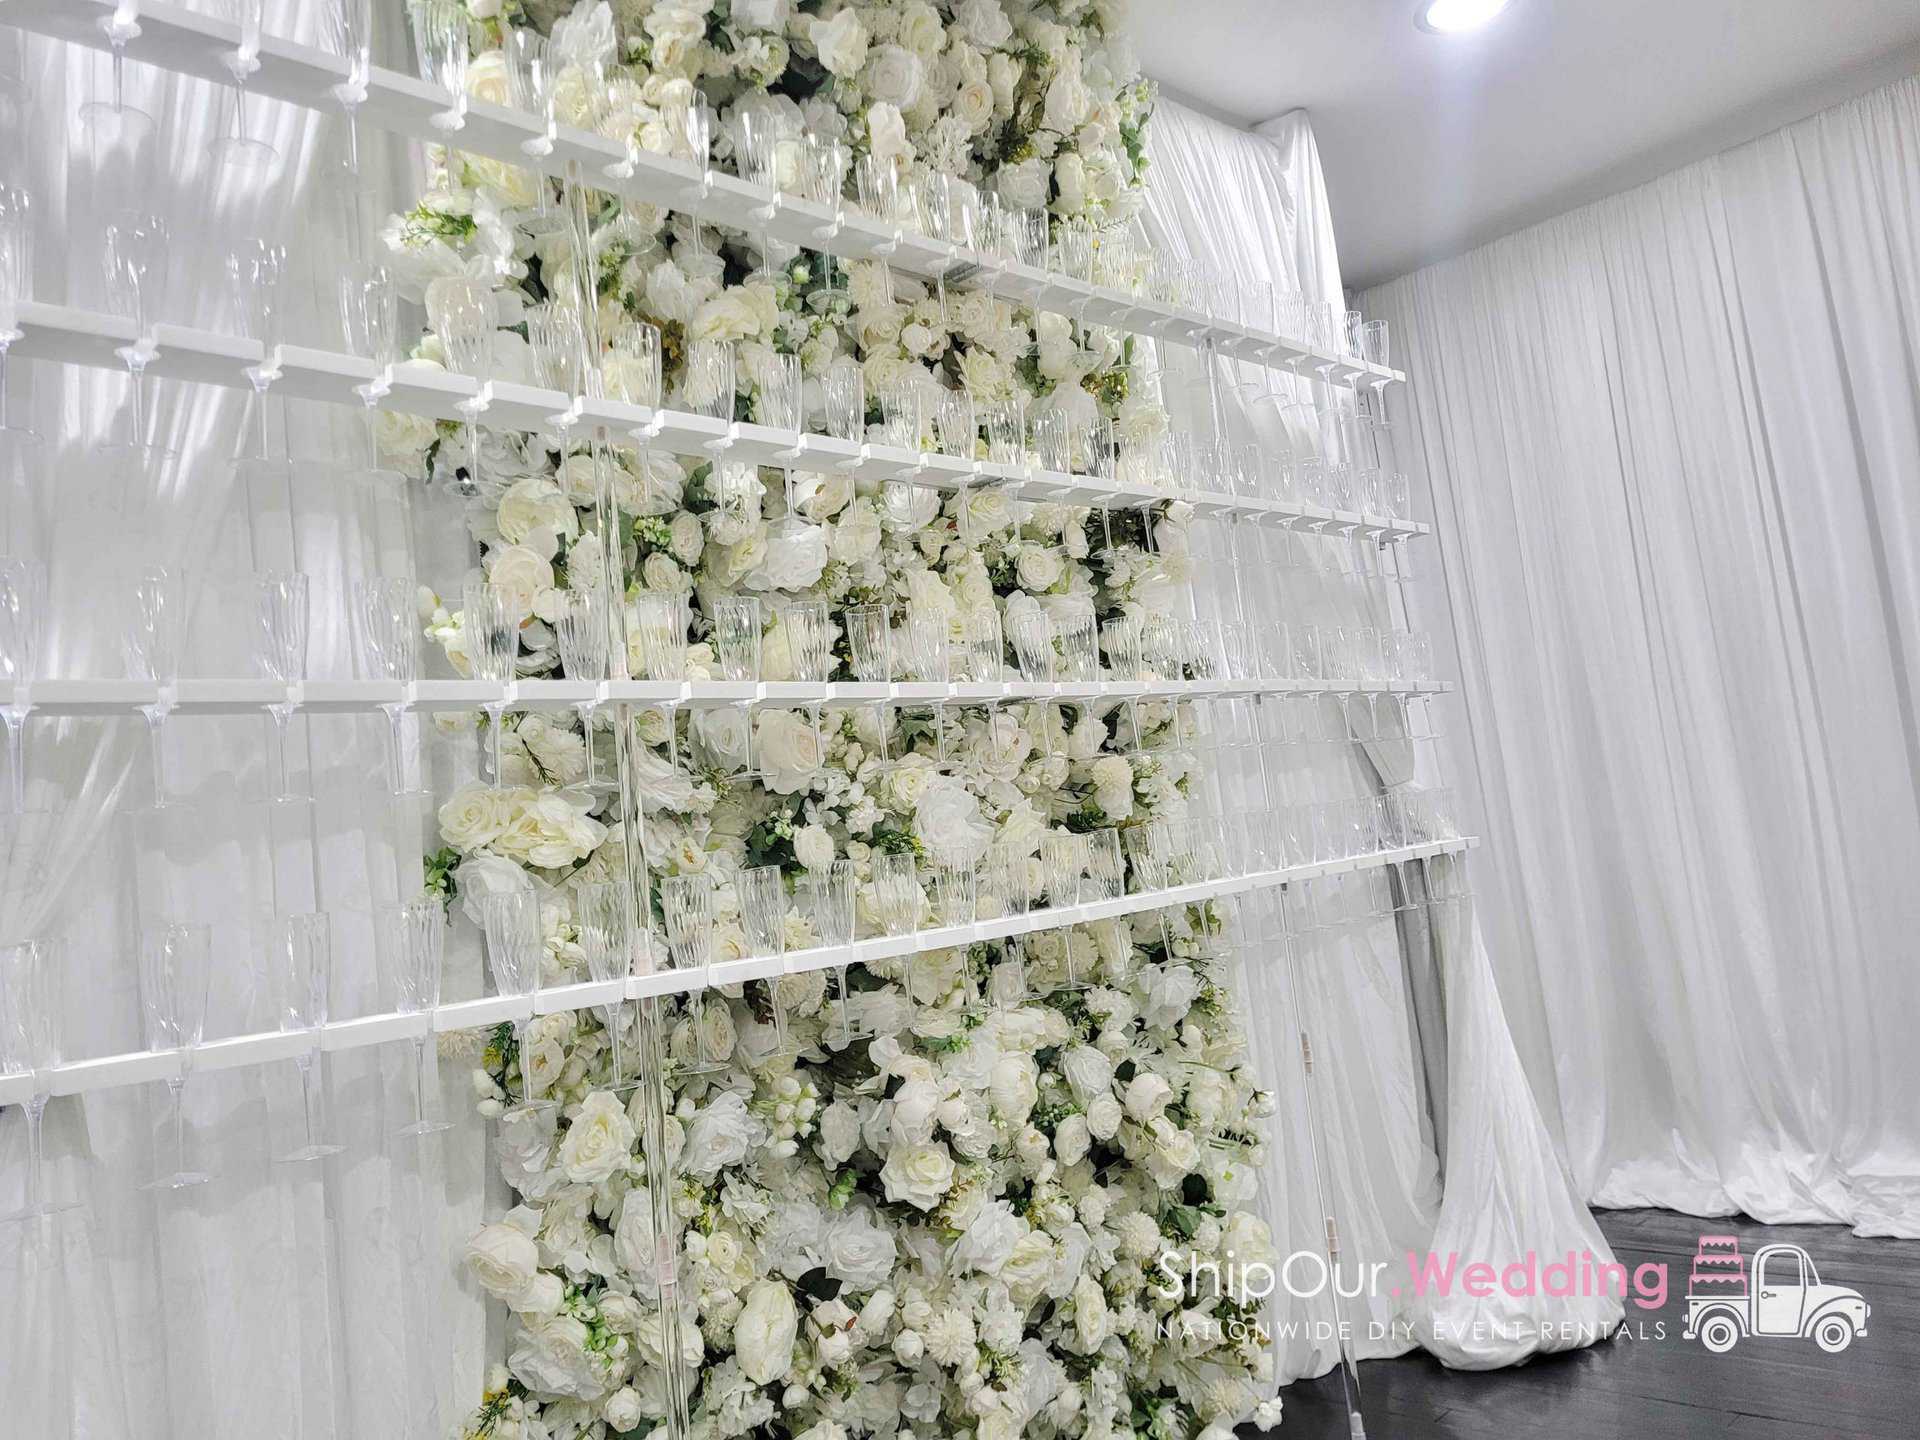
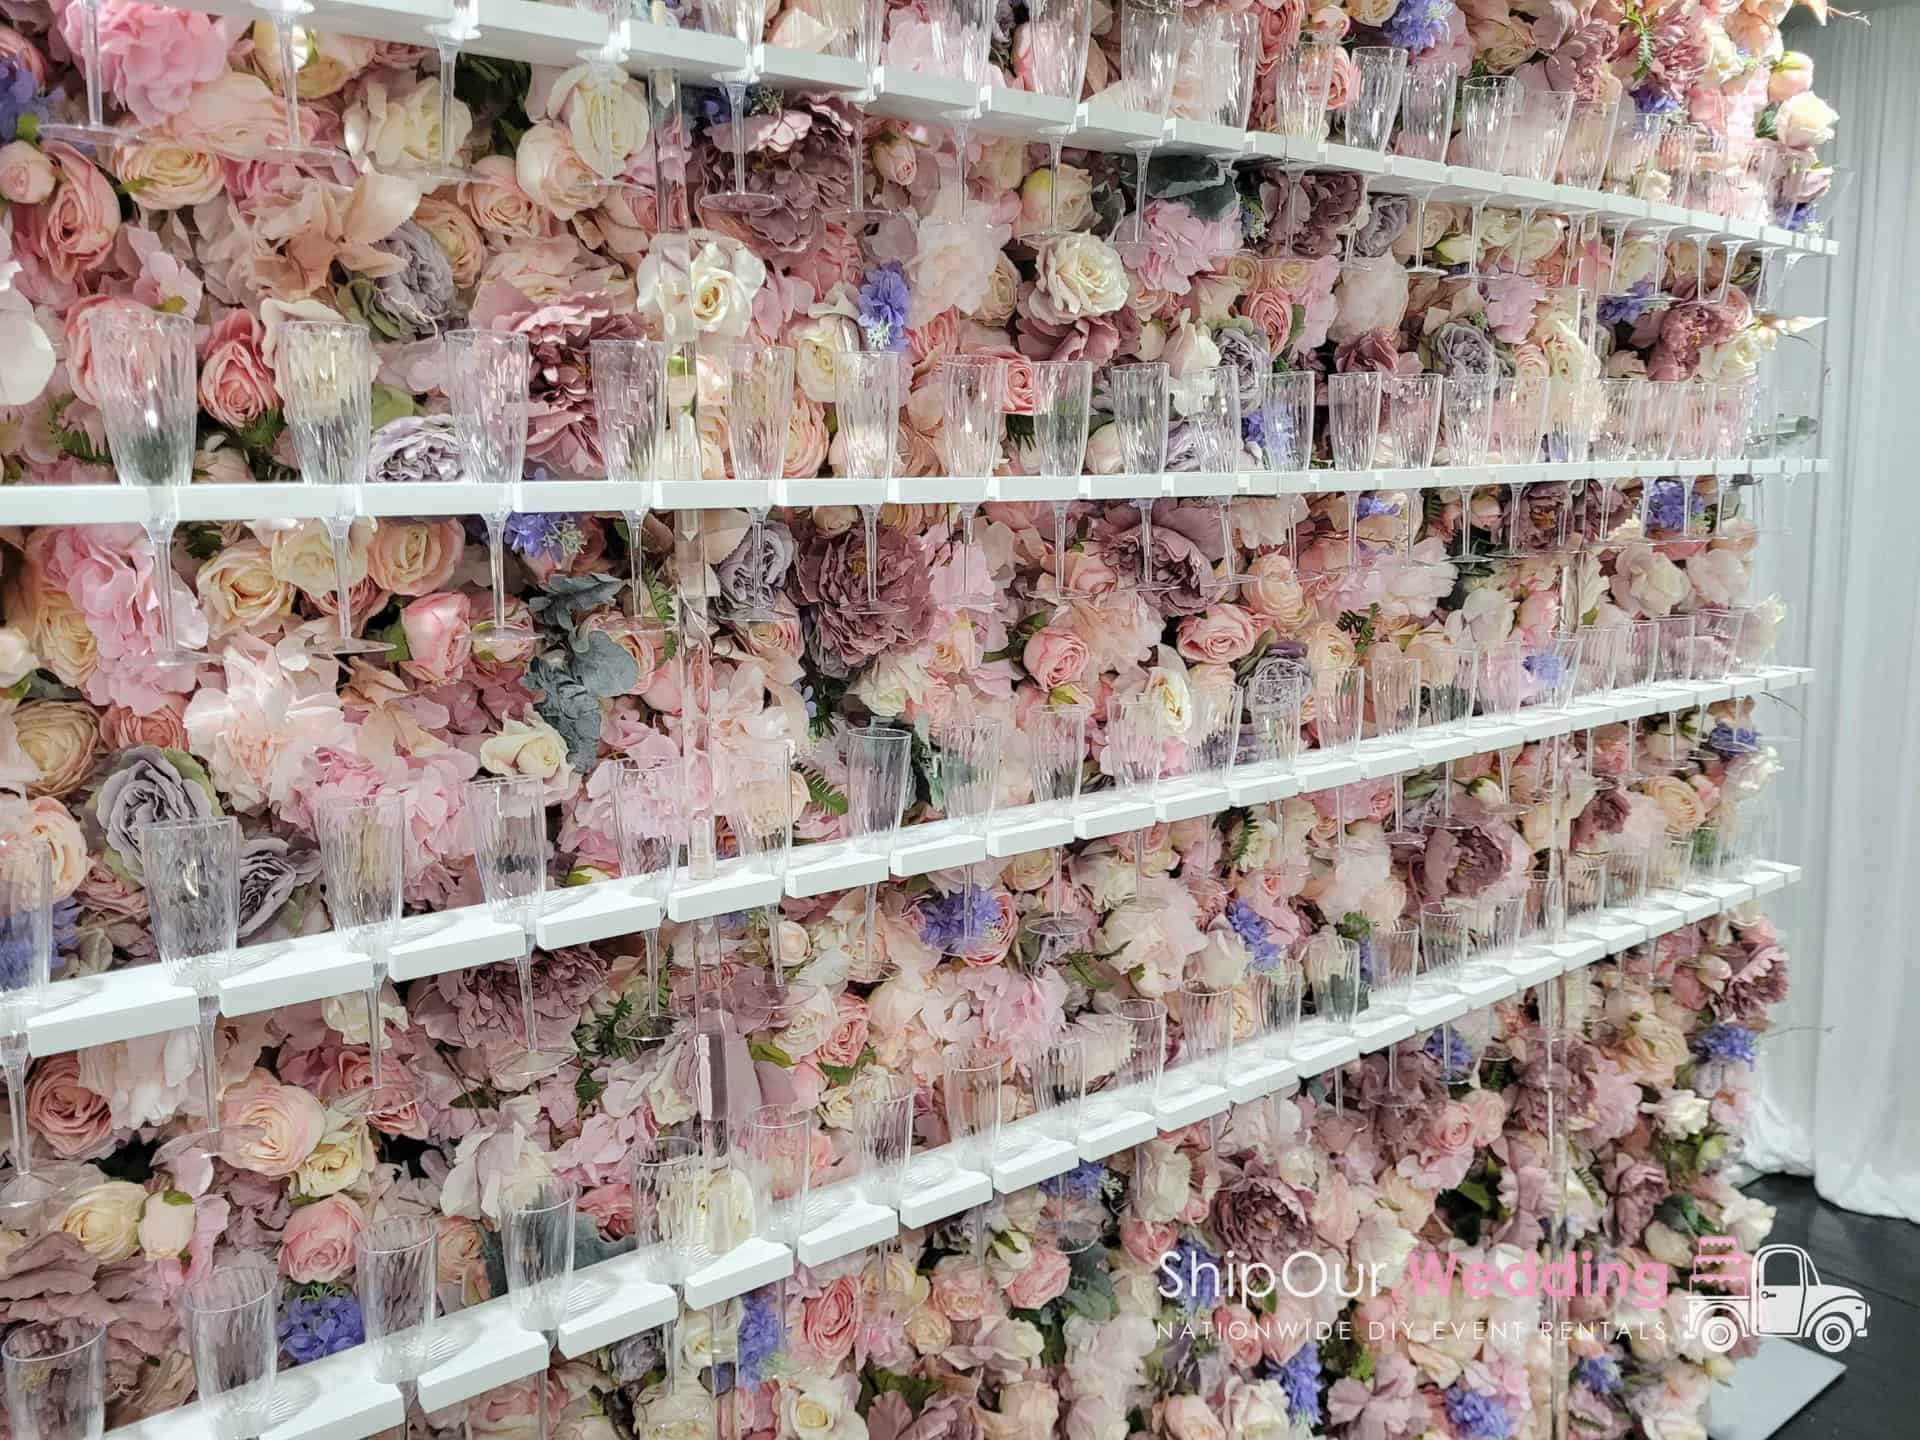
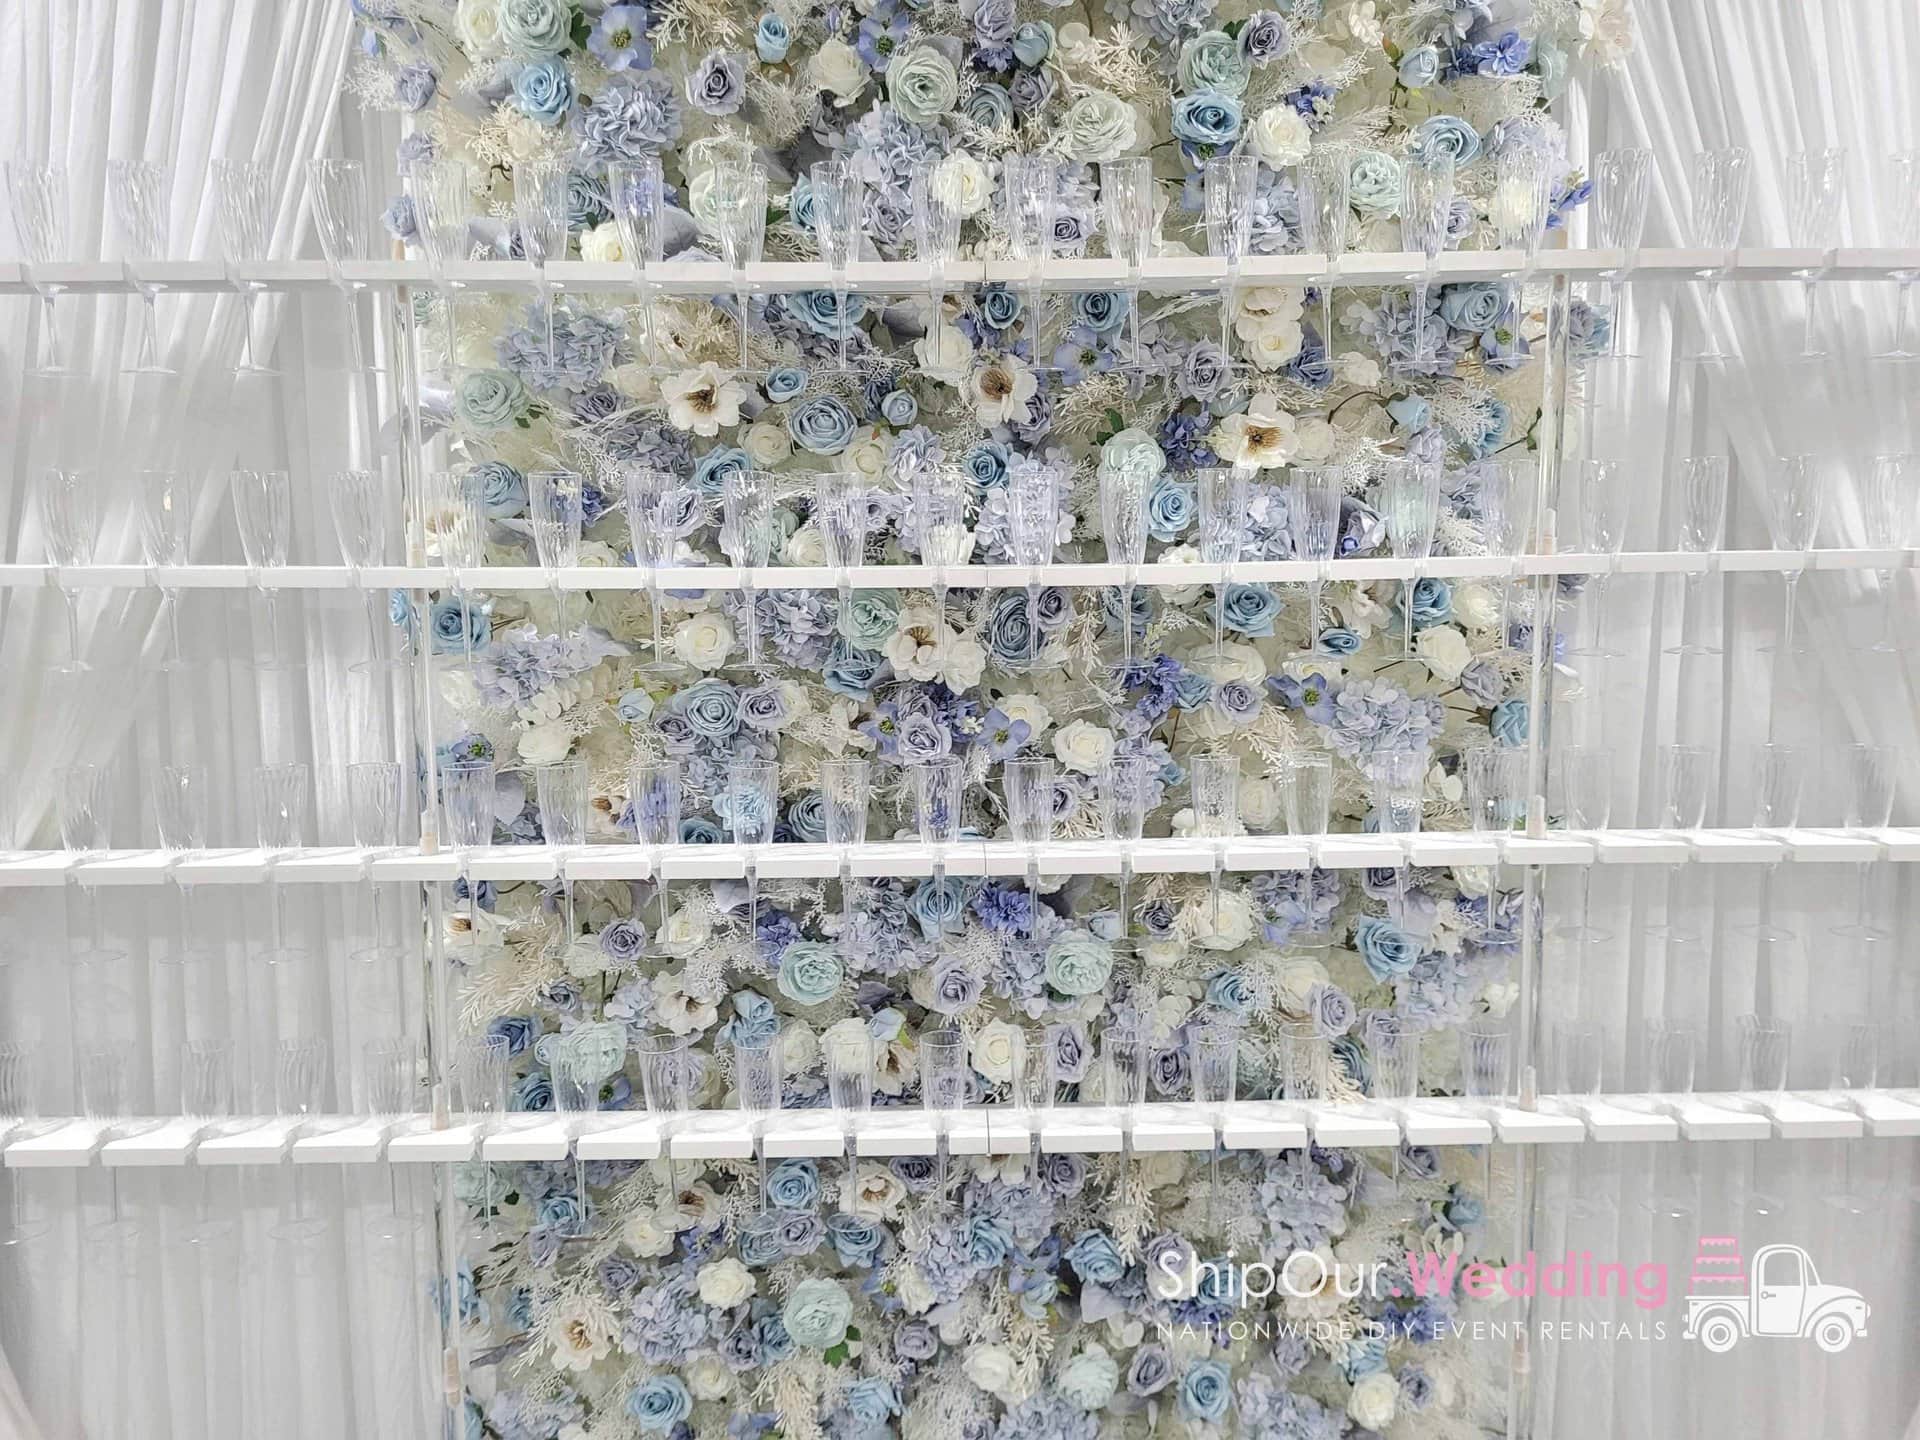
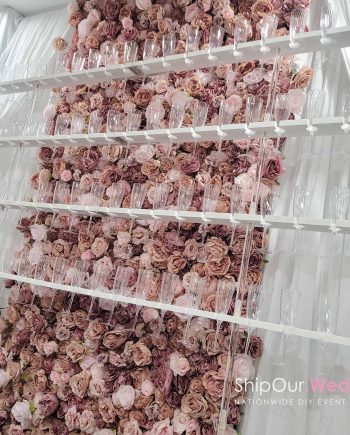
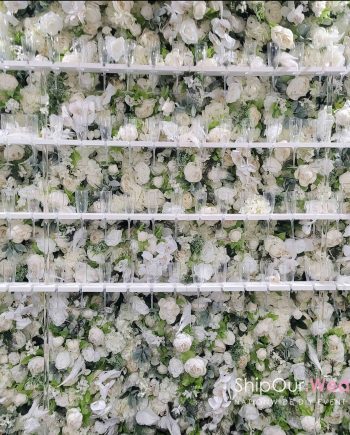
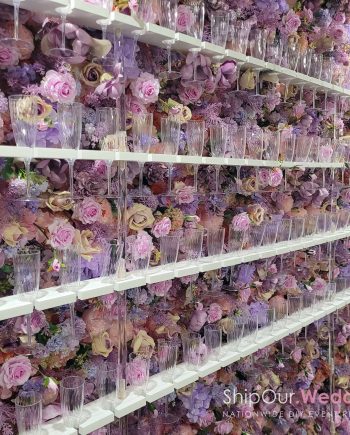
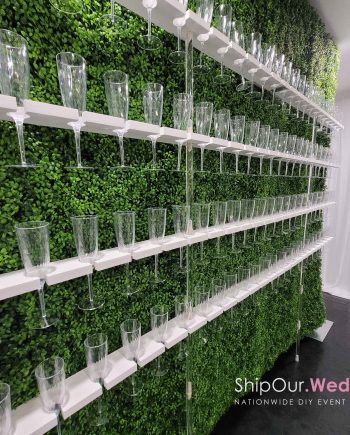
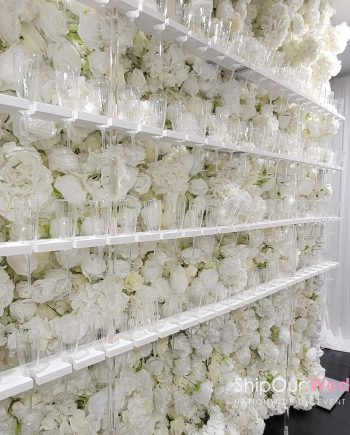
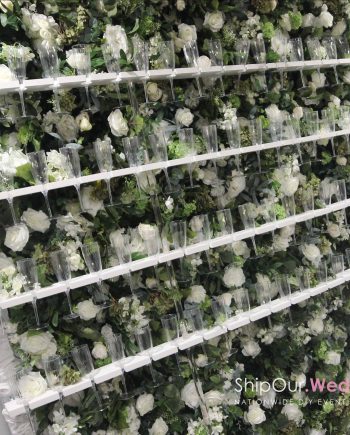
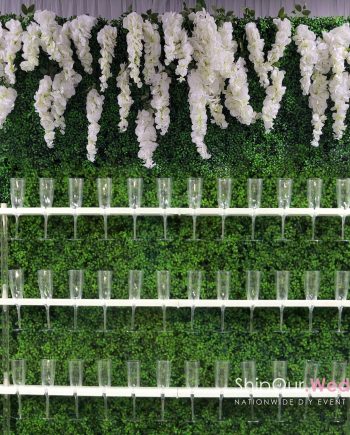
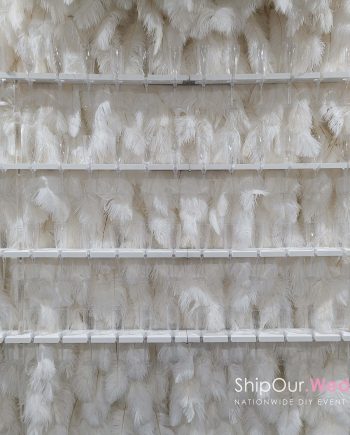
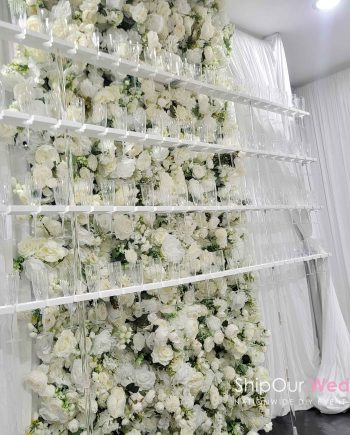
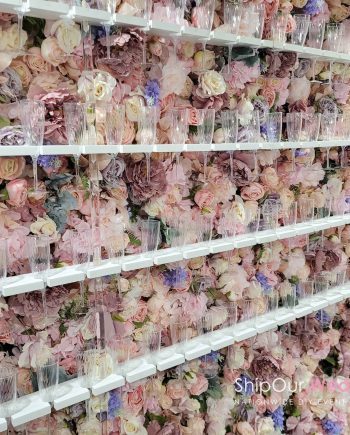
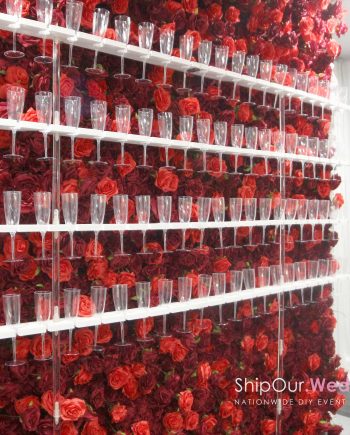
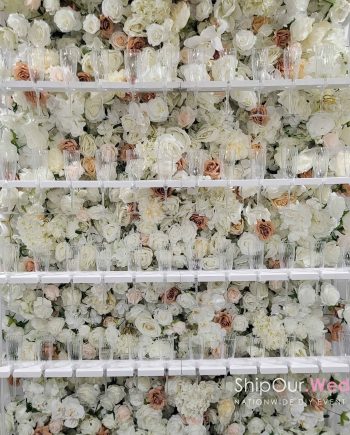
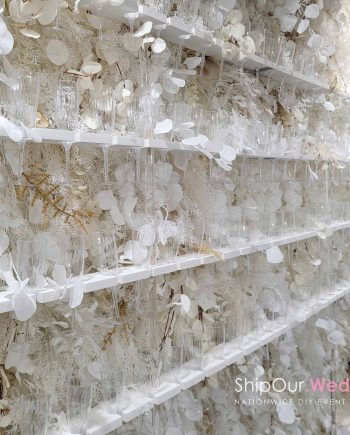
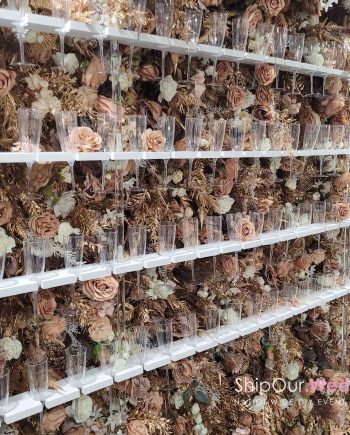
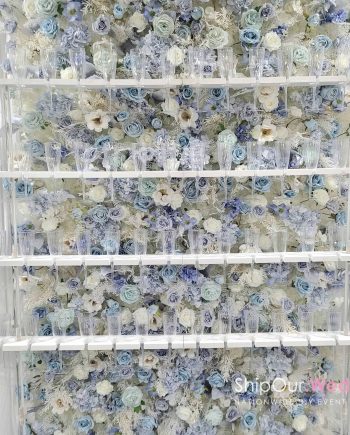
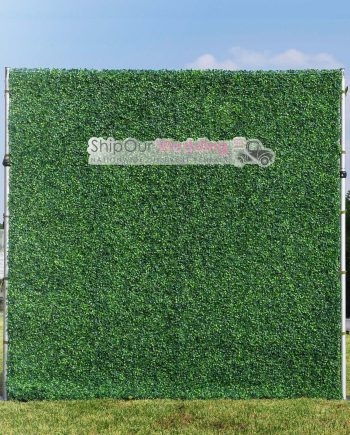
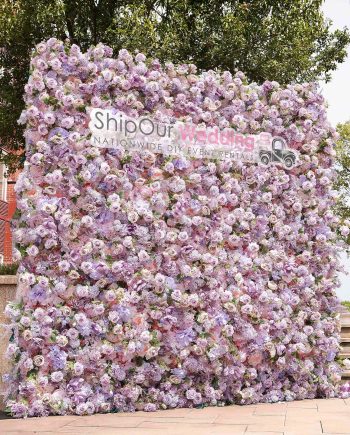
Do it yourself champagne wall rentals are typically big & heavy. Our 8’x8′ DIY champagne walls hold drinks, cost less & set up in 5 minutes! Rent as a greenery boxwood hedge or flower wall! No need to learn how to build or make your champagne wall. Our patent-pending kit allows you to easily upgrade any of our flower backdrops to hold up to (96) champagne glasses. It takes minutes to convert the wall so that you can take advantage of multiple uses. Just watch our video above to see how easily you can do this yourself for less. Read More...
 Scan for
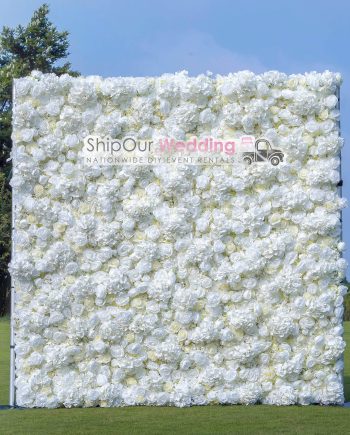

Decor by Aiesha Jackson –
I already have my open pipe & draping equipment. I needed a way to turn my flower wall into a lux champagne wall. This took 5 minutes to put up and work oh so well! I got everything 9 days before my event and shipped it back in the same case. So excited to have found this online knowing I can rent their flower walls too!