This is it… you found it
these drape kits
are straight ️
Why hello again you amazing people! If you’re reading this post then chances are you’re interested in adding some decor to your event venue ceiling. What better way to accomplish that than by using our ceiling drape kits?
In this article, we’ll show you how to setup wedding drapery on ceilings
This is great for weddings, parties, or any company events. Before we start, make a cup of your favorite beverage as we dive into the not-so-talked-about world of ceiling drapery!
✔️ Keep reading the whole article, our guide breaks down everything you need to know so you are not bamboozled.
Average Read Time: 4 minutes 55 seconds
Complete Guide to Hanging Ceiling Drapes
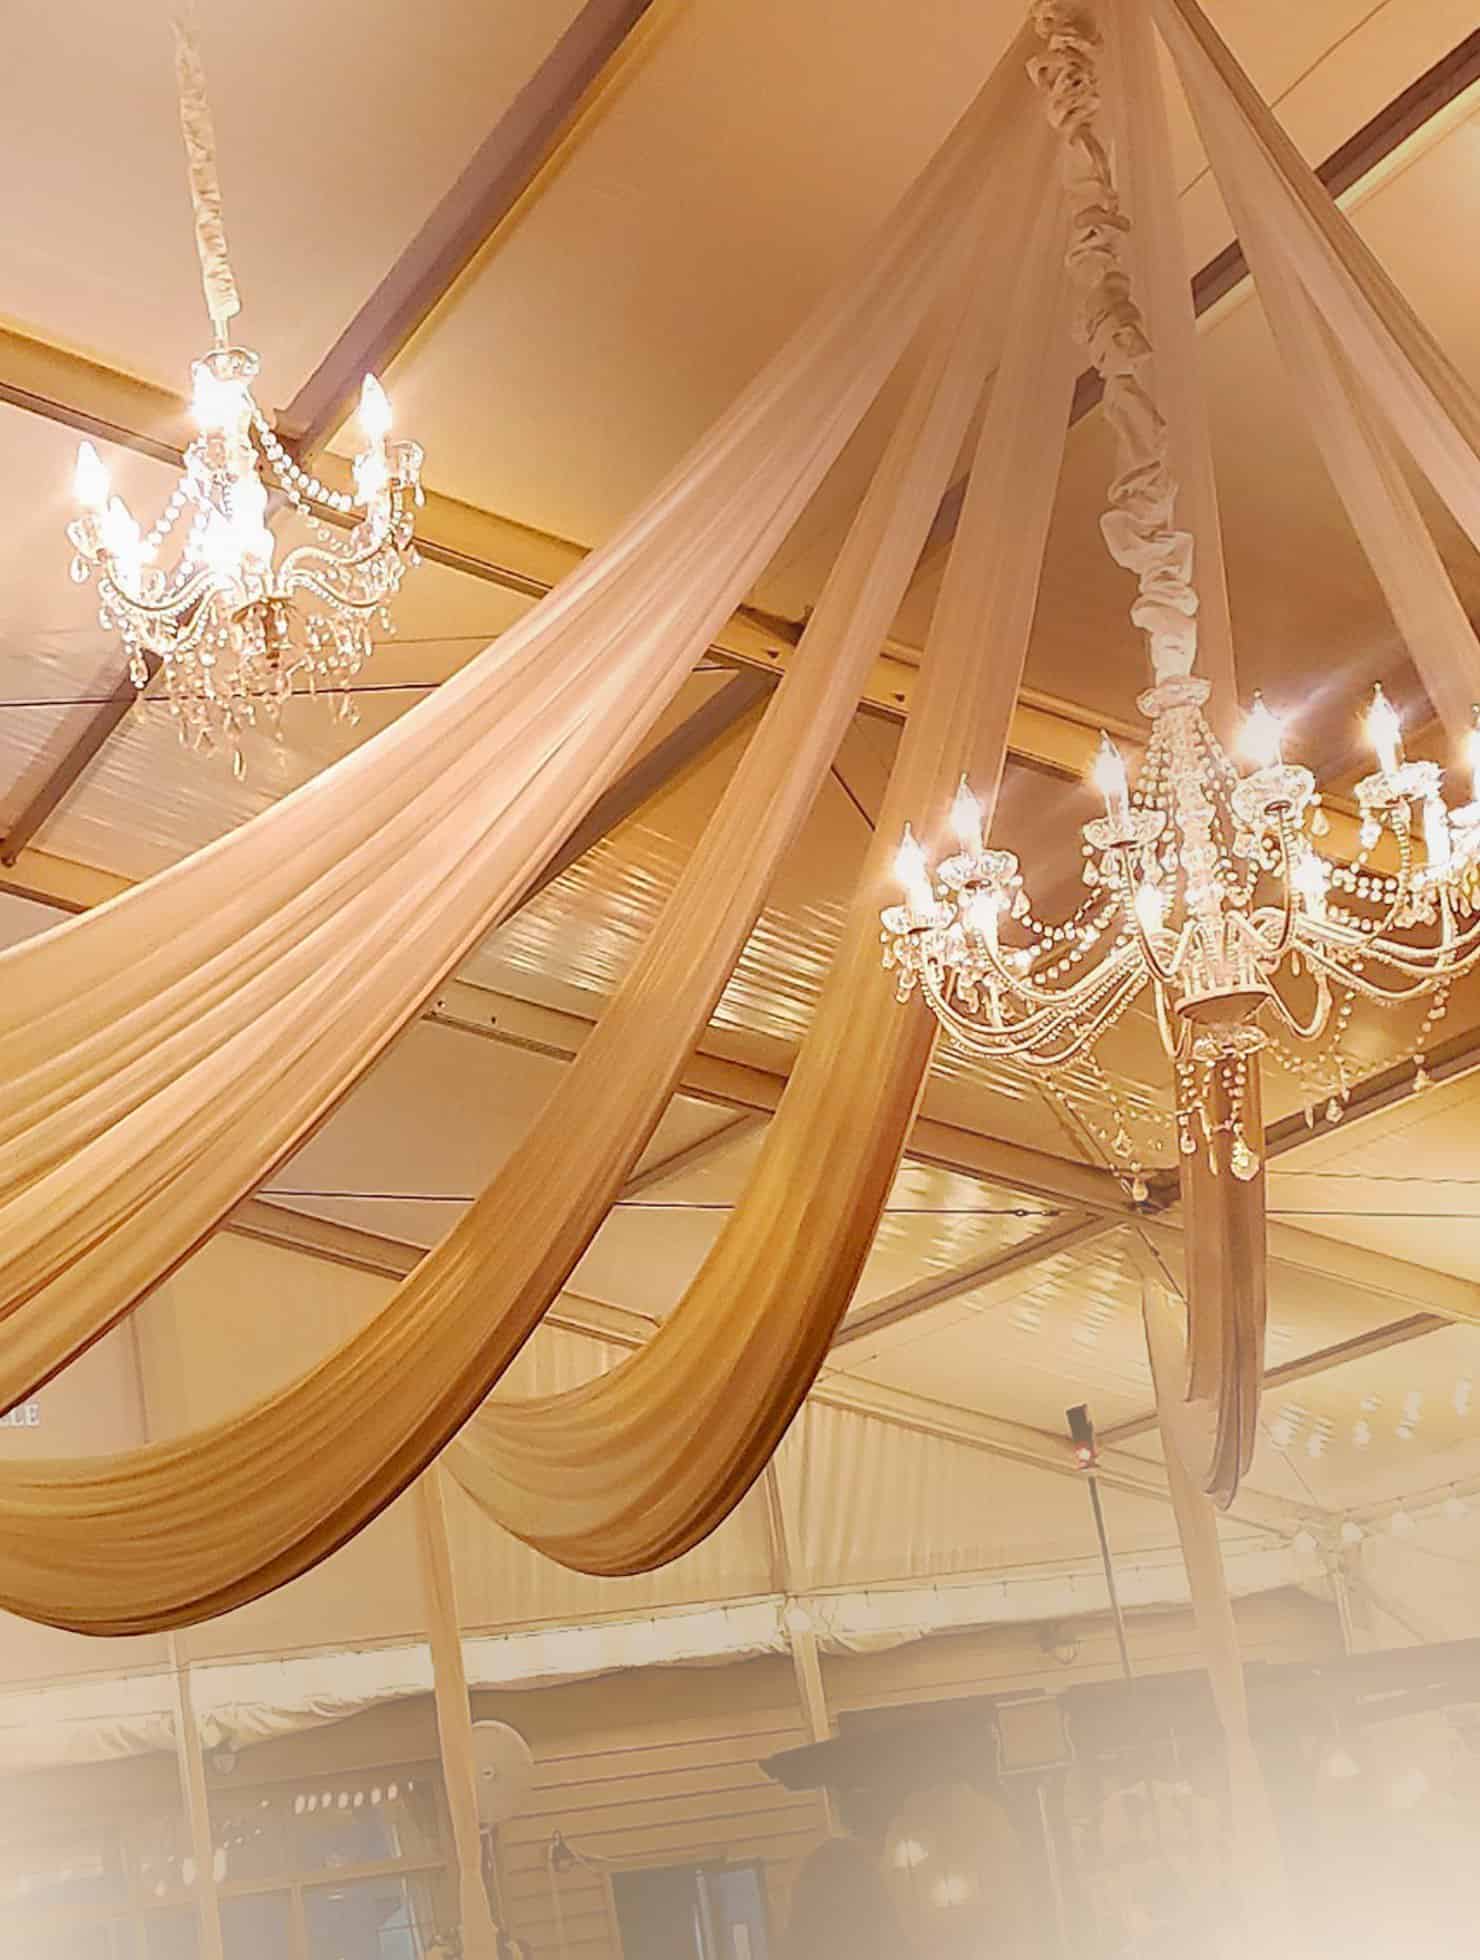
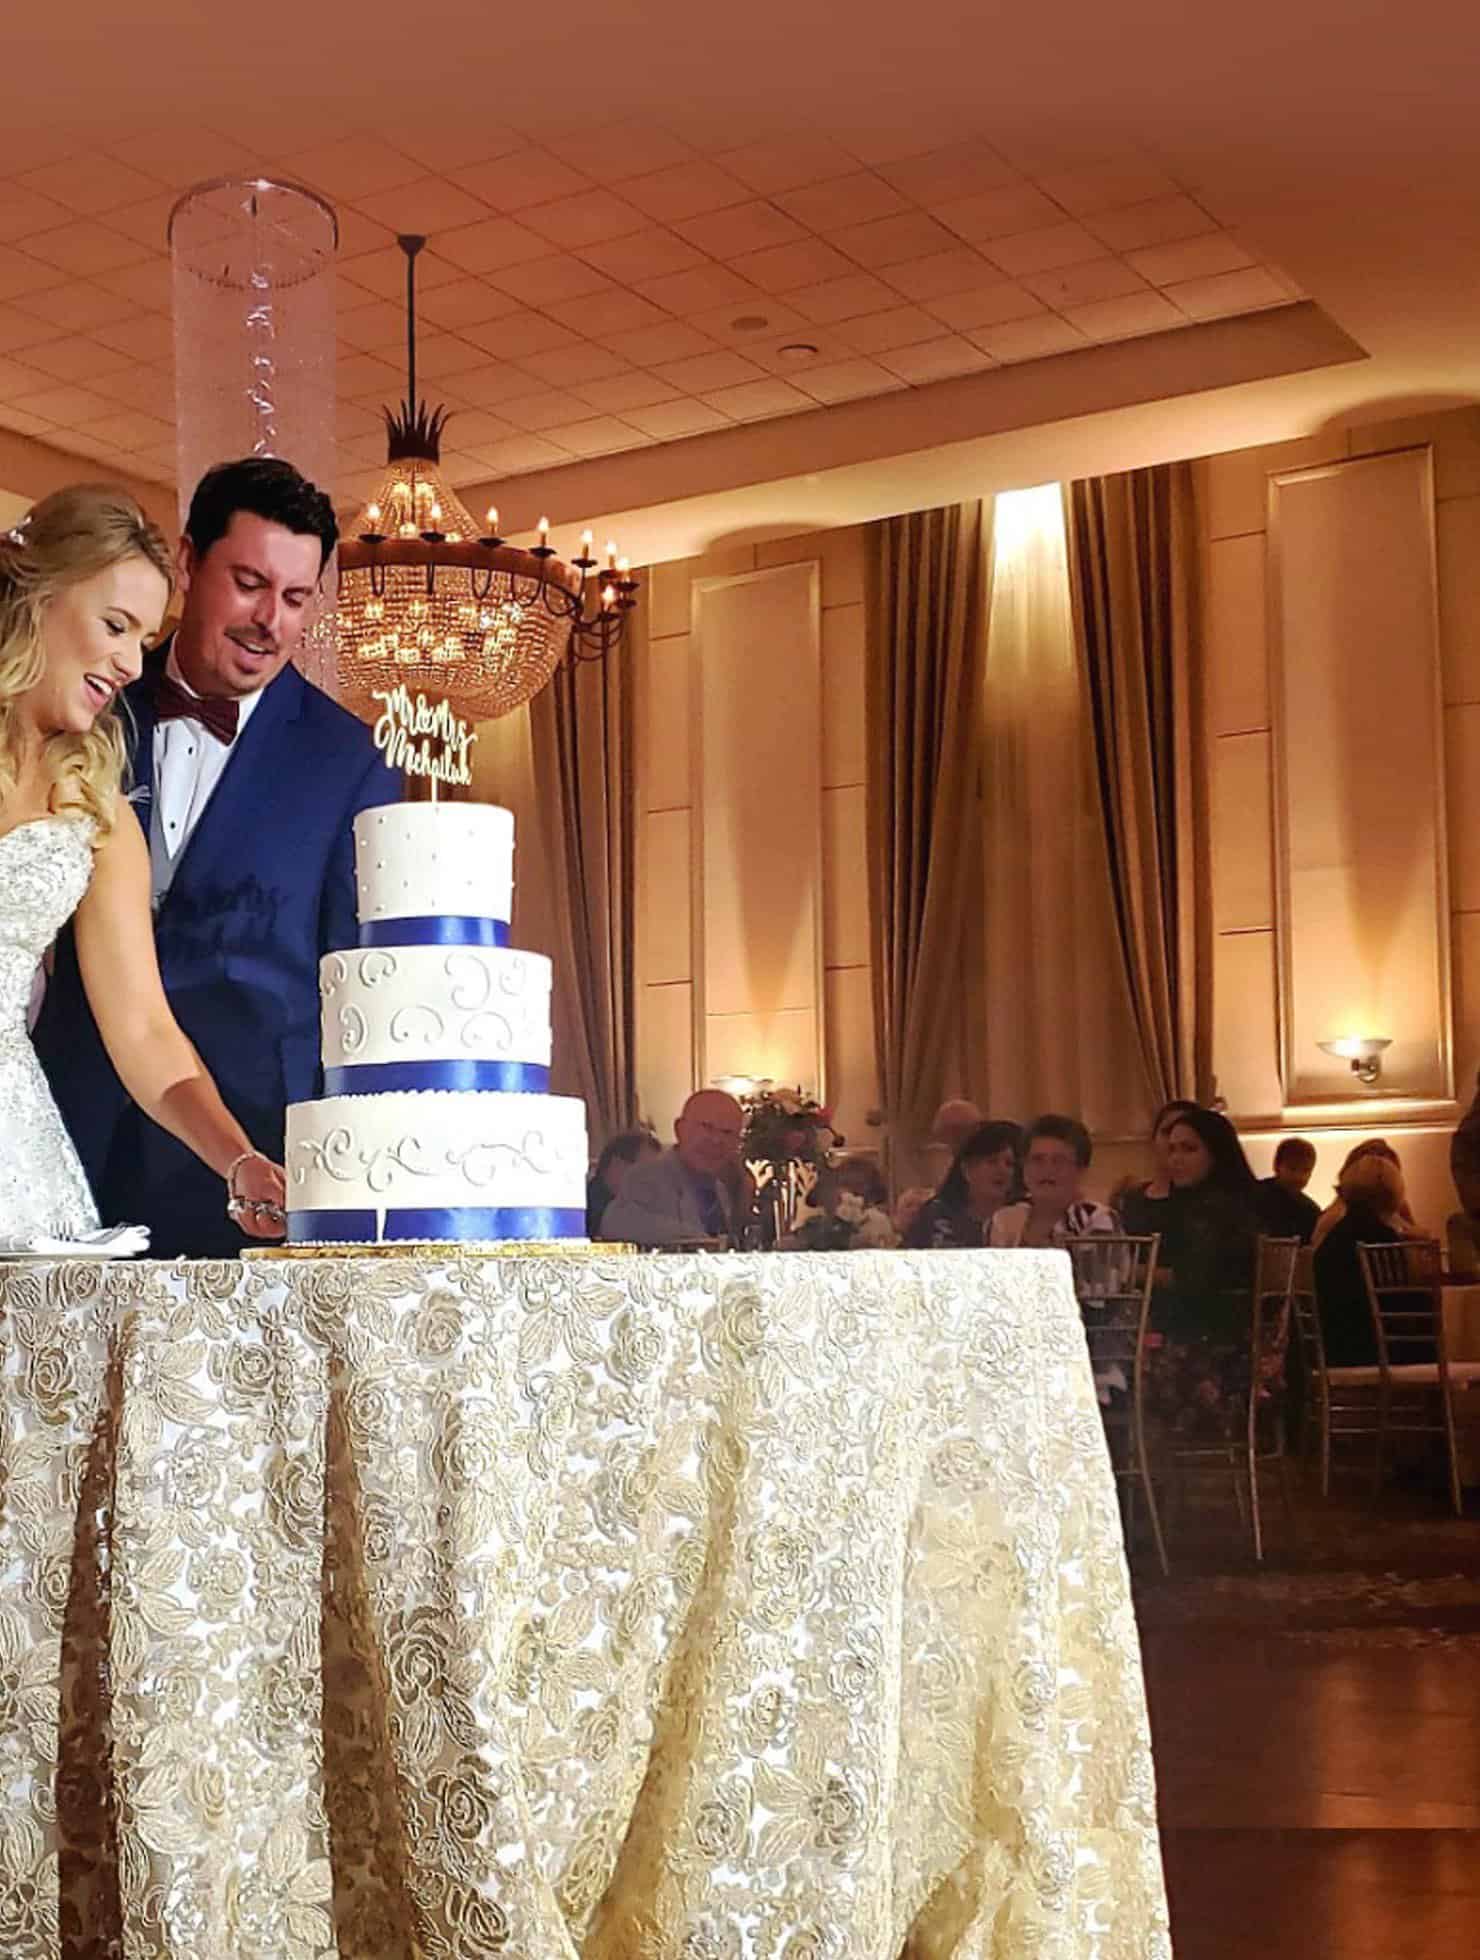
Adding ceiling drapes can transform the entire vibe of your room! Easily introduce depth and character with a little color and texture to make boring areas more exciting!
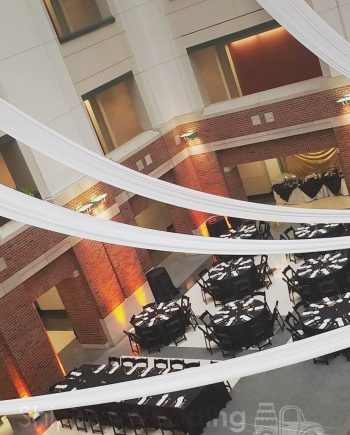
fabric on the ceiling lowers your ceiling height making your room feel more intimate
Combining ceiling & wall draping helps make your room look interesting. The ripples or pleats in the fabric create shadows & make eye candy anywhere it’s used.
Renting more fabric than you need will give the draping a bunched-up look making it more full. Now add some uplighting and WOW you have an instant look that is Instagram-worthy!
Uplighting & extra pleats are the 2 main factors that separate cheap ordinary draping from a professional expensive look
Hold your horses! Before you start climbing up ladders & hanging overhead drapes or curtains in a room, we need to know the layout of the ceiling first. There are generally (3) types of ceilings:
- Open ceilings have rafters and beams exposed to attach the fabric
- Drop ceilings the center needs to attach to the beam above the tiles, fabric legs can attach to the drop ceiling channel grid
- Finished ceilings are difficult to drape, they lack beams or holes to attach hooks & may require drilling anchor points
Find Your Center
We are not talking about meditating… When you’re putting up curtains or drapes in a room with a ceiling featuring two-foot squares like tiles or panels, count the squares to pinpoint the center. Doing this you can accurately measure the center of your room without using a tape measurer!
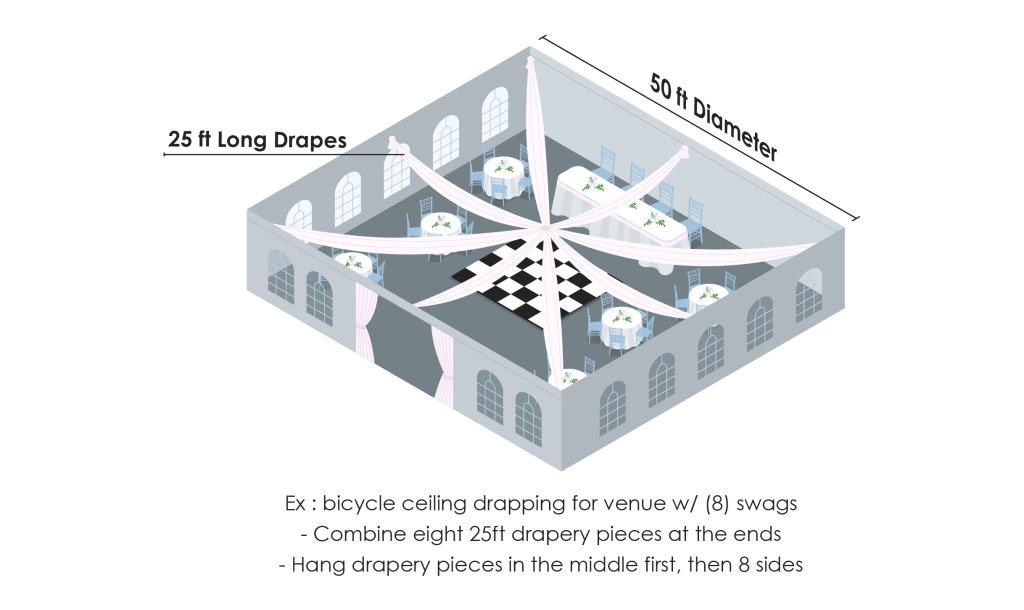
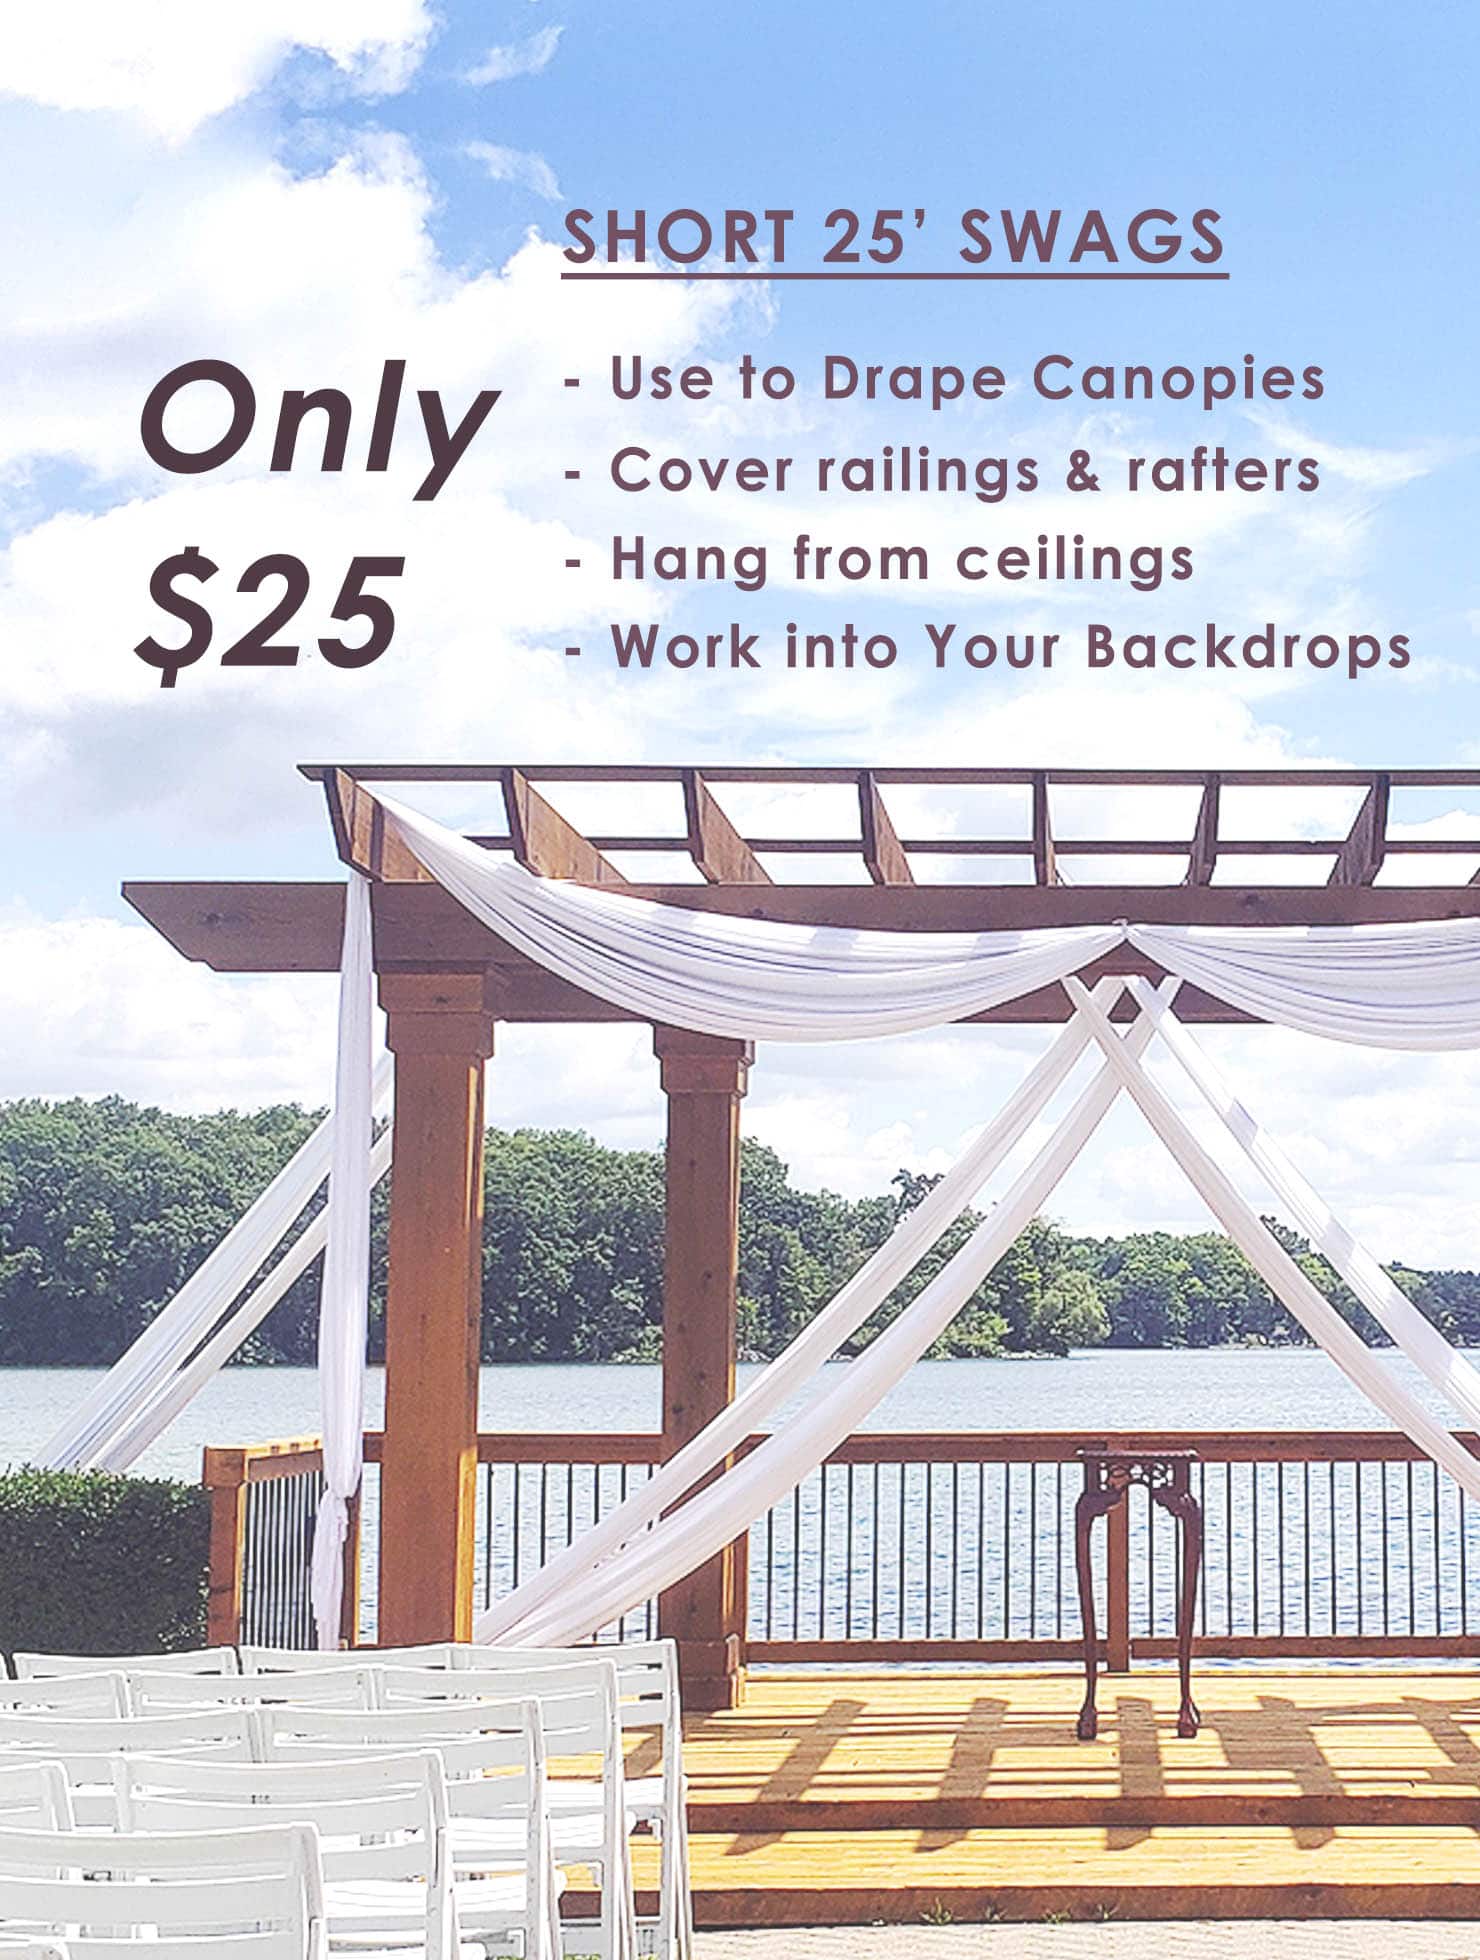
A space that is 20 panels wide will probably be 40 feet across. Using 2 pieces of 25ft draping should be wide enough to bunch in the middle with 2 arms going opposite directions.
This extra drapery length allows for the fabric to hang down in fullness as it swoops from left to right. Any extra drapery can be bunched up and kept up in the ceiling hidden from view.
Be sure to check with your venue that you are allowed to hang anything from their ceiling—never drill holes in a finished ceiling without approval!

Now that we’ve covered the basics, let’s explain step by step how you hang curtains on ceilings.
1. Get All Your Supplies Together
You will require the following items:
- Fabric: Rent either 25 ft draping or 75ft draping depending on the length of fabric needed to cover your ceiling.
- Zip ties & pipe cleaners: Hold the fabric in place.
- C-clamps, carabiners, safety cable: How you secure the heavy middle fabric to the rafter above the ceiling grid.
- Step ladder or rolling scaffolding: How you reach the ceiling safely.
- Lighting: Add uplights to change the color of your ceiling draping.
.
2. Fold the Drapes
To achieve a drape for your fabric piece, begin by forming pleats in the material. Here are the steps to follow:
- Take the material in your hands and gently fold it back and forth to create an accordion-like effect.
- Pull together the folds at the base and raise the material towards the ceiling to create instant volume!
.
3. Keep Folds in Place
After you’ve finished pleating the fabric by folding it in your hand, the next step is making sure everything stays securely in place.
- Secure all the pleats in position by fastening a zip tie around the edge of the entire piece of fabric.
- For added security, use extra zip ties to hold the fabric in place, this gives peace of mind & helps prevent unexpected incidents.
.
4. Attach Fabric to Ceiling
Now, onto the next section. In case you have a suspended drop ceiling:
- Fasten the fabric to the ceiling using C-clamps or pipe cleaners, fabric ends should be evenly spaced & firmly secured.
- For open ceilings with steal beams, you can use magnetic hooks 100lb rated to attach draping (make sure rating is enough)
- For finished ceilings, seek support or guidance on how to create mounting points while following your venue’s rules.
.
5. Adjust Where Needed
Step down from your ladder and take a water break while analyzing your draping.
- Ensure that the drapery volume & height are the same for all fabric pieces
- Make changes by pulling or releasing fabric to achieve the best result.
.
6. Hide Extra Fabric
Whenever there is excess fabric while setting up drapes, neatly tuck it along the edges of the fabric to maintain a clean drapery arrangement. The drapes should look organized on the ground when guests look up.
-
Ceiling Draping Kits for Tents & Halls
Original price was: $48.99.$25.99Current price is: $25.99. -
75ft Long Drapery Fabric (Choose Quantity, White Only)
Original price was: $100.99.$75.99Current price is: $75.99. -
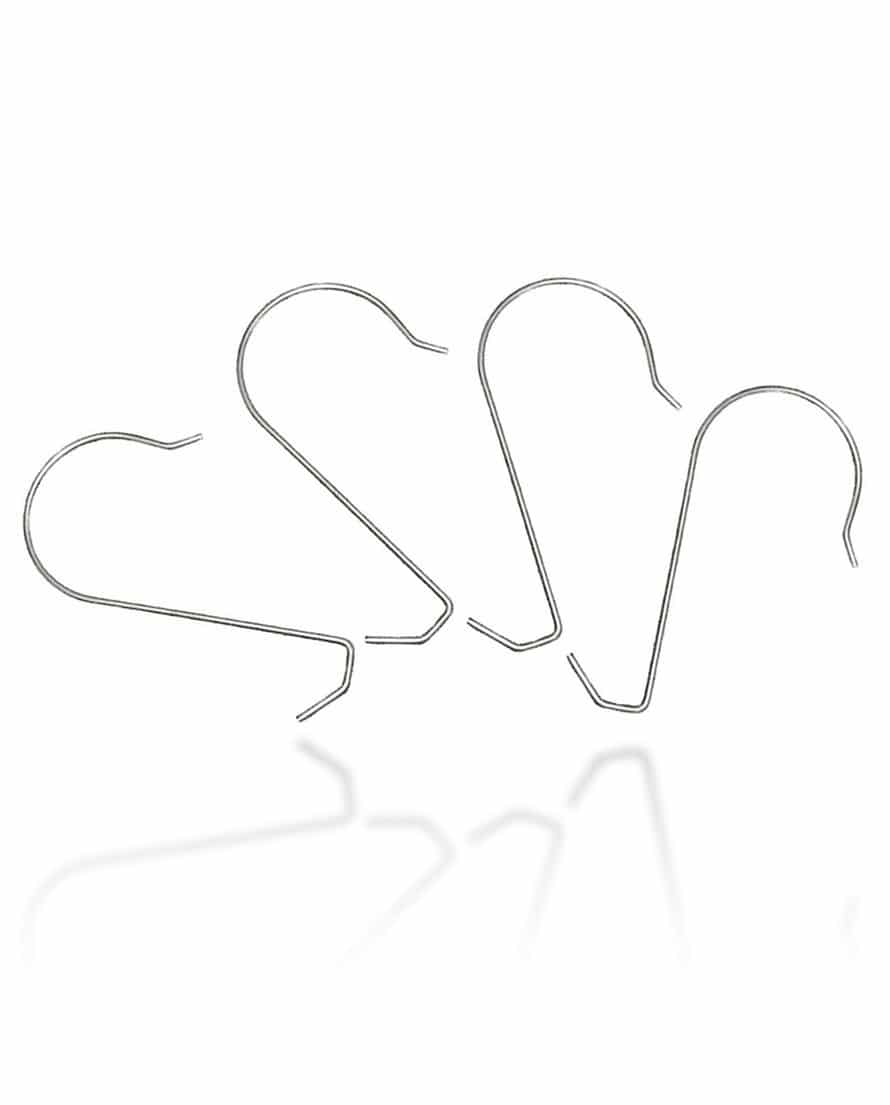
Drop Ceiling Hook Hangers (S Hooks 4 Per)
Original price was: $6.99.$4.99Current price is: $4.99.

A majority of people 90% of the time will rent white ceiling drapes. This is done for many reasons, white is neutral, goes with weddings, cost less than dye lots, & is easy to change color with lighting.
snazzy 3d video 
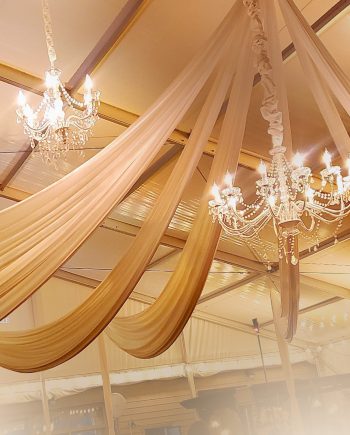
Uplights wash fabric in a variety of colors, while fairy lights can add a twinkling touch. Instead of going with one main color, try mixing 2 colors like in the photo below for added depth.
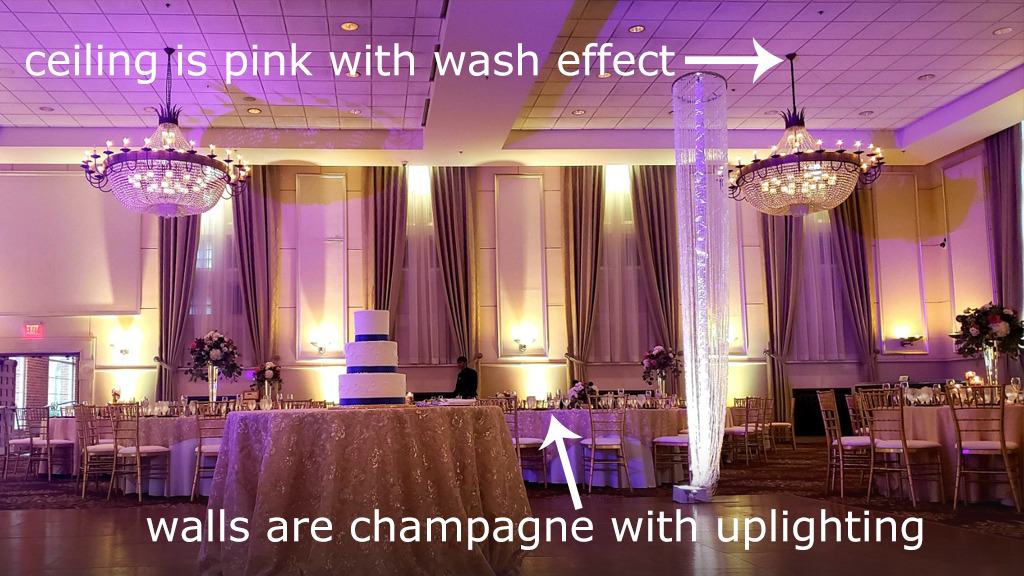
Use uplighting aimed at 45 degree angles to change the colors of your ceiling draping
You can do varying shades of blue. When these colors overlap it creates a third color (that is also close to your original color). Using primary and secondary colors is an easy way to get a designer look on on budget. Read more about the best reception uplighting colors!
If you follow our DIY tips, then you can easily drape large venues for less than $500 by renting fabric starting at approximately $25 per piece.
- Practice Before: Consider renting a couple of pieces of fabric months before to attempt draping.
- Plan Ahead: Start setting up the day before to avoid making errors due to rushing through it.
- Engage Friends: Having them around adds enjoyment & an extra pair of hands for assistance!
- Improvise: Embrace design changes if things do not go as planned, it might be better.
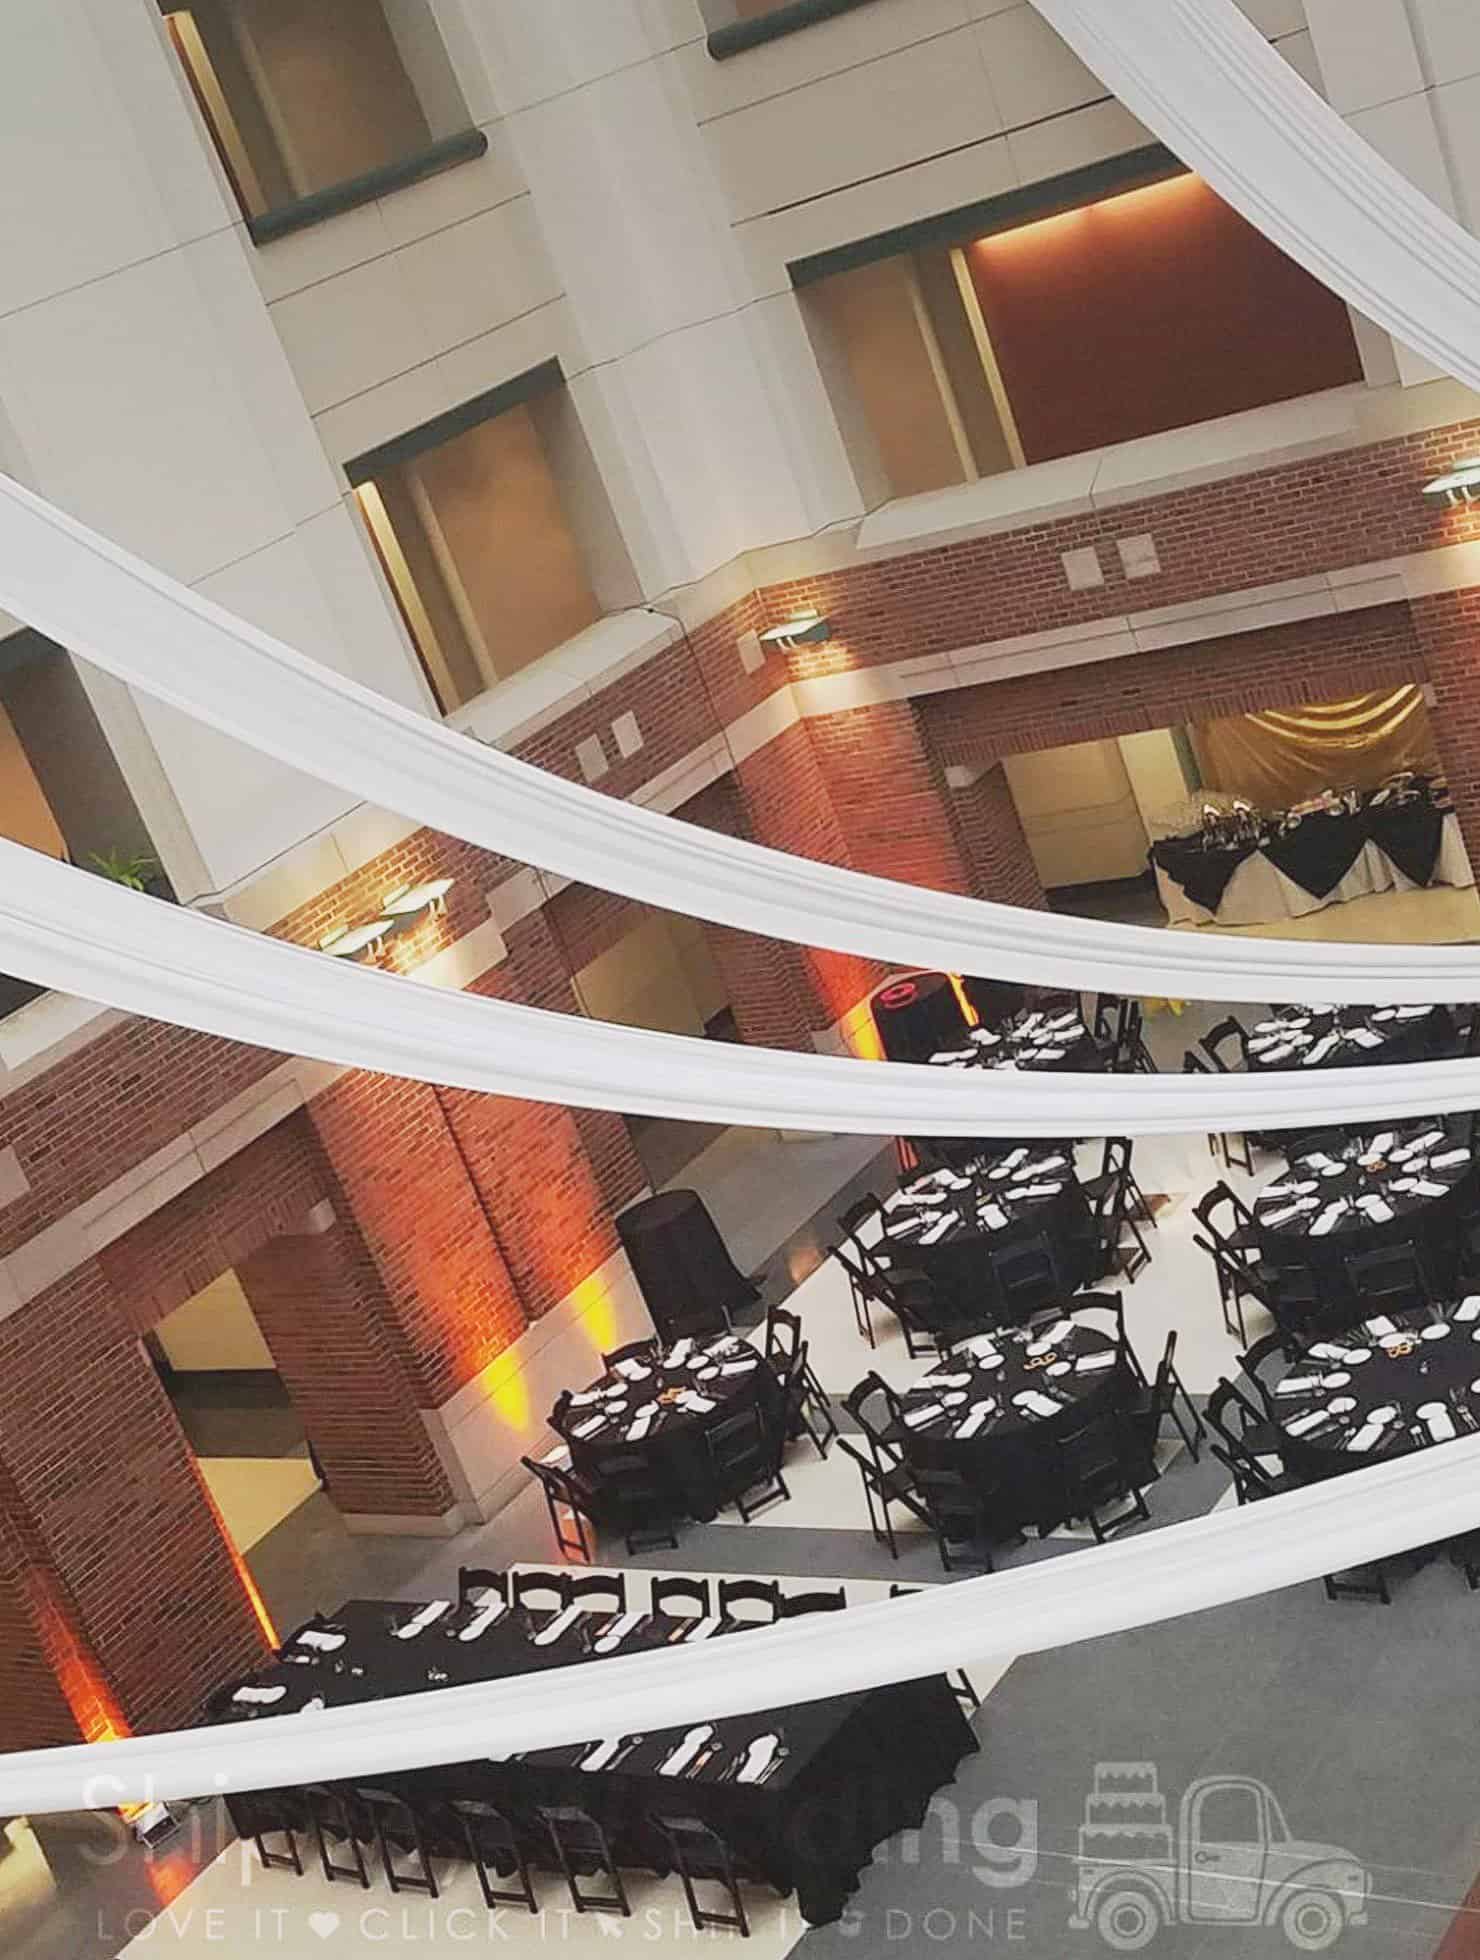
One style you can also achieve is with horizontal ceiling draping featured in the video above. These custom 200-foot-long draping panels need more setup time (30 hours) since this requires a custom grid. This style can cost over $15k & is recommended for advanced setups with experienced event pros.
Hanging fabric from the ceiling is how most couples will decorate the ceiling above their dance floor! Now that you know exactly how to do this, you have everything you need to design your wow look.
When planning an event, remember that preparation is key if you have enough time. We think DIY ceiling draping is a great option especially if your family will lend a hand.
DIY means not paying someone for set up. This feels great & helps your budget!
If you have any questions or need advice, do not hesitate to reach out. Enjoy this decorating process. We hope your celebration turns out better than anticipated.
Do you need help with your ceiling draping setup? If you have any questions give us a call or message us on chat.

Founders Robert + Nicole Reno
With a combined (4) decades in the industry; we’ve trained hundreds, booked thousands, & partied with millions. Our first-hand experience allows us to empower others to succeed & be great… (read full bio)
Founders Robert + Nicole Reno
With a combined (4) decades in the industry; we’ve trained hundreds, booked thousands, & partied with millions. Our first-hand experience allows us to empower others to succeed & be great… (read full bio)

Brad & Annika
Cario, Nebraska
![]()

Jennifer & Val
Detroit, Michigan
![]()

Jose Rocha
Omaha, Nebraska
![]()
We saved $15,000 hiring Ship Our Wedding

I’m infatuated thank you hugs + kisses MWAH
We were amazed the uplights were really easy

Brad & Annika
Cario, Nebraska
![]()
We saved $15,000 hiring Ship Our Wedding

Jennifer & Val
Detroit, Michigan
![]()
I’m infatuated thank you hugs + kisses MWAH

Jose Rocha
Omaha, Nebraska
![]()
We were amazed the uplights were really easy

Brad & Annika
Cario, Nebraska
We saved $15,000 hiring Ship Our Wedding
![]()

Jennifer & Val
Detroit, Michigan
I’m infatuated thank you hugs + kisses MWAH
![]()

Jose Rocha
Omaha, Nebraska
We were amazed the uplights were really easy
![]()
The content of this website is intended for informational purposes only & does not constitute legal, financial, or credit advice.