


Description
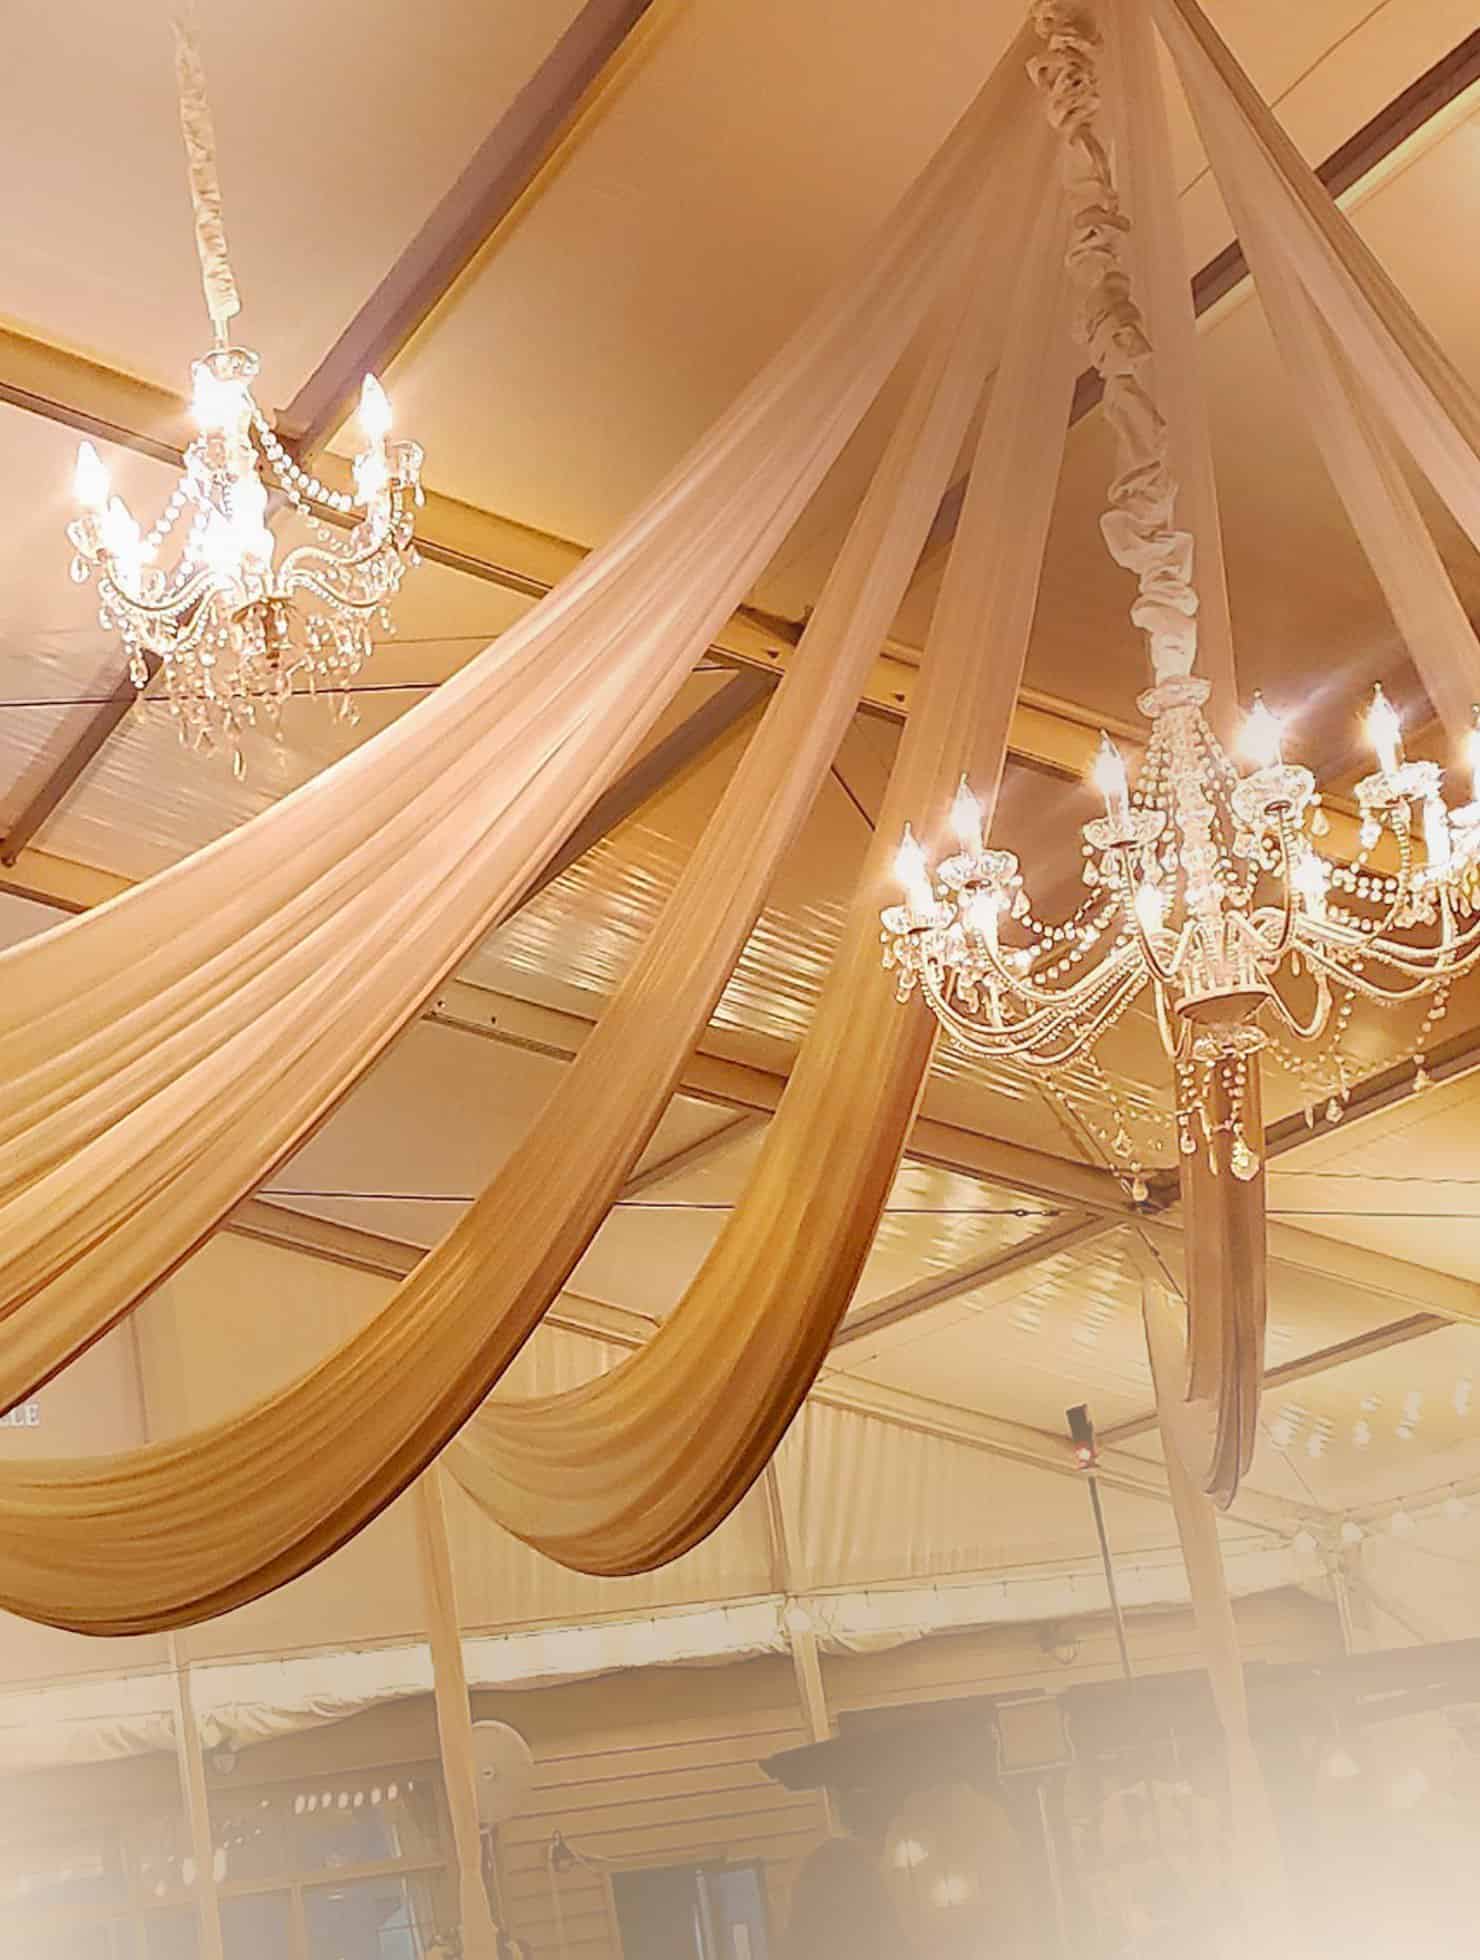
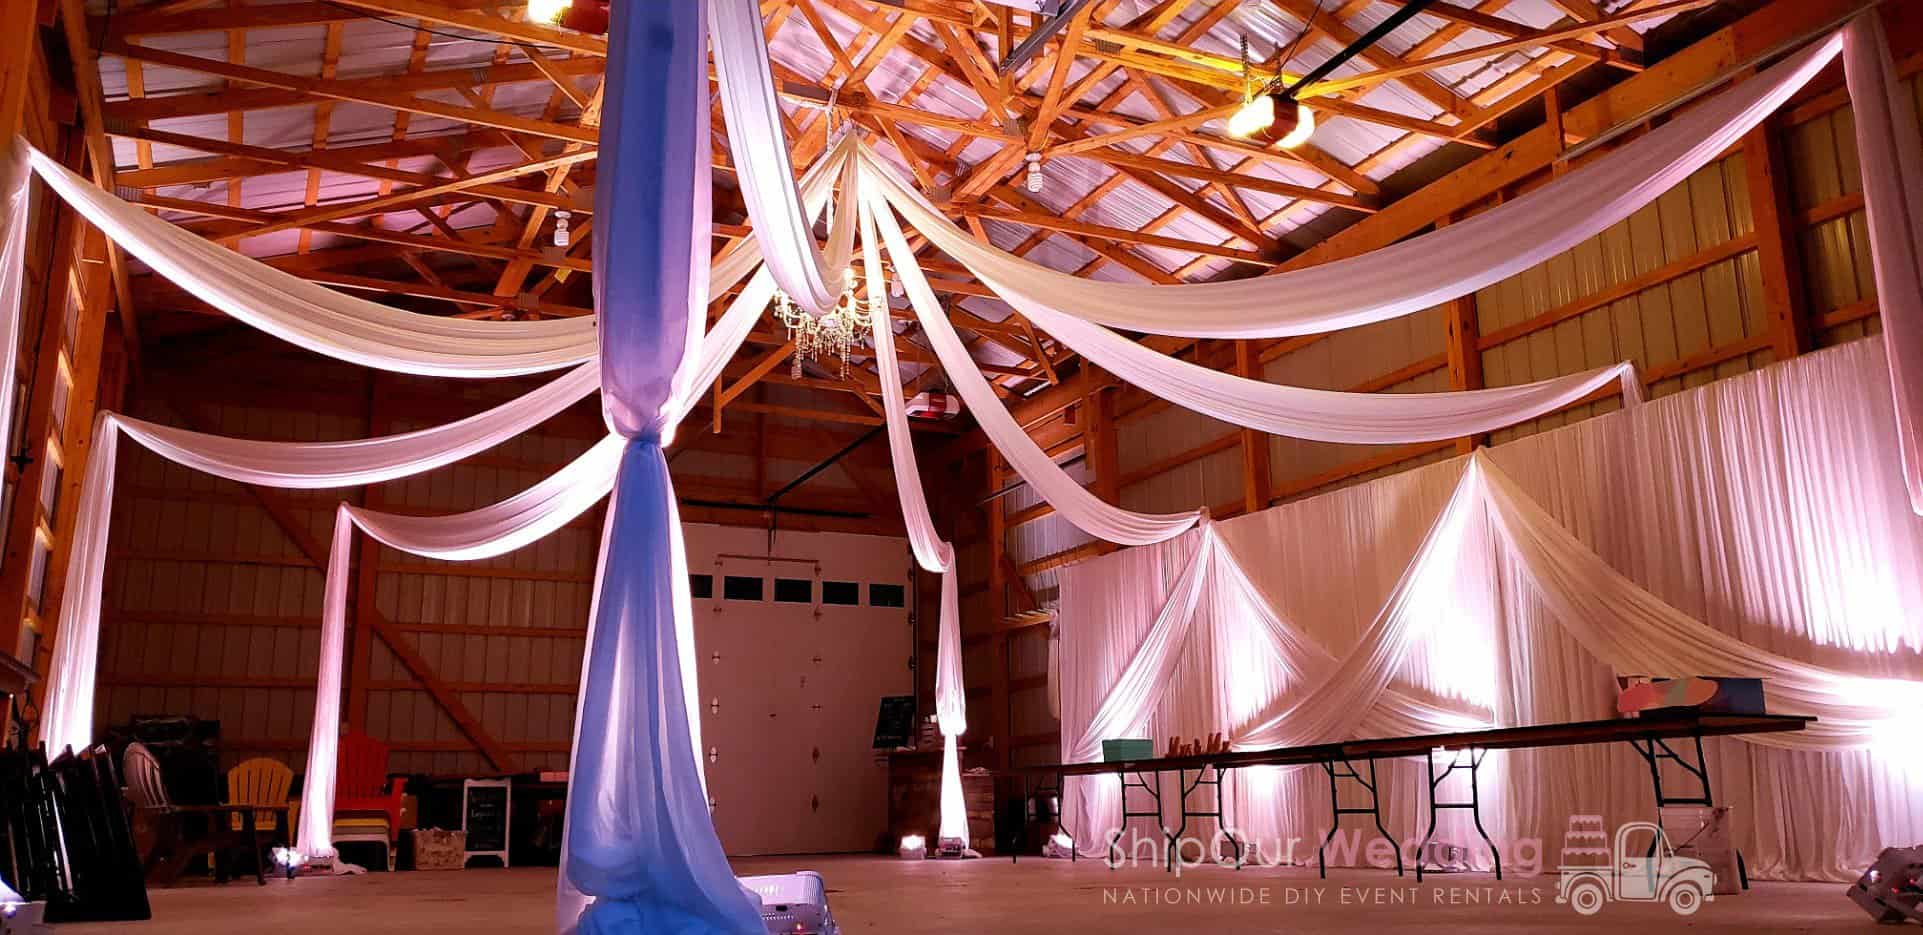
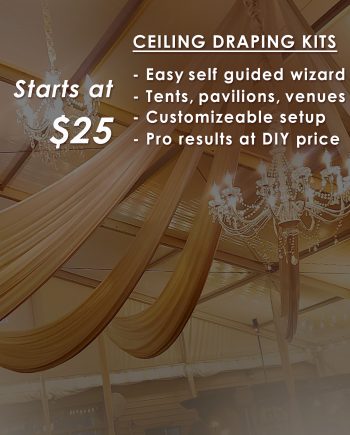
Fastest Way to Drape a Ceiling
Fastest Way to Drape a Ceiling
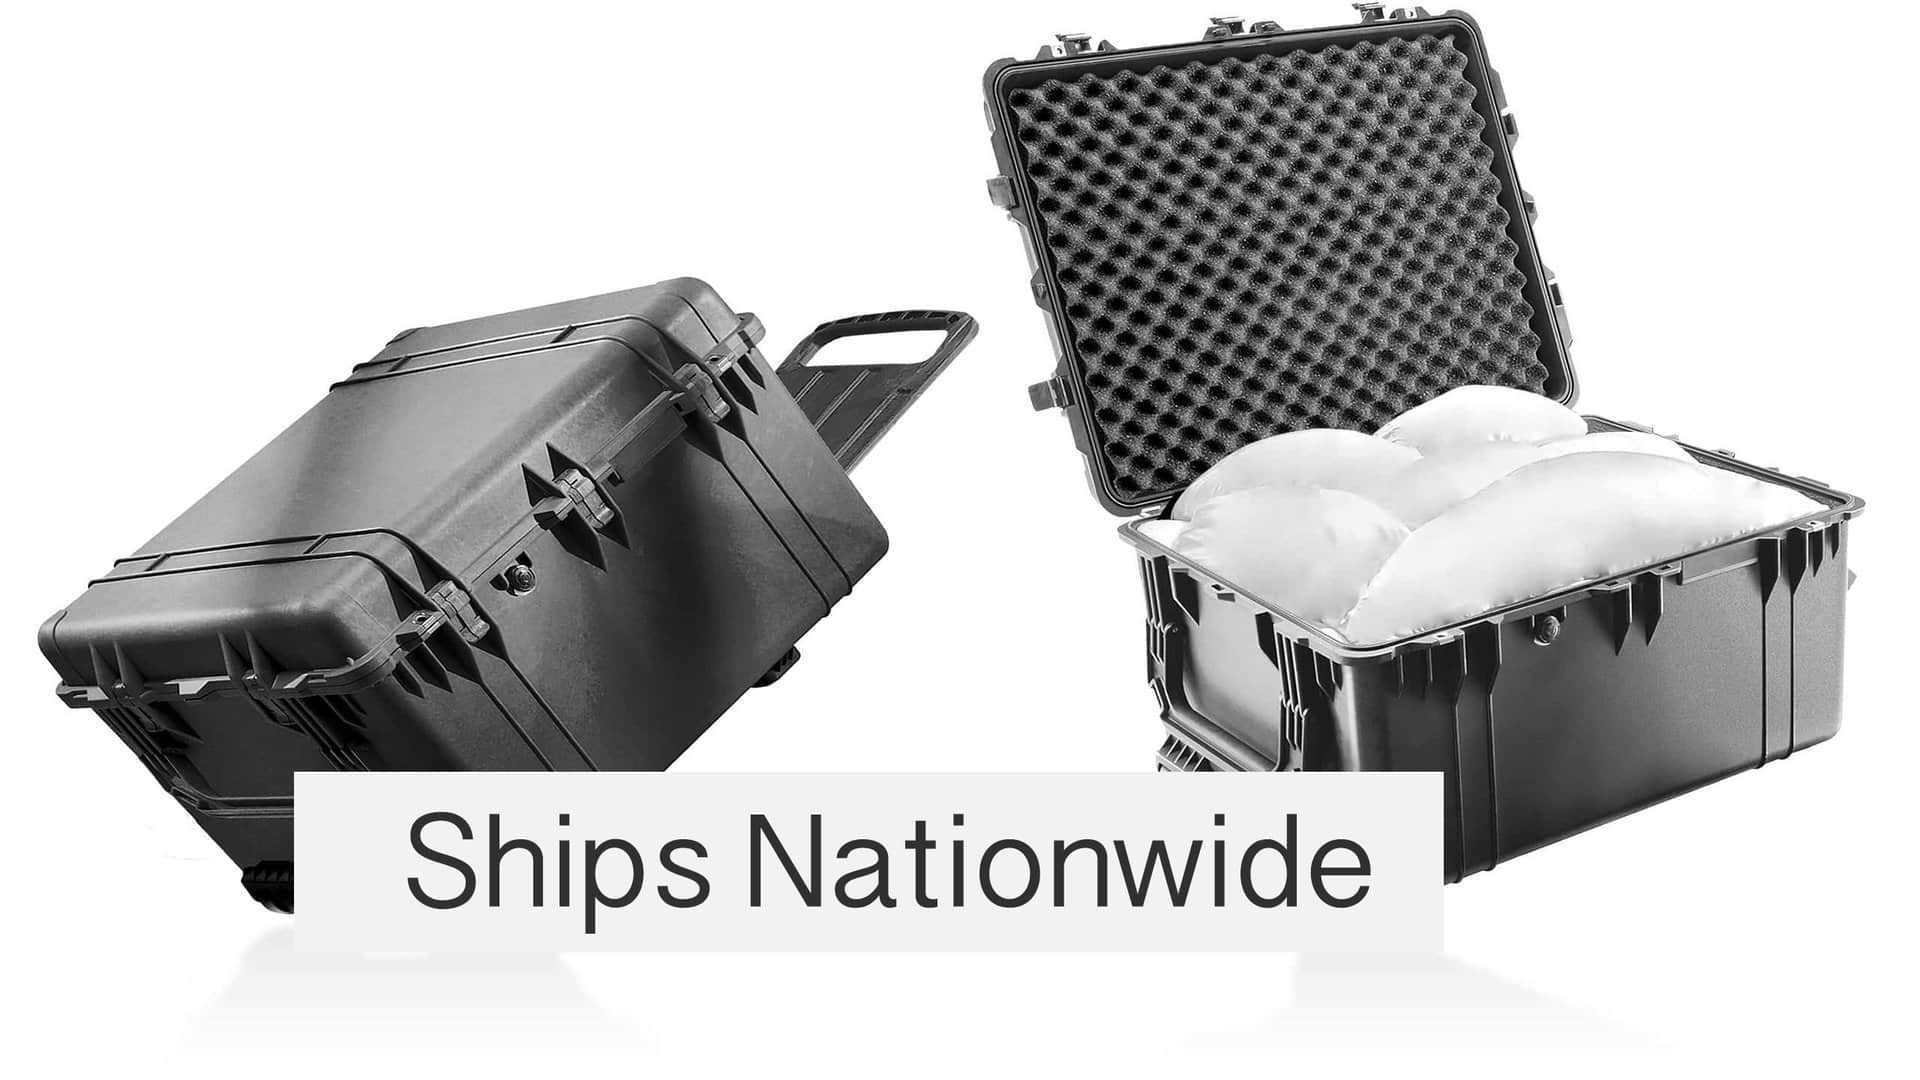
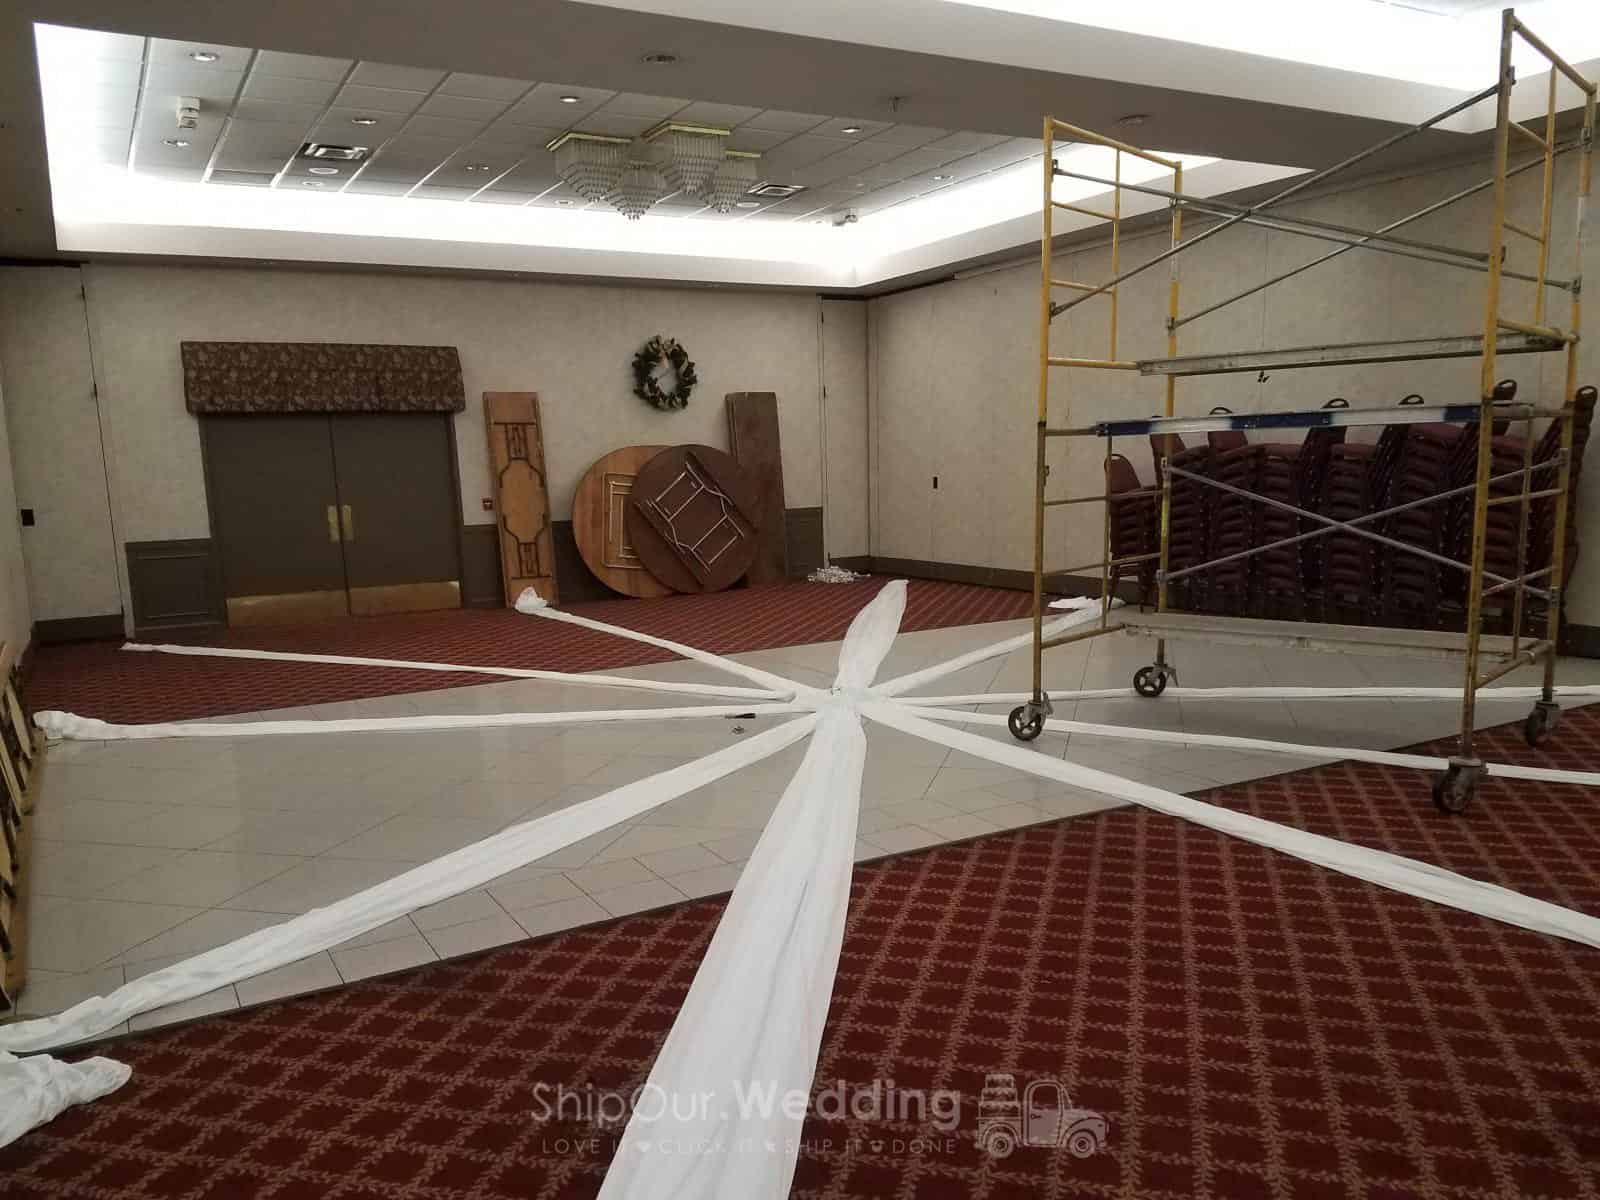
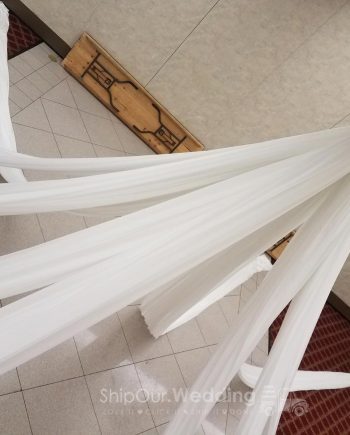
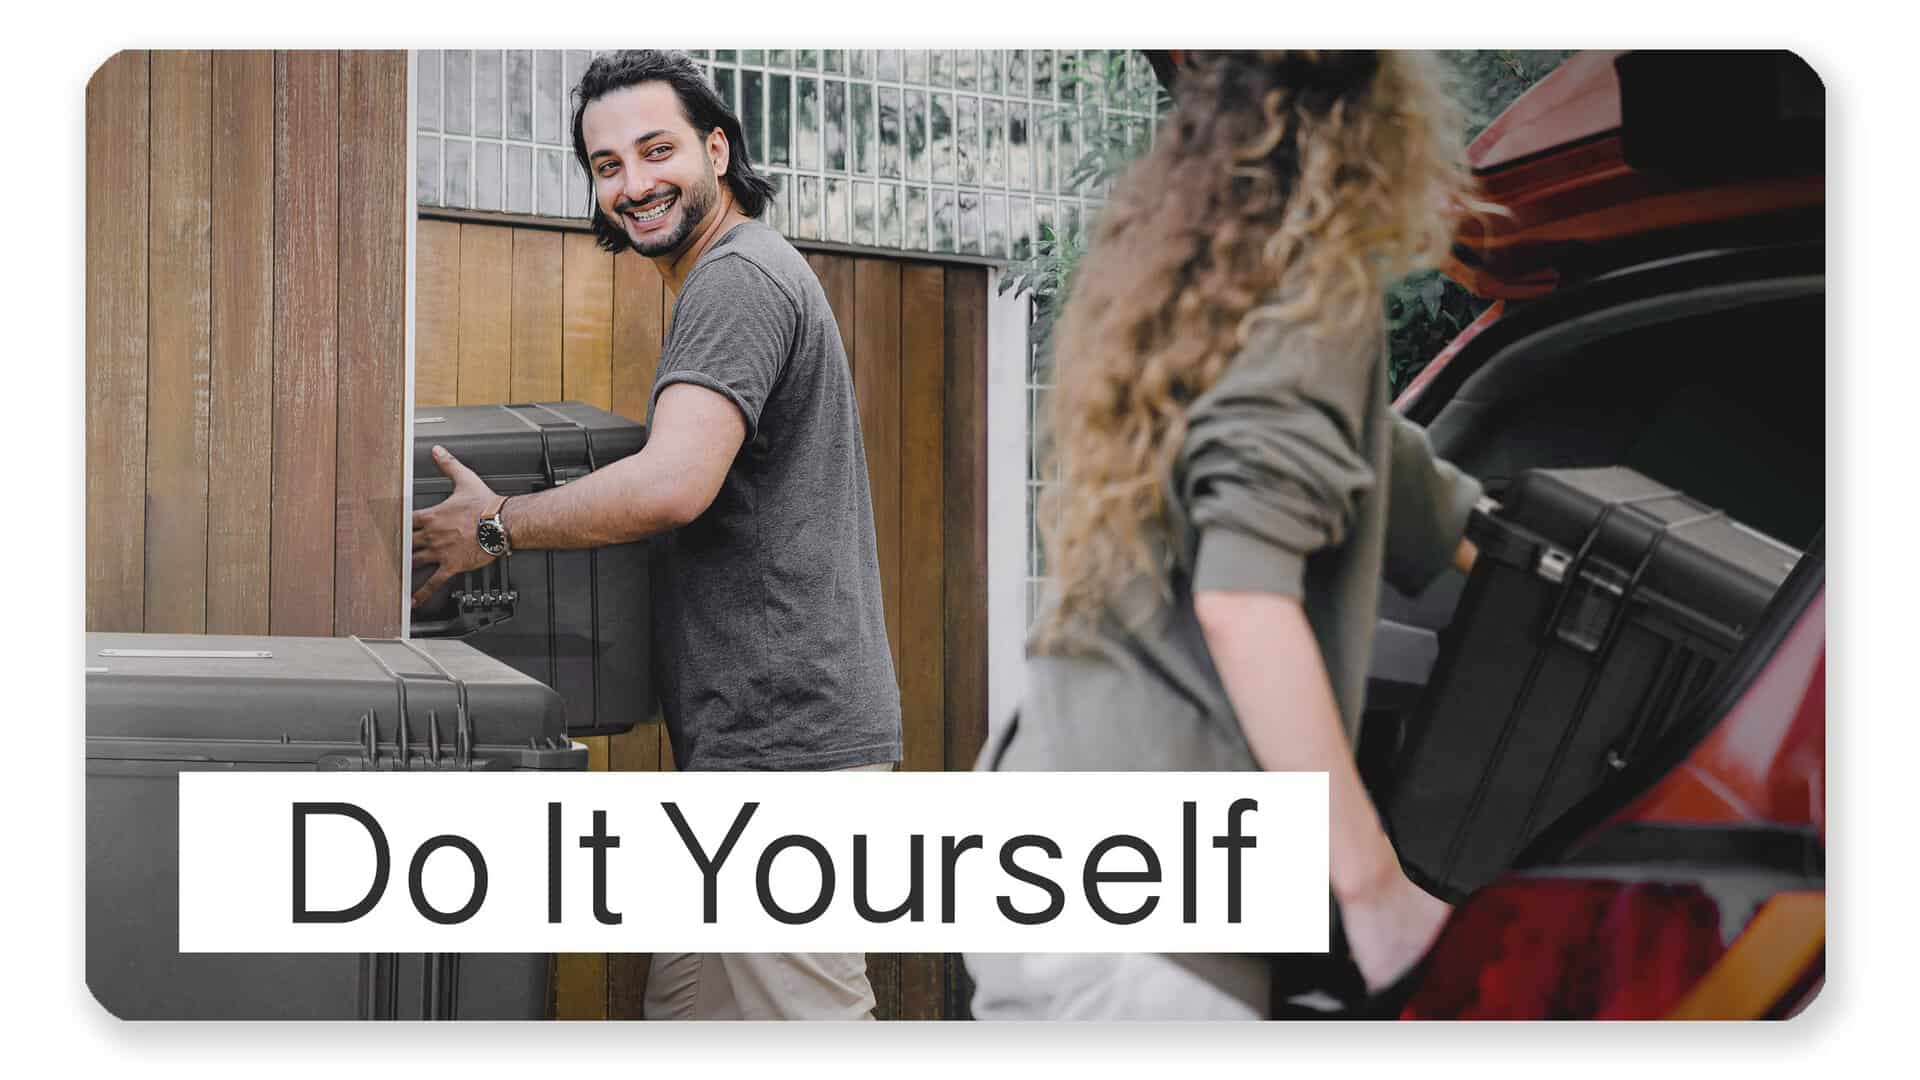
Open Your Box
✓ Kit arrives week of the party
✓ User-friendly box has wheels
✓ Includes everything you need

Open Your Box
✓ Kit arrives week of the party
✓ User-friendly box has wheels
✓ Includes everything you need
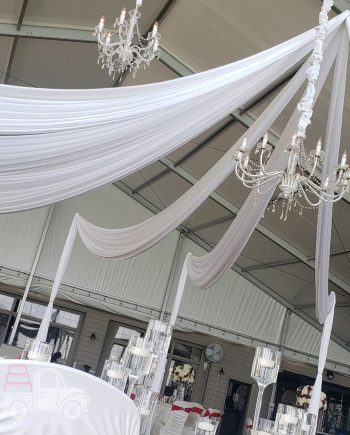
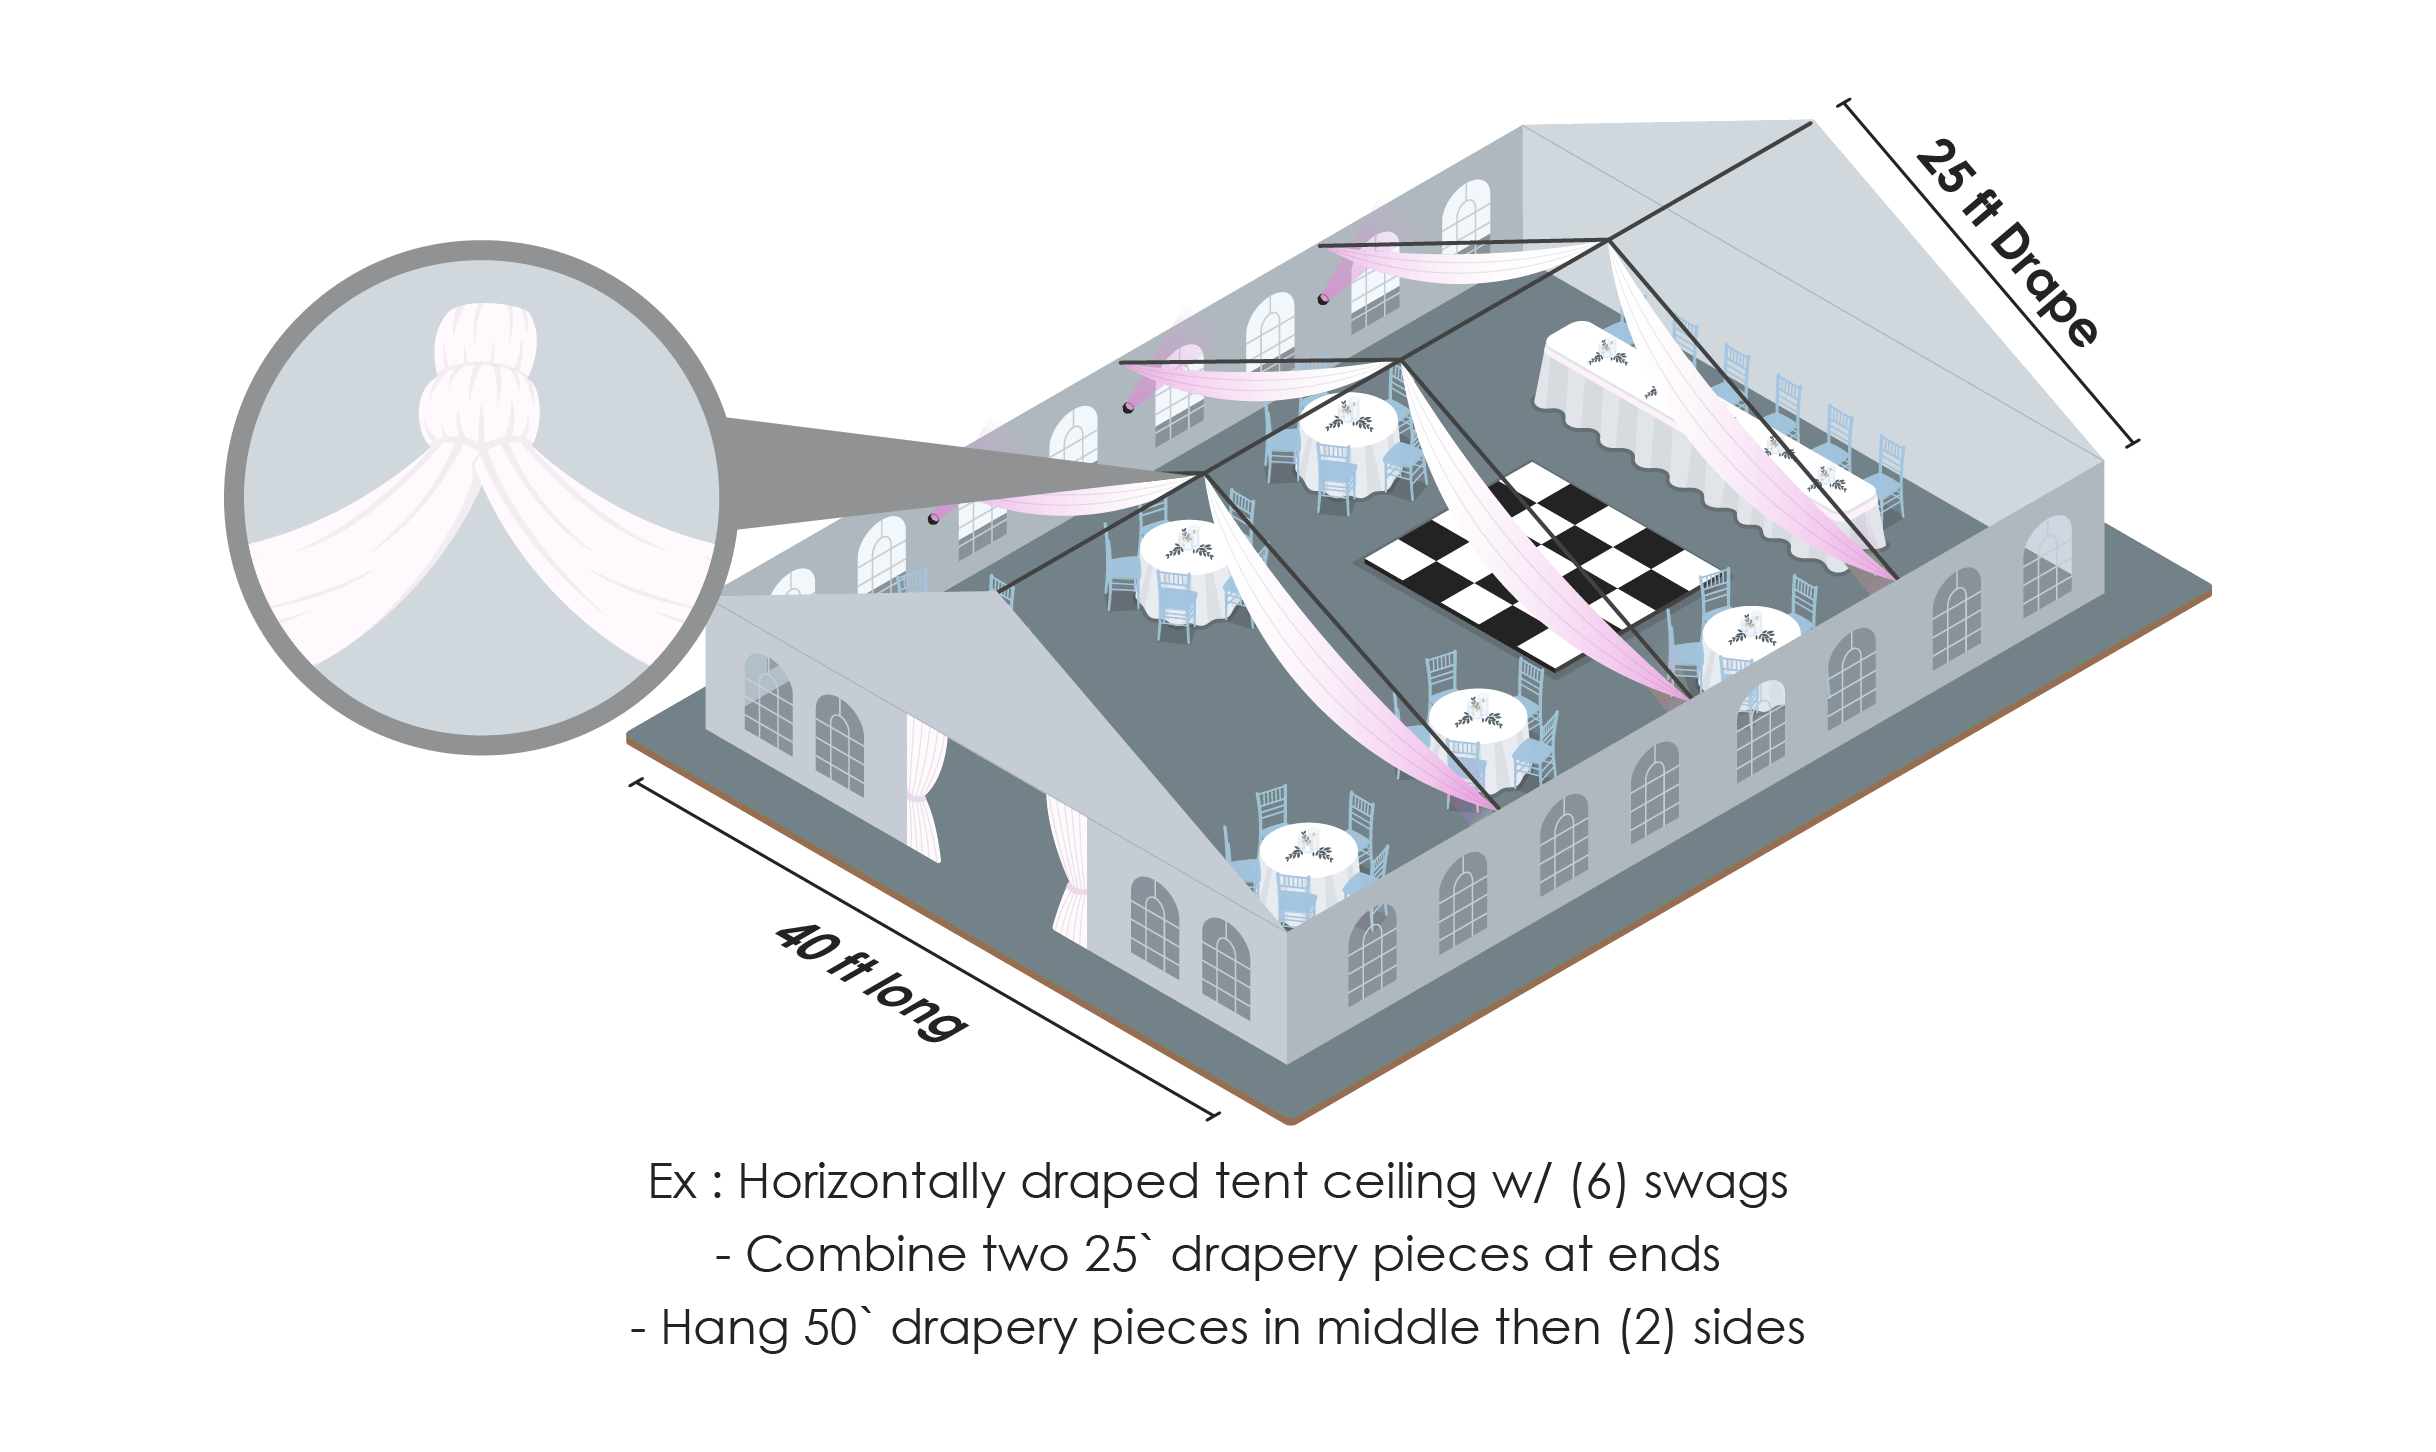
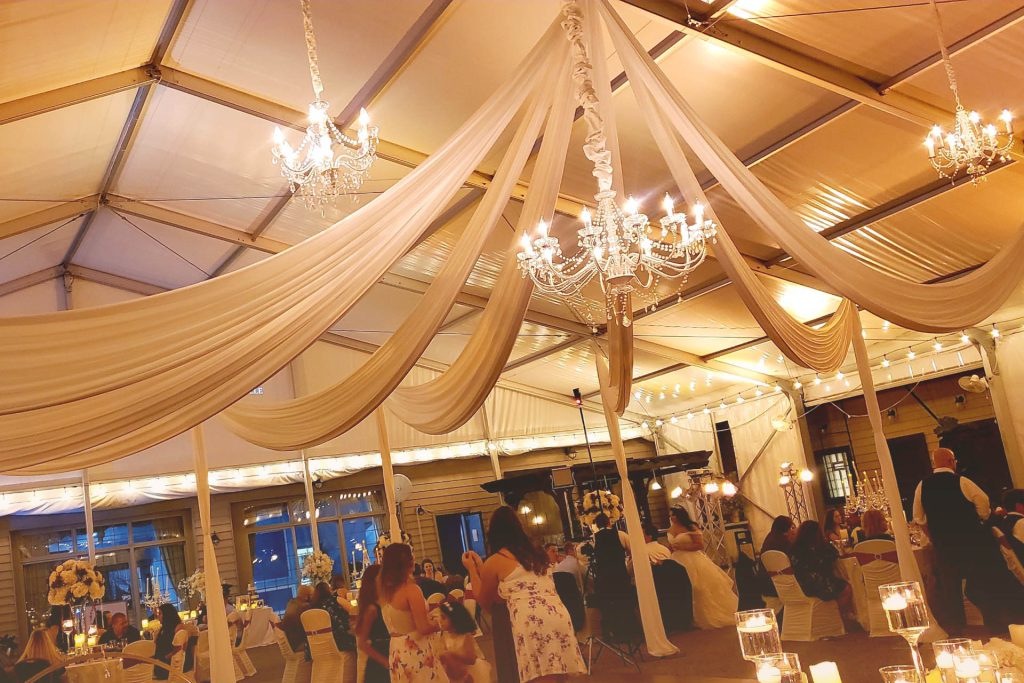
How to Drape a Tent
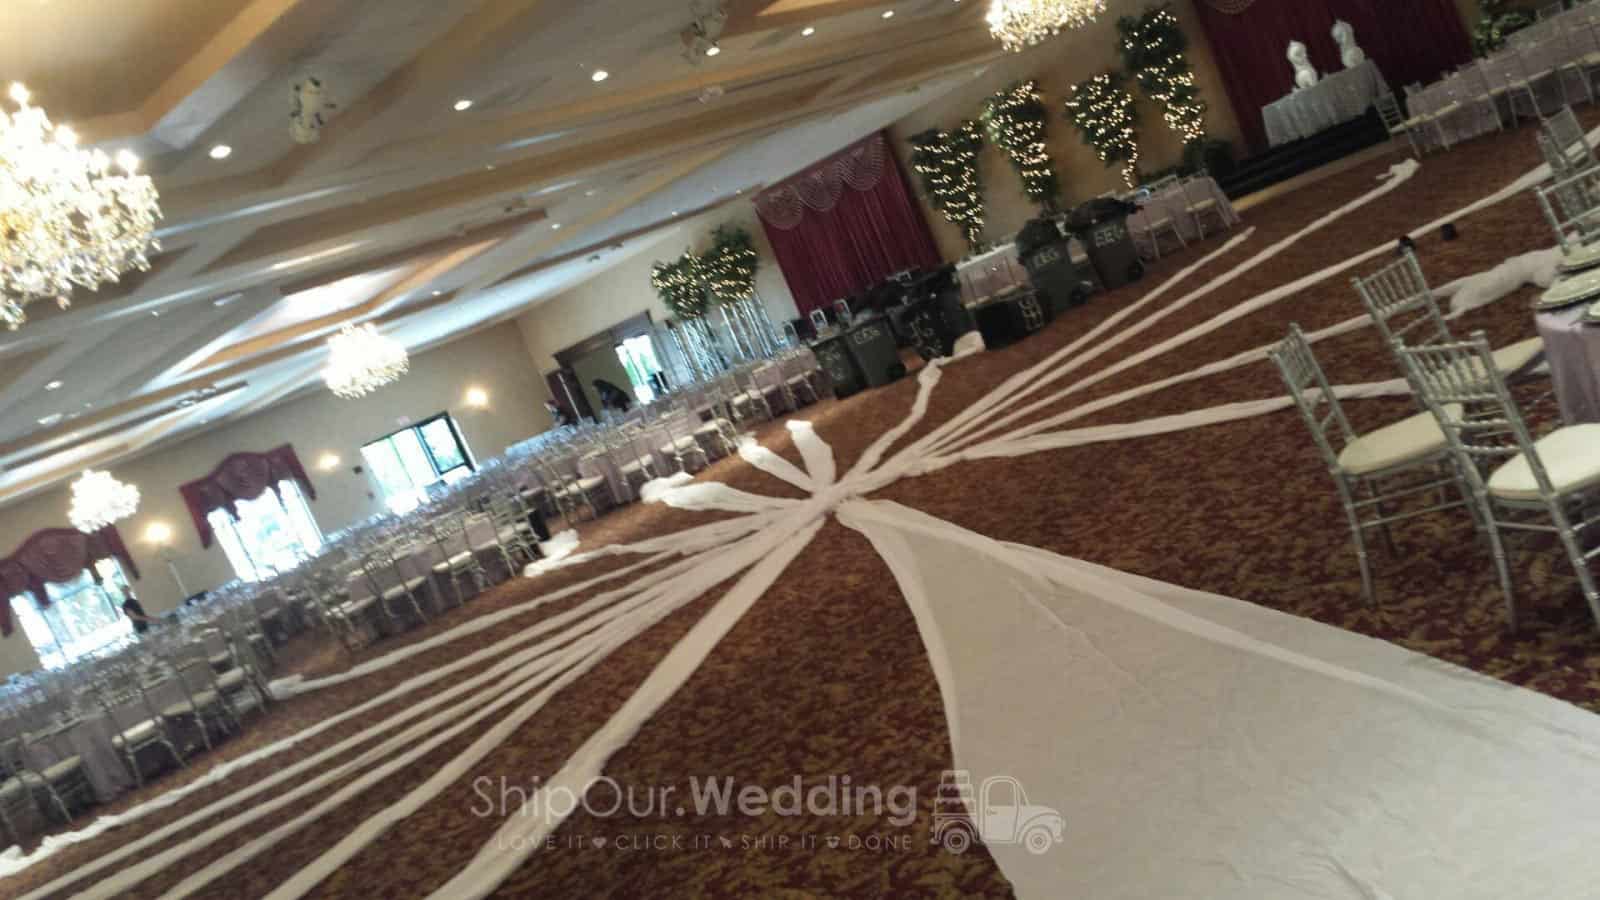
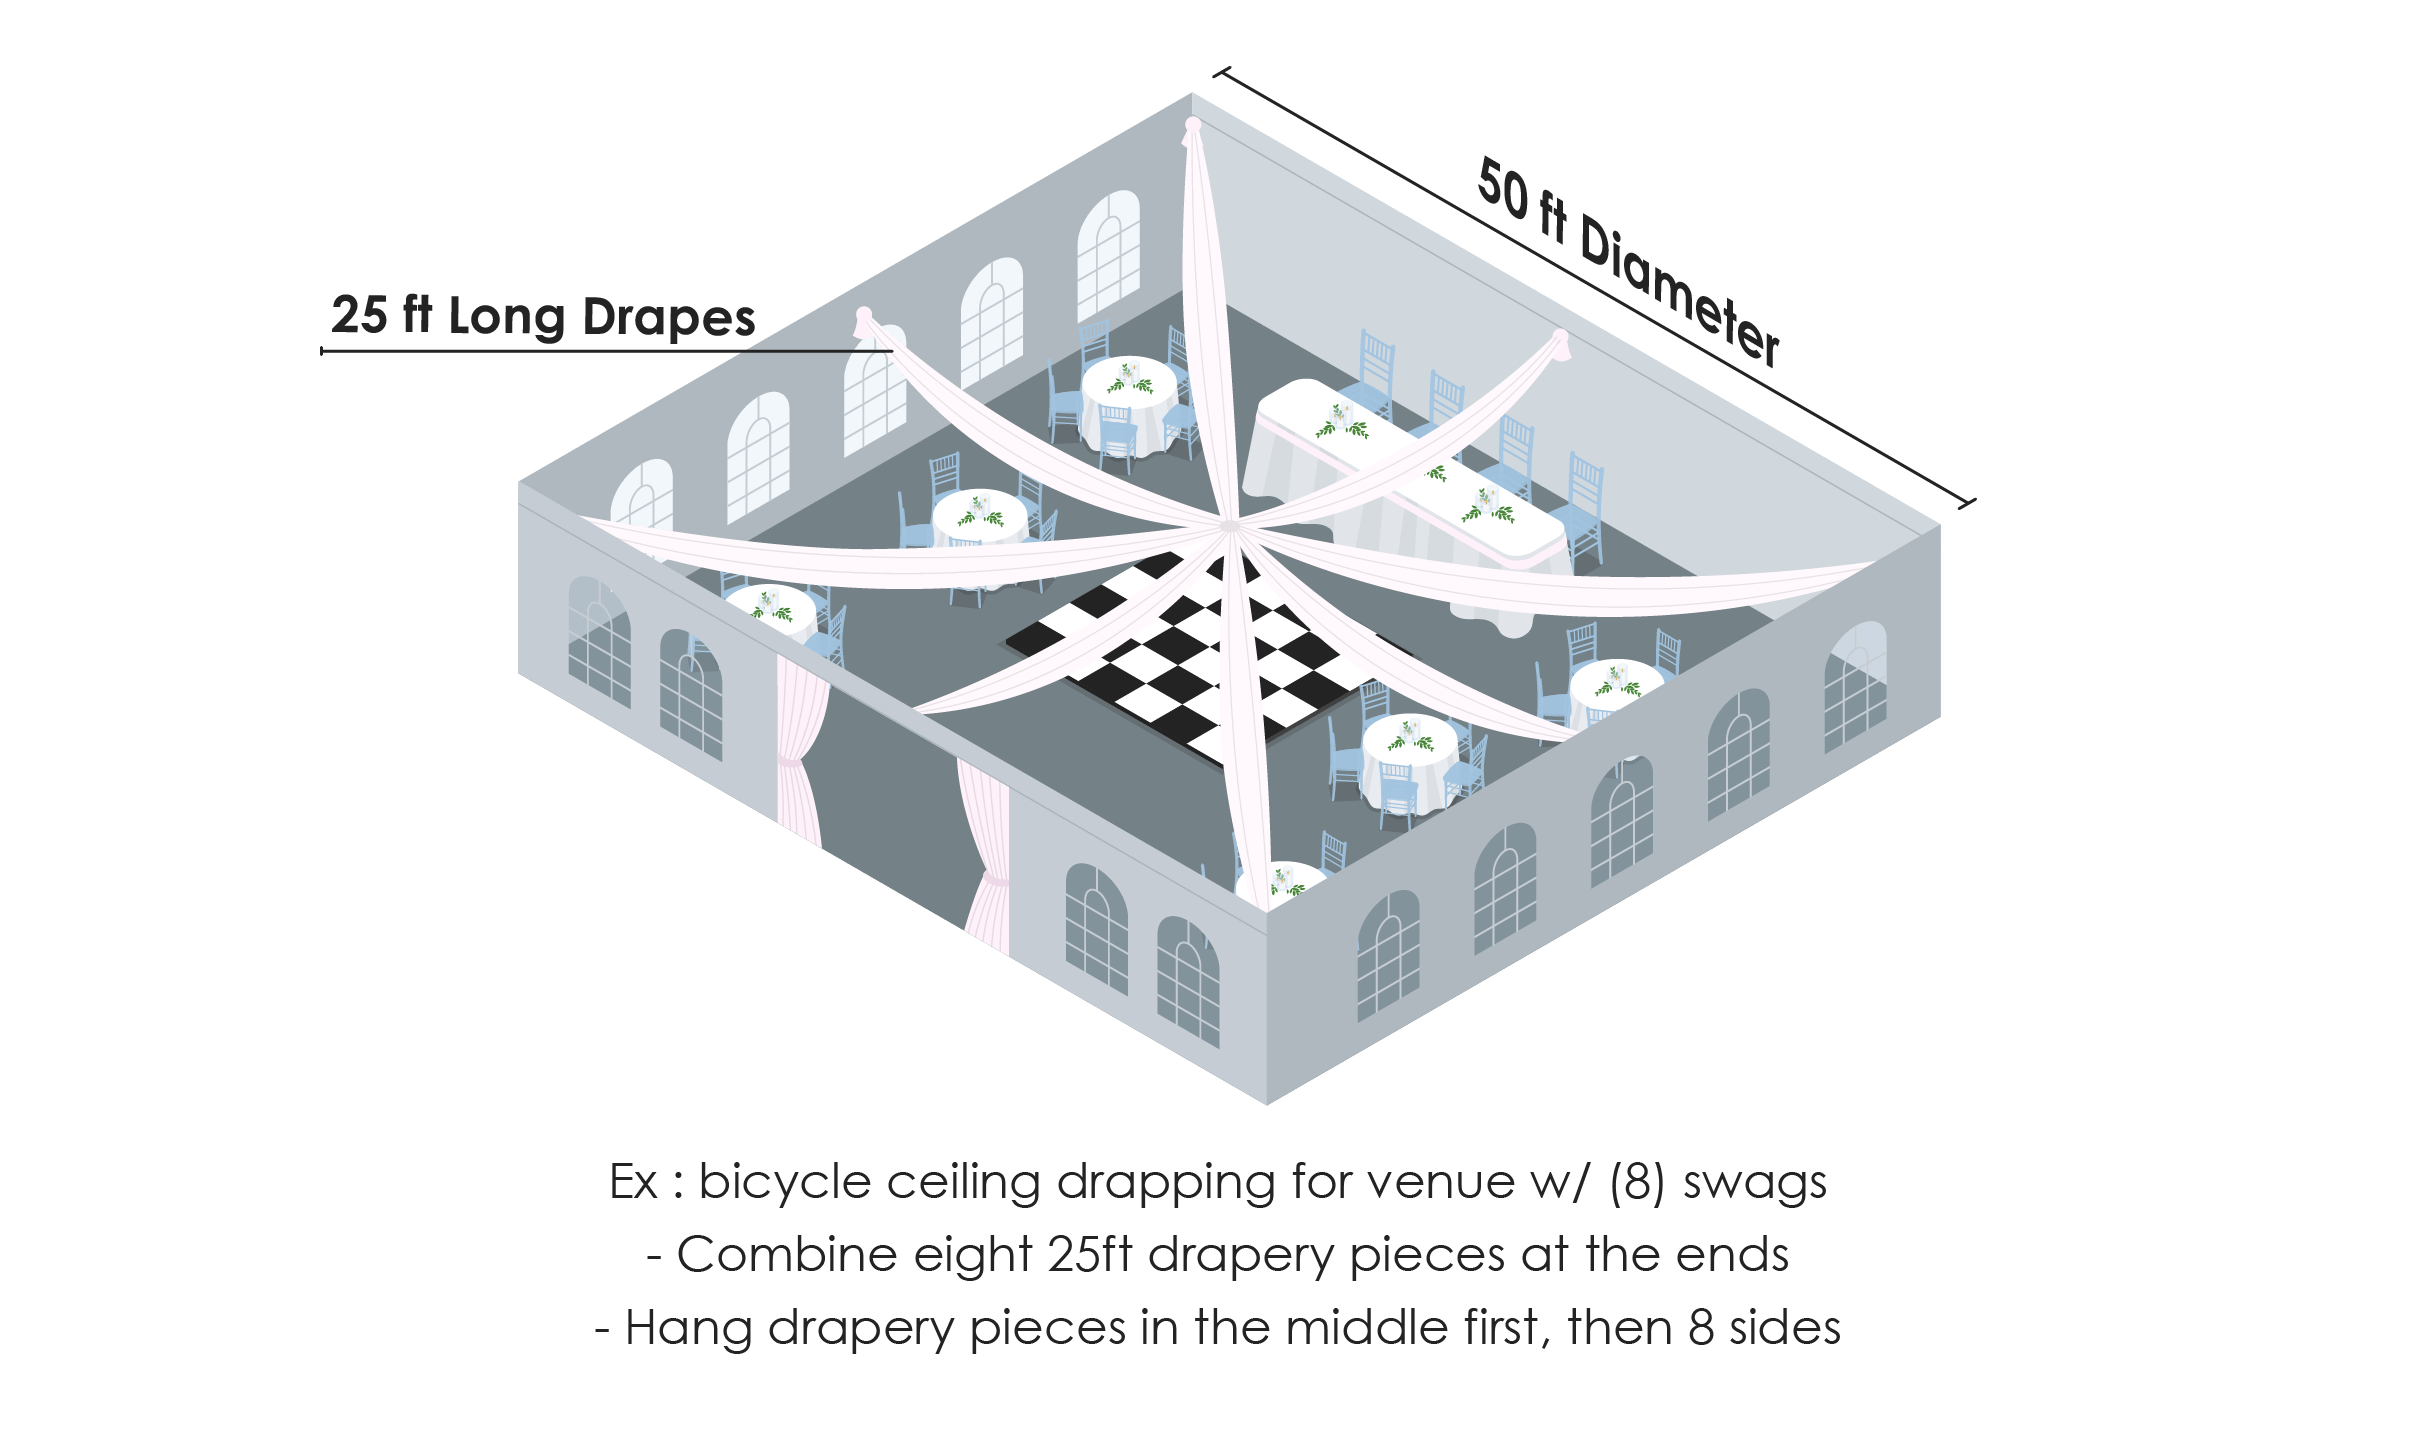
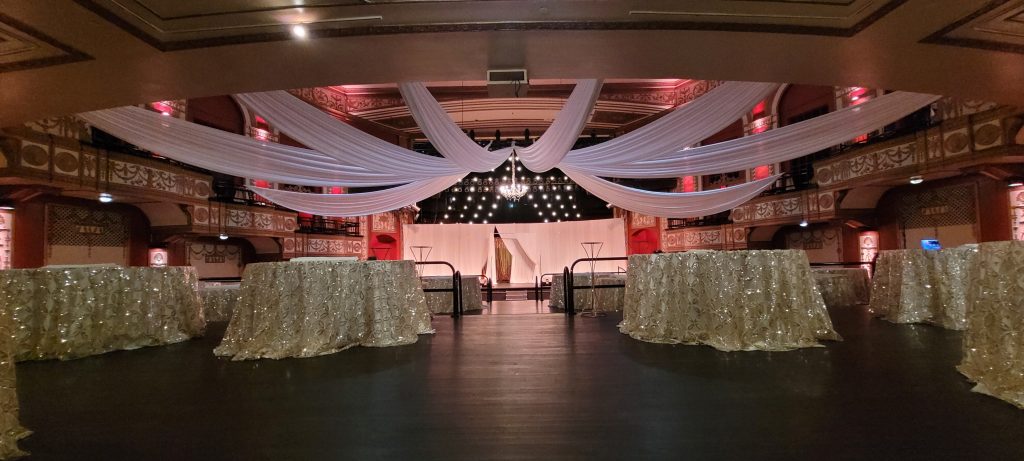
How to Drape a Venue

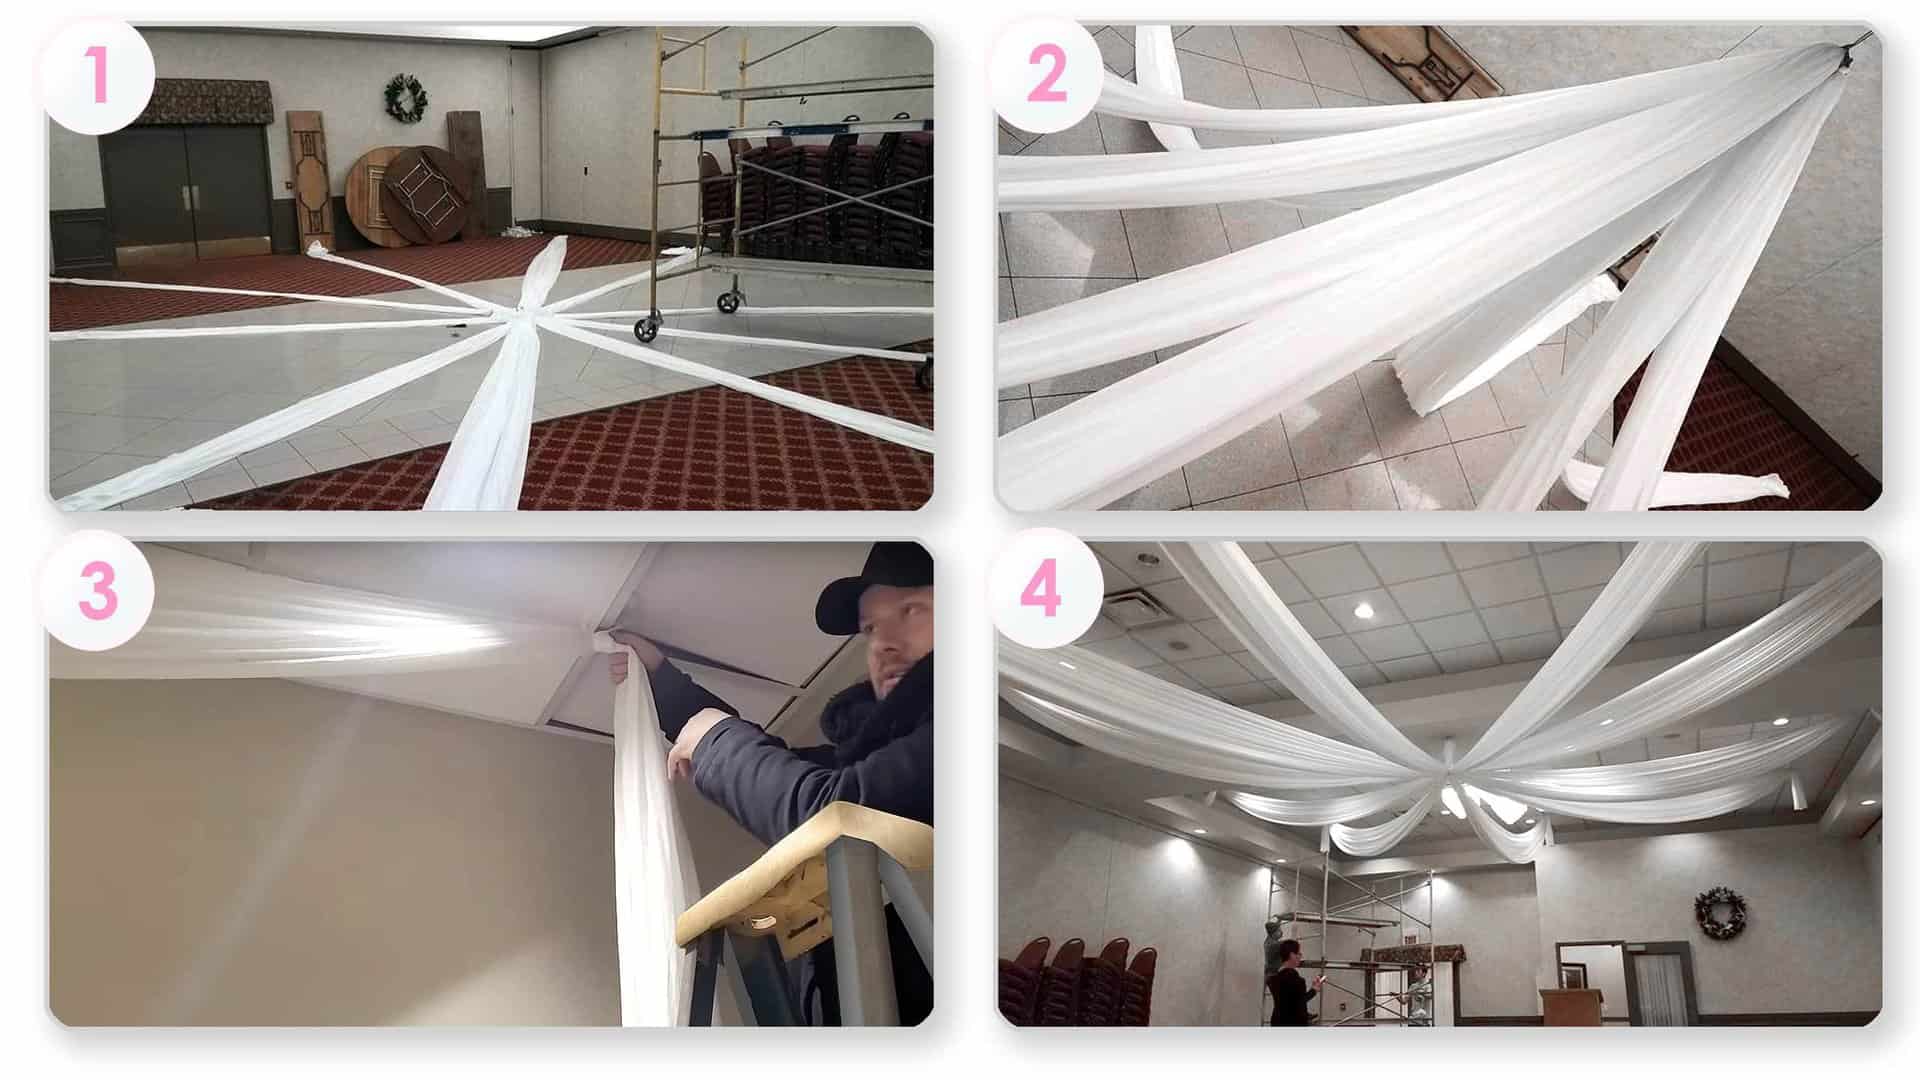
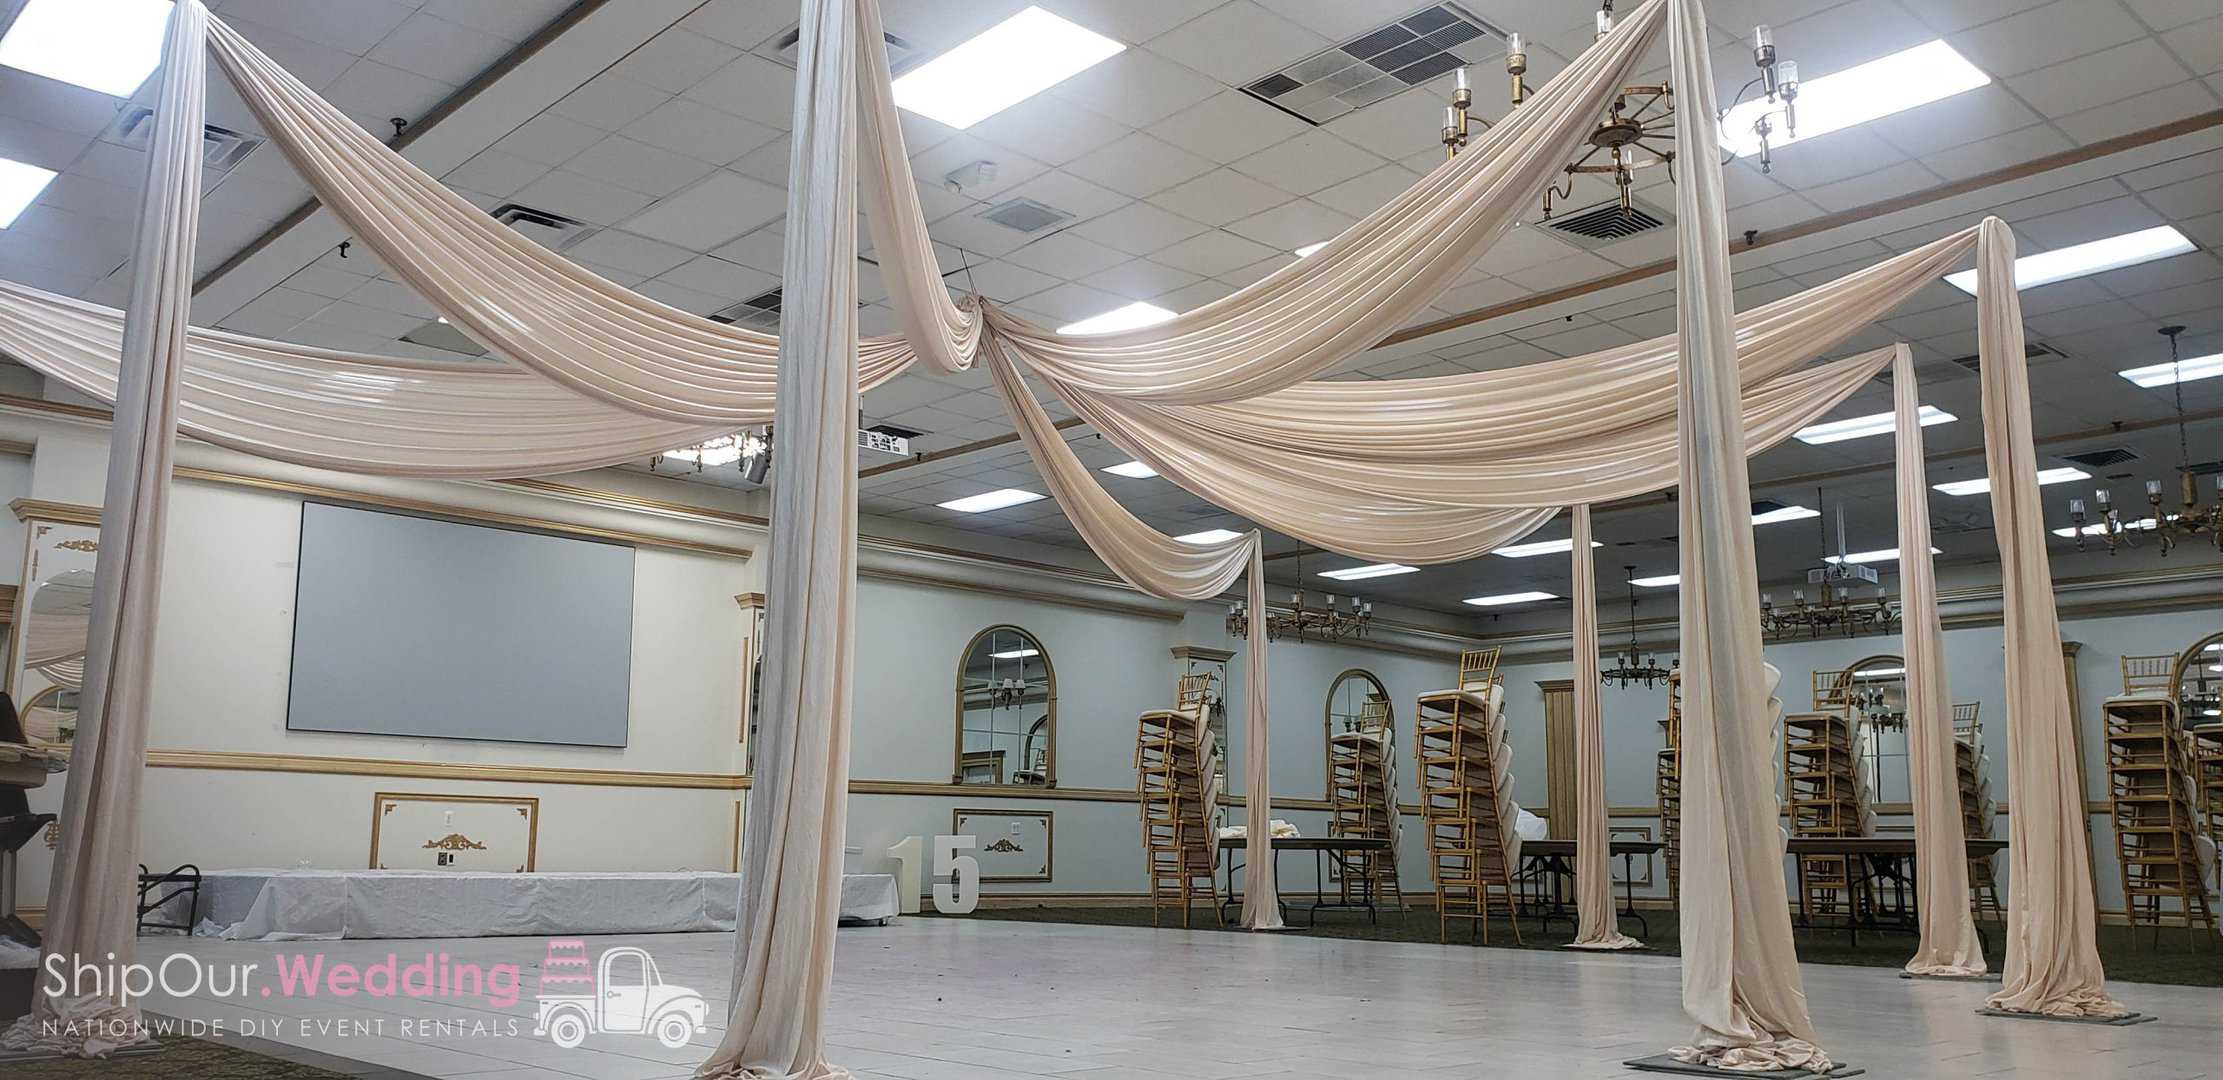
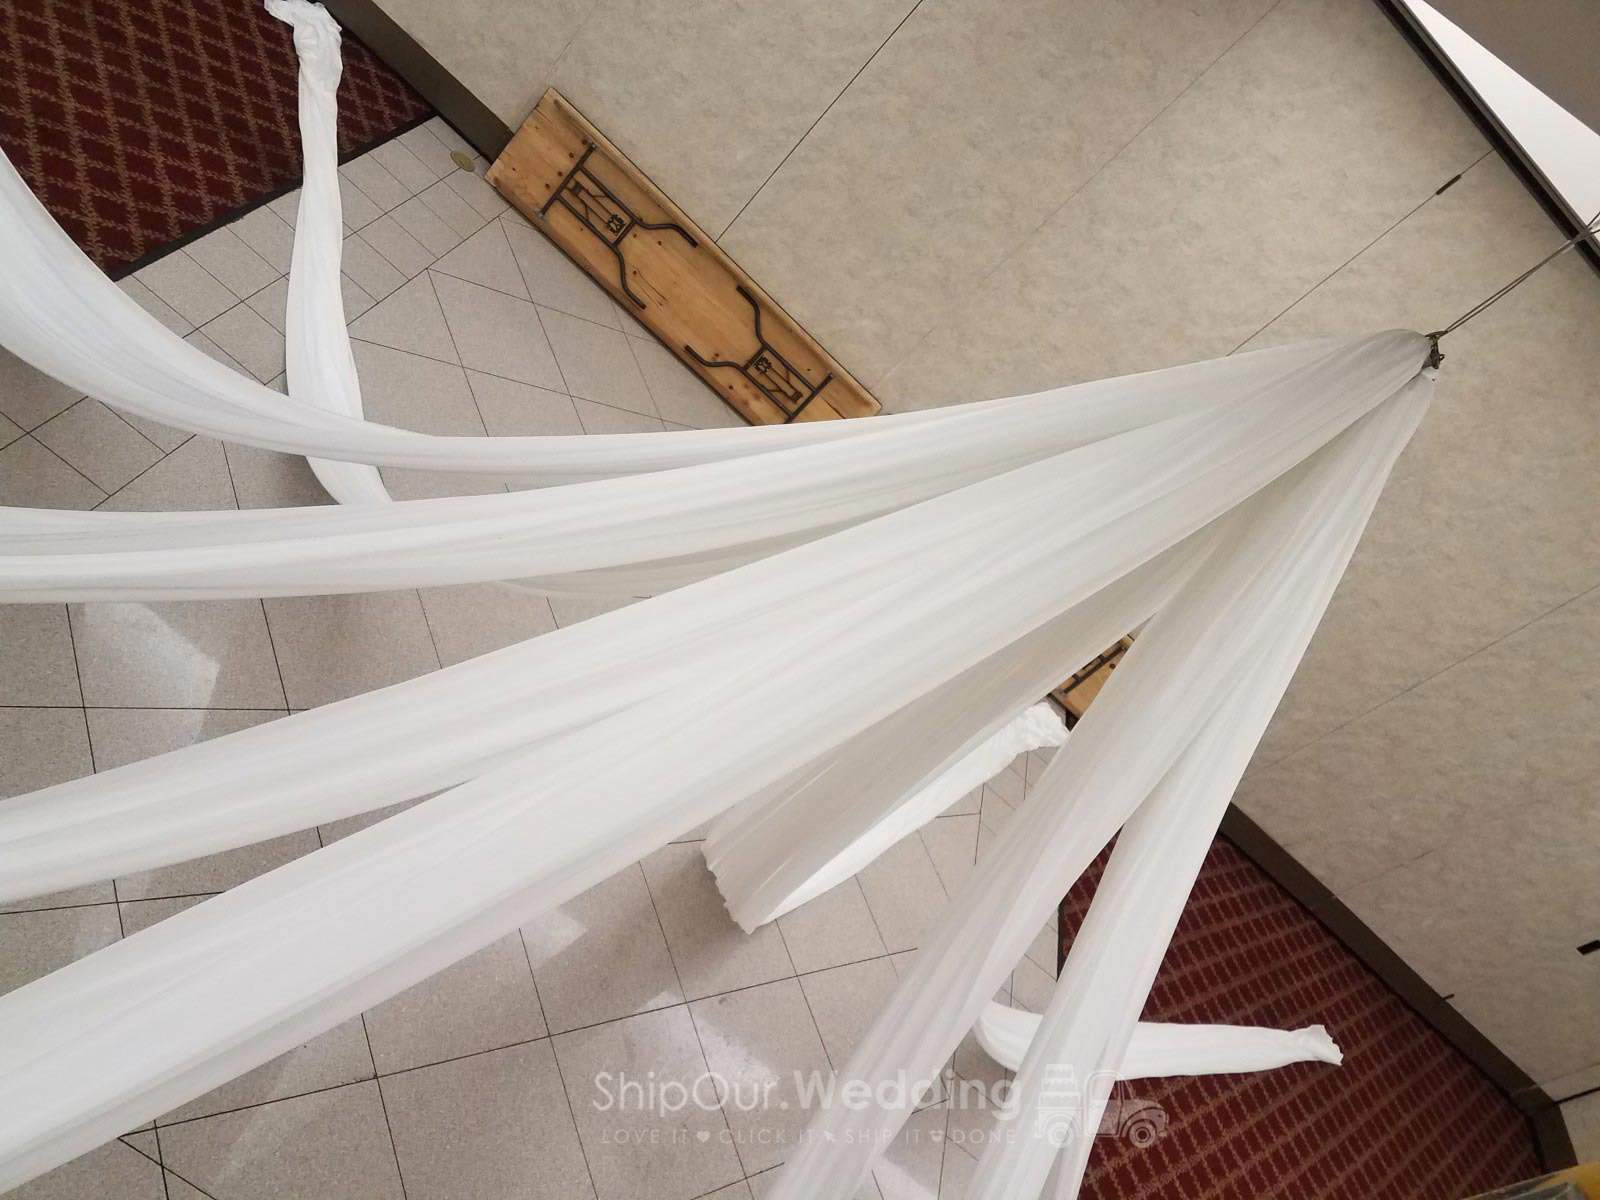
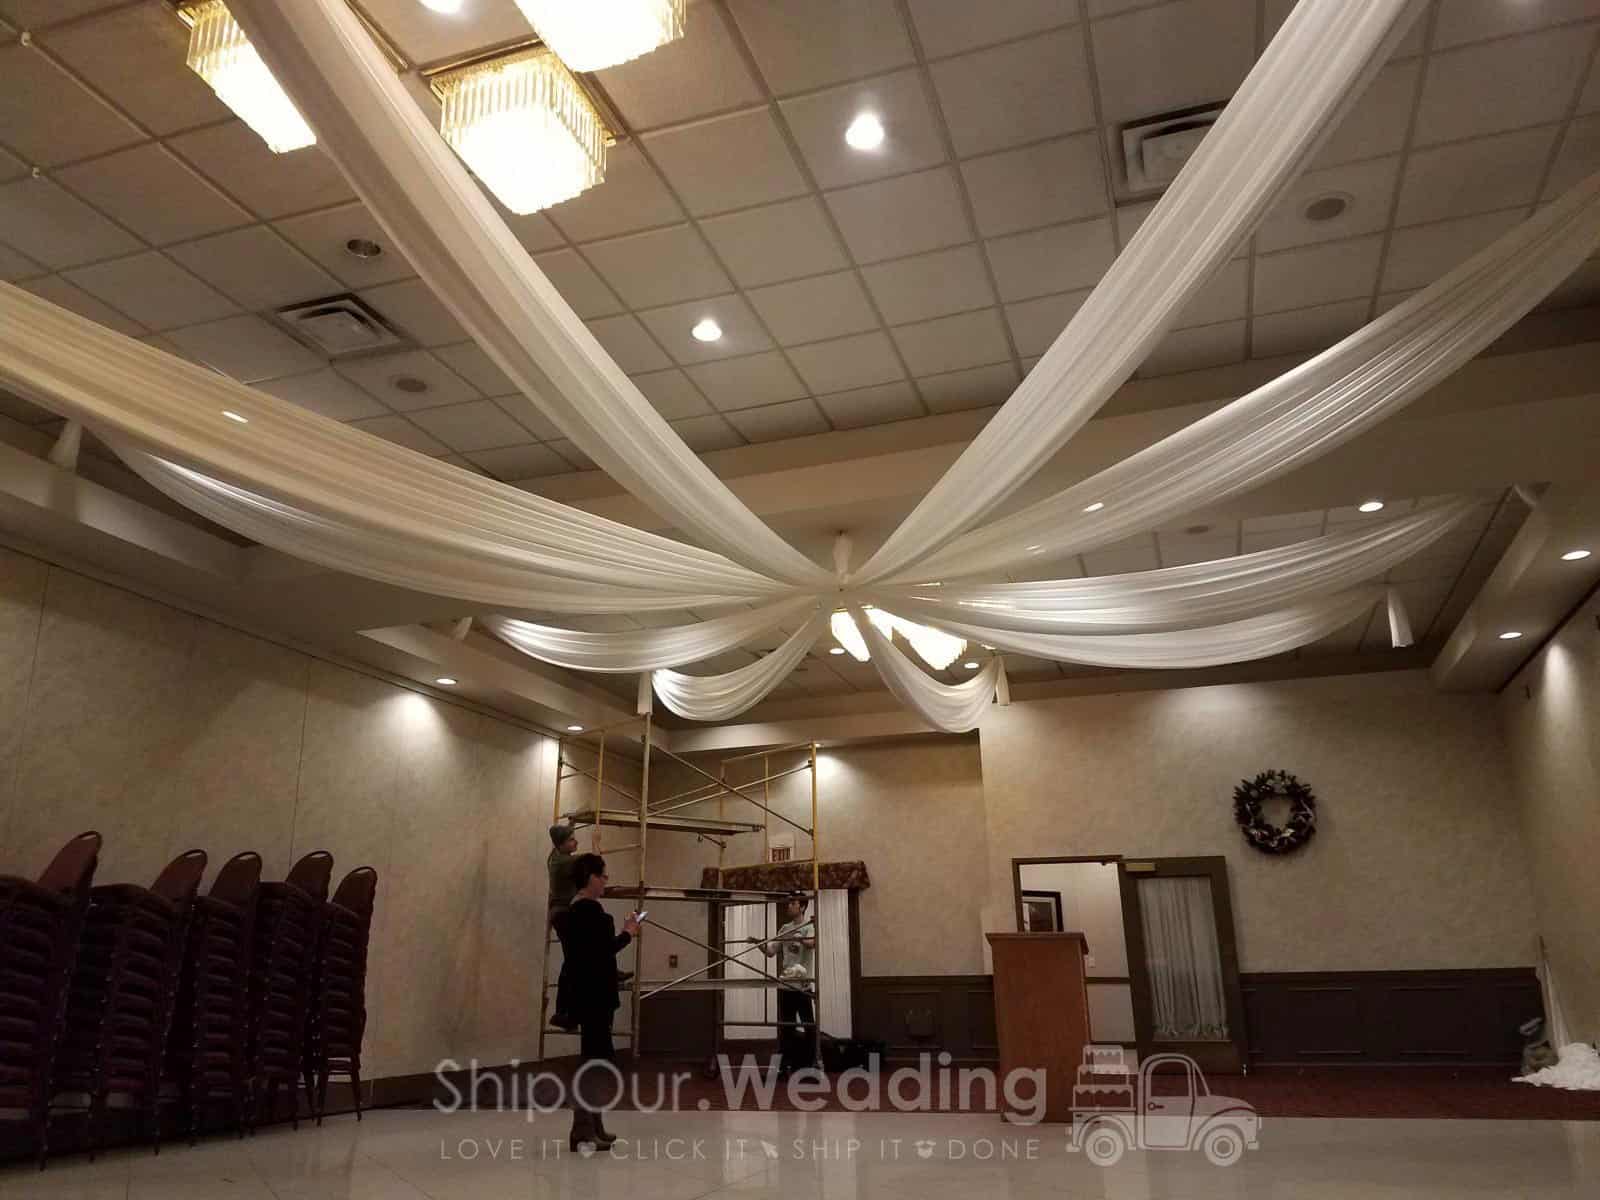
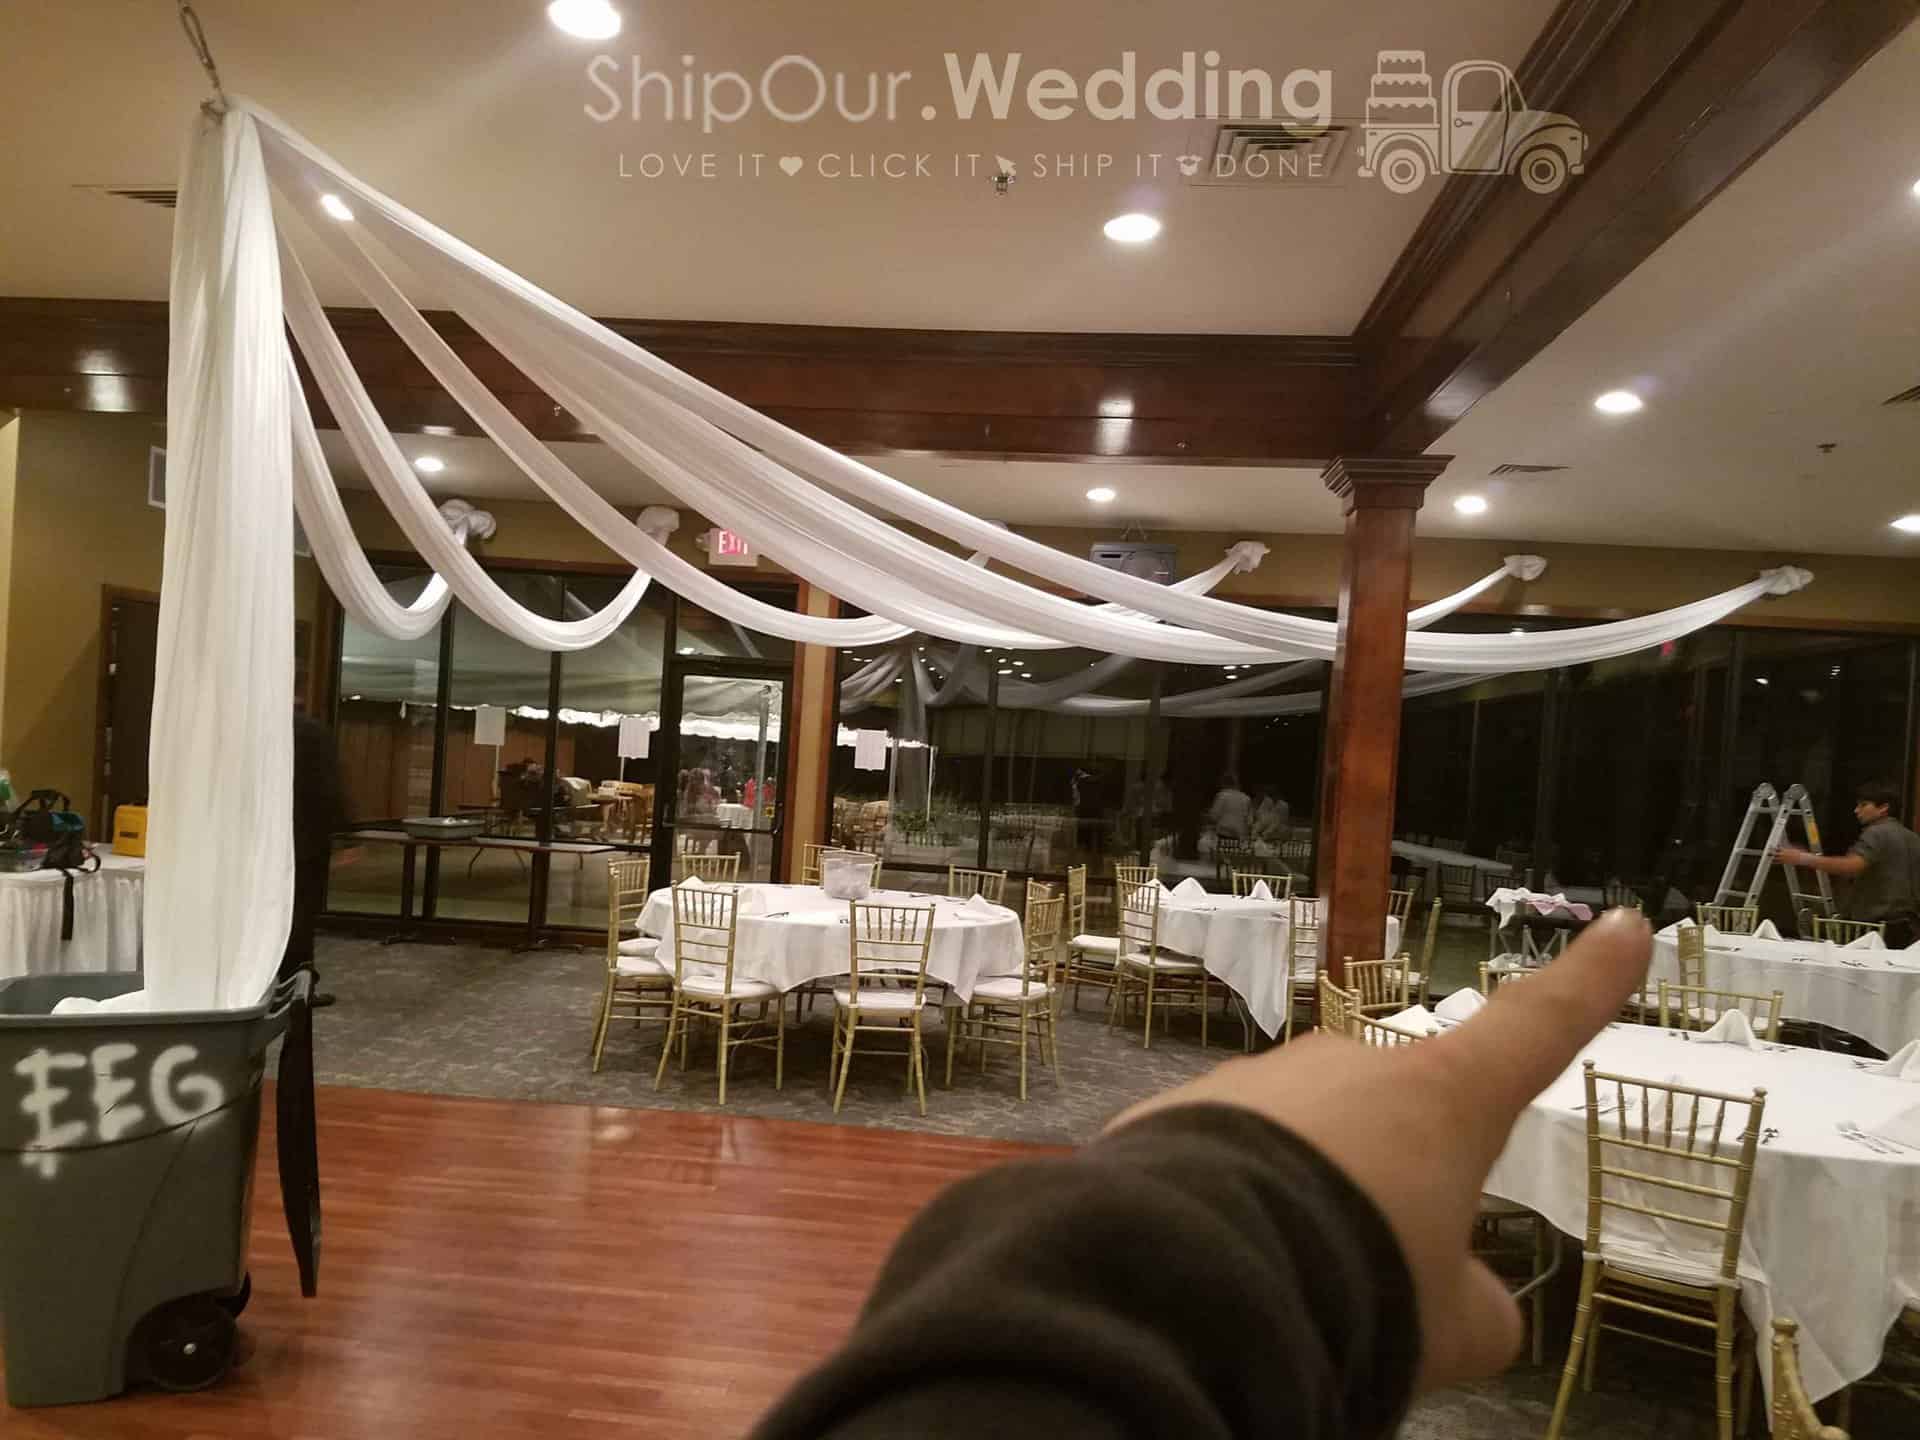
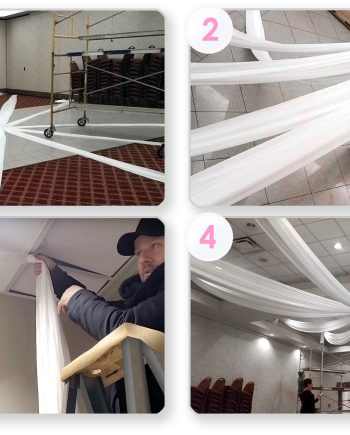
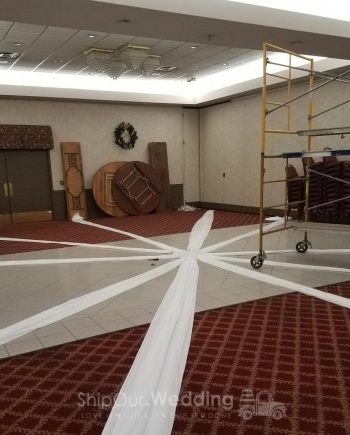
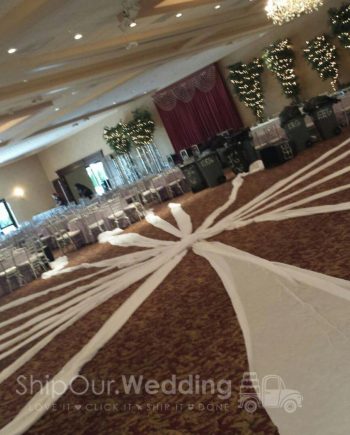
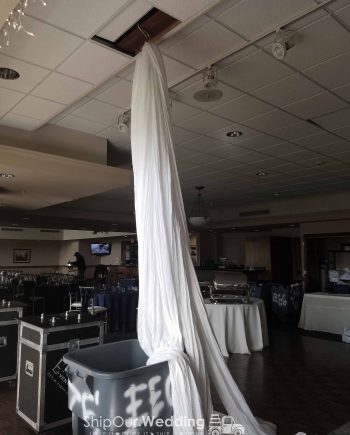
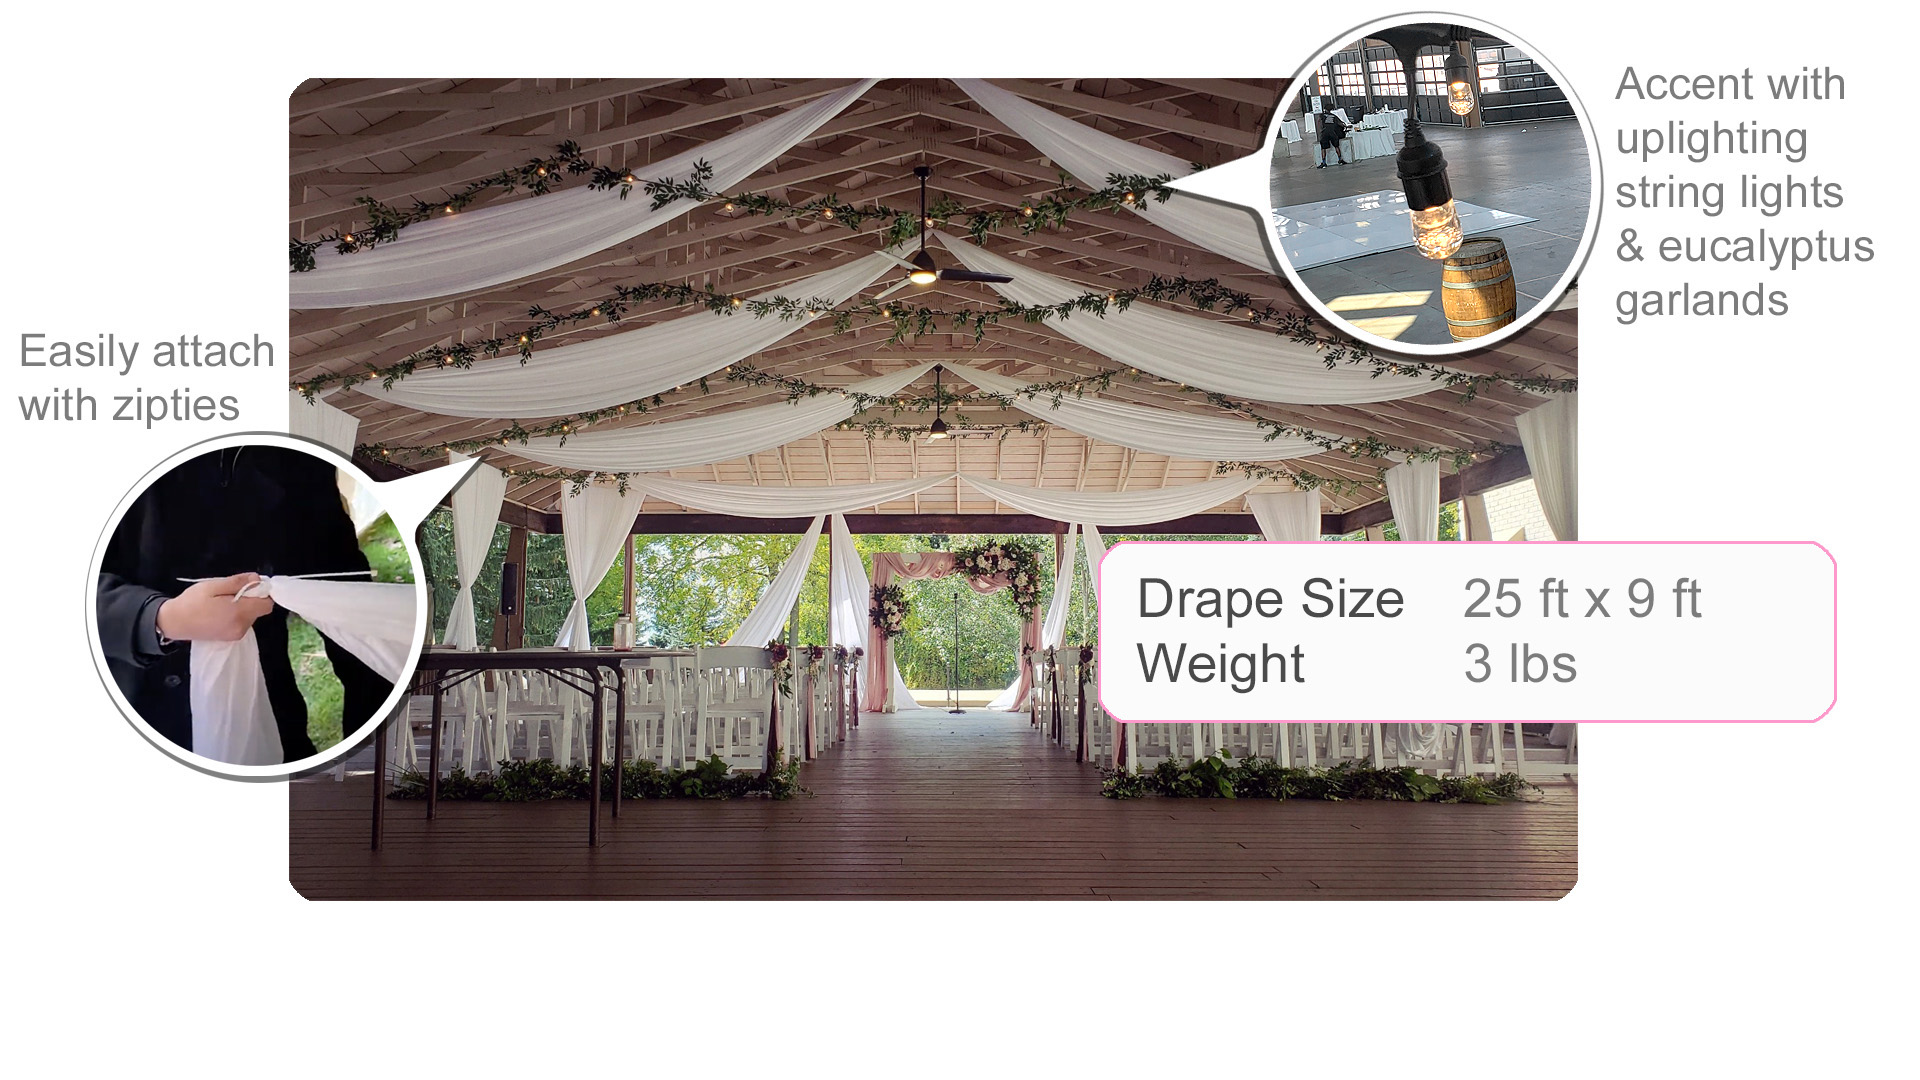
How to Hang Drapes
✓ Layout draping, hang & mount
✓ Return shipping label is in box
✓ Return (2) days after the date
How to Hang Drapes
✓ Layout draping, hang & mount
✓ Return shipping label is in box
✓ Return (2) days after the date
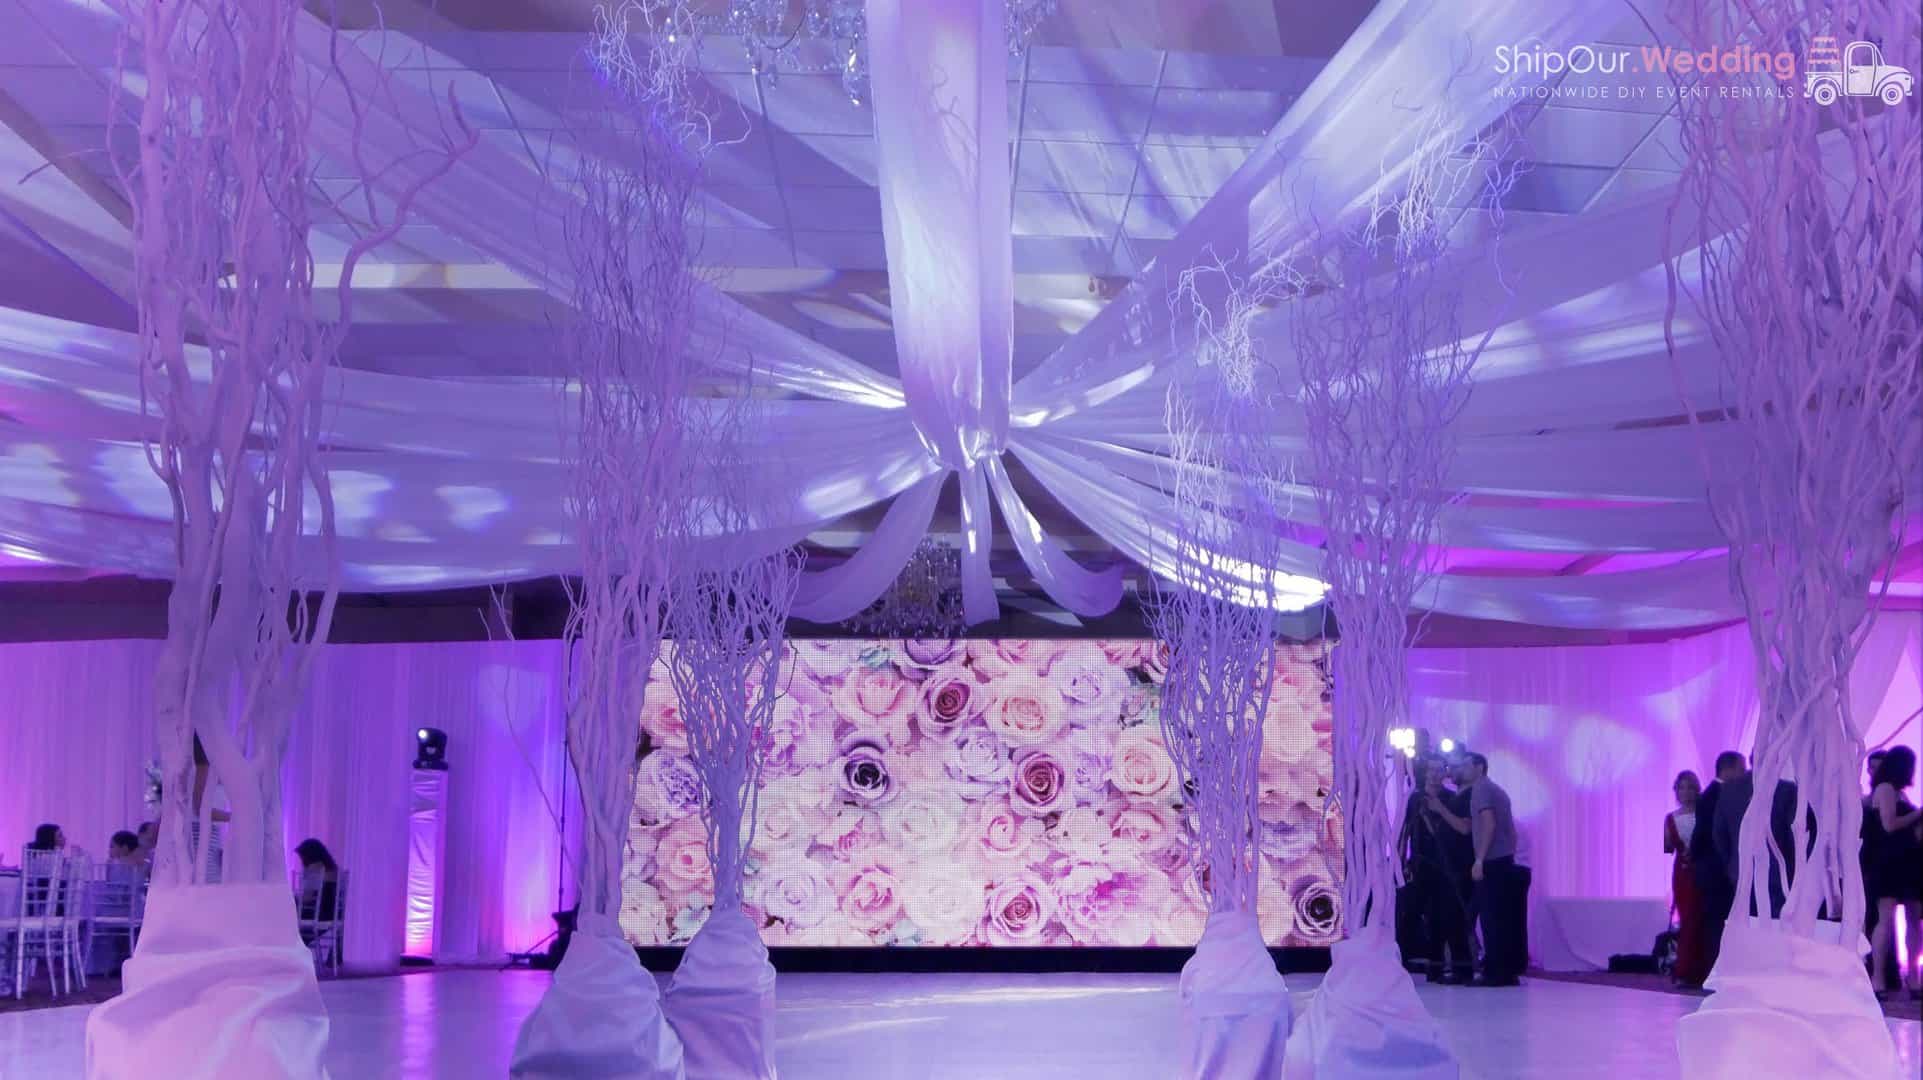
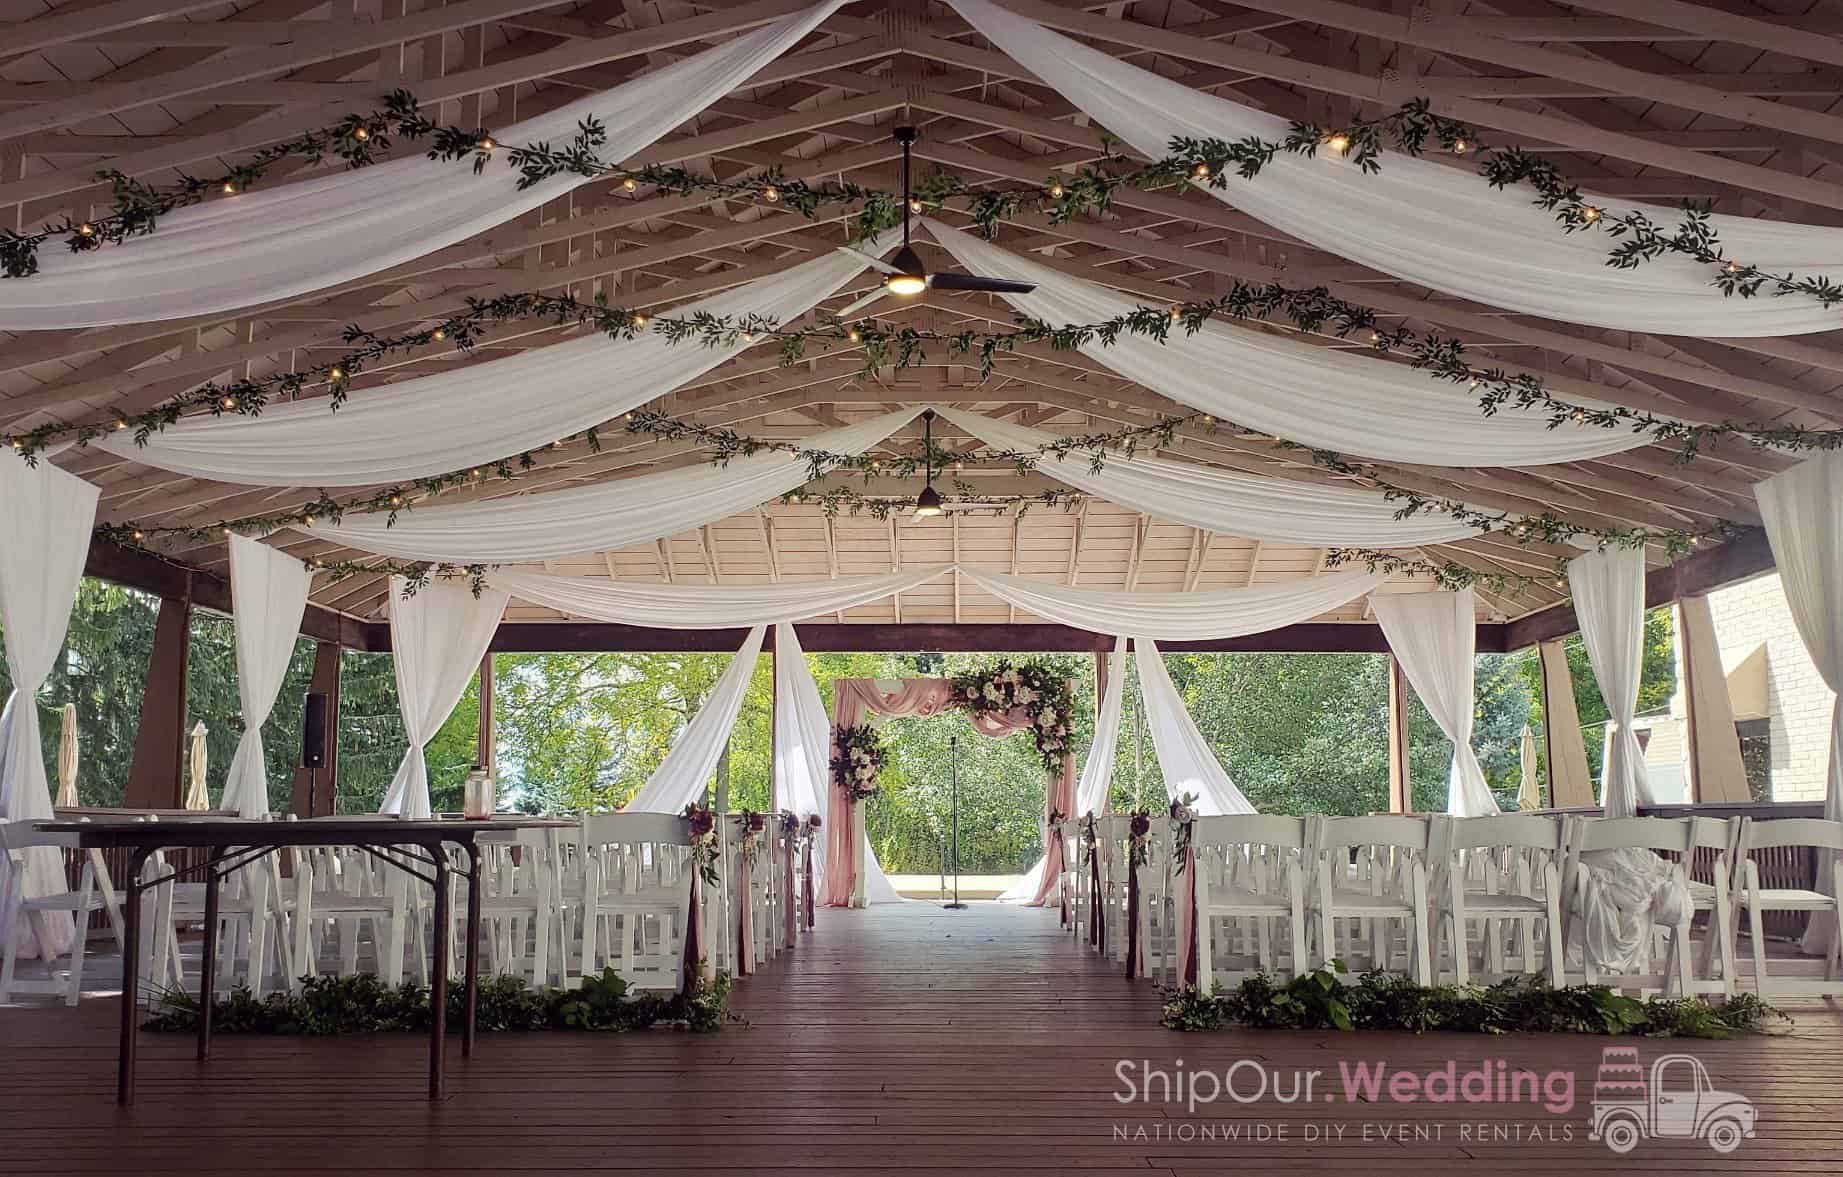
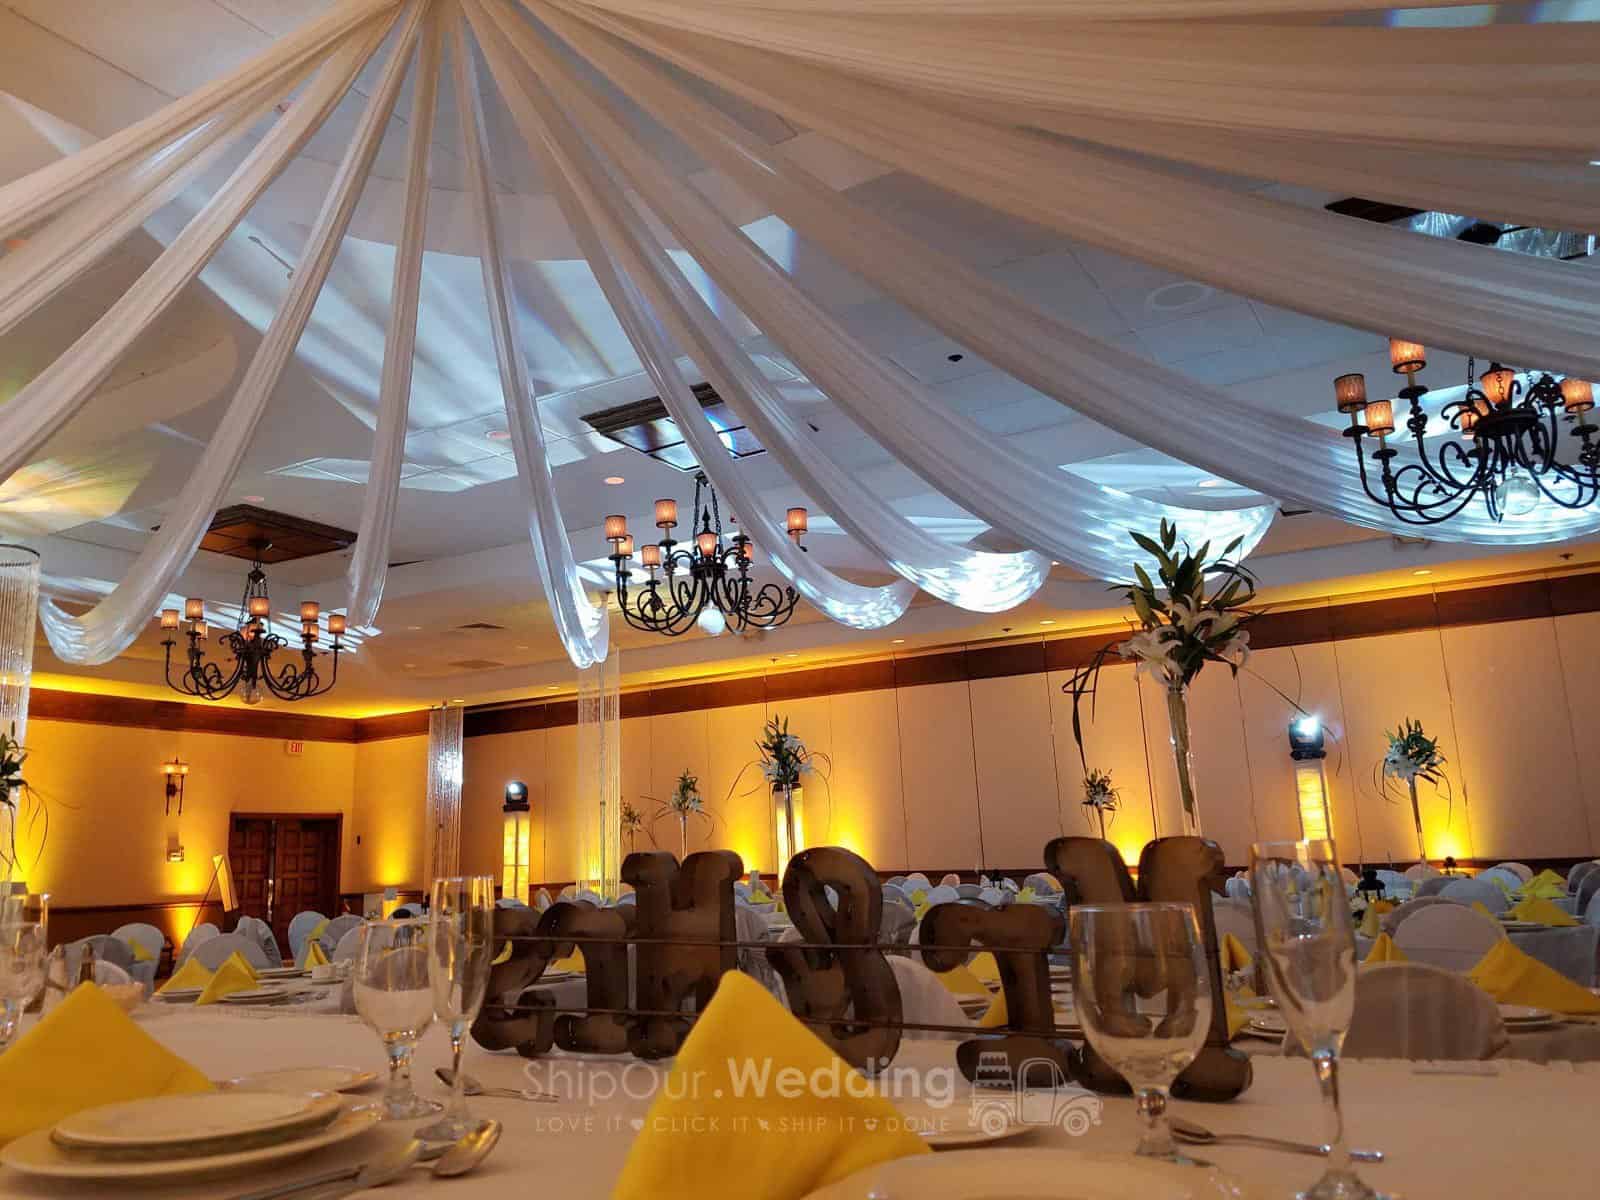
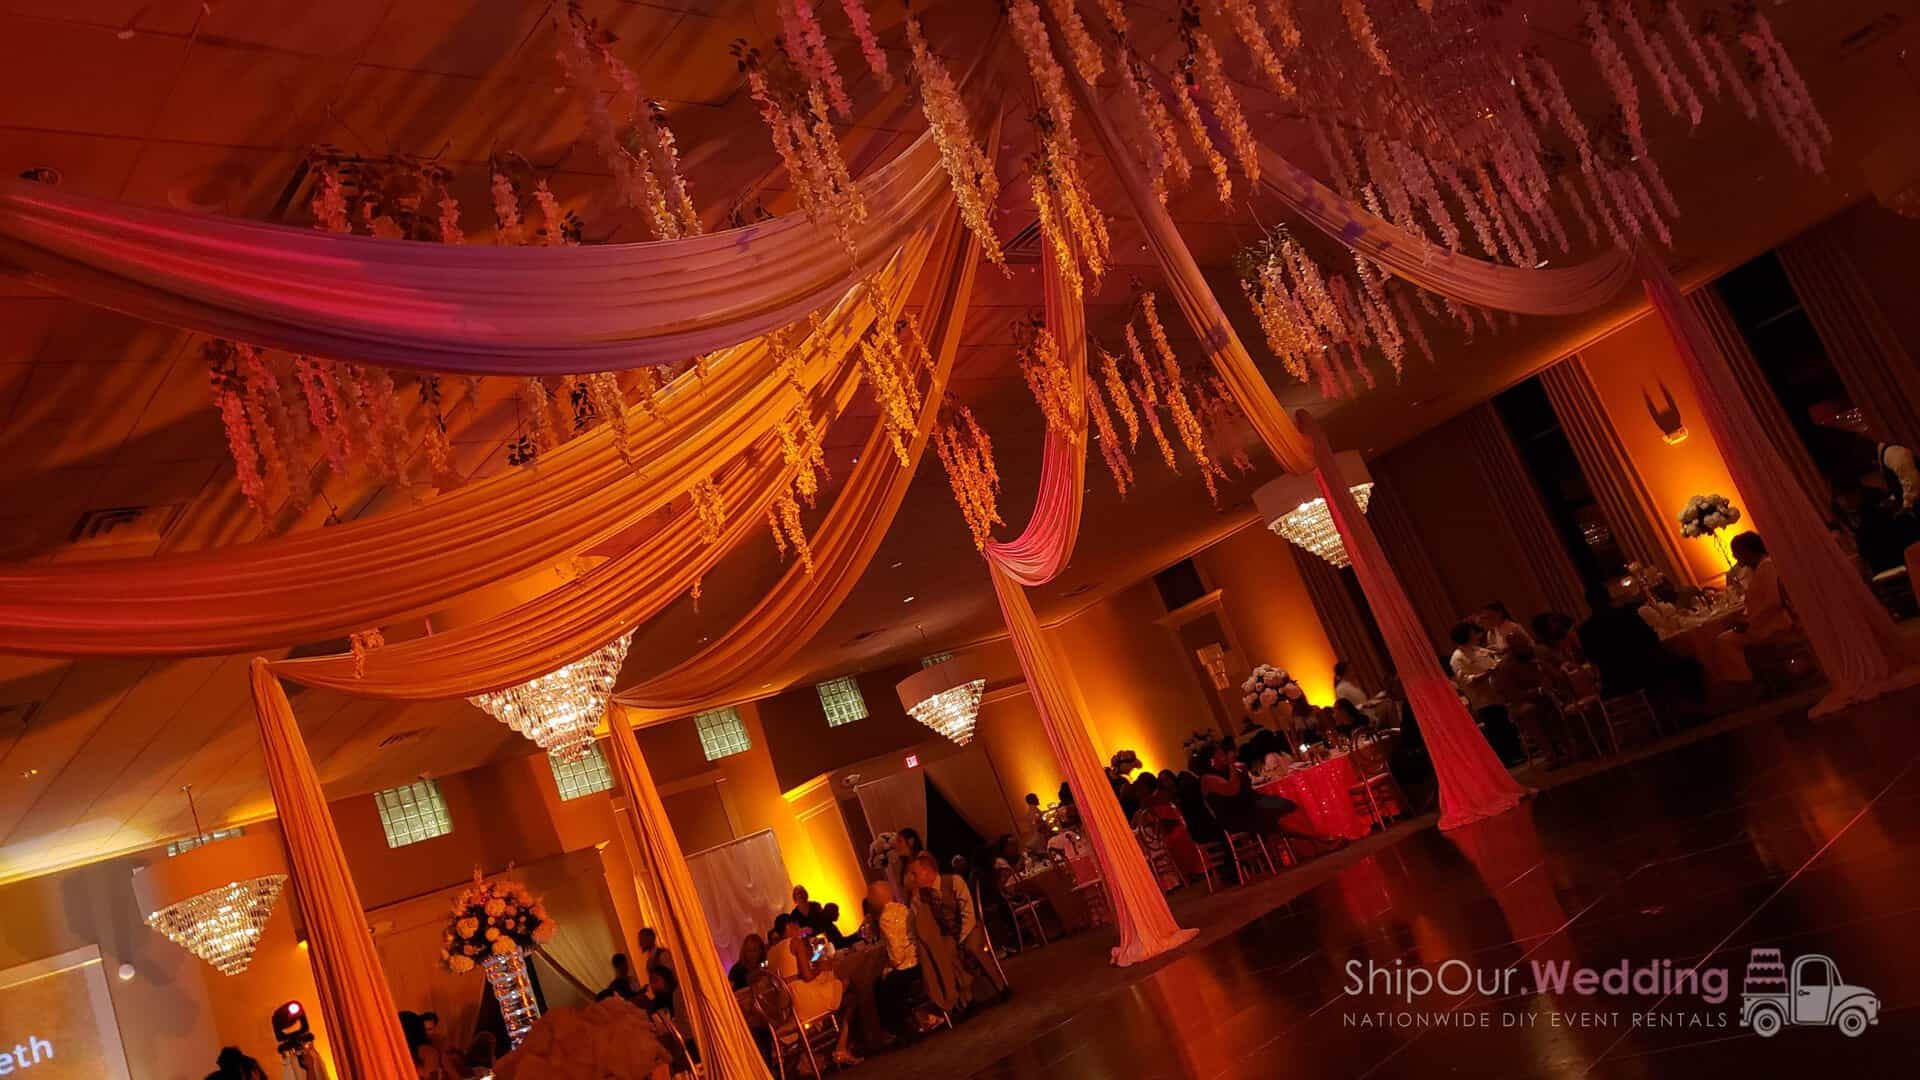
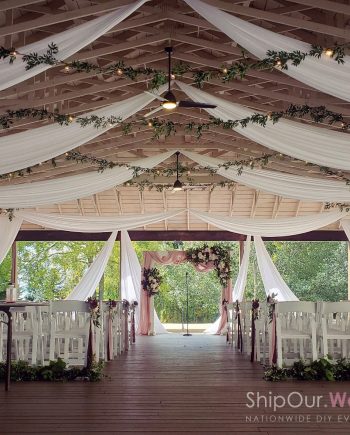
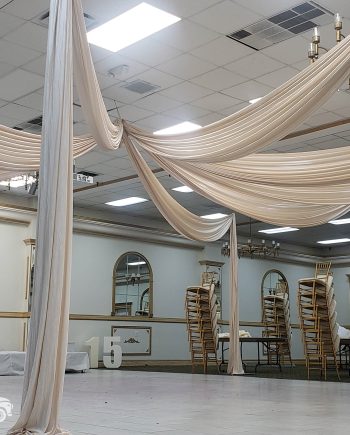
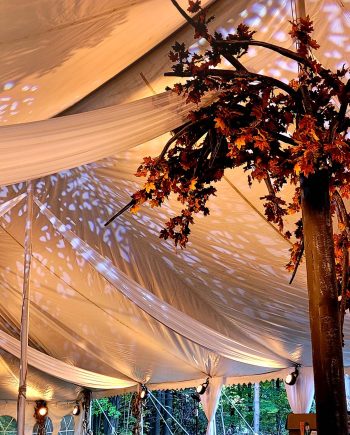
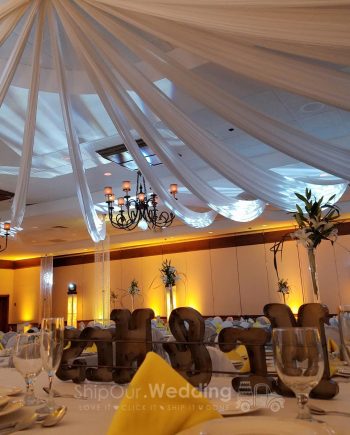
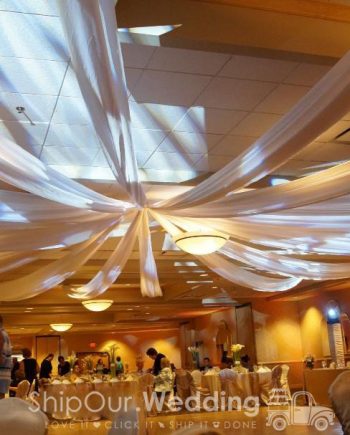
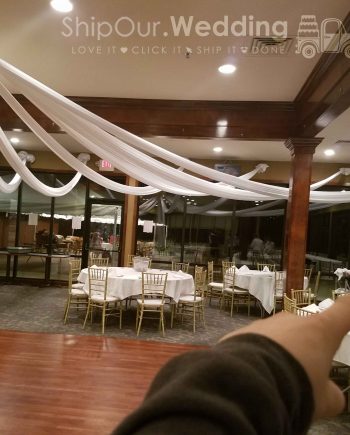
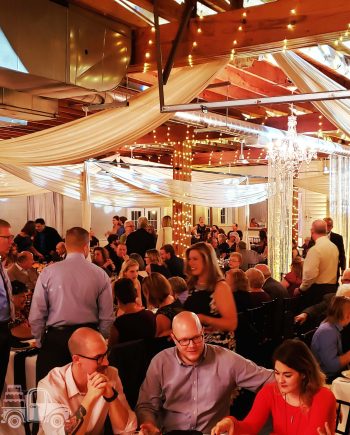
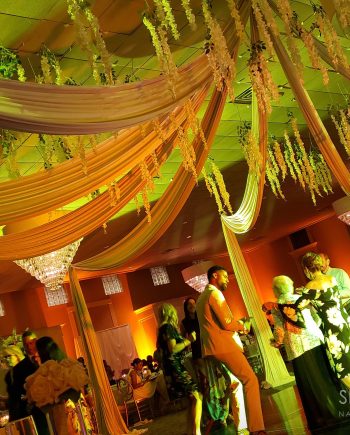
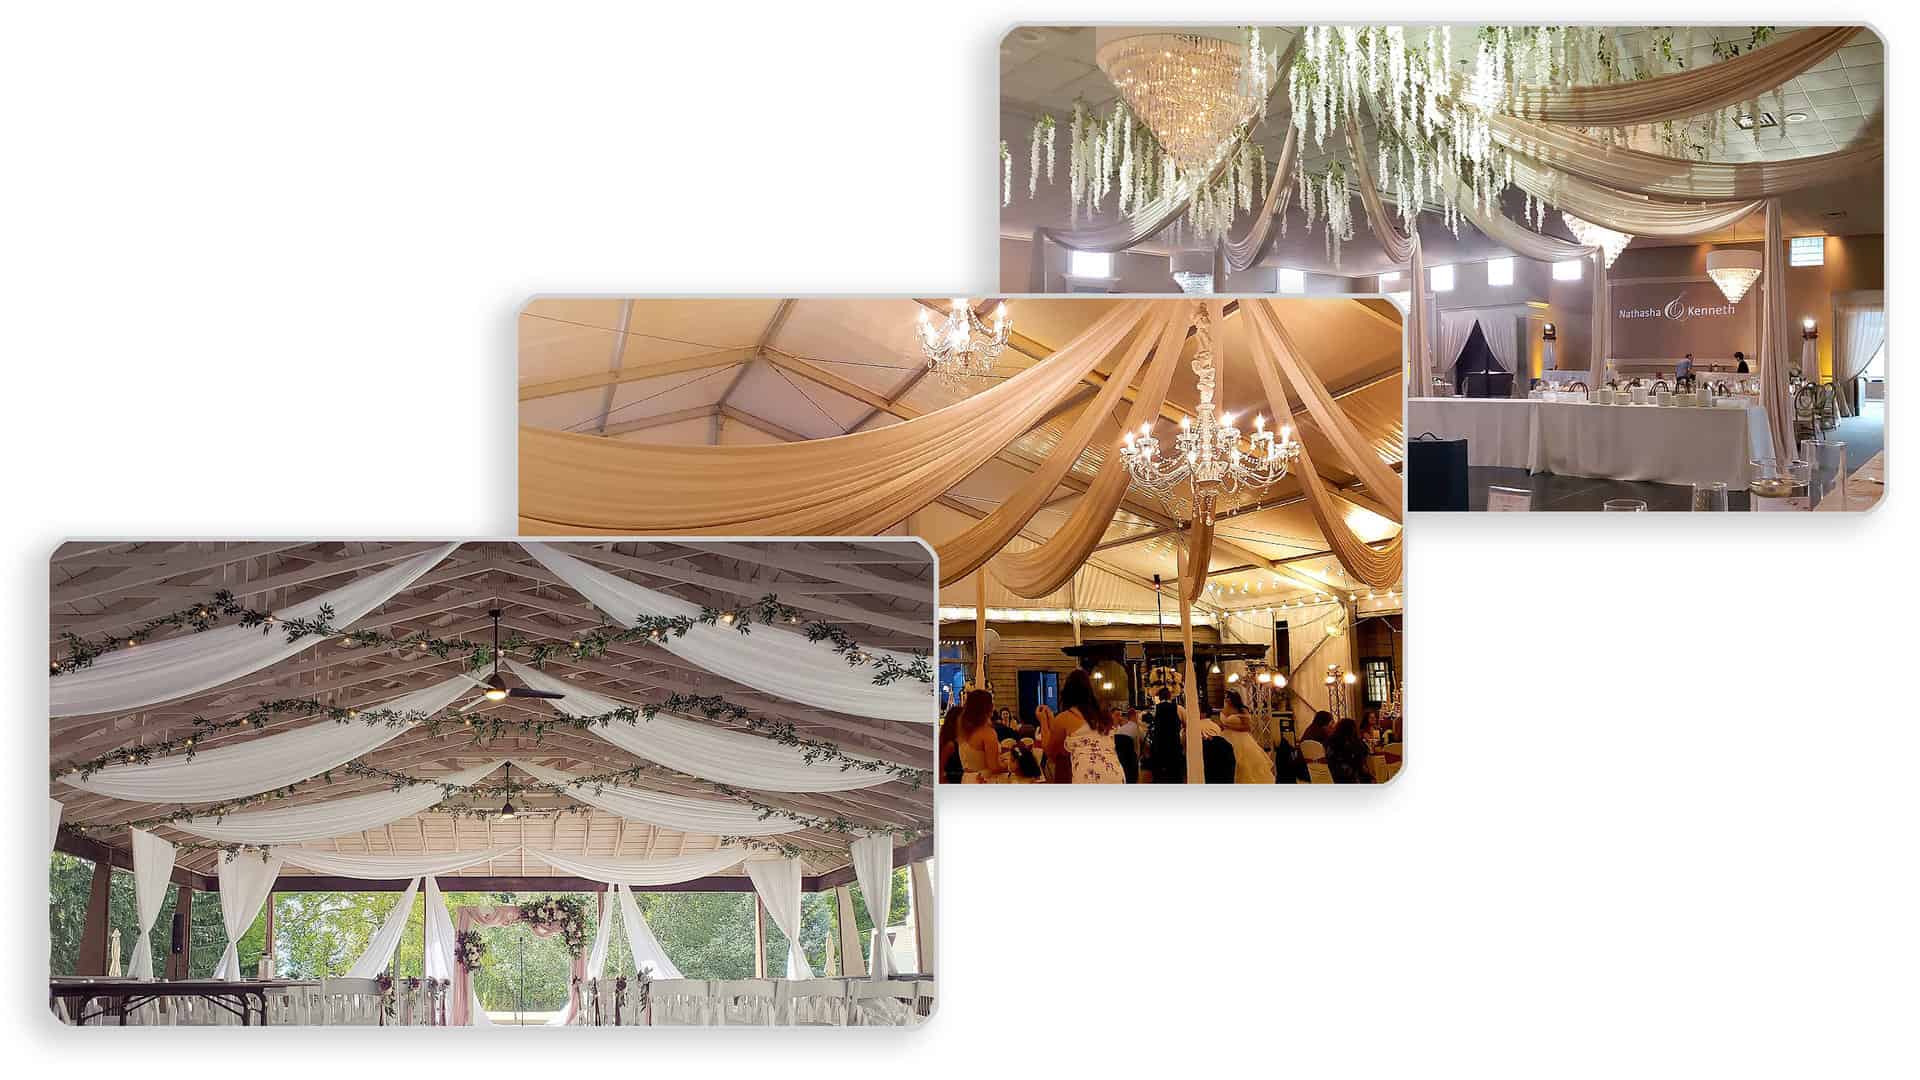
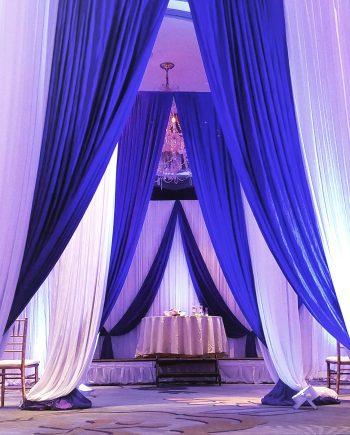
Drape Any Ceiling
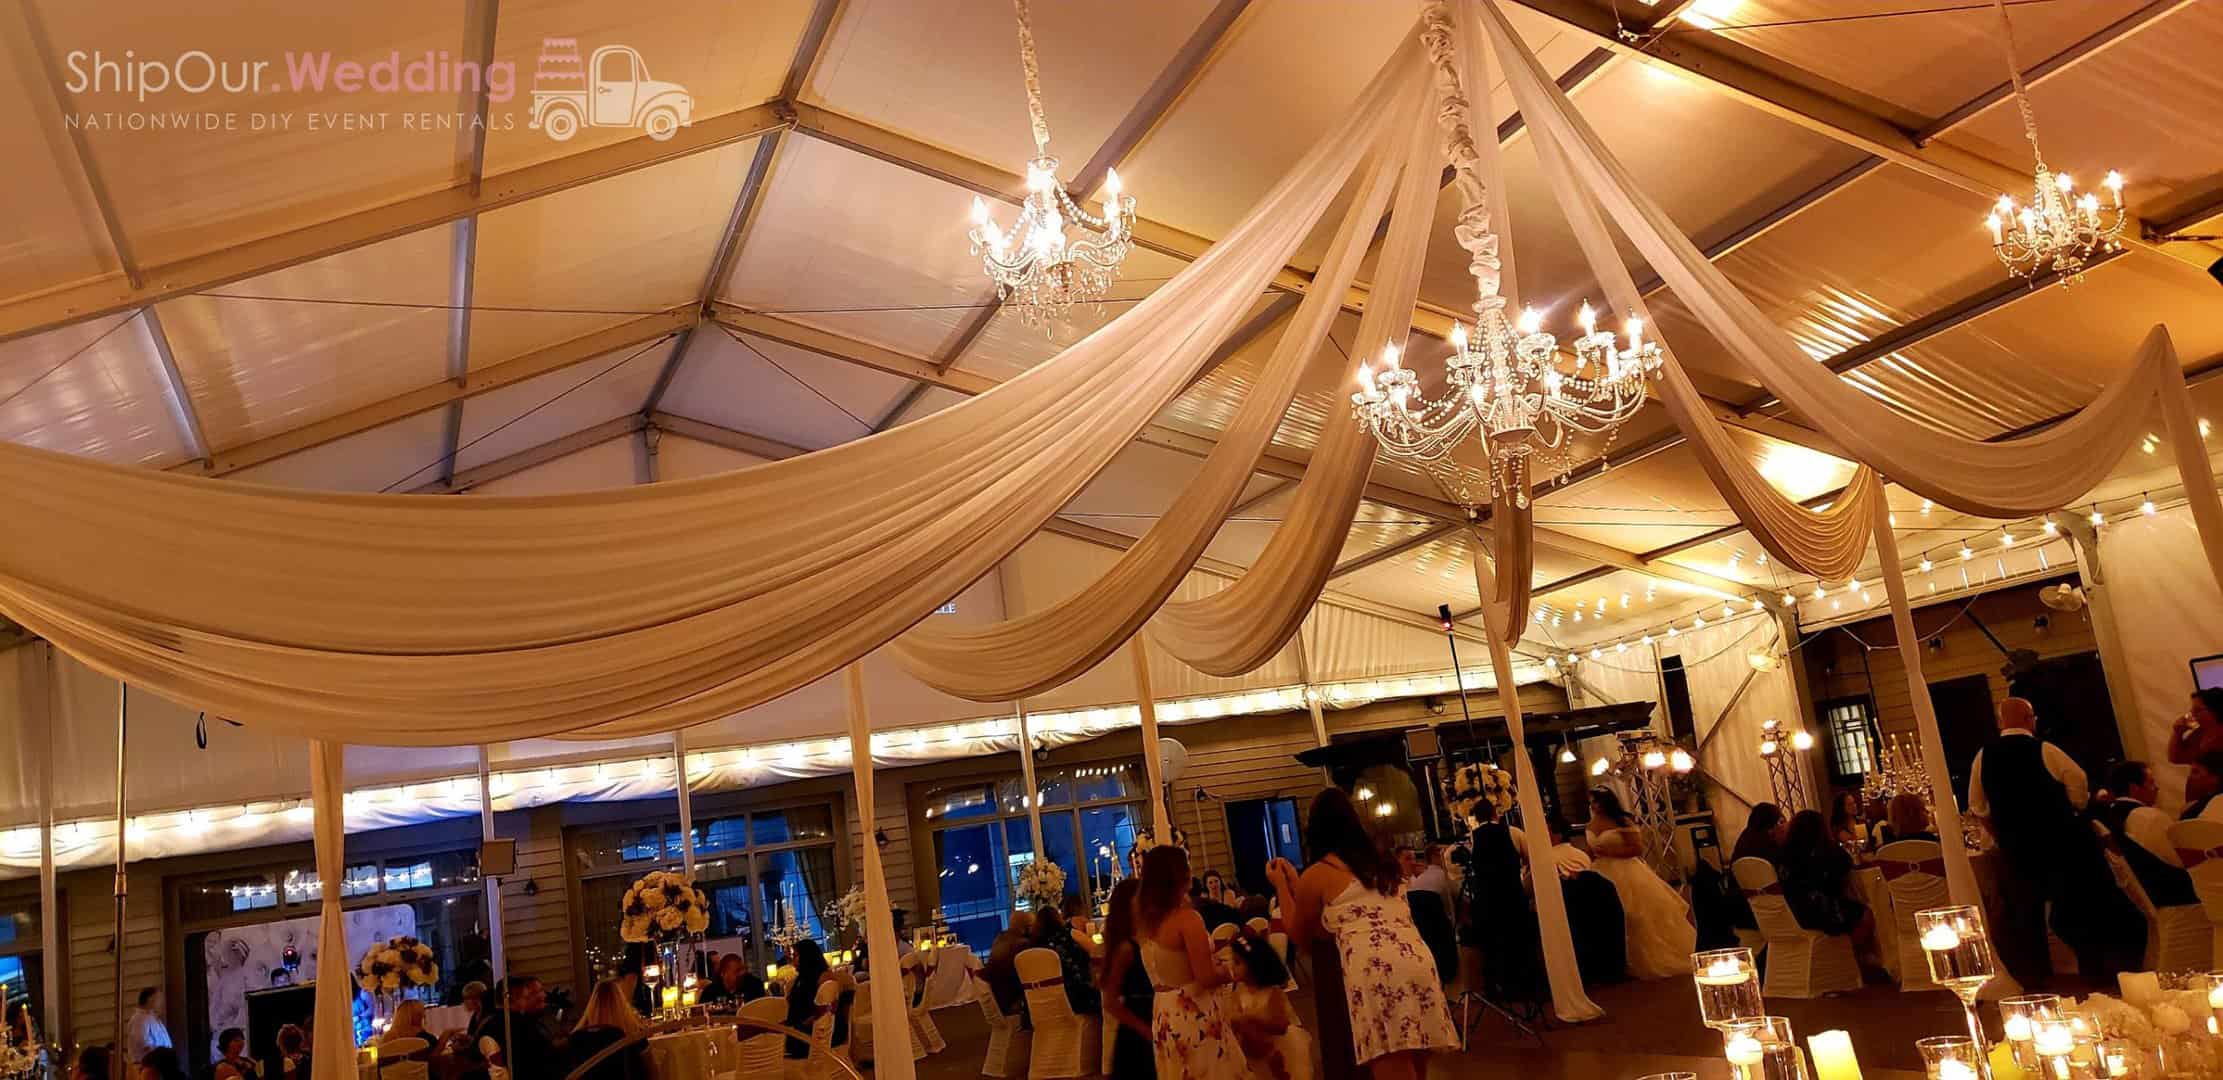
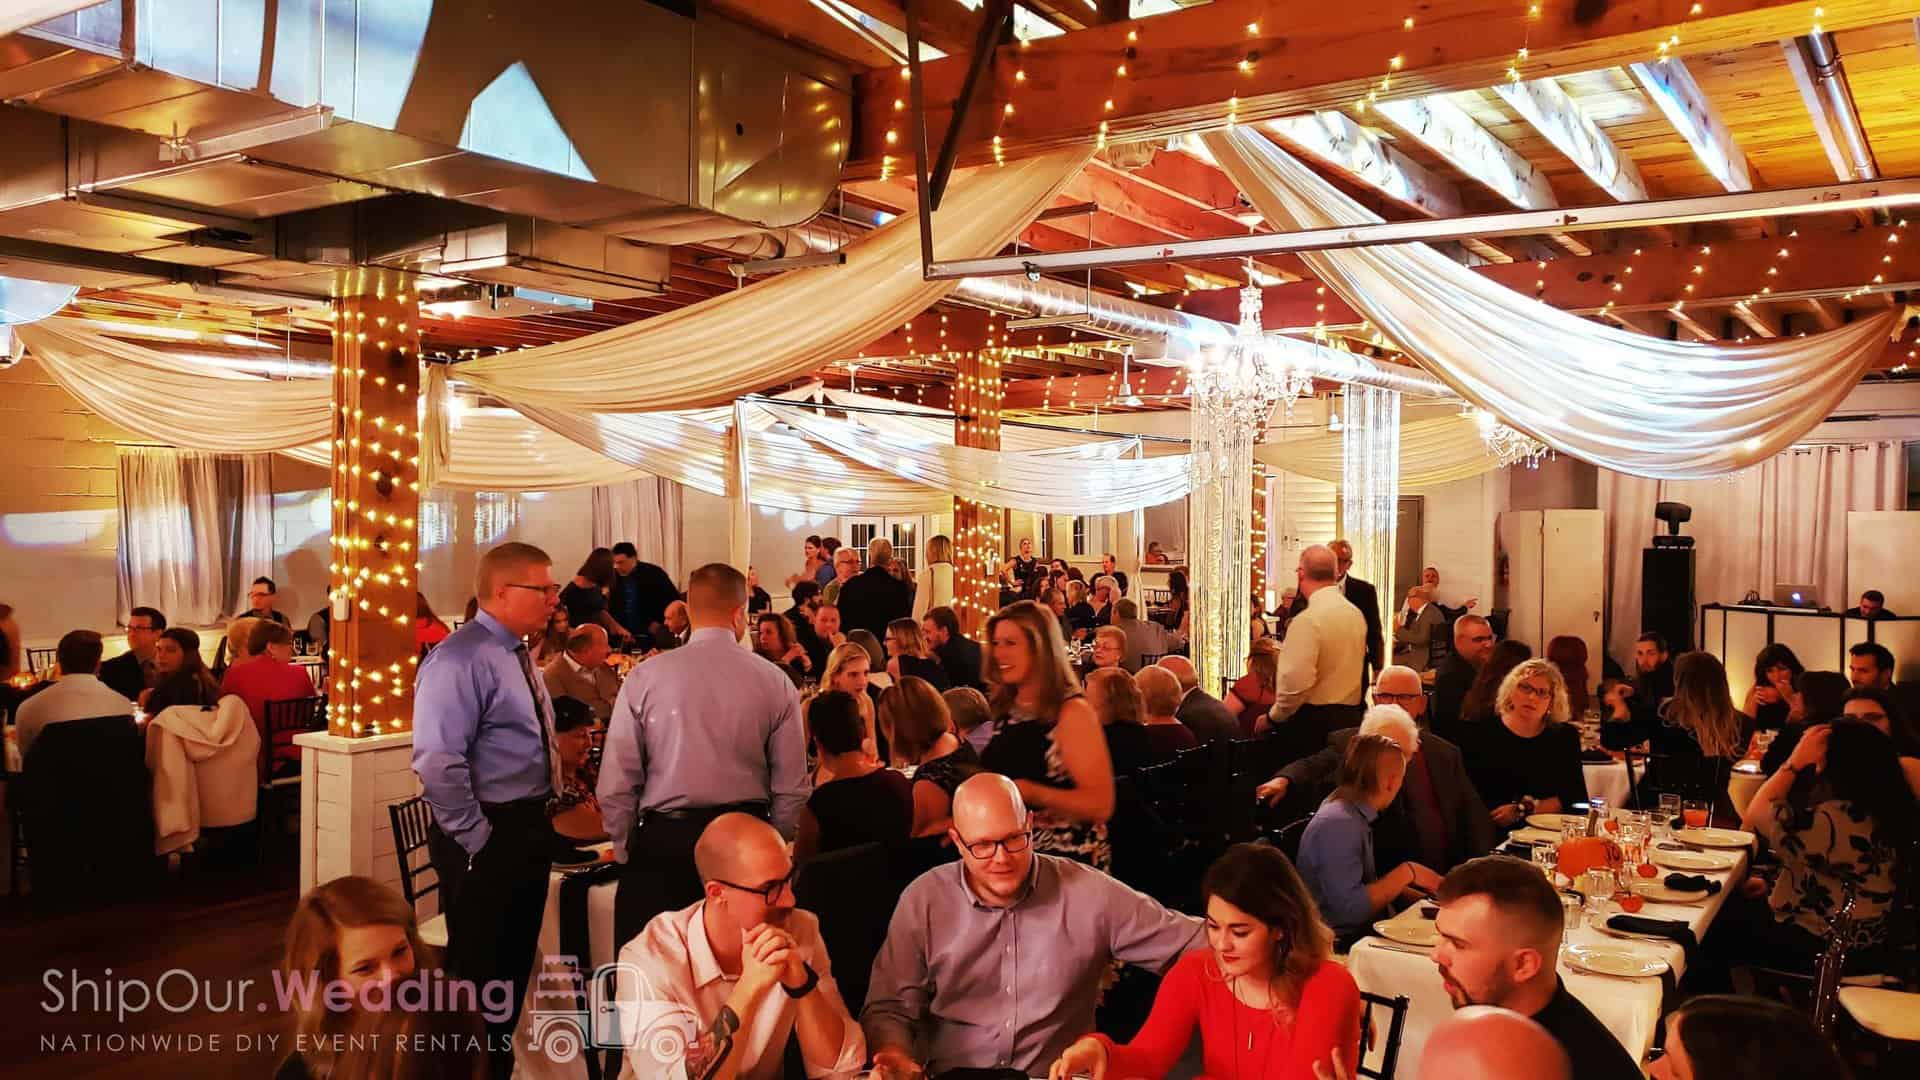
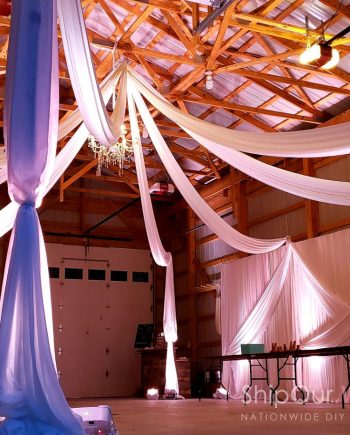
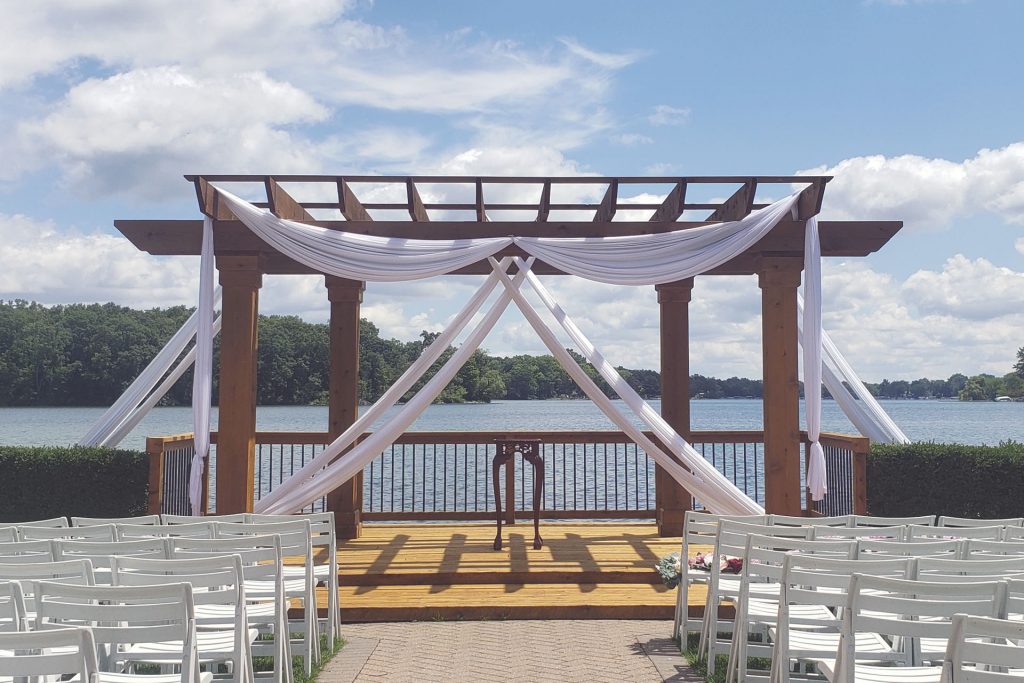
✓ Hang fabric on pavilion rafters
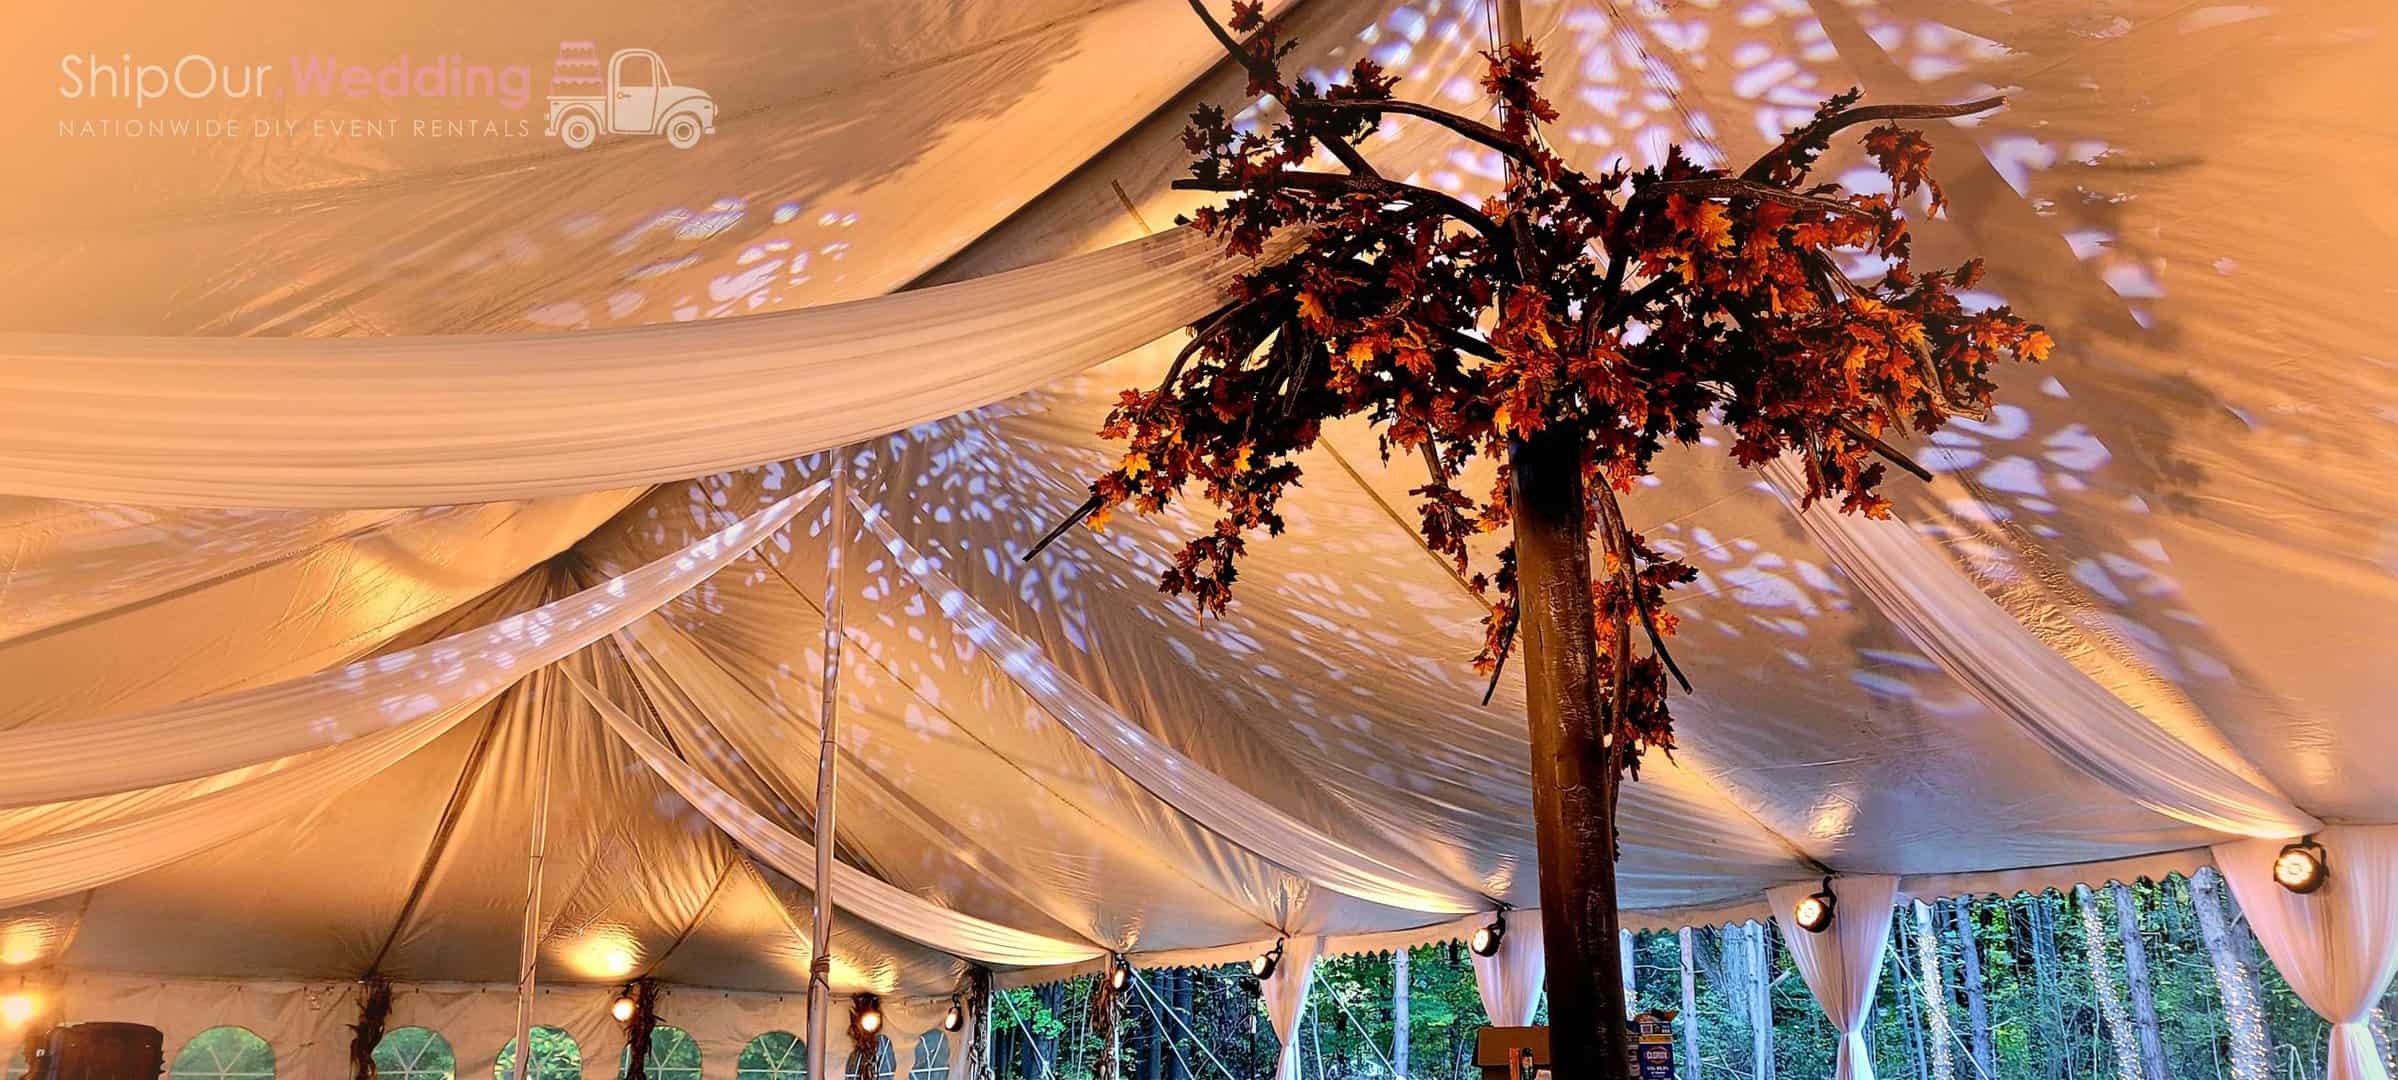
✓ Drape part of your tent canopy
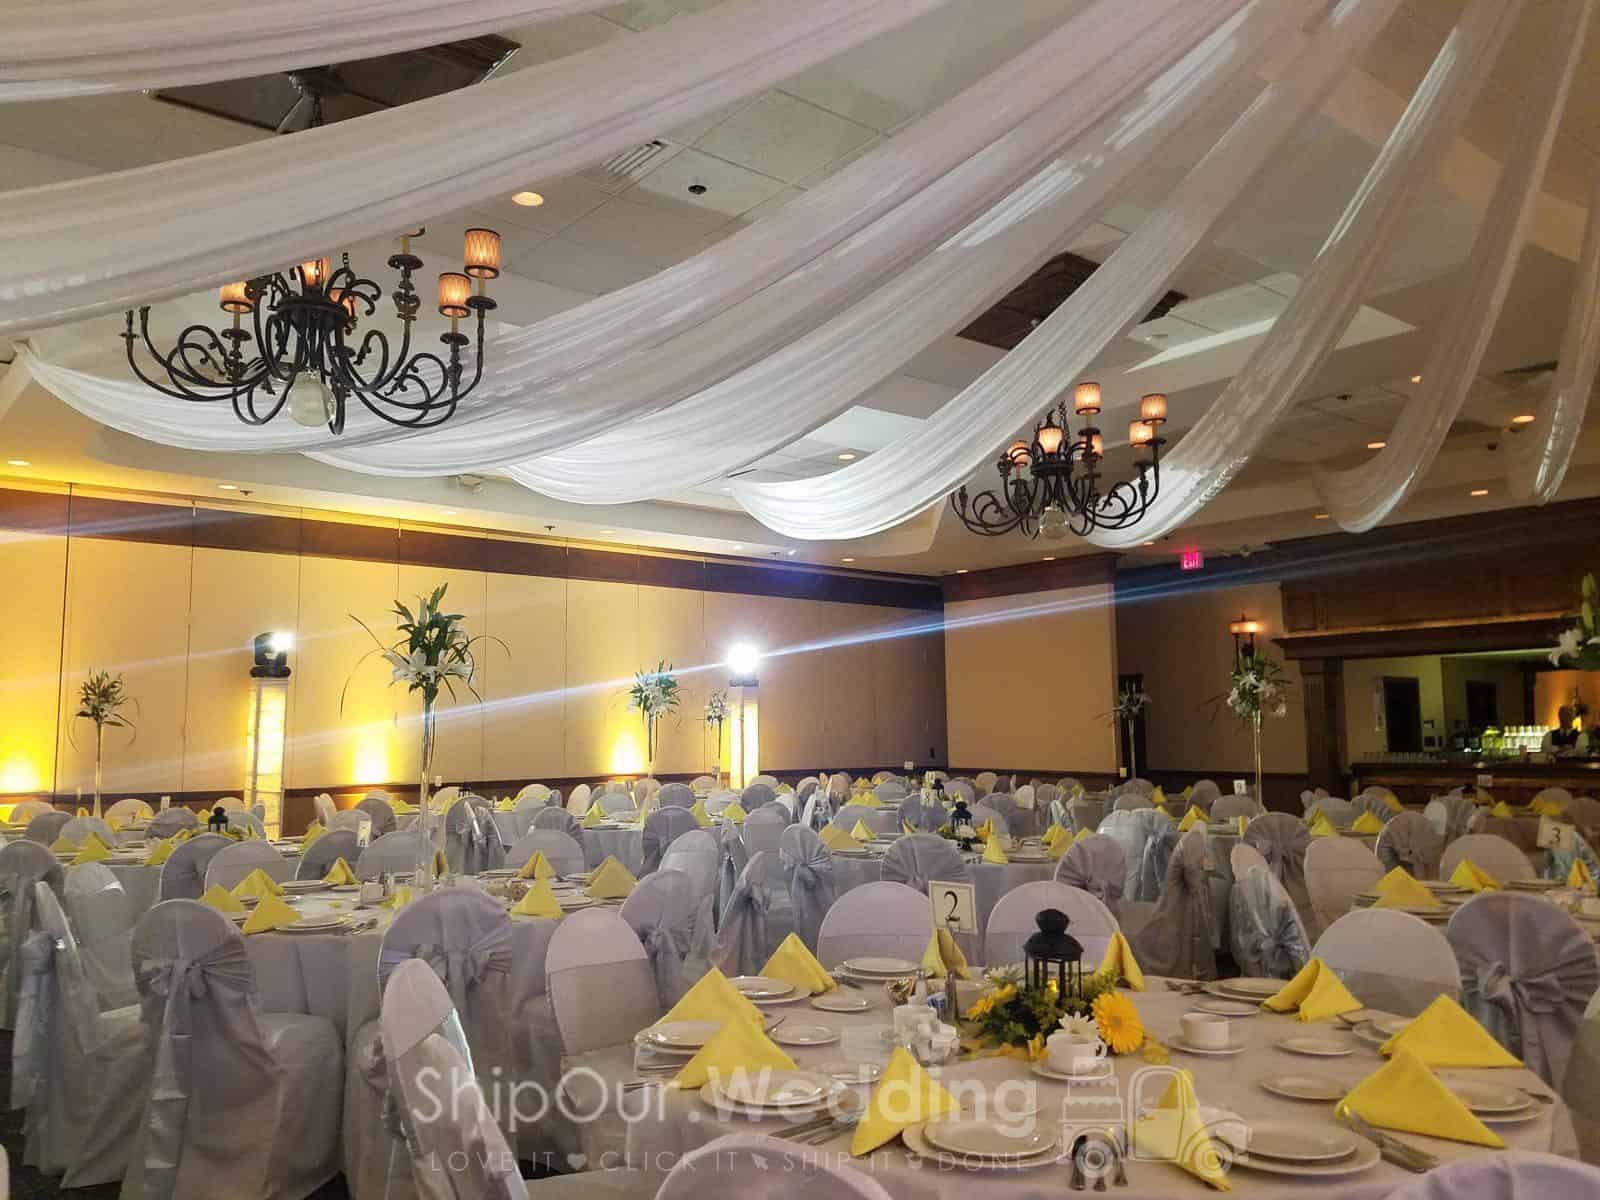
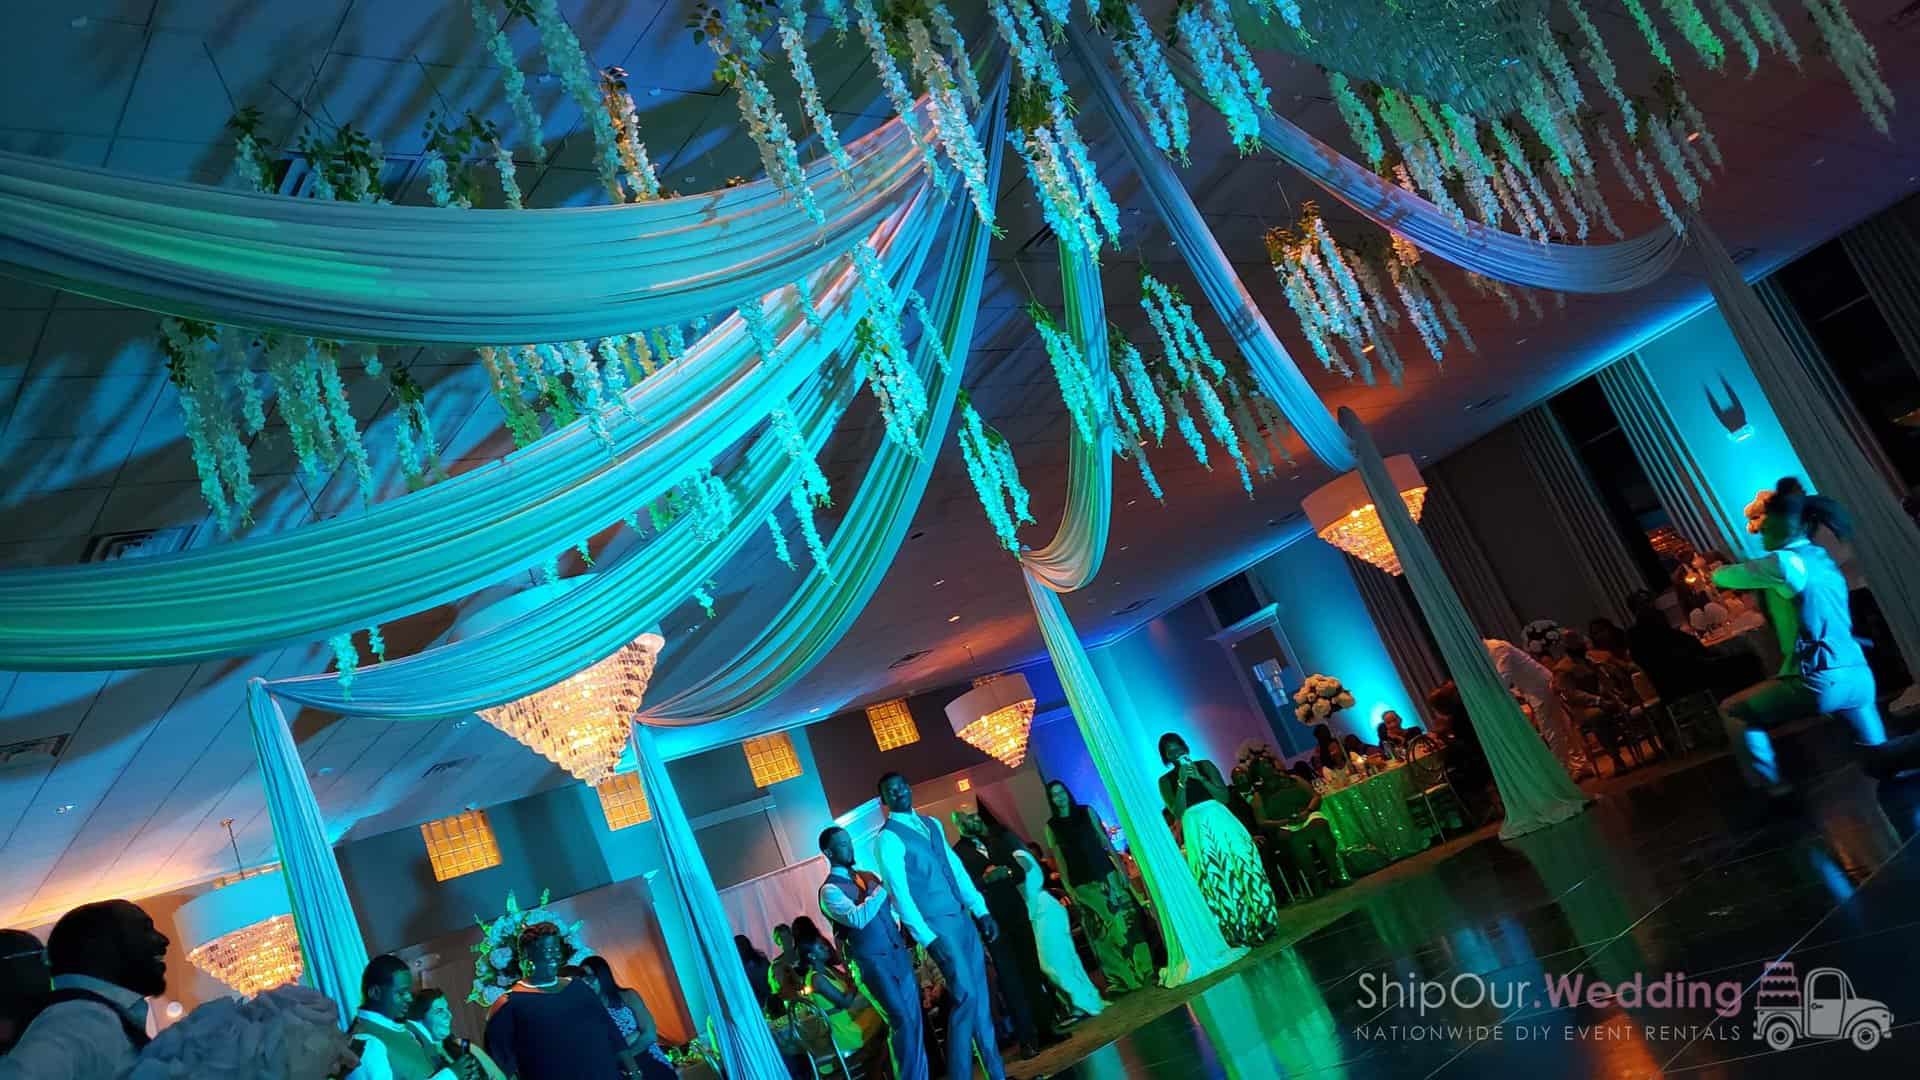
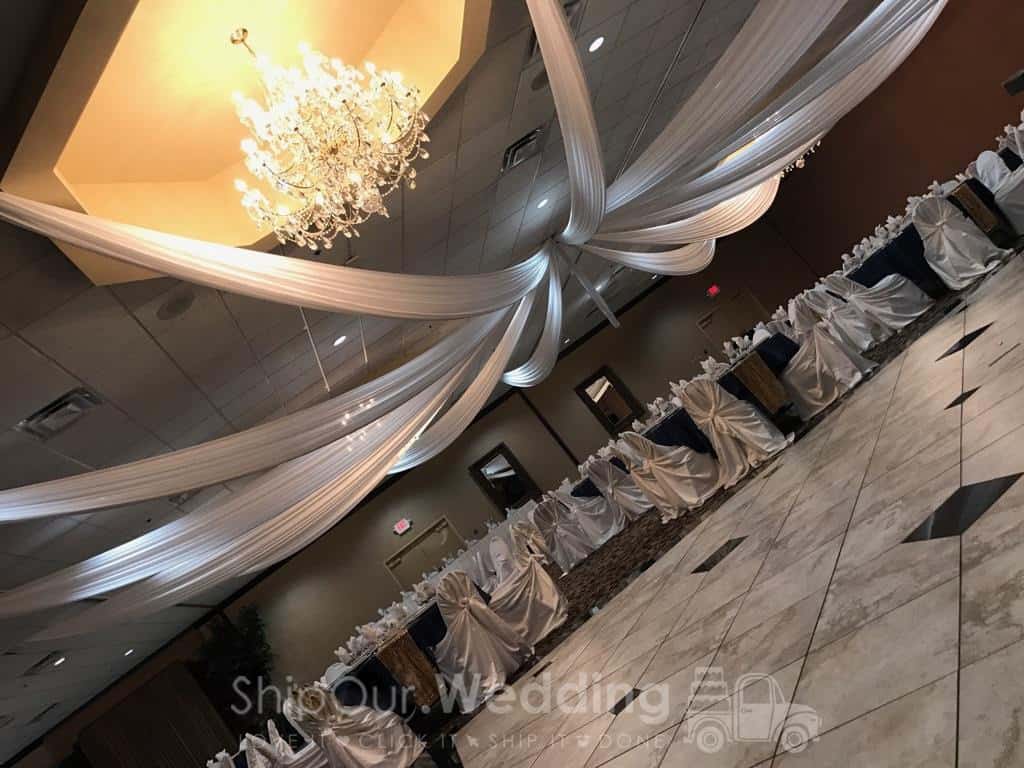
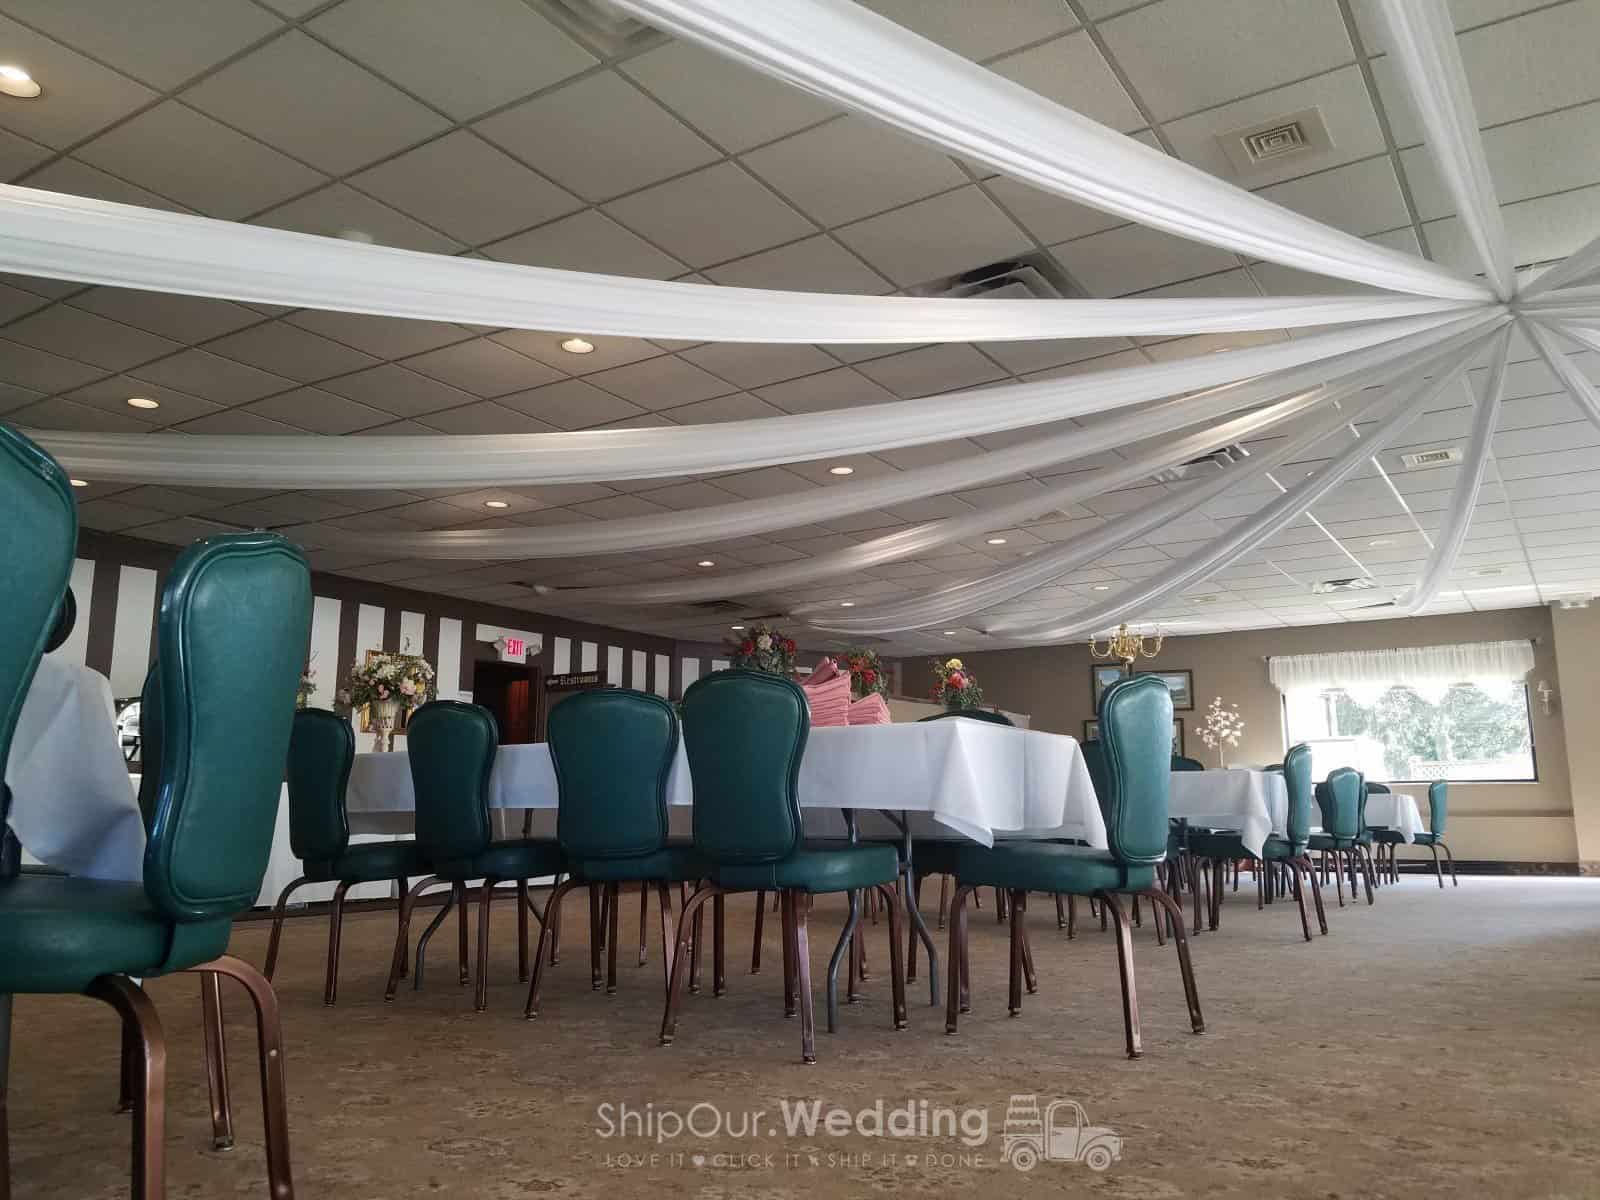
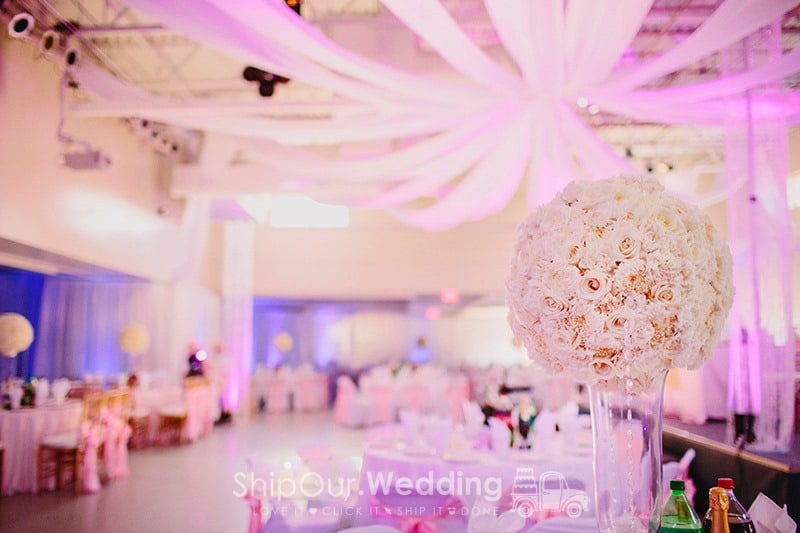
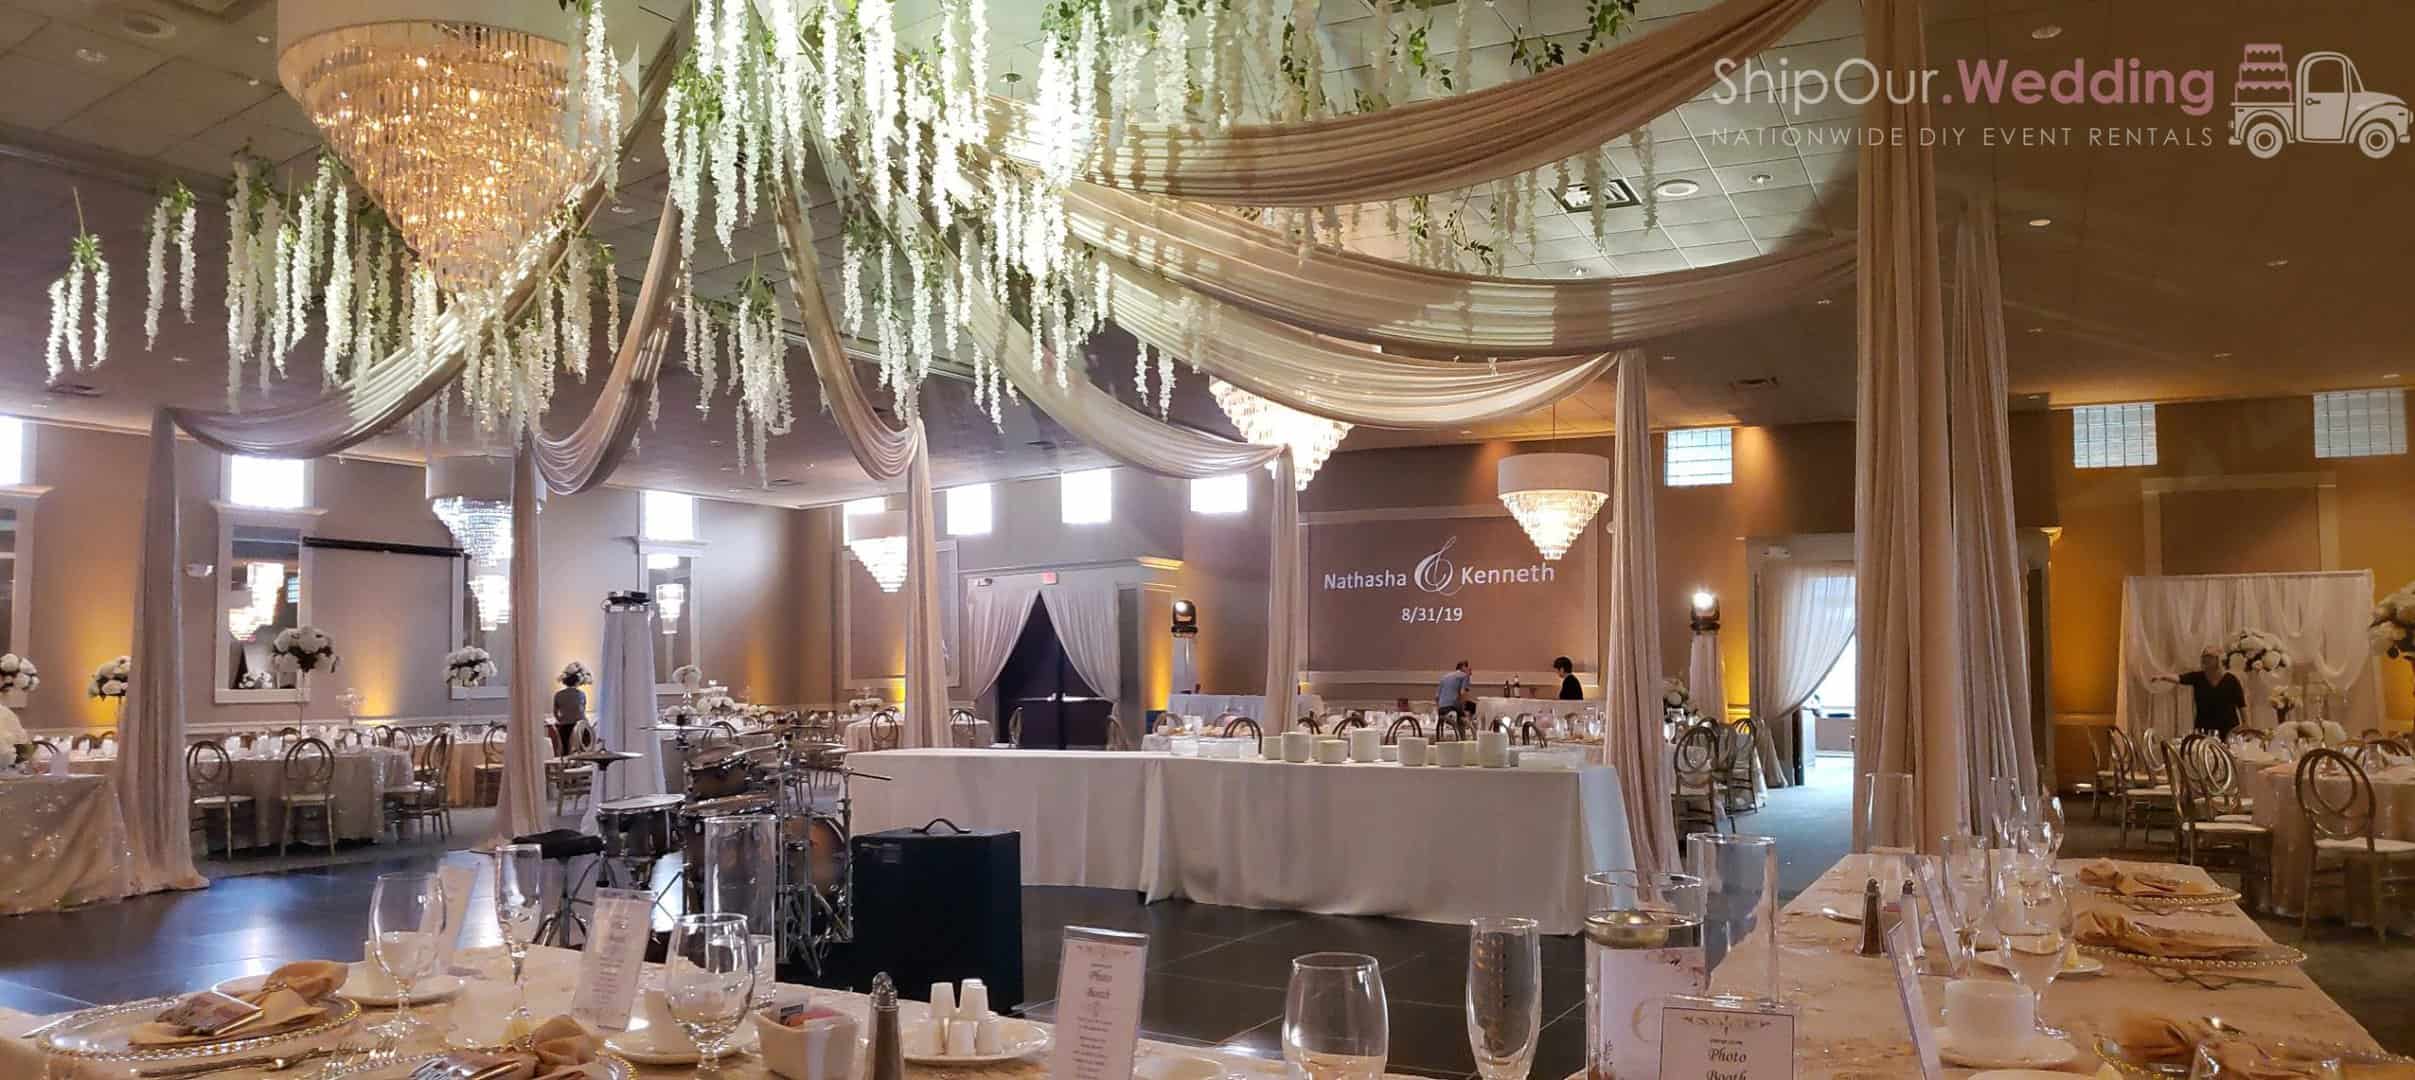
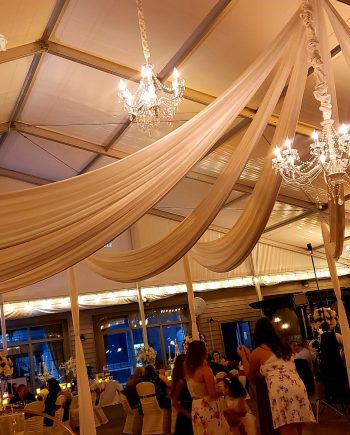
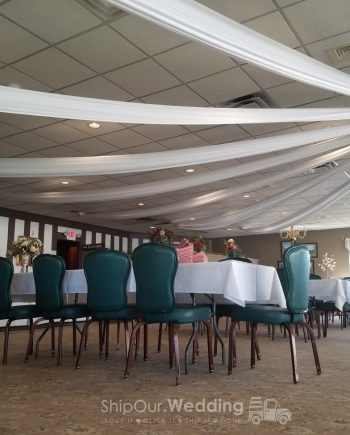
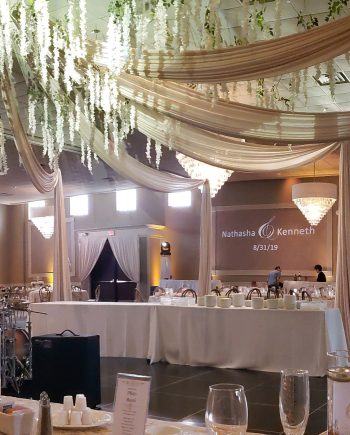
✓ Drape the ceiling in your venue
Drape Any Ceiling
✓ Hang fabric on pavilion rafters
✓ Drape part of your tent canopy
✓ Drape the ceiling in your venue
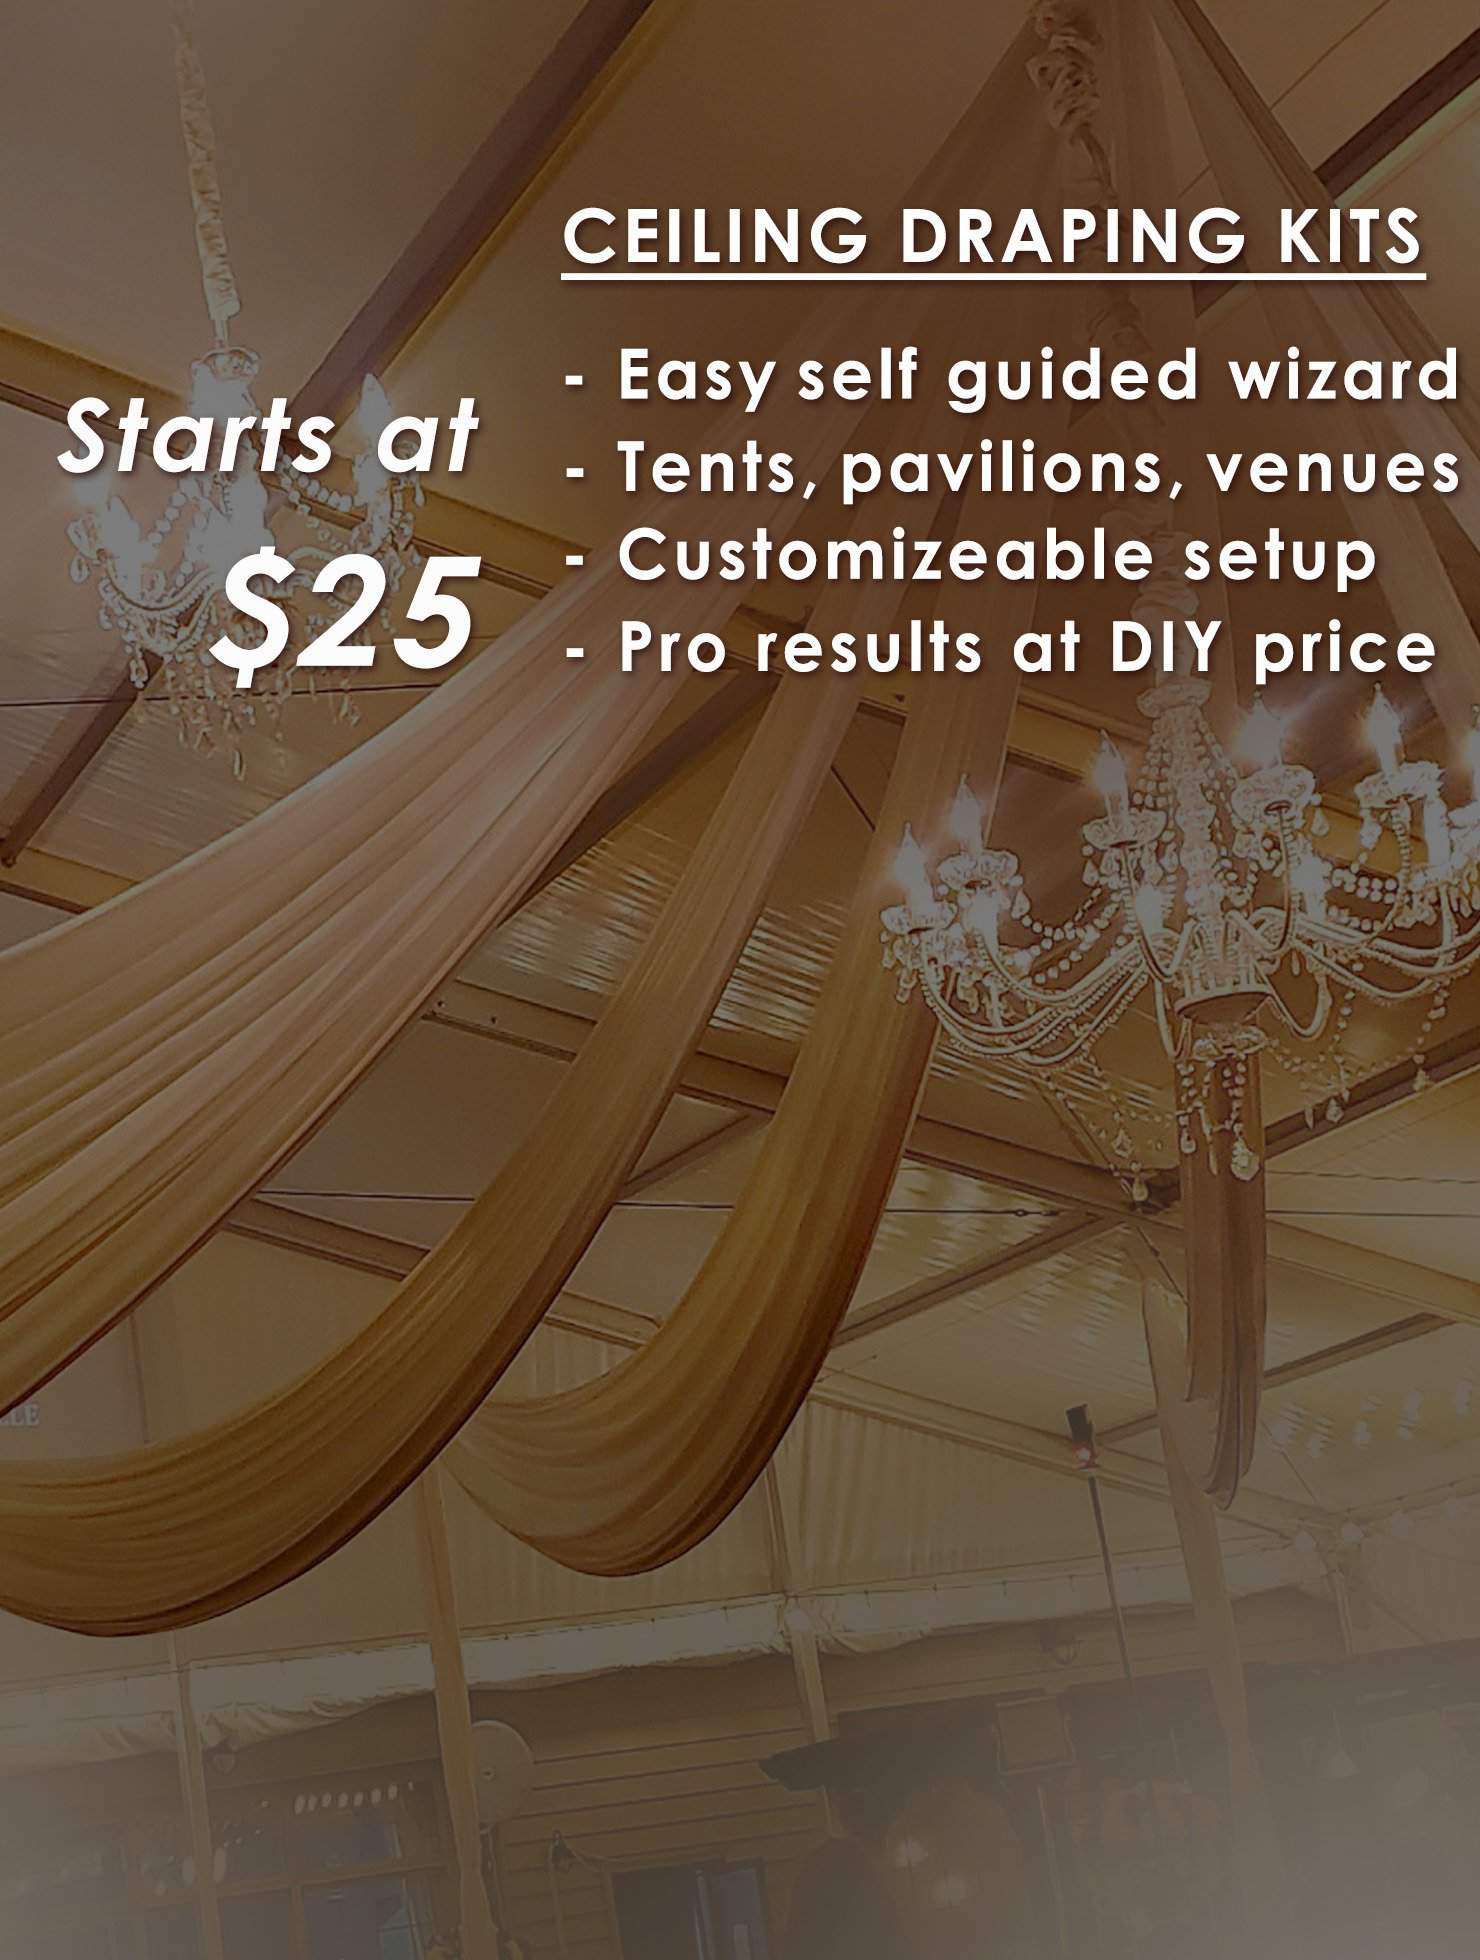
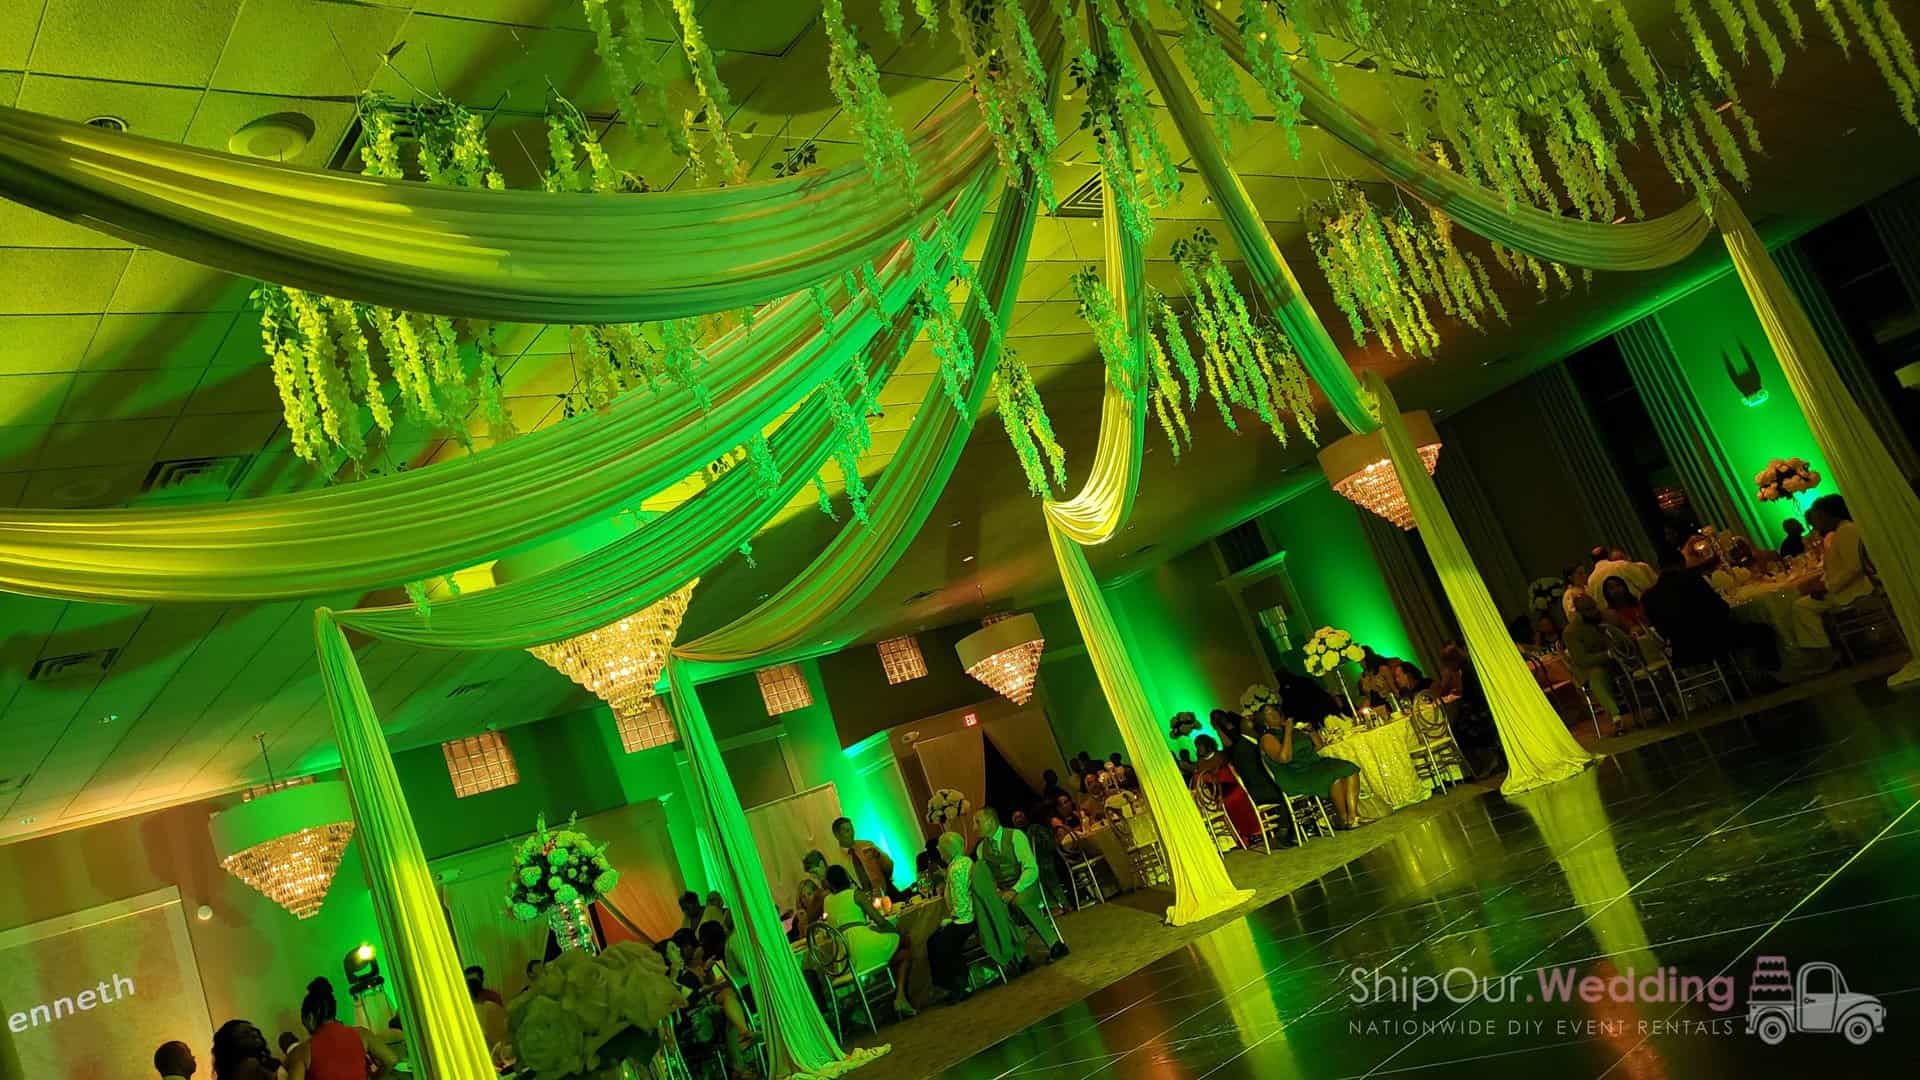
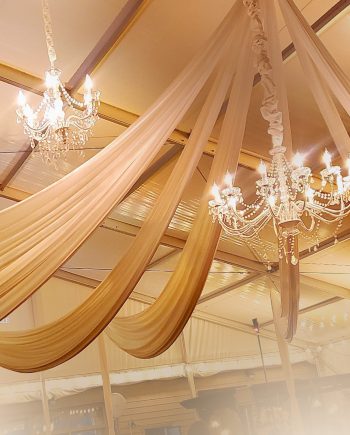
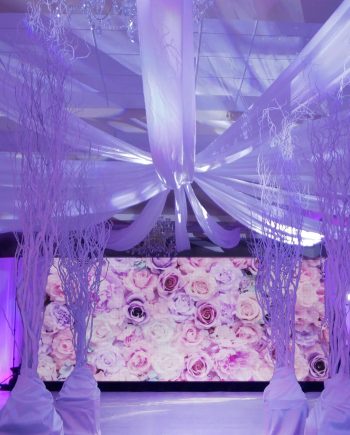
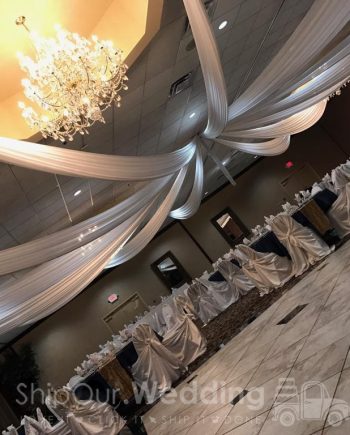
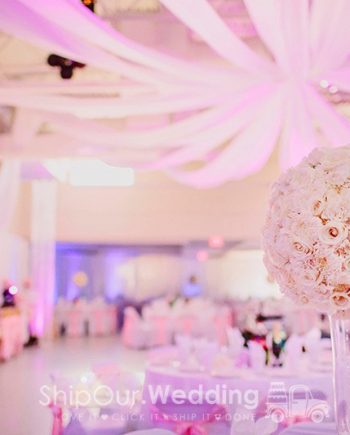
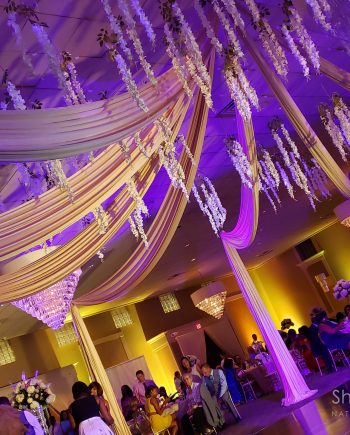
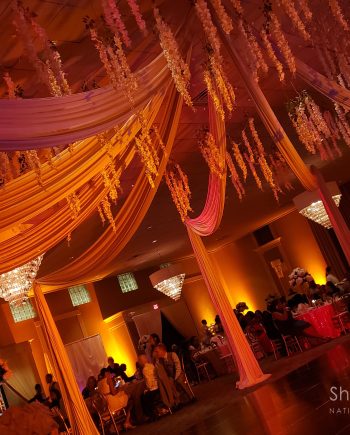
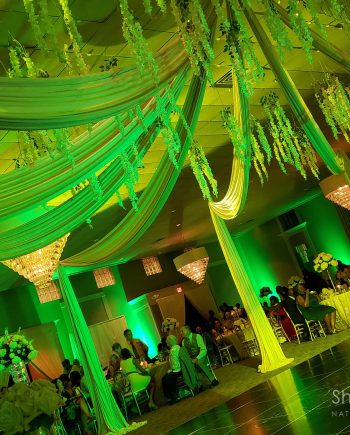
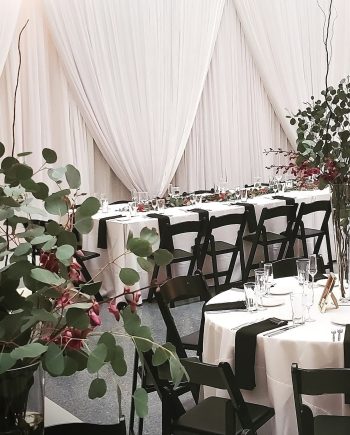
The Kit You Need
✓ Fabric certified flame retardant
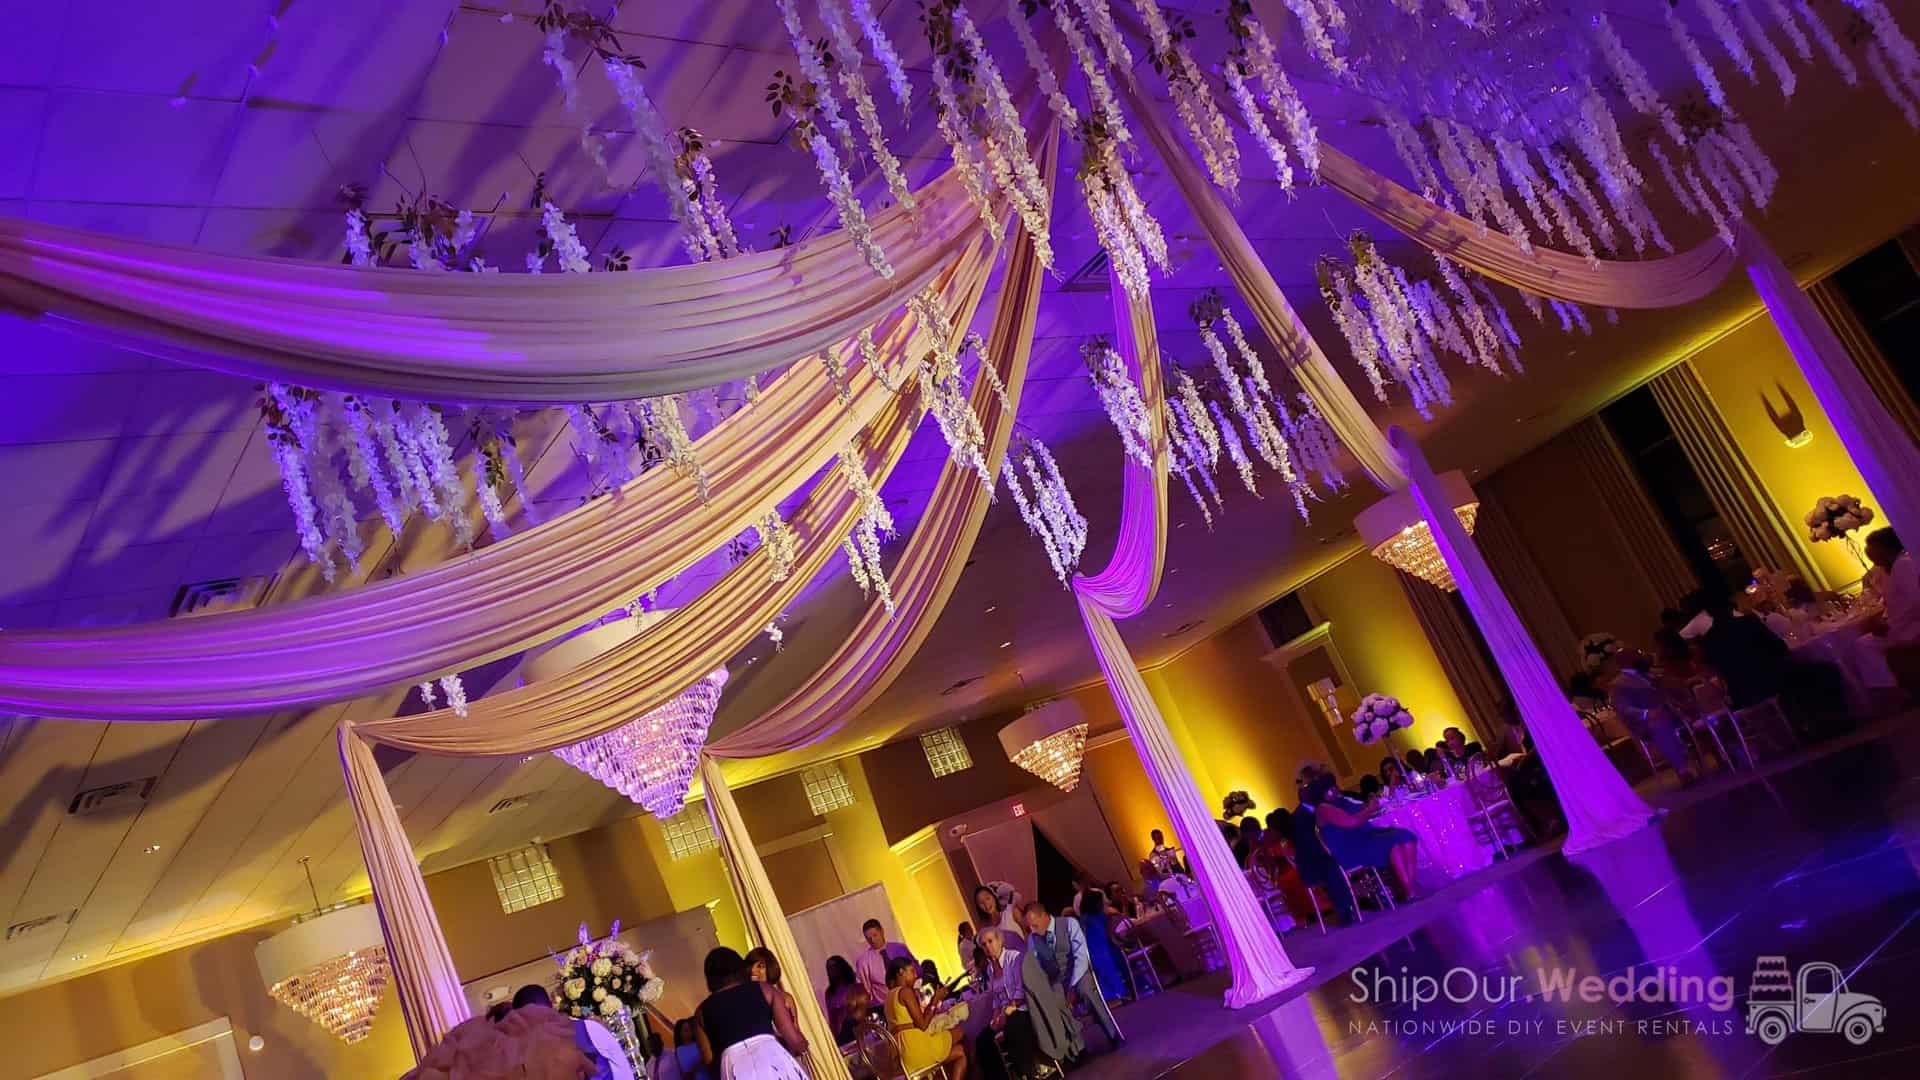
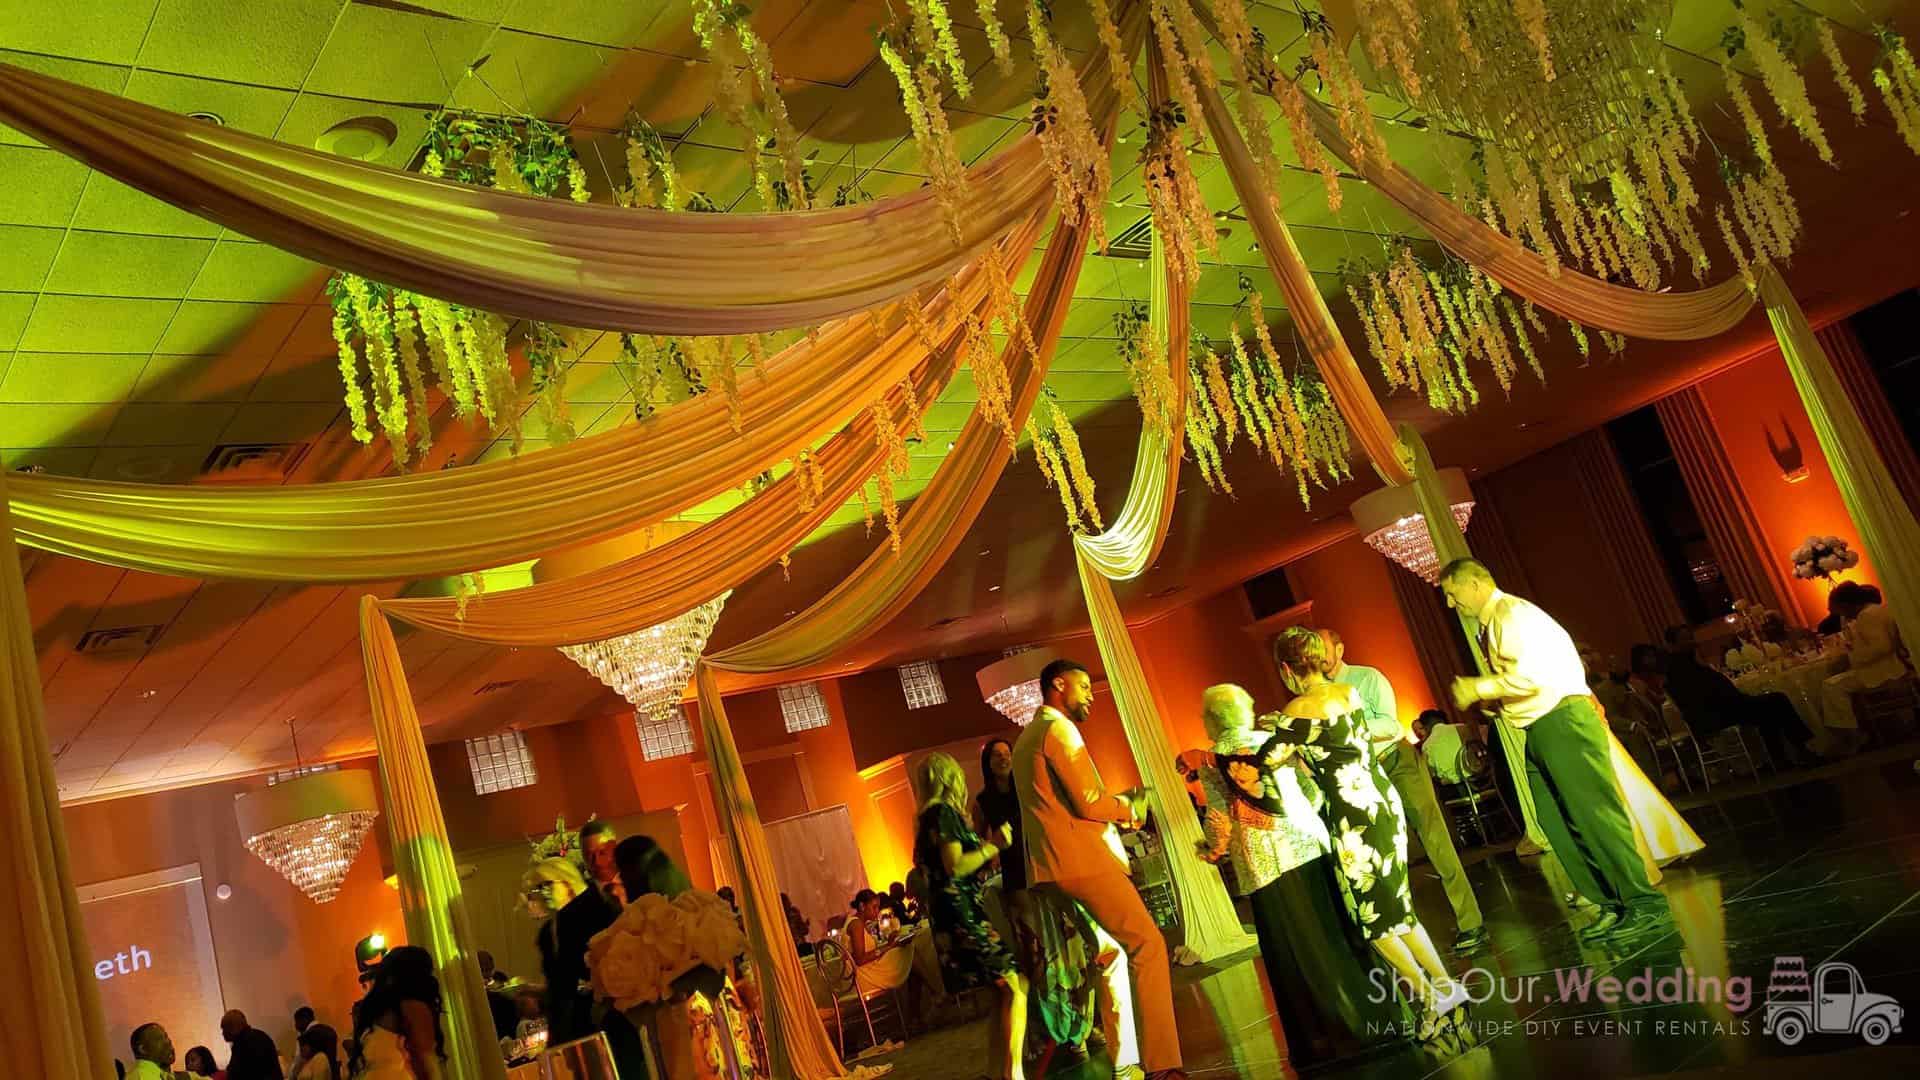
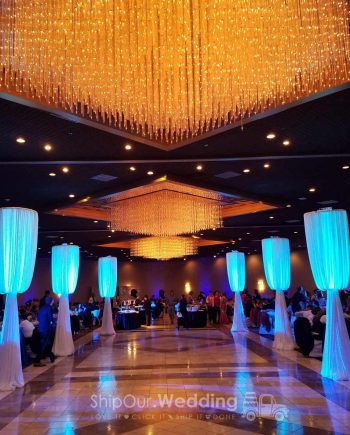
✓ Multiple draping colors available
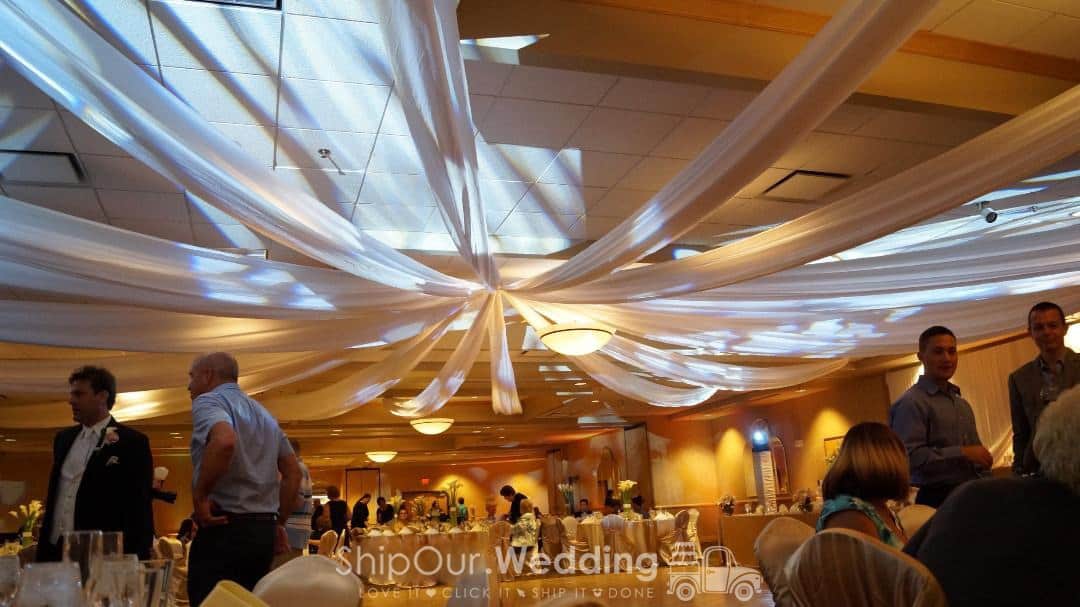
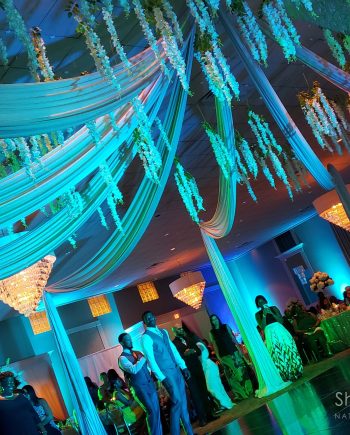
✓ Add uplights to color the drapes
The Kit You Need
✓ Fabric certified flame retardant
✓ Multiple draping colors available
✓ Add uplights to color the drapes
Easily Do More

Easily Do More
DIY on Your Time
✓ Shipping schedule prevents delays
✓ Extra time factored into shipments
✓ Get E-mail of tracking notifications
DIY on Your Time
✓ Shipping schedule prevents delays
✓ Extra time factored into shipments
✓ Get E-mail of tracking notifications
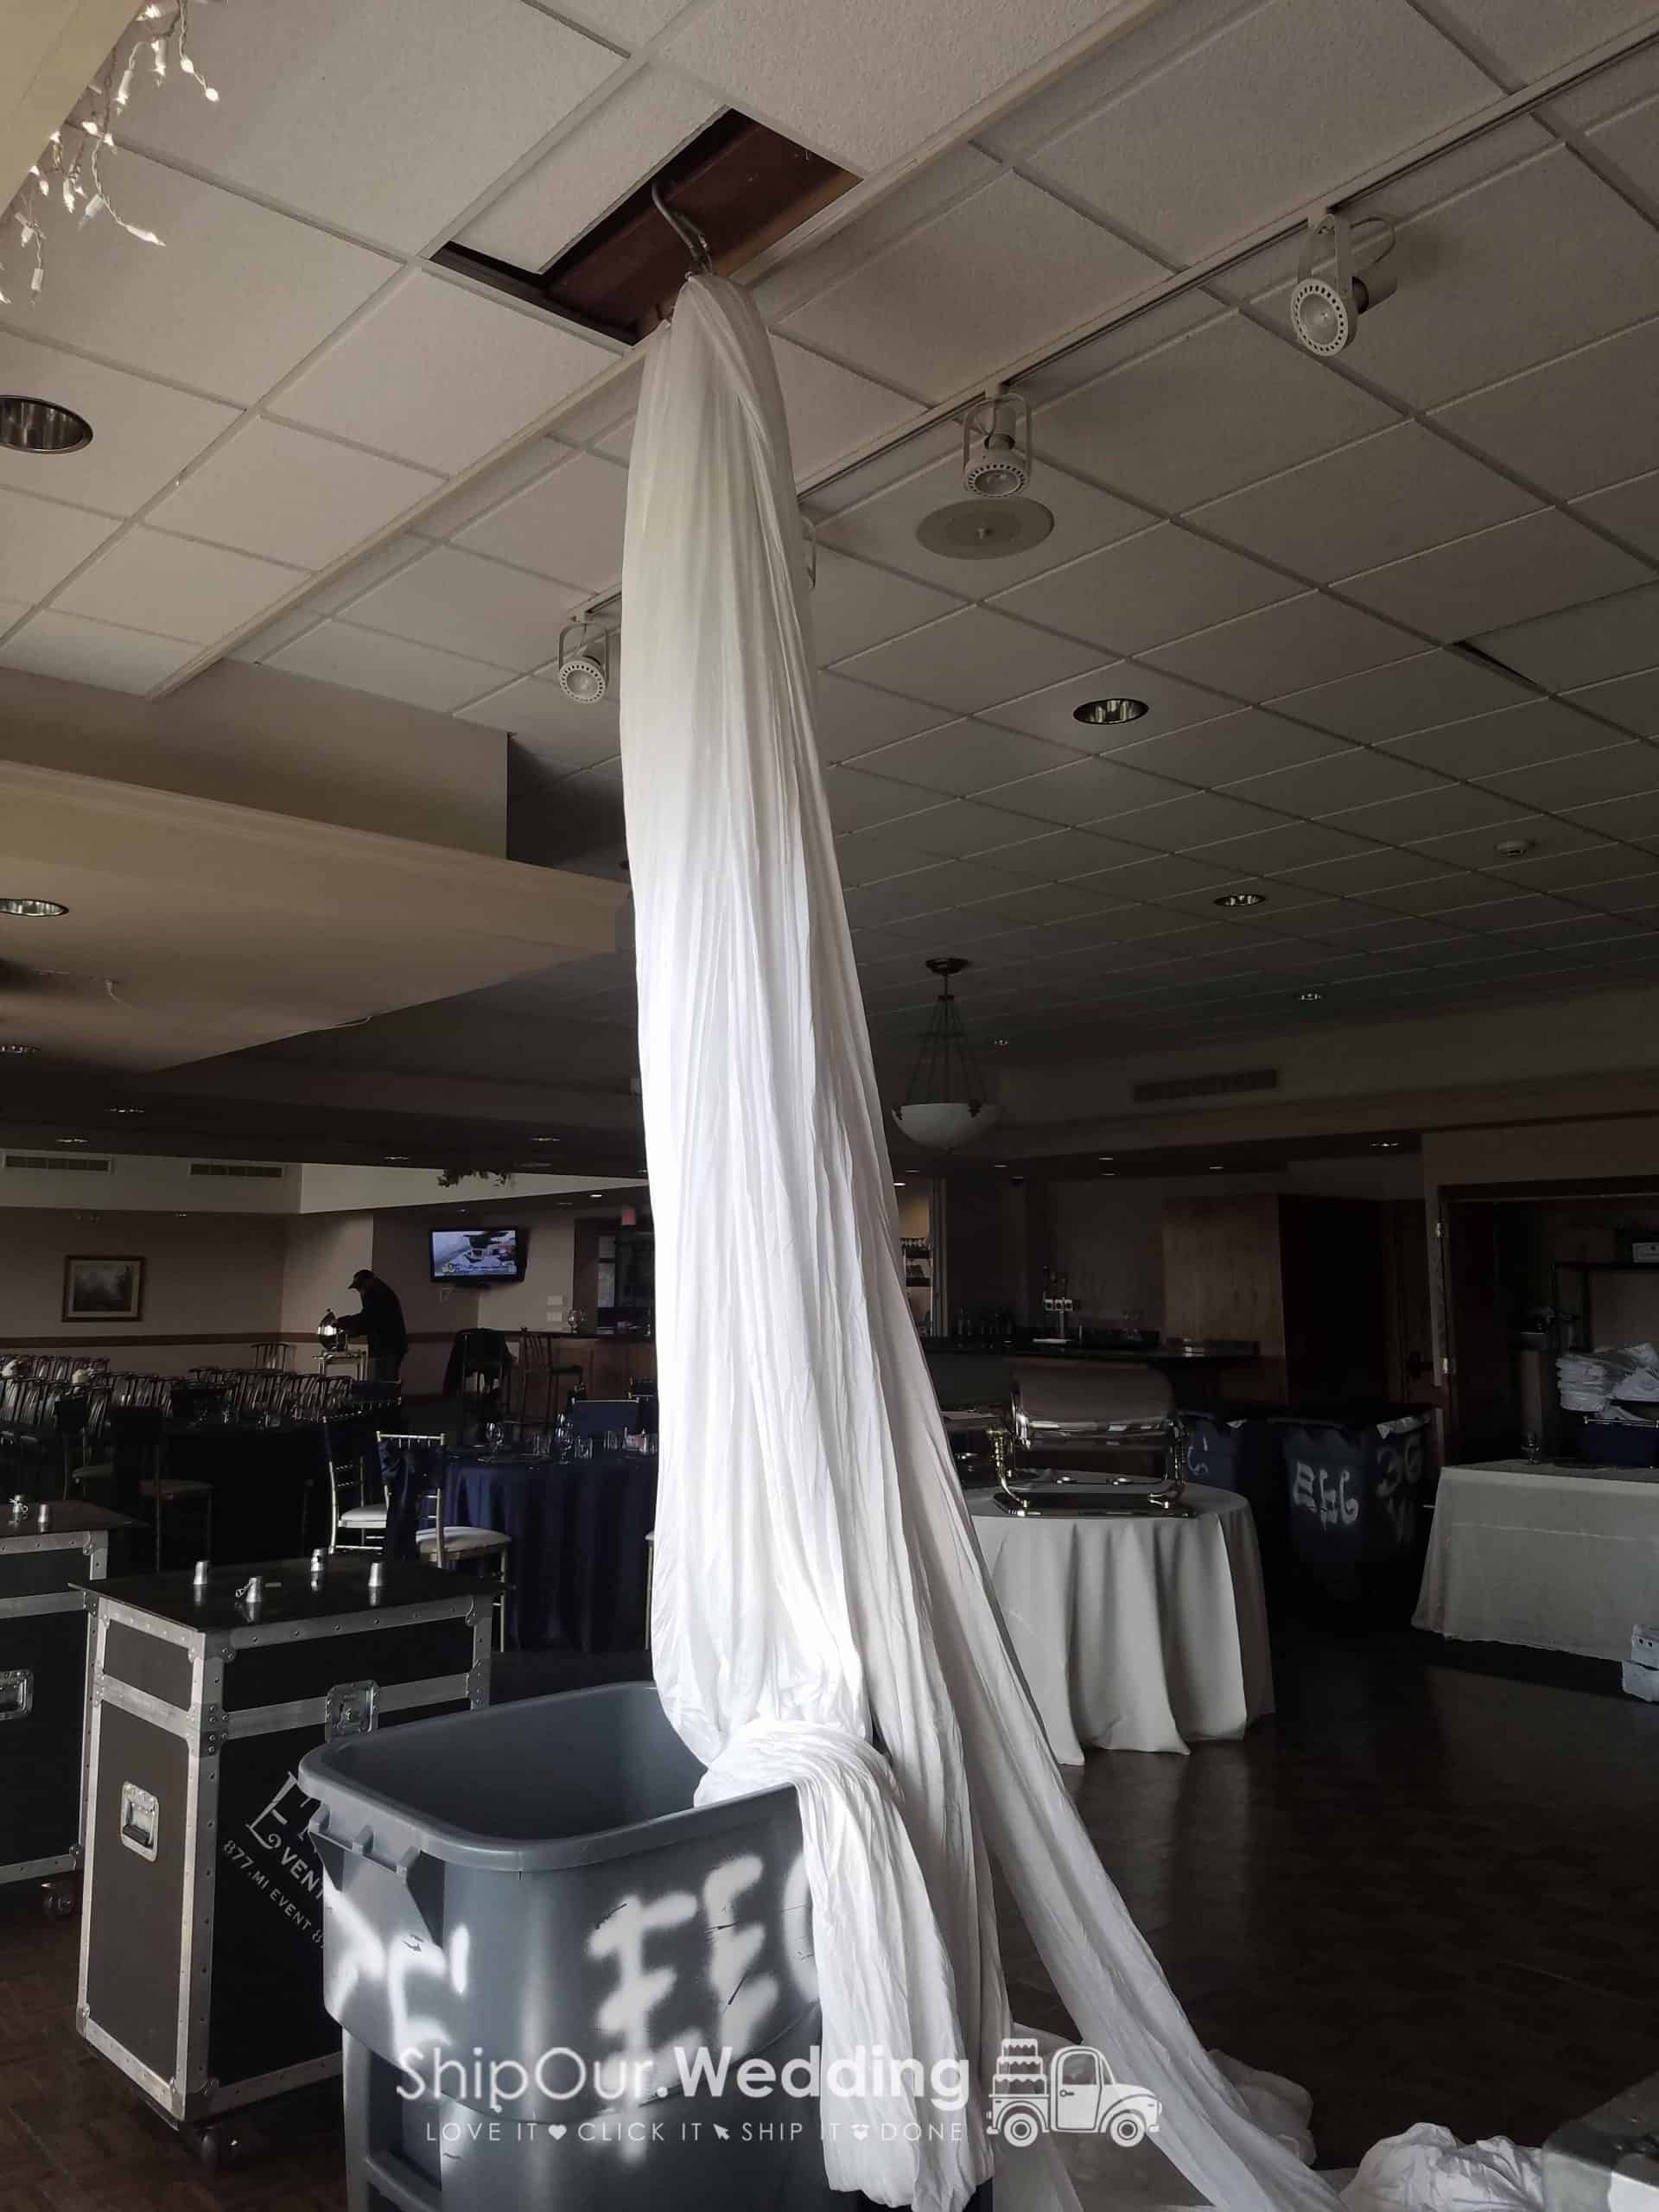
Simple DIY Guides
This can only be mounted to a drop ceiling (with load-bearing steel beams) or an open ceiling with load-bearing steel rafters. You can safely mount this with other ceiling types.
We do not recommend any other methods unless you are an experienced event designer with production experience & know the physical limitations of your venue. Read More...

 Scan for
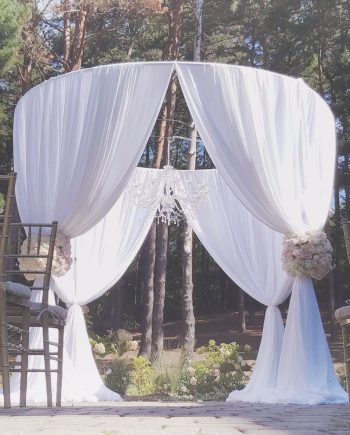

timalab1 –
My fiance & I were really impressed with the online responsiveness. This is our first time planning a wedding and draping a ceiling sounds intimidating. They were quick to answer our questions and made us both feel really comfortable with how to do it ourselves. The setup was exactly like the videos and we saved thousands. What they ship is more than just drapery it is professional guidance and peace of mind. The whole experience of renting online exceeded our expectations. Not only did we save money, but we also got an over-the-top look! We would definitely recommend anyone considering draping a ceiling themselves not to think twice. You will not regret it.