


Description
Read Wedding Ceiling Drape Kits: The Guide You Need
Read Simple Tent Draping 101: Guide for DIY Weddings
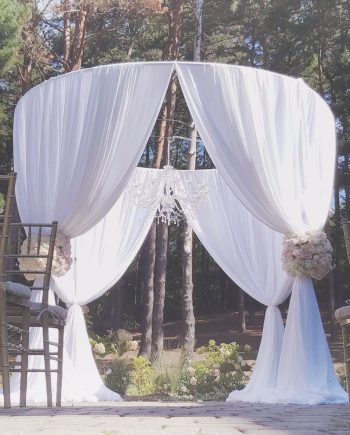
Read DIY Tutorial: Decorate Wedding Arch with Fabric
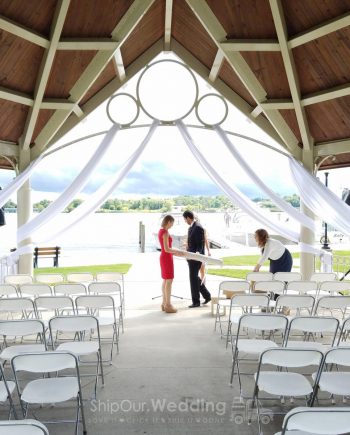
Read How to Decorate a Wedding Gazebo
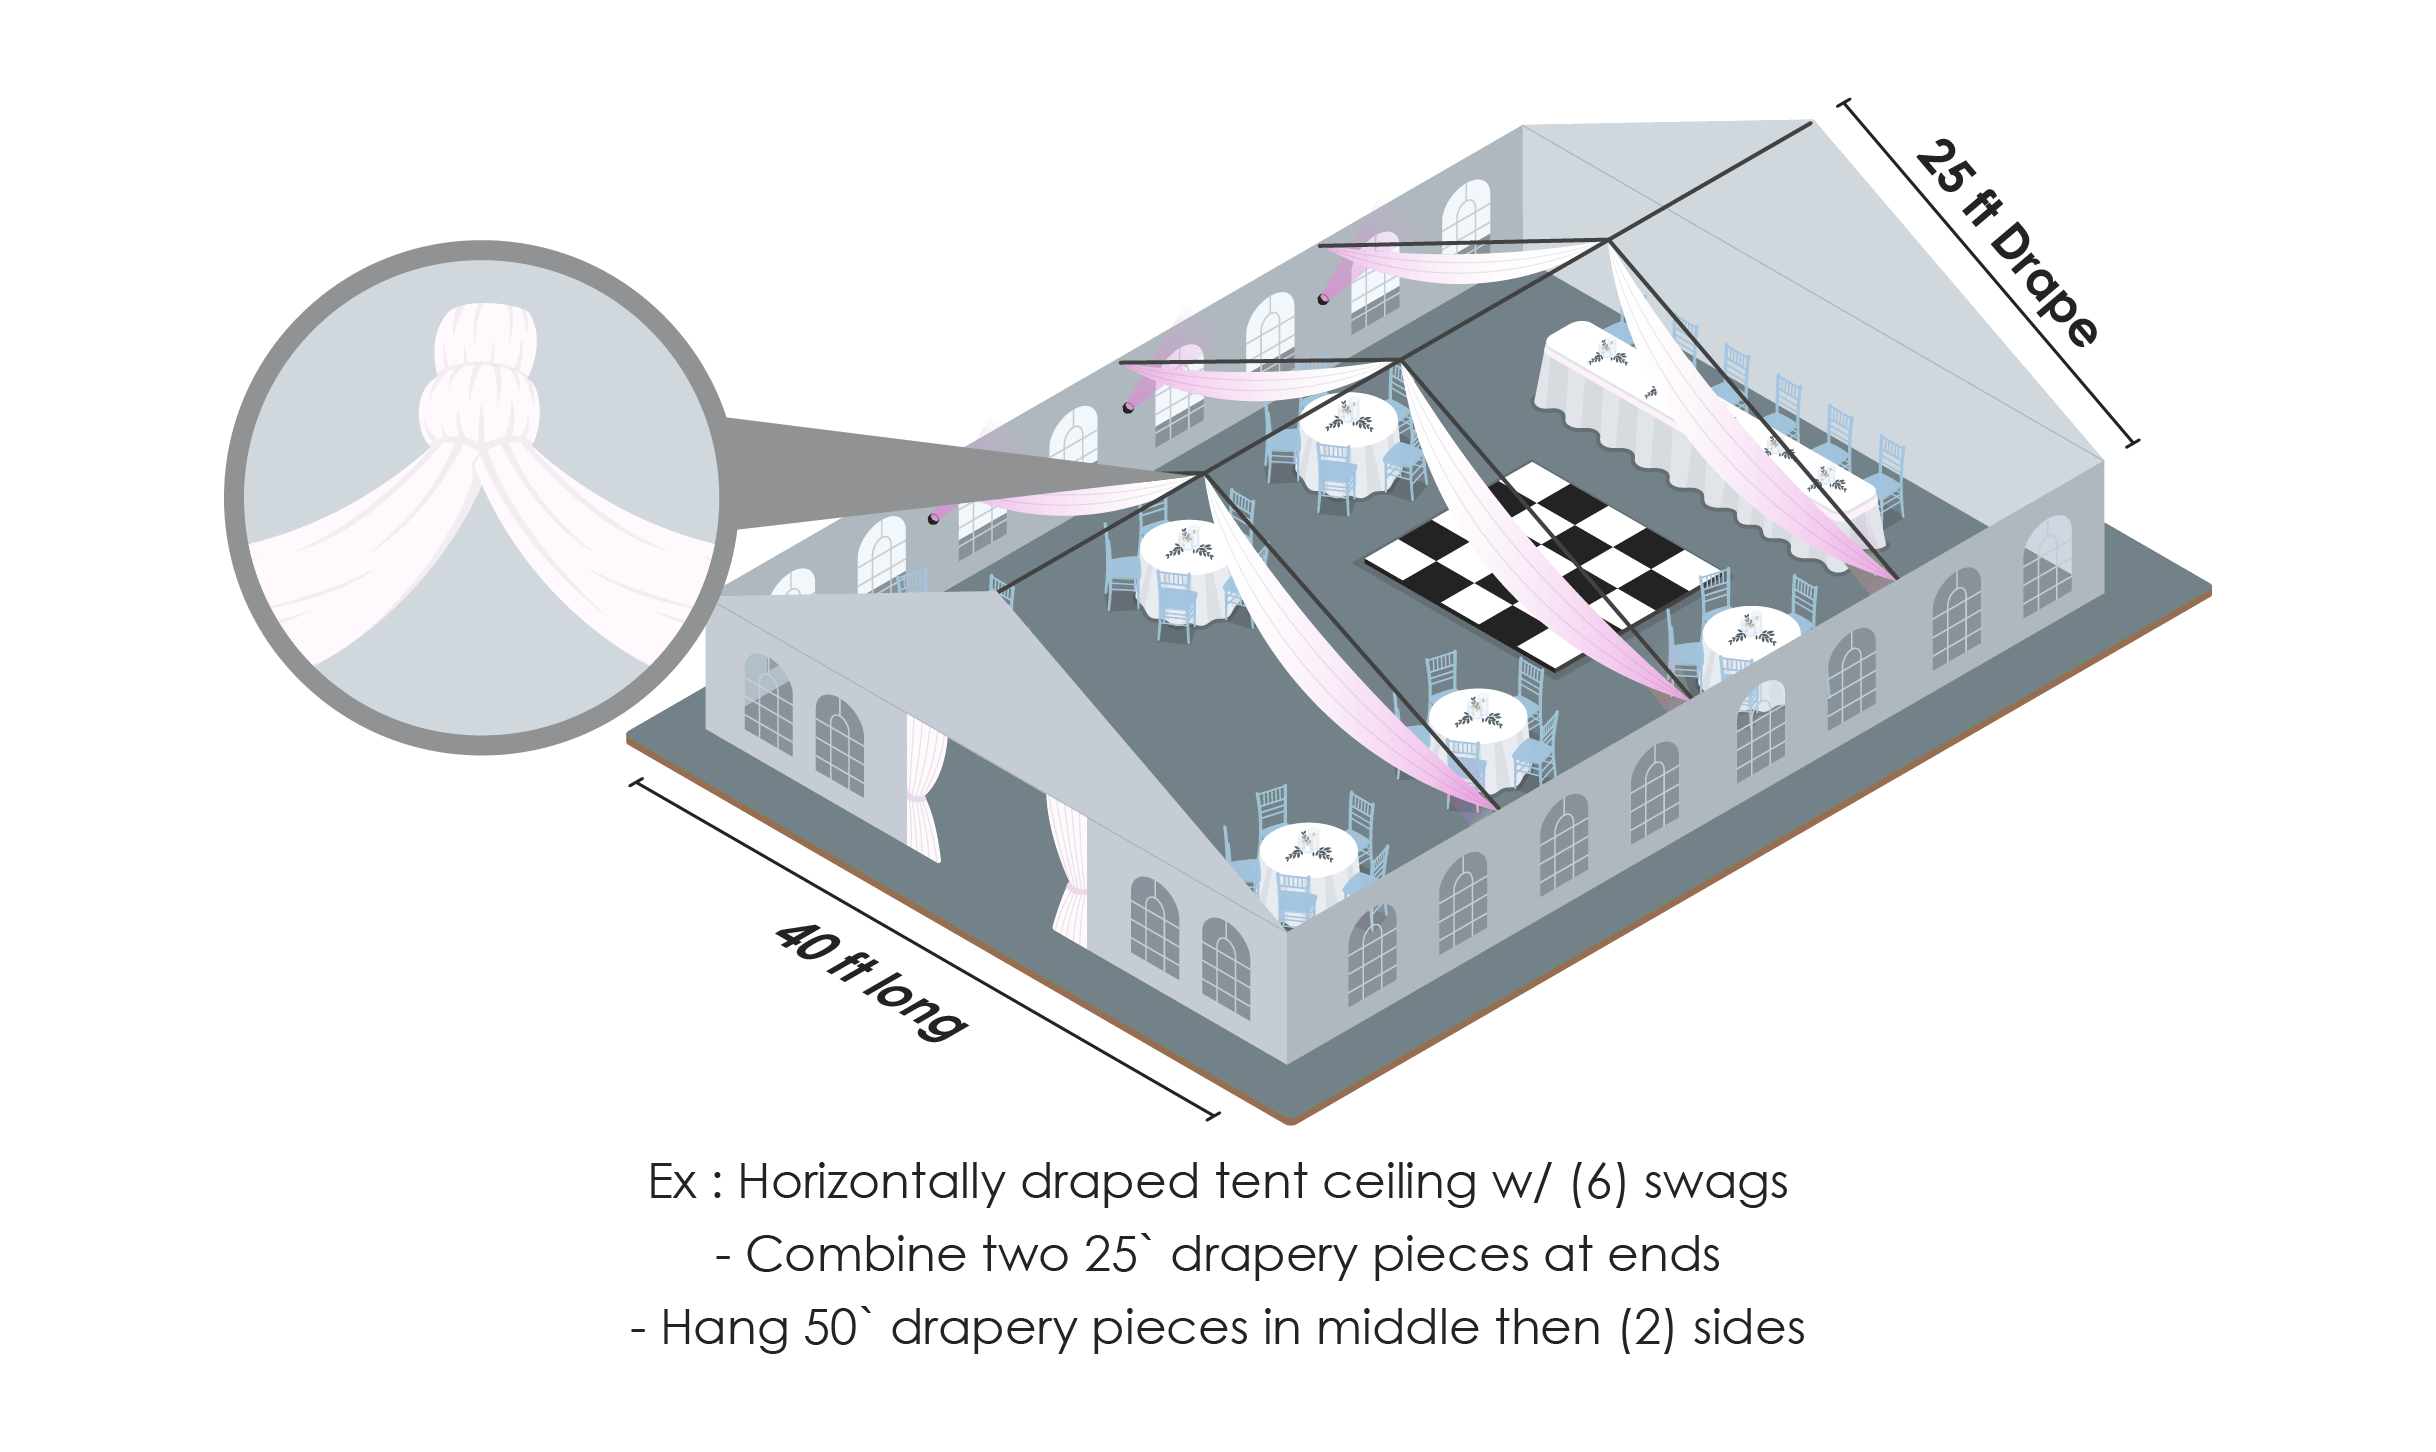
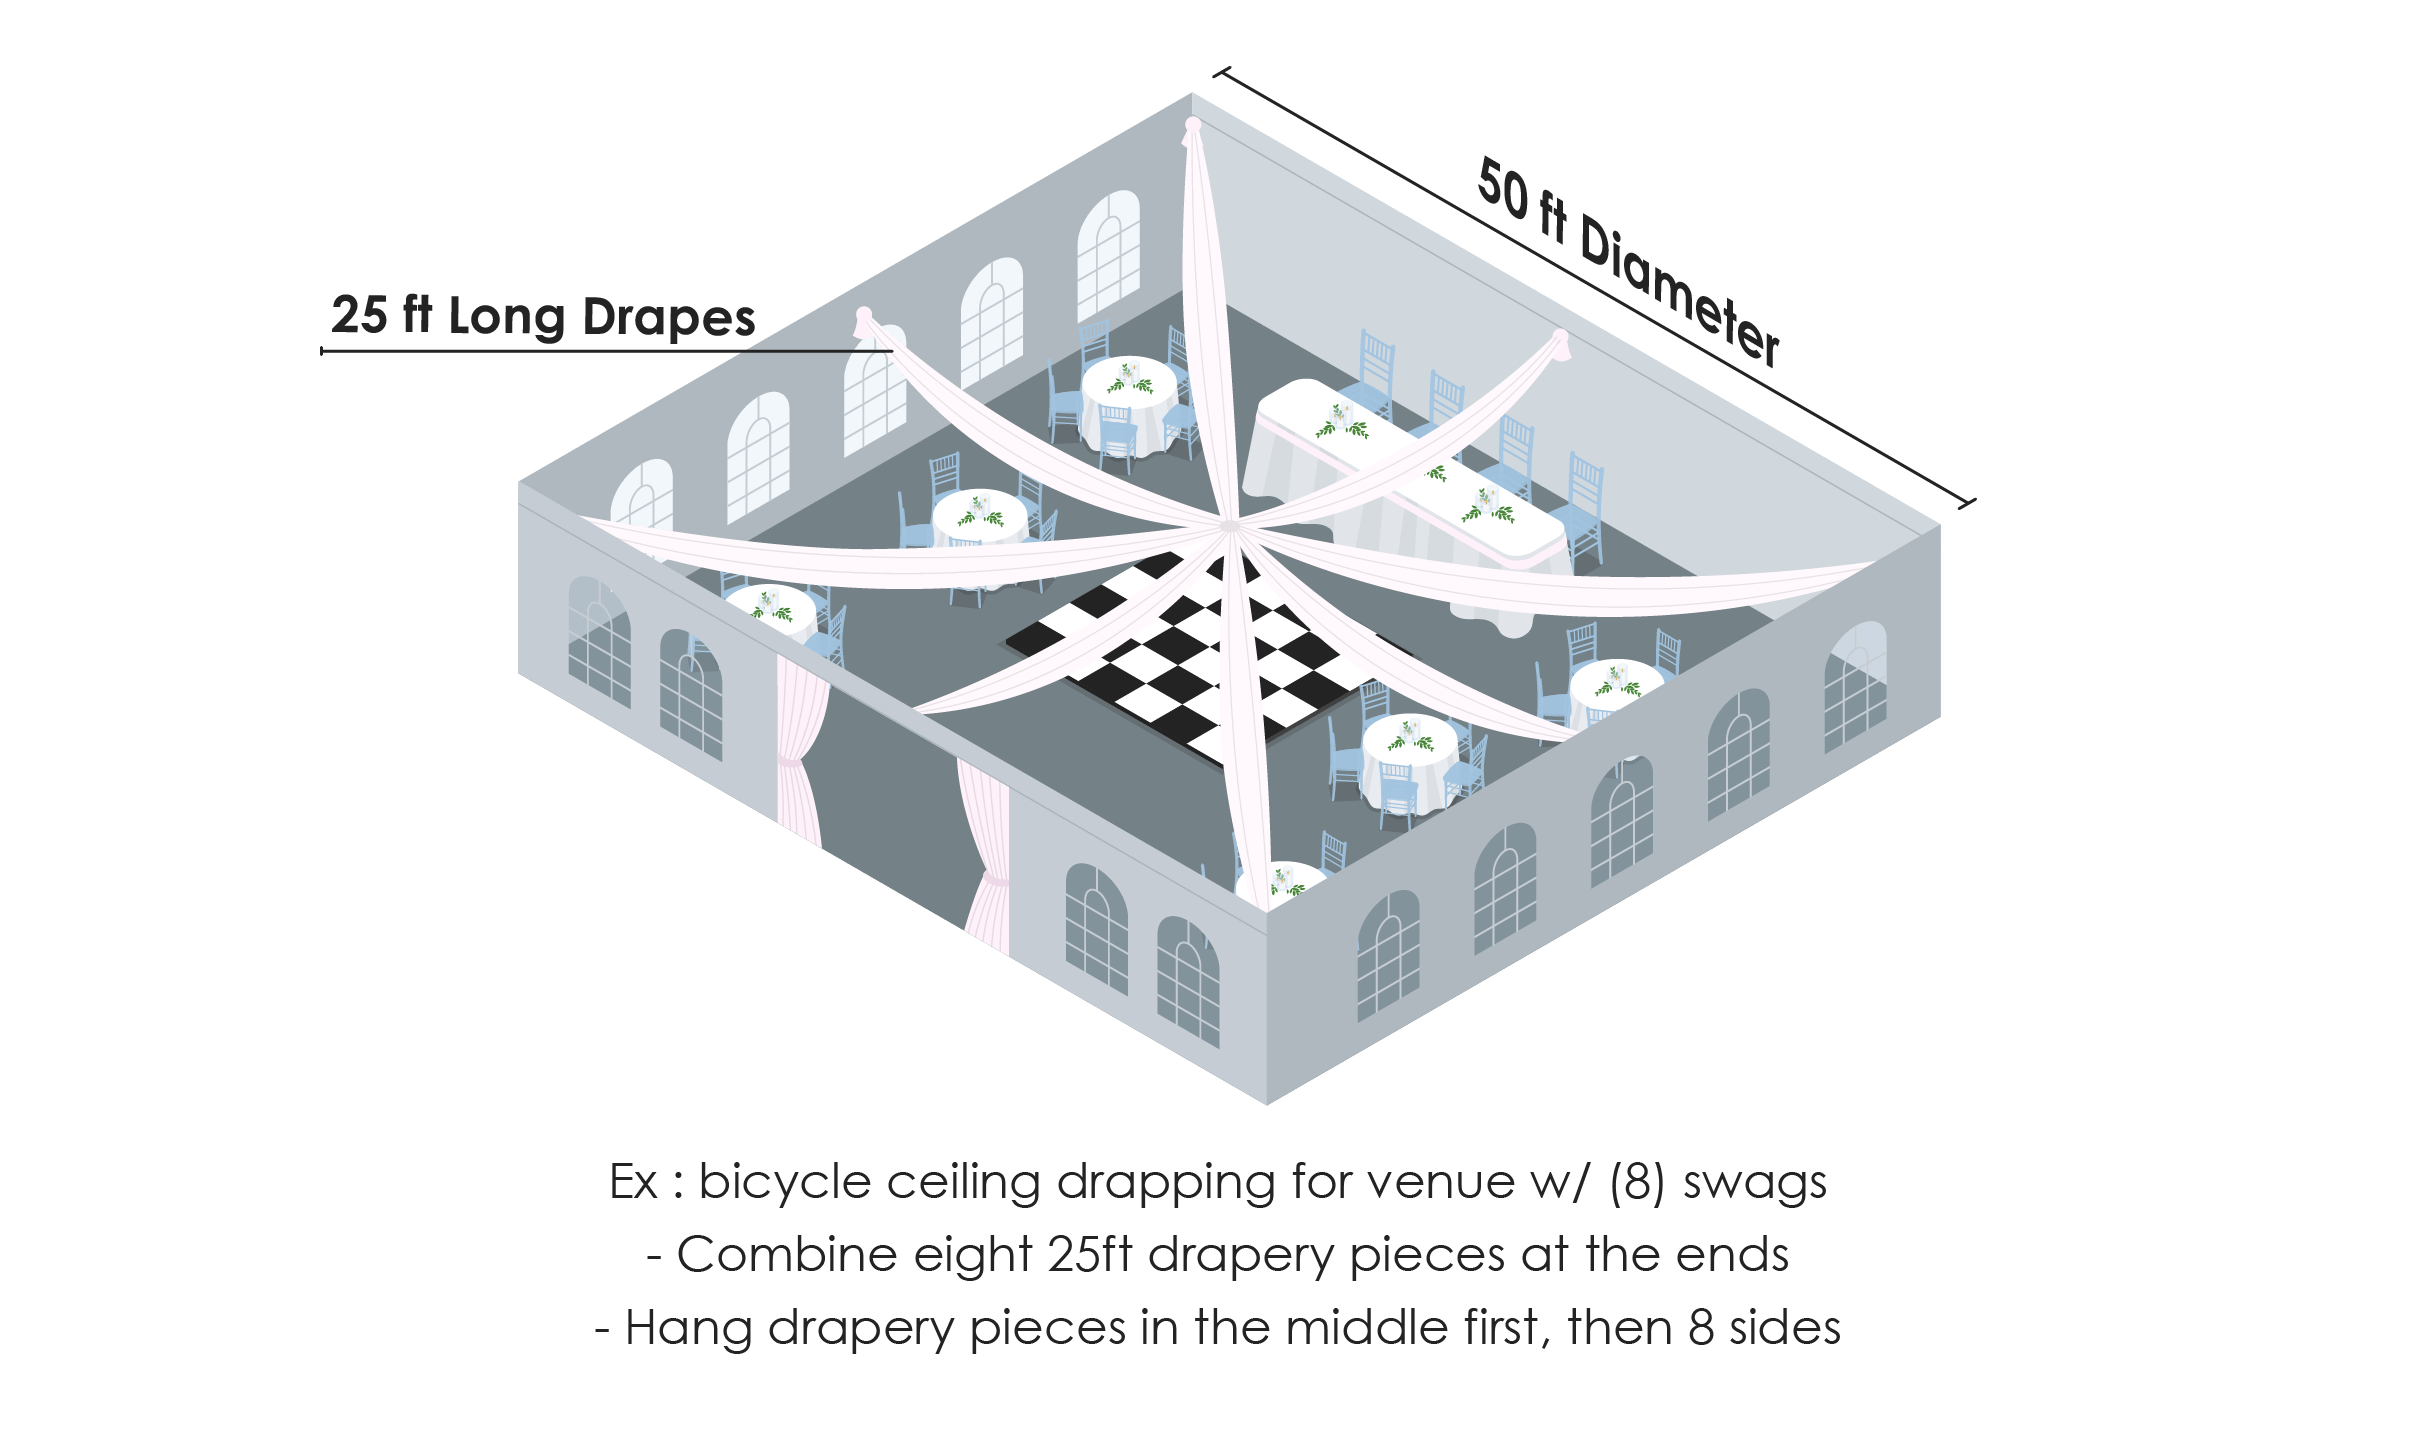
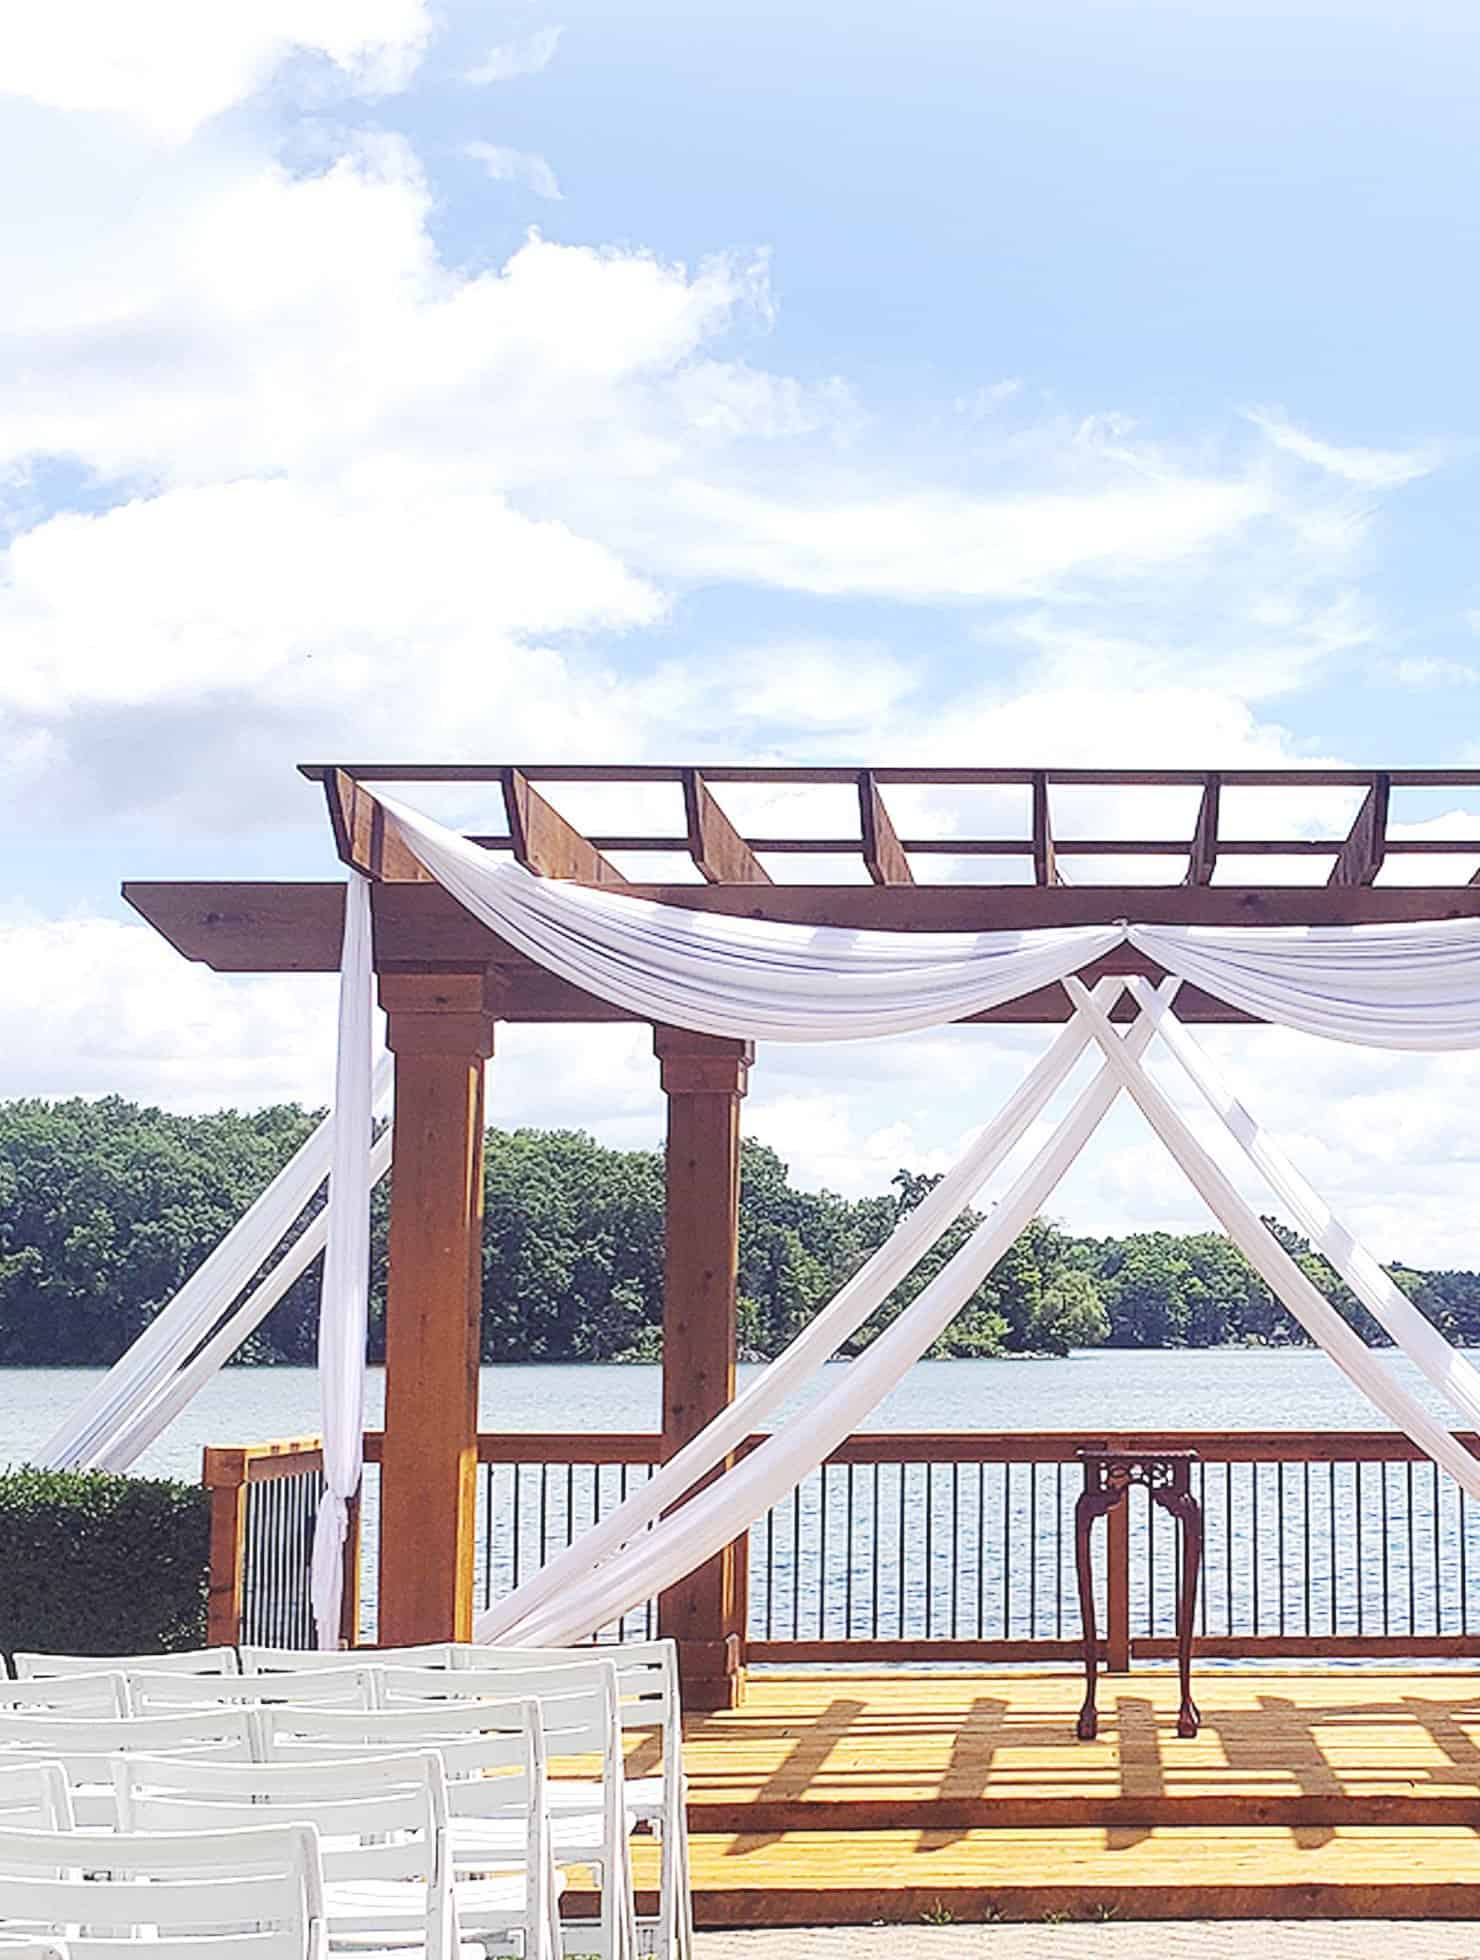
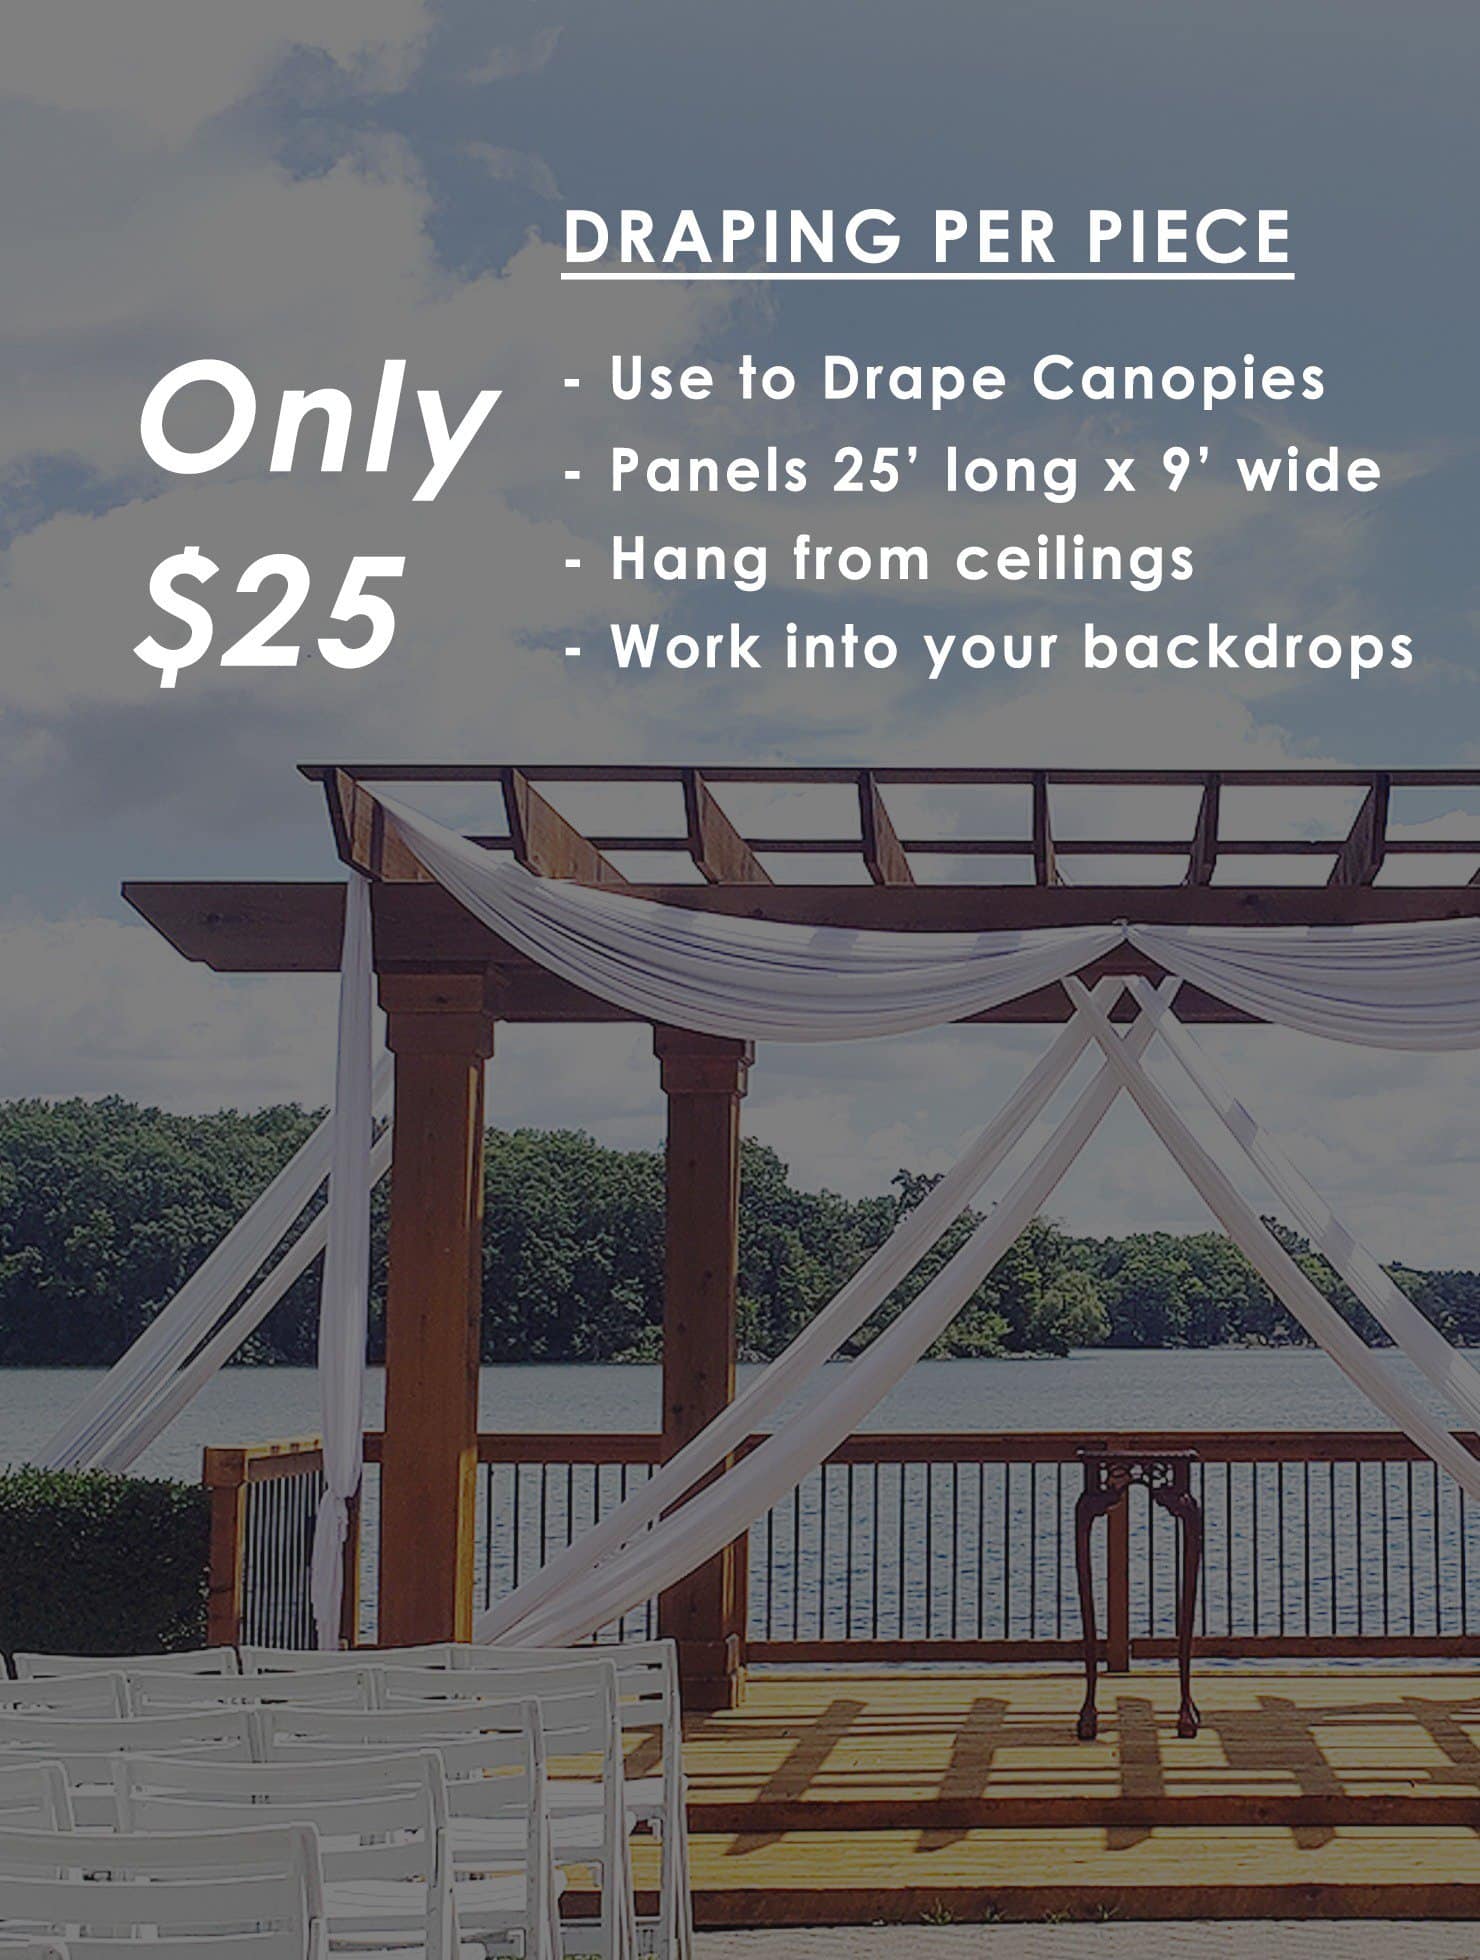
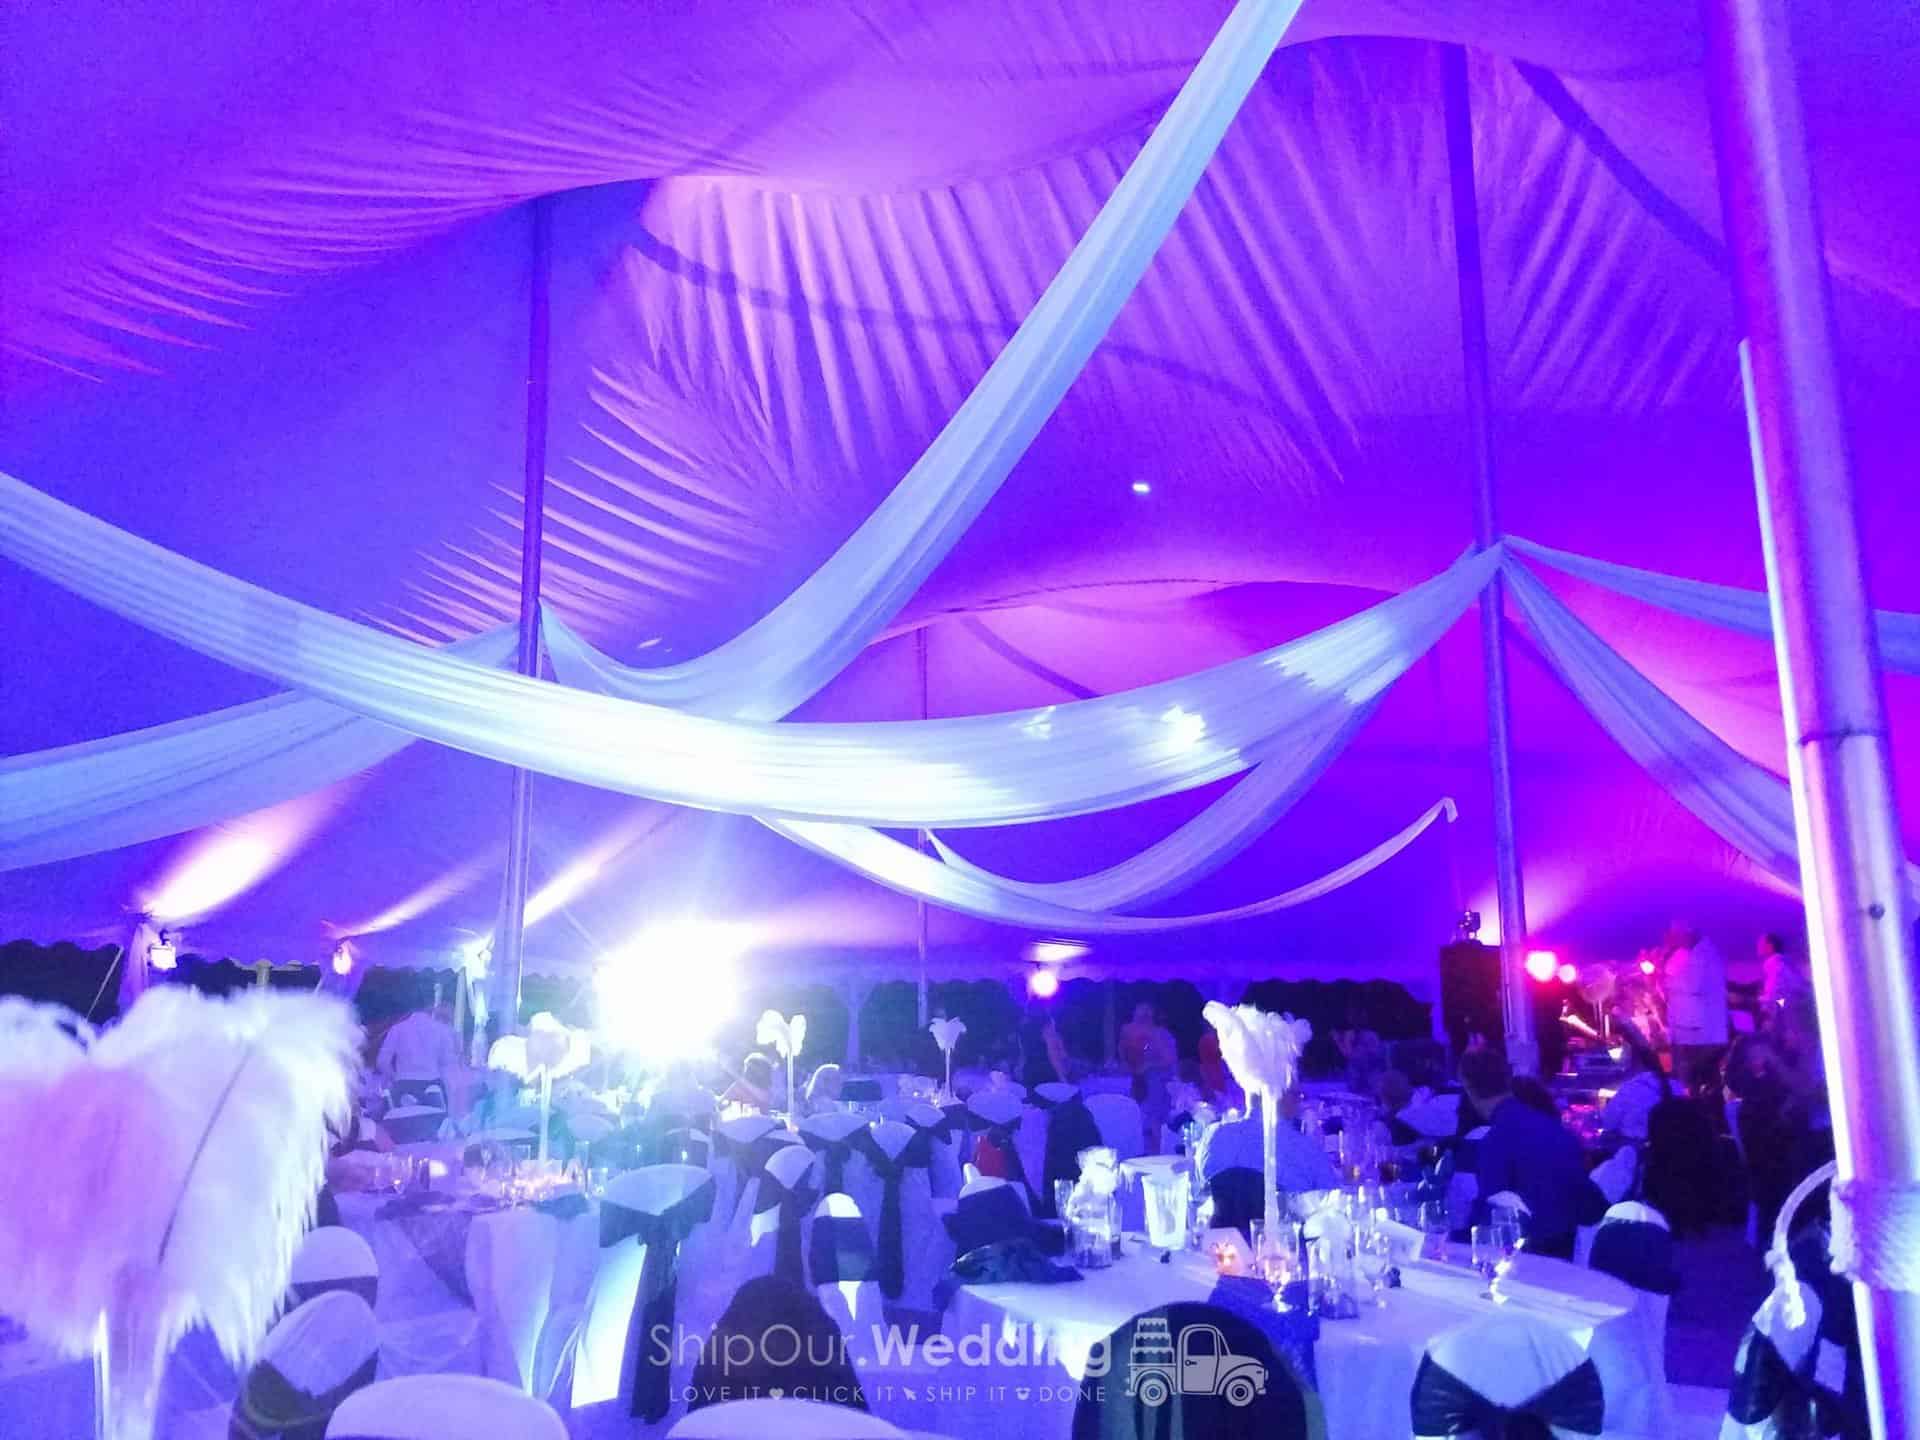
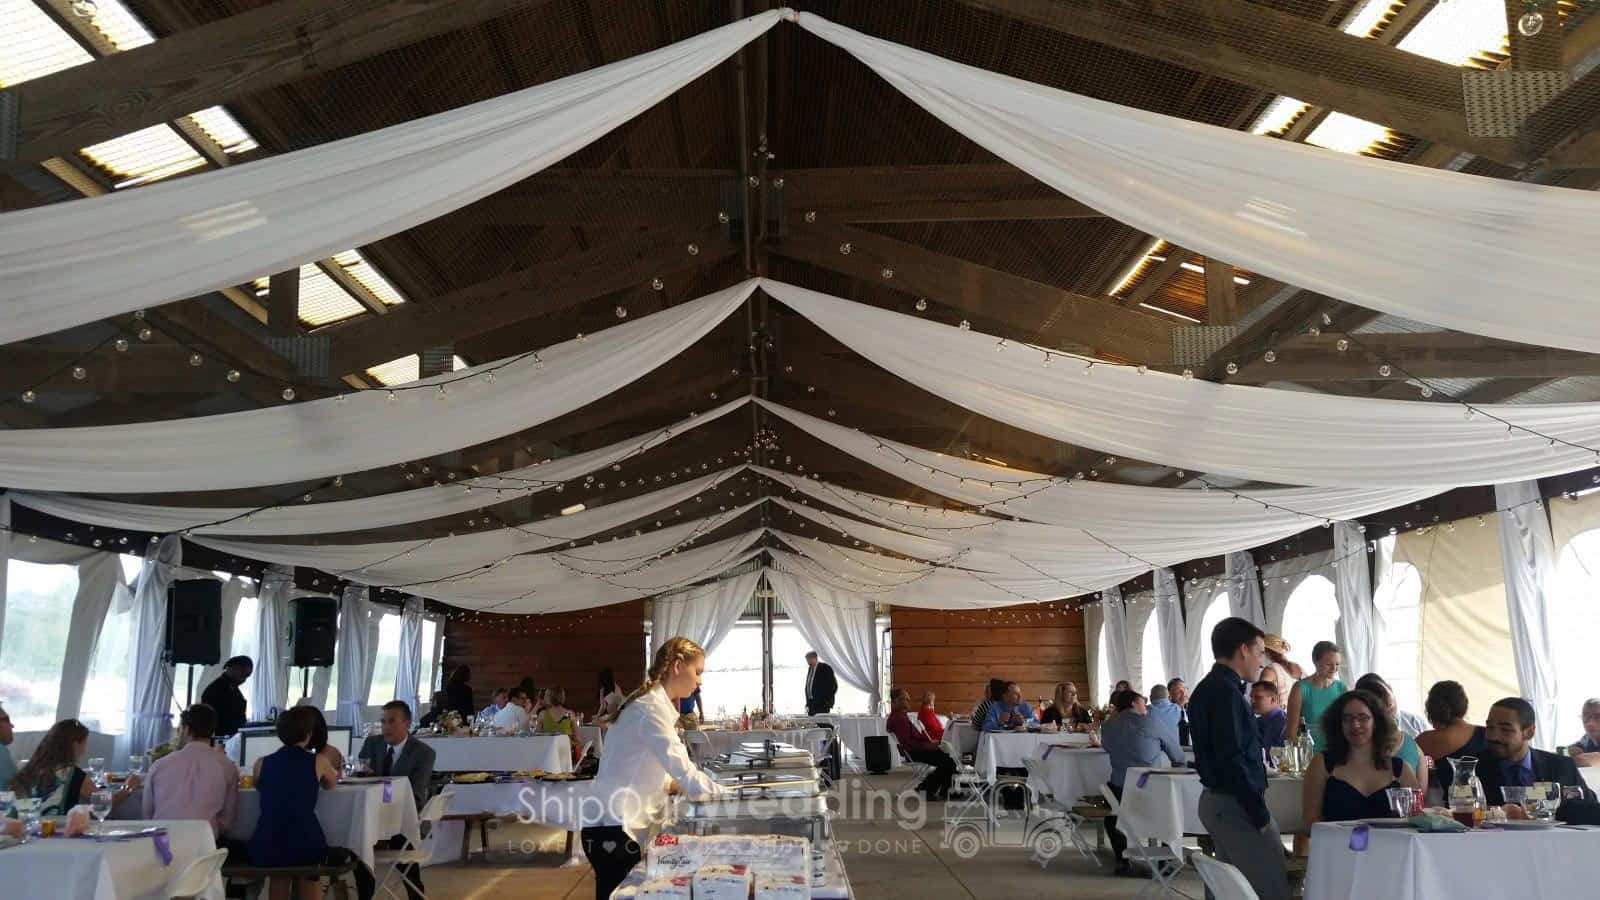
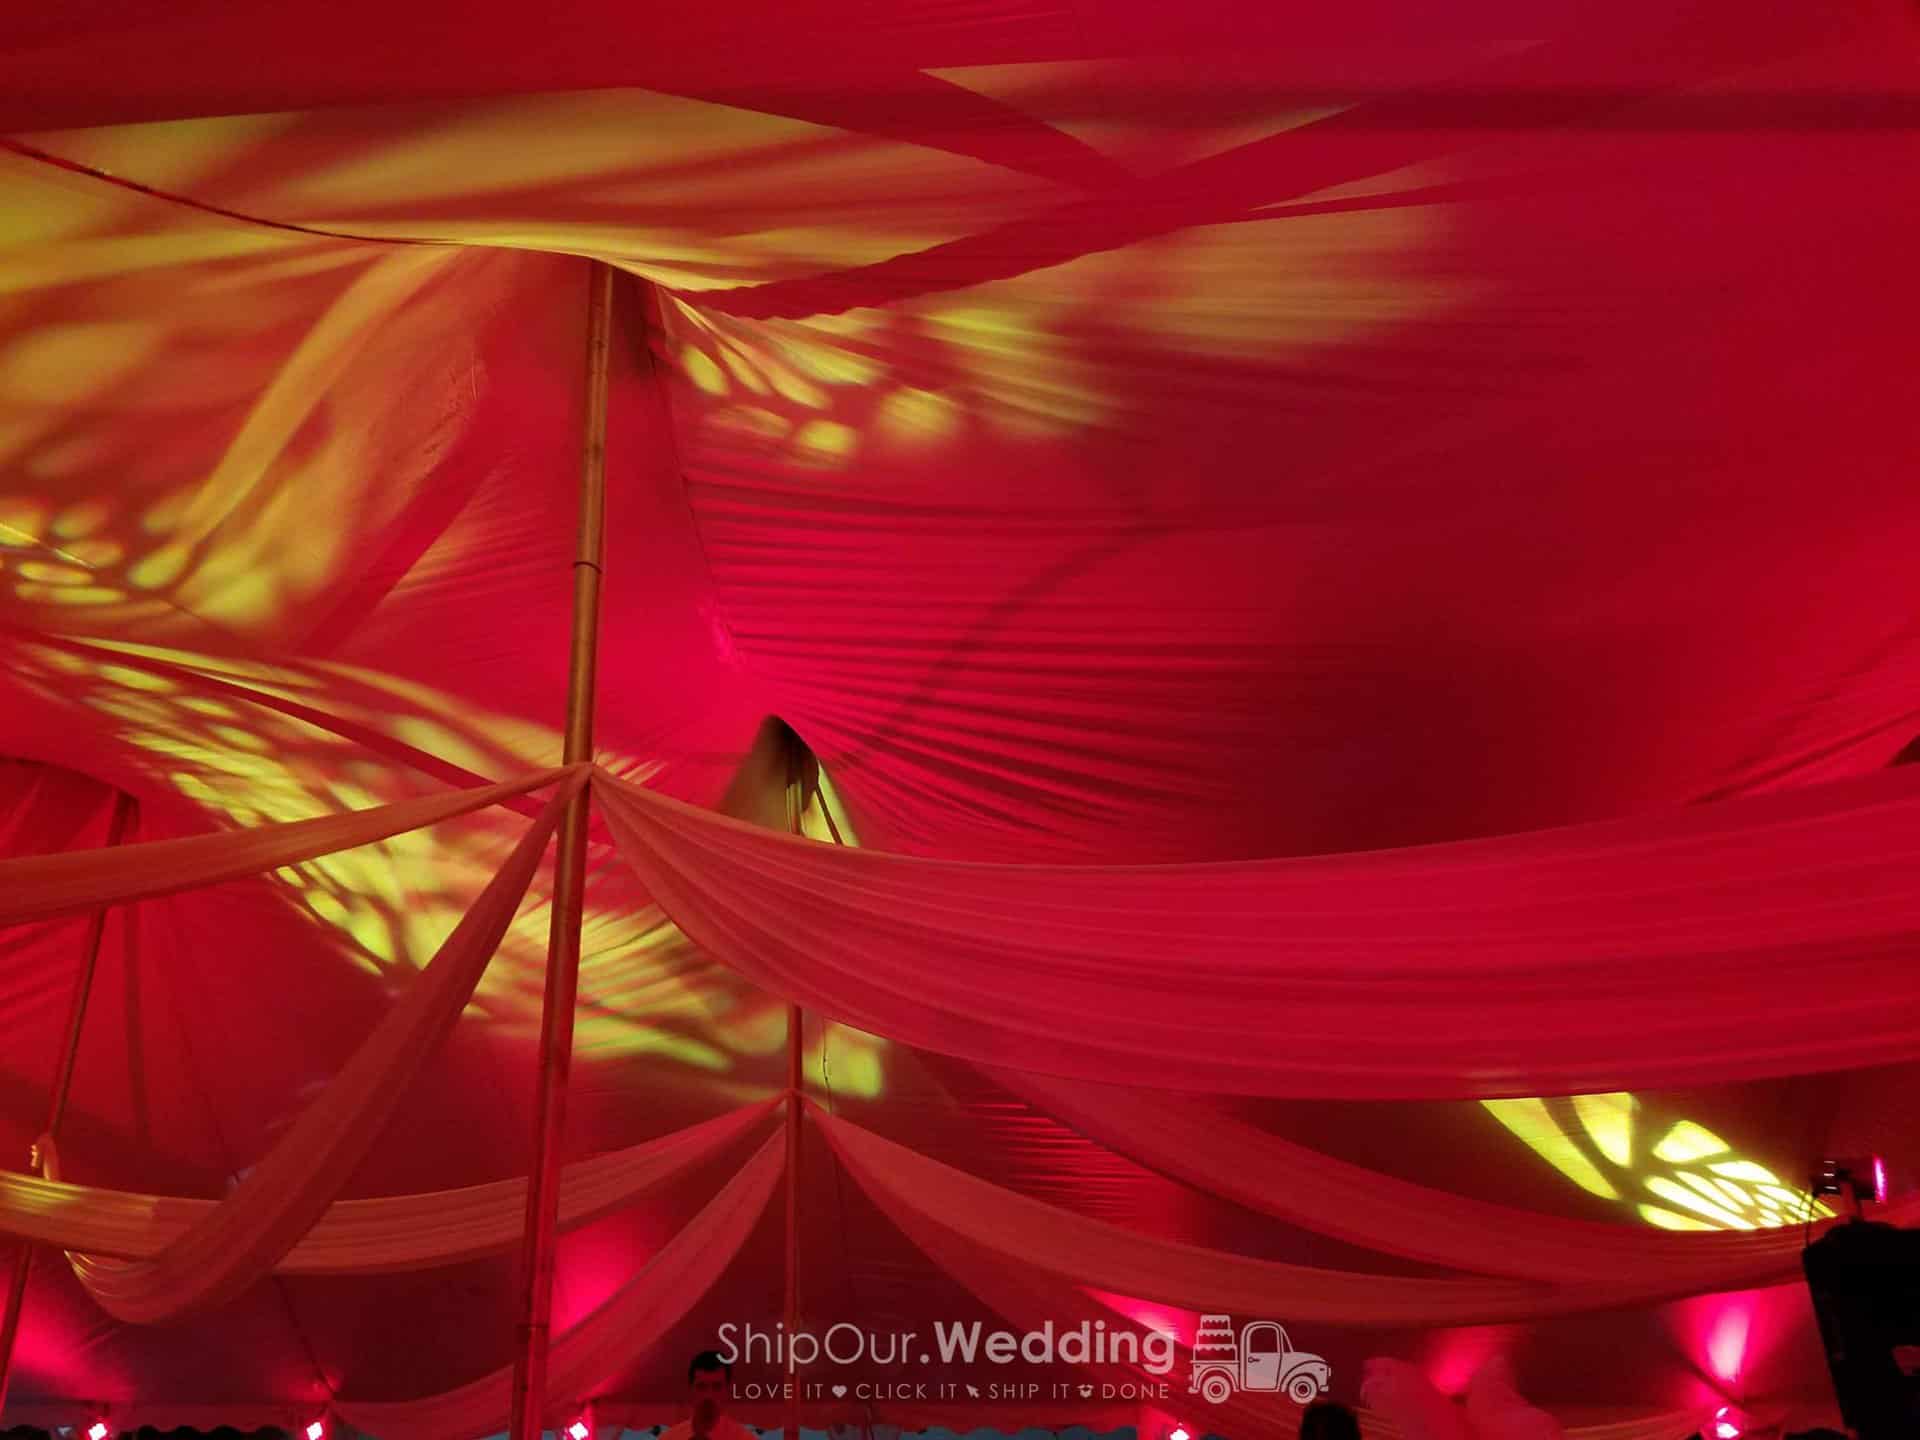
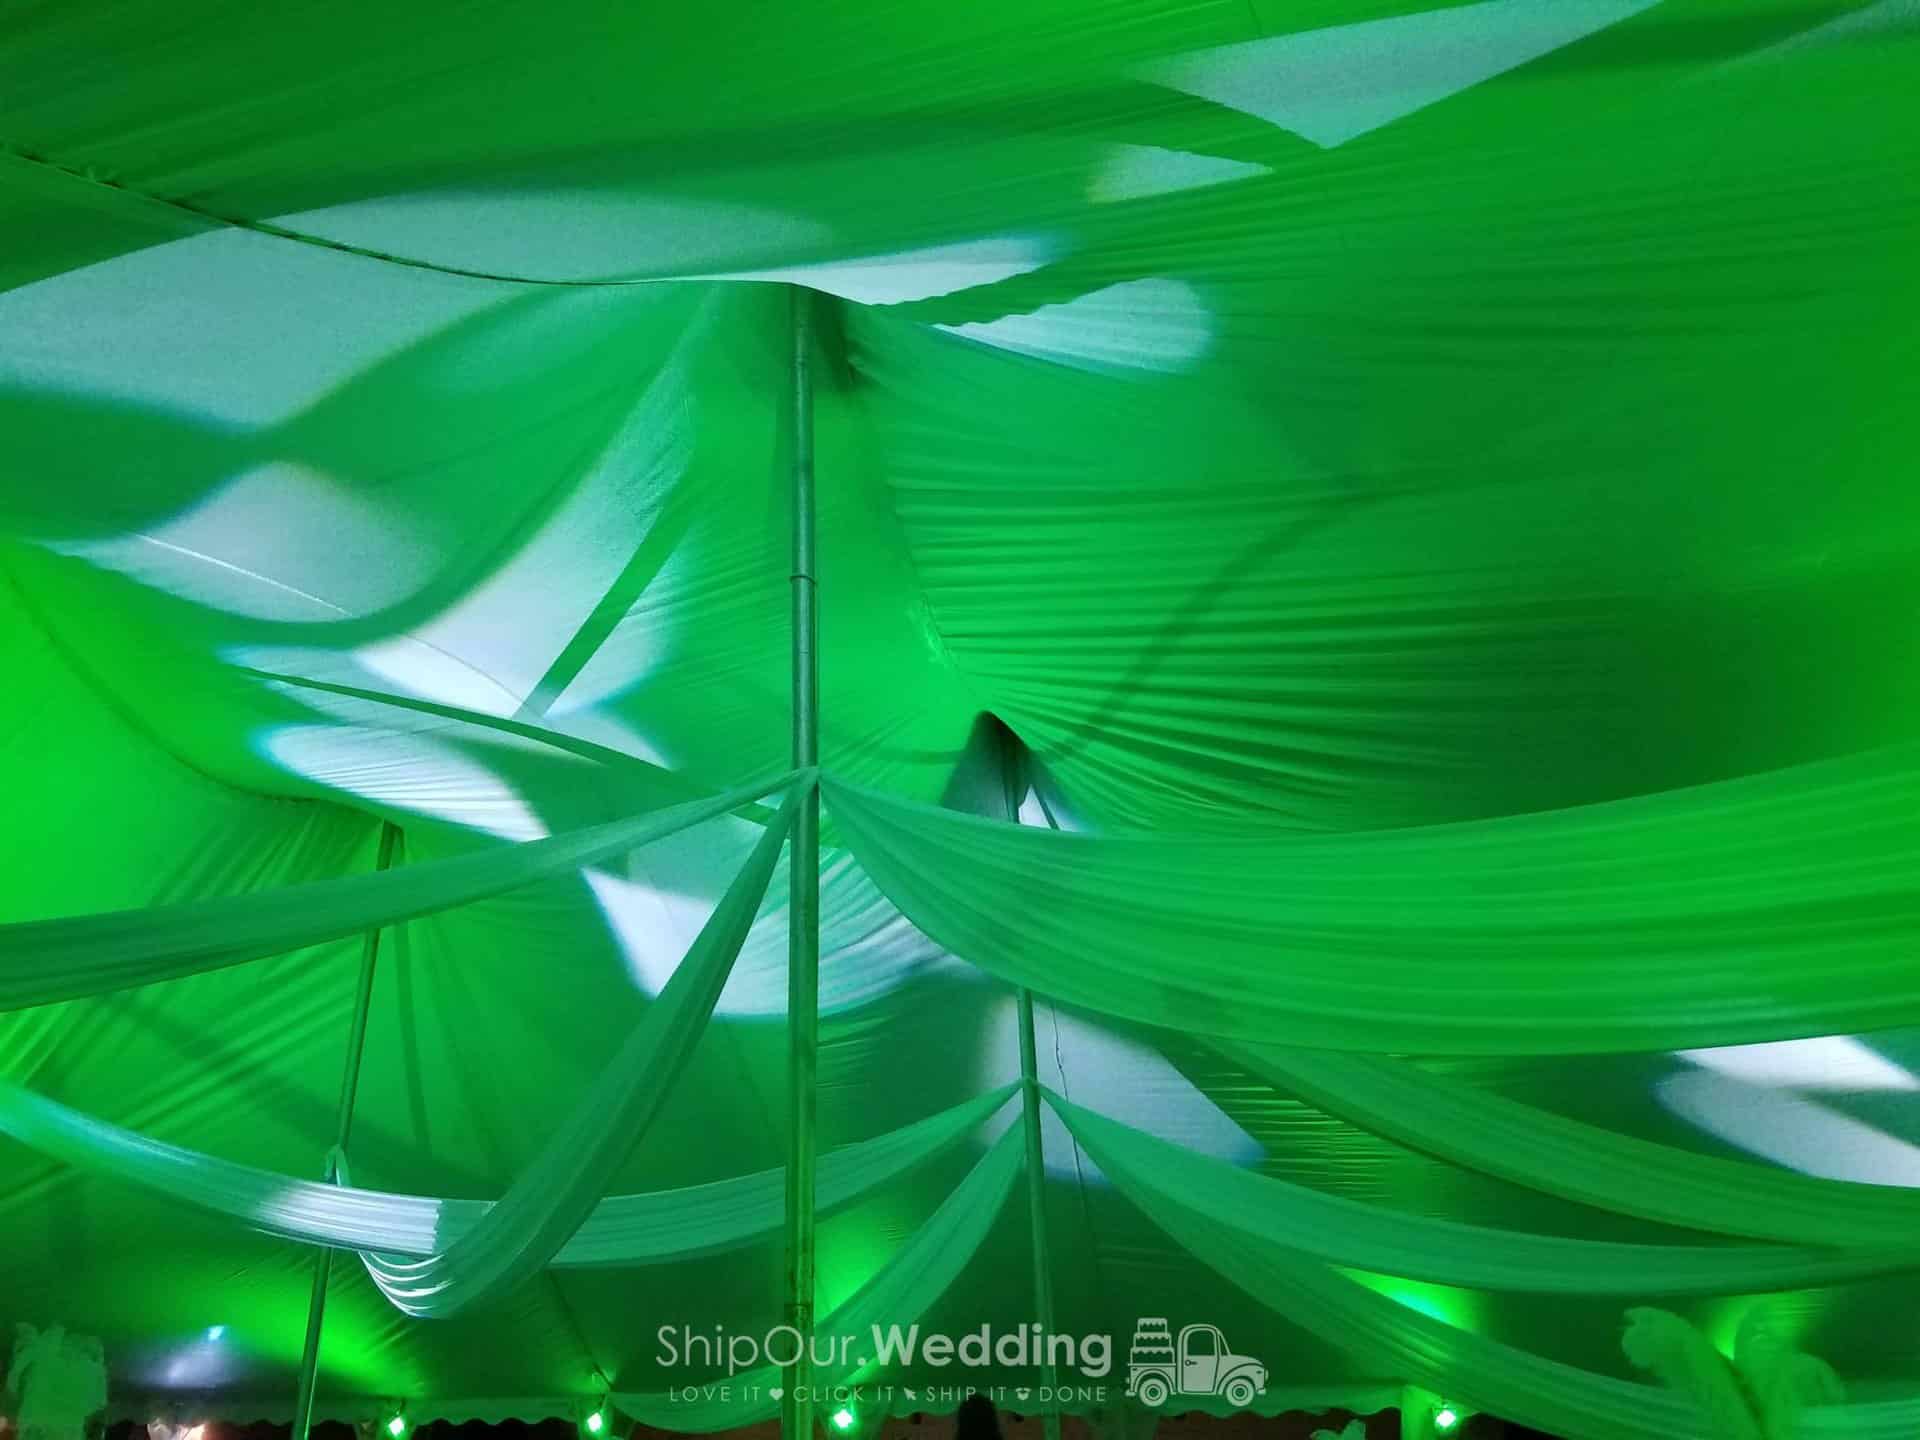
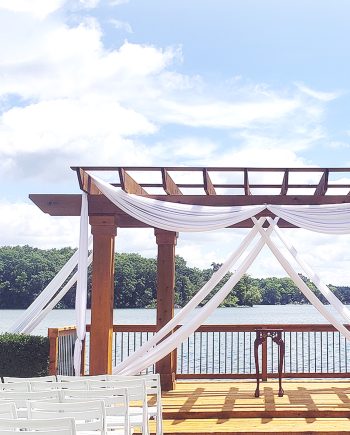
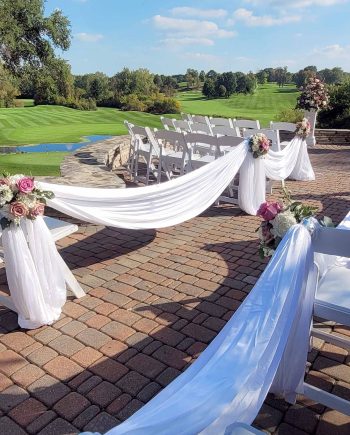
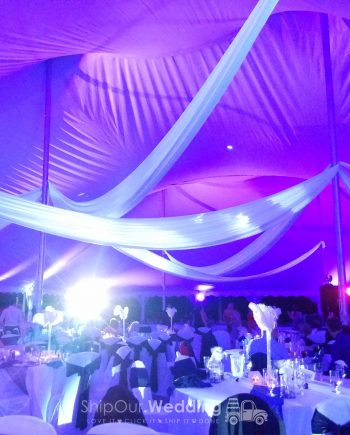
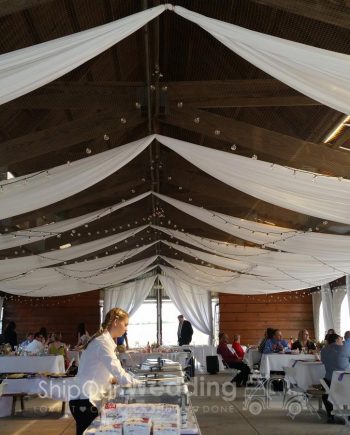
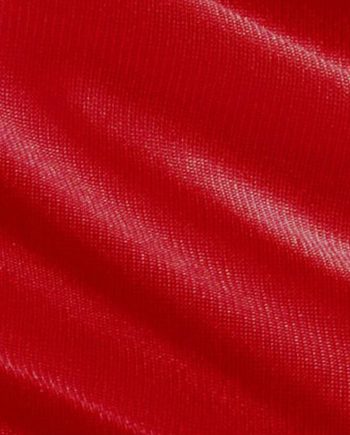
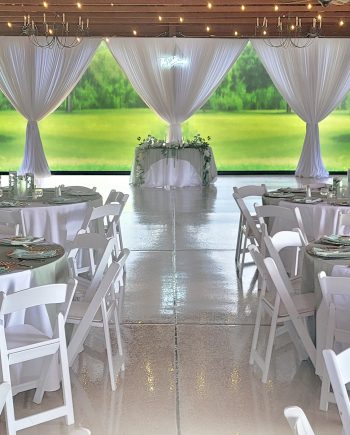
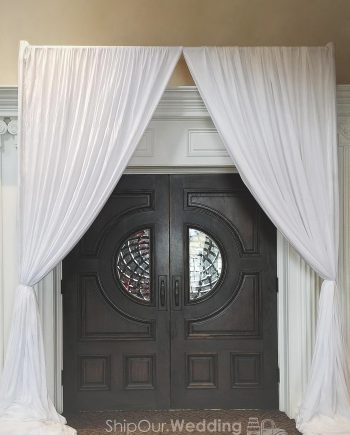
We recommend you set up this DIY drapery between two stable mounting surfaces that are less than 20 feet apart. This way you have enough excess fabric in your drape to create a swooping look. It is easy, all you have to do is safely attach the ends of your fabric with zip-ties, pipe cleaner, and/or safety pins. If your draped area is larger than 20 feet, then our 75ft long ceiling swags might be a better option. This swagged fabric is very popular. Rent short wedding ceiling swags today. Read More...

 Scan for
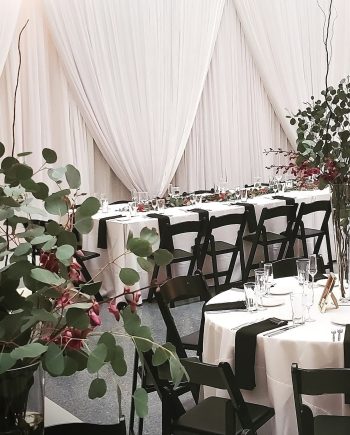

Reviews
There are no reviews yet.