


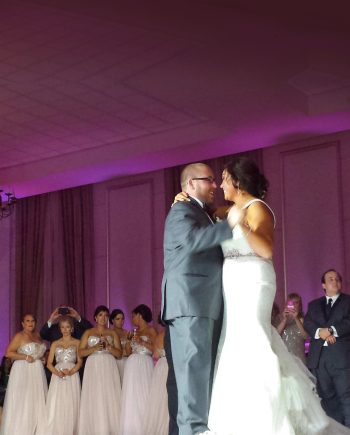
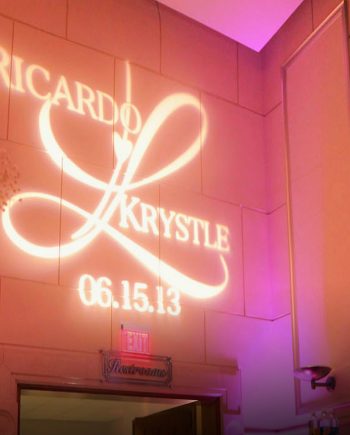
Description
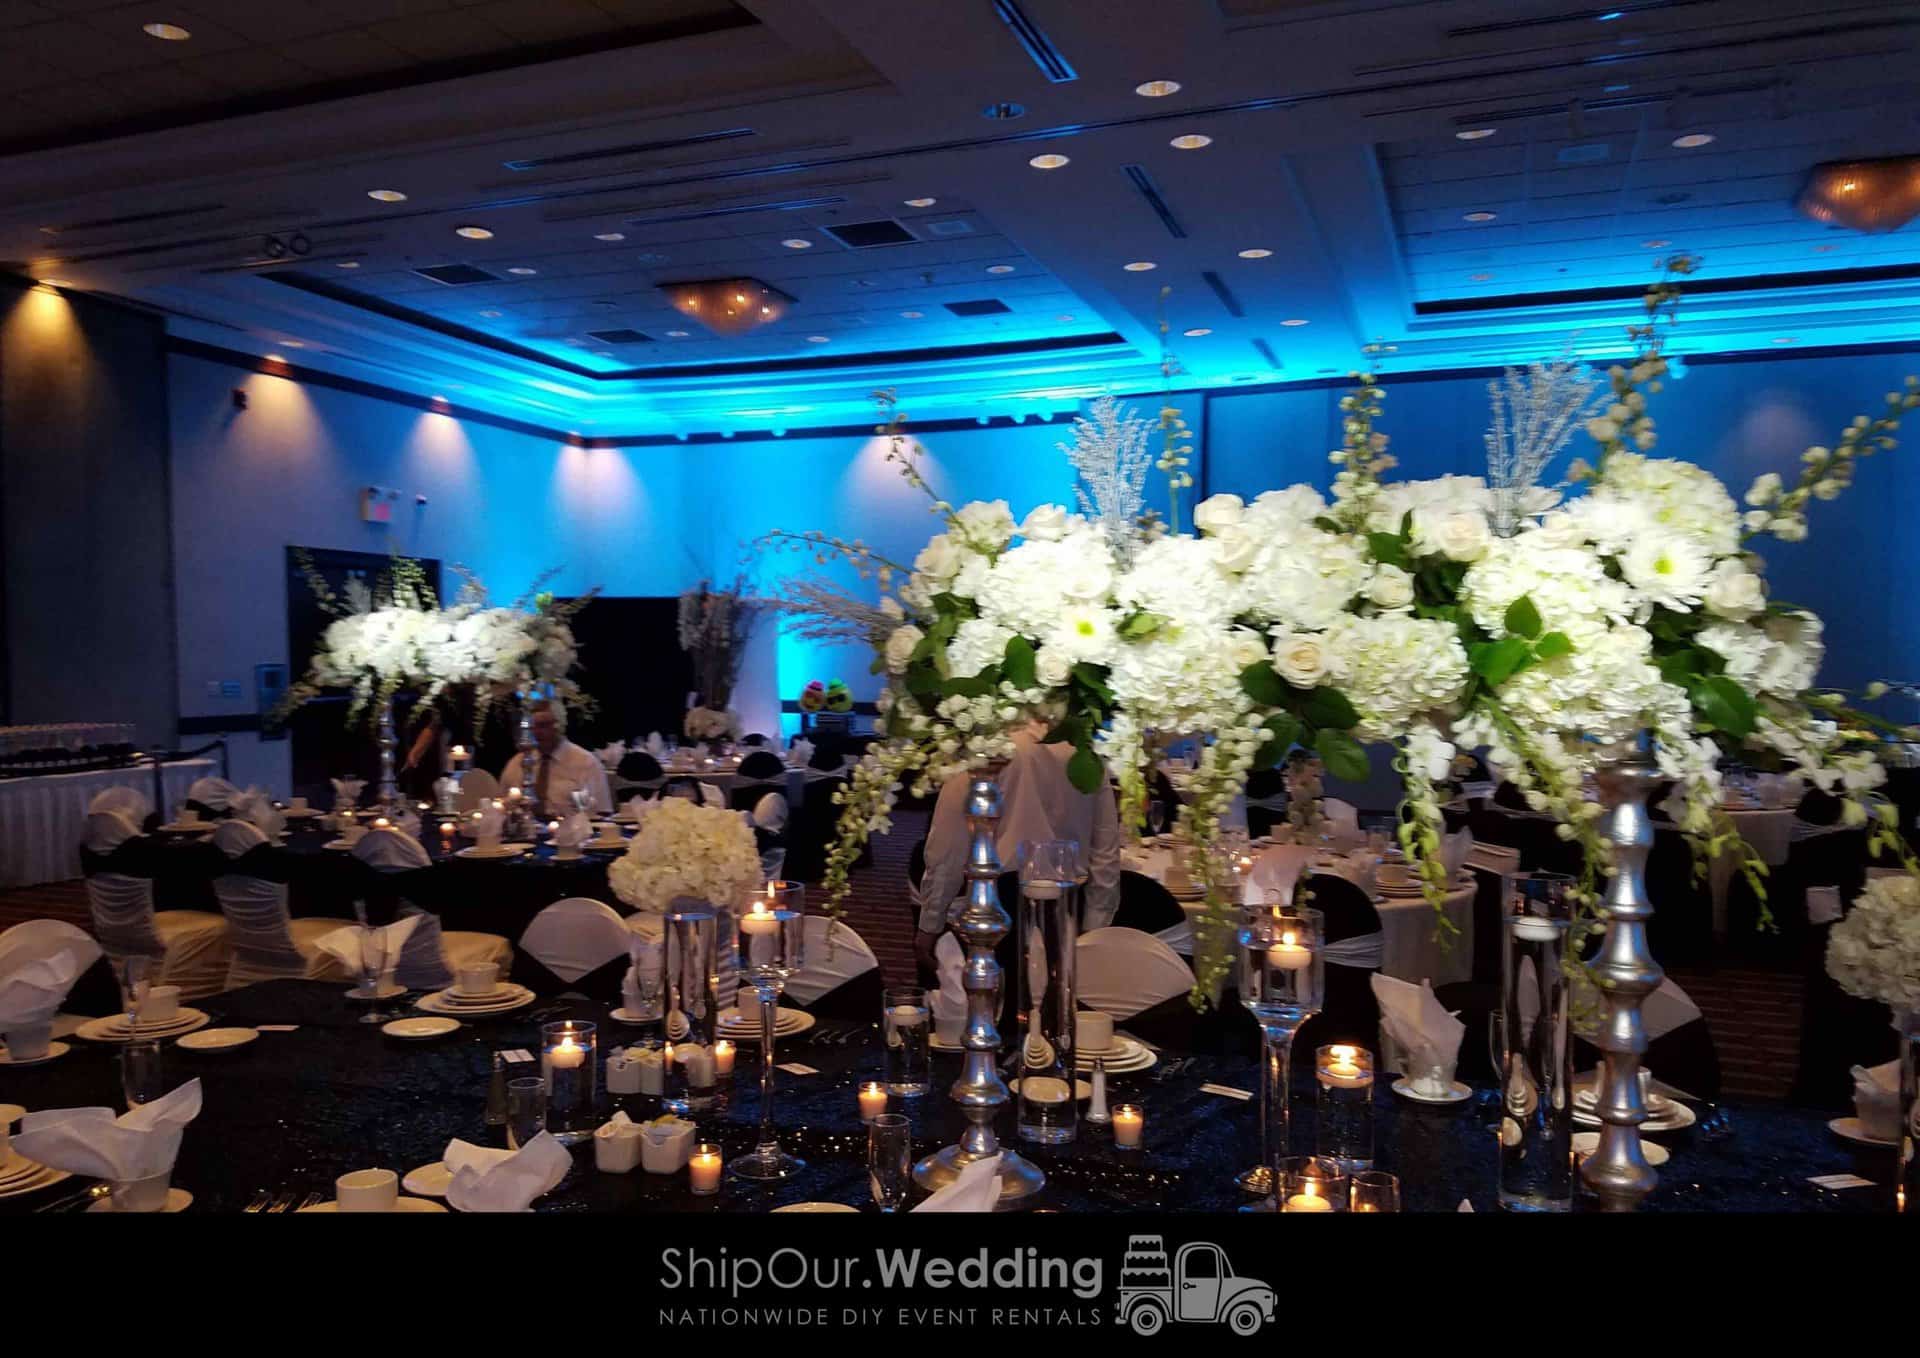
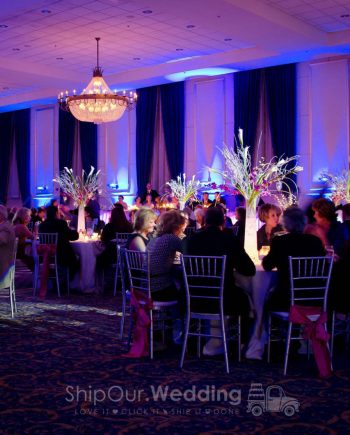
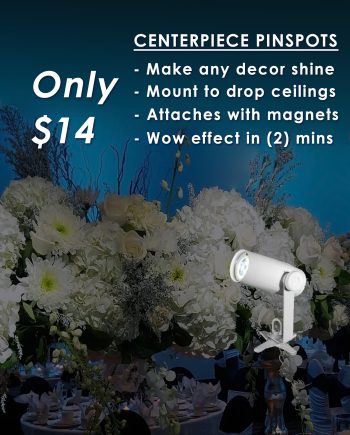
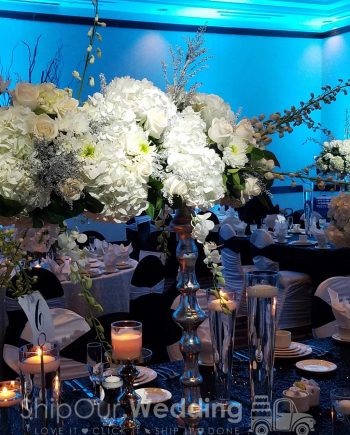
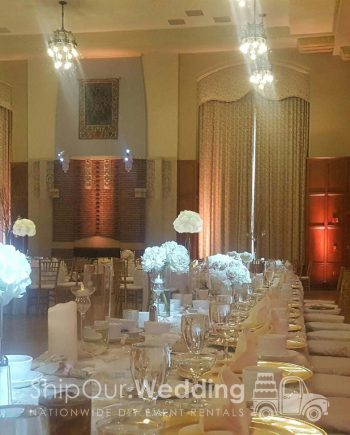
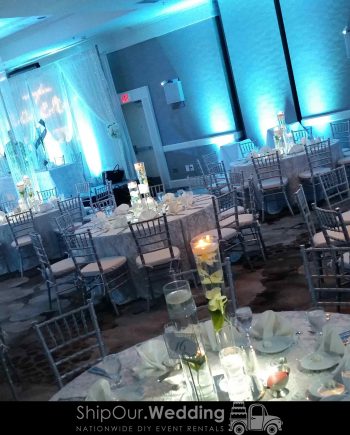
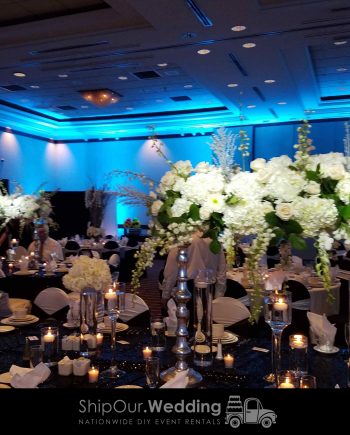
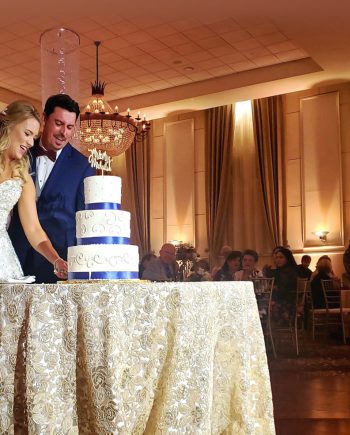
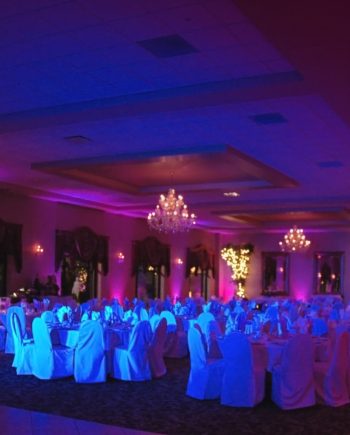
Read Wedding Tables Need Pin Spot Lighting + Spotlights
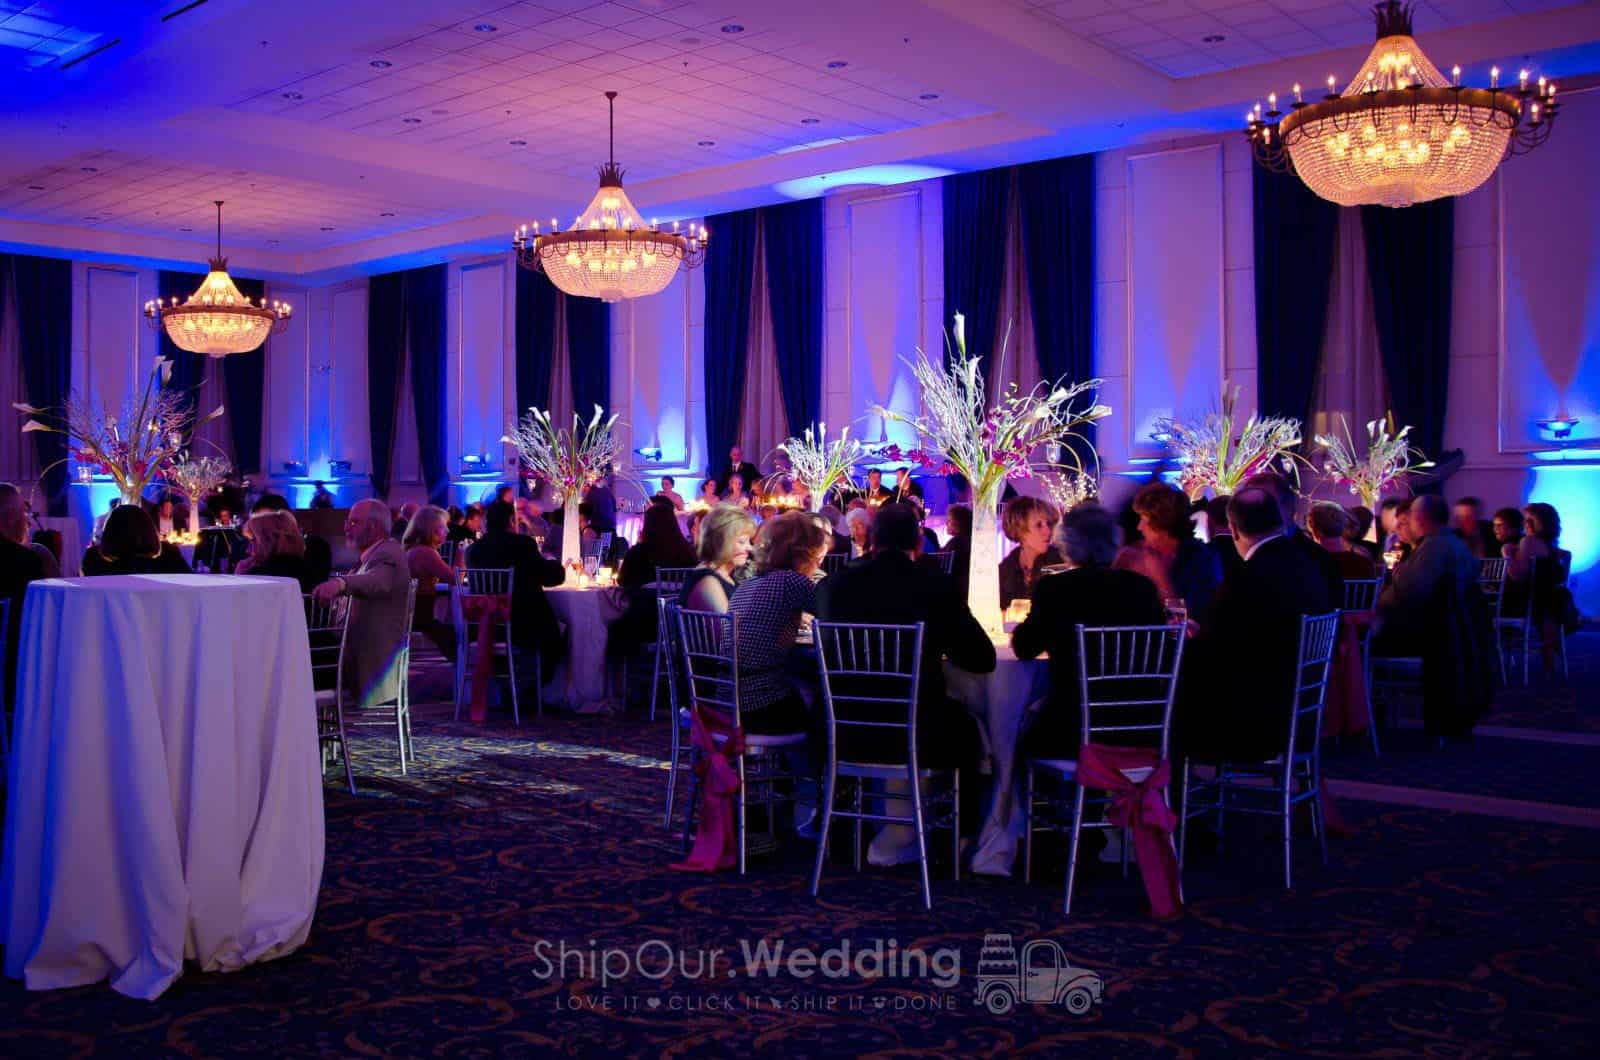
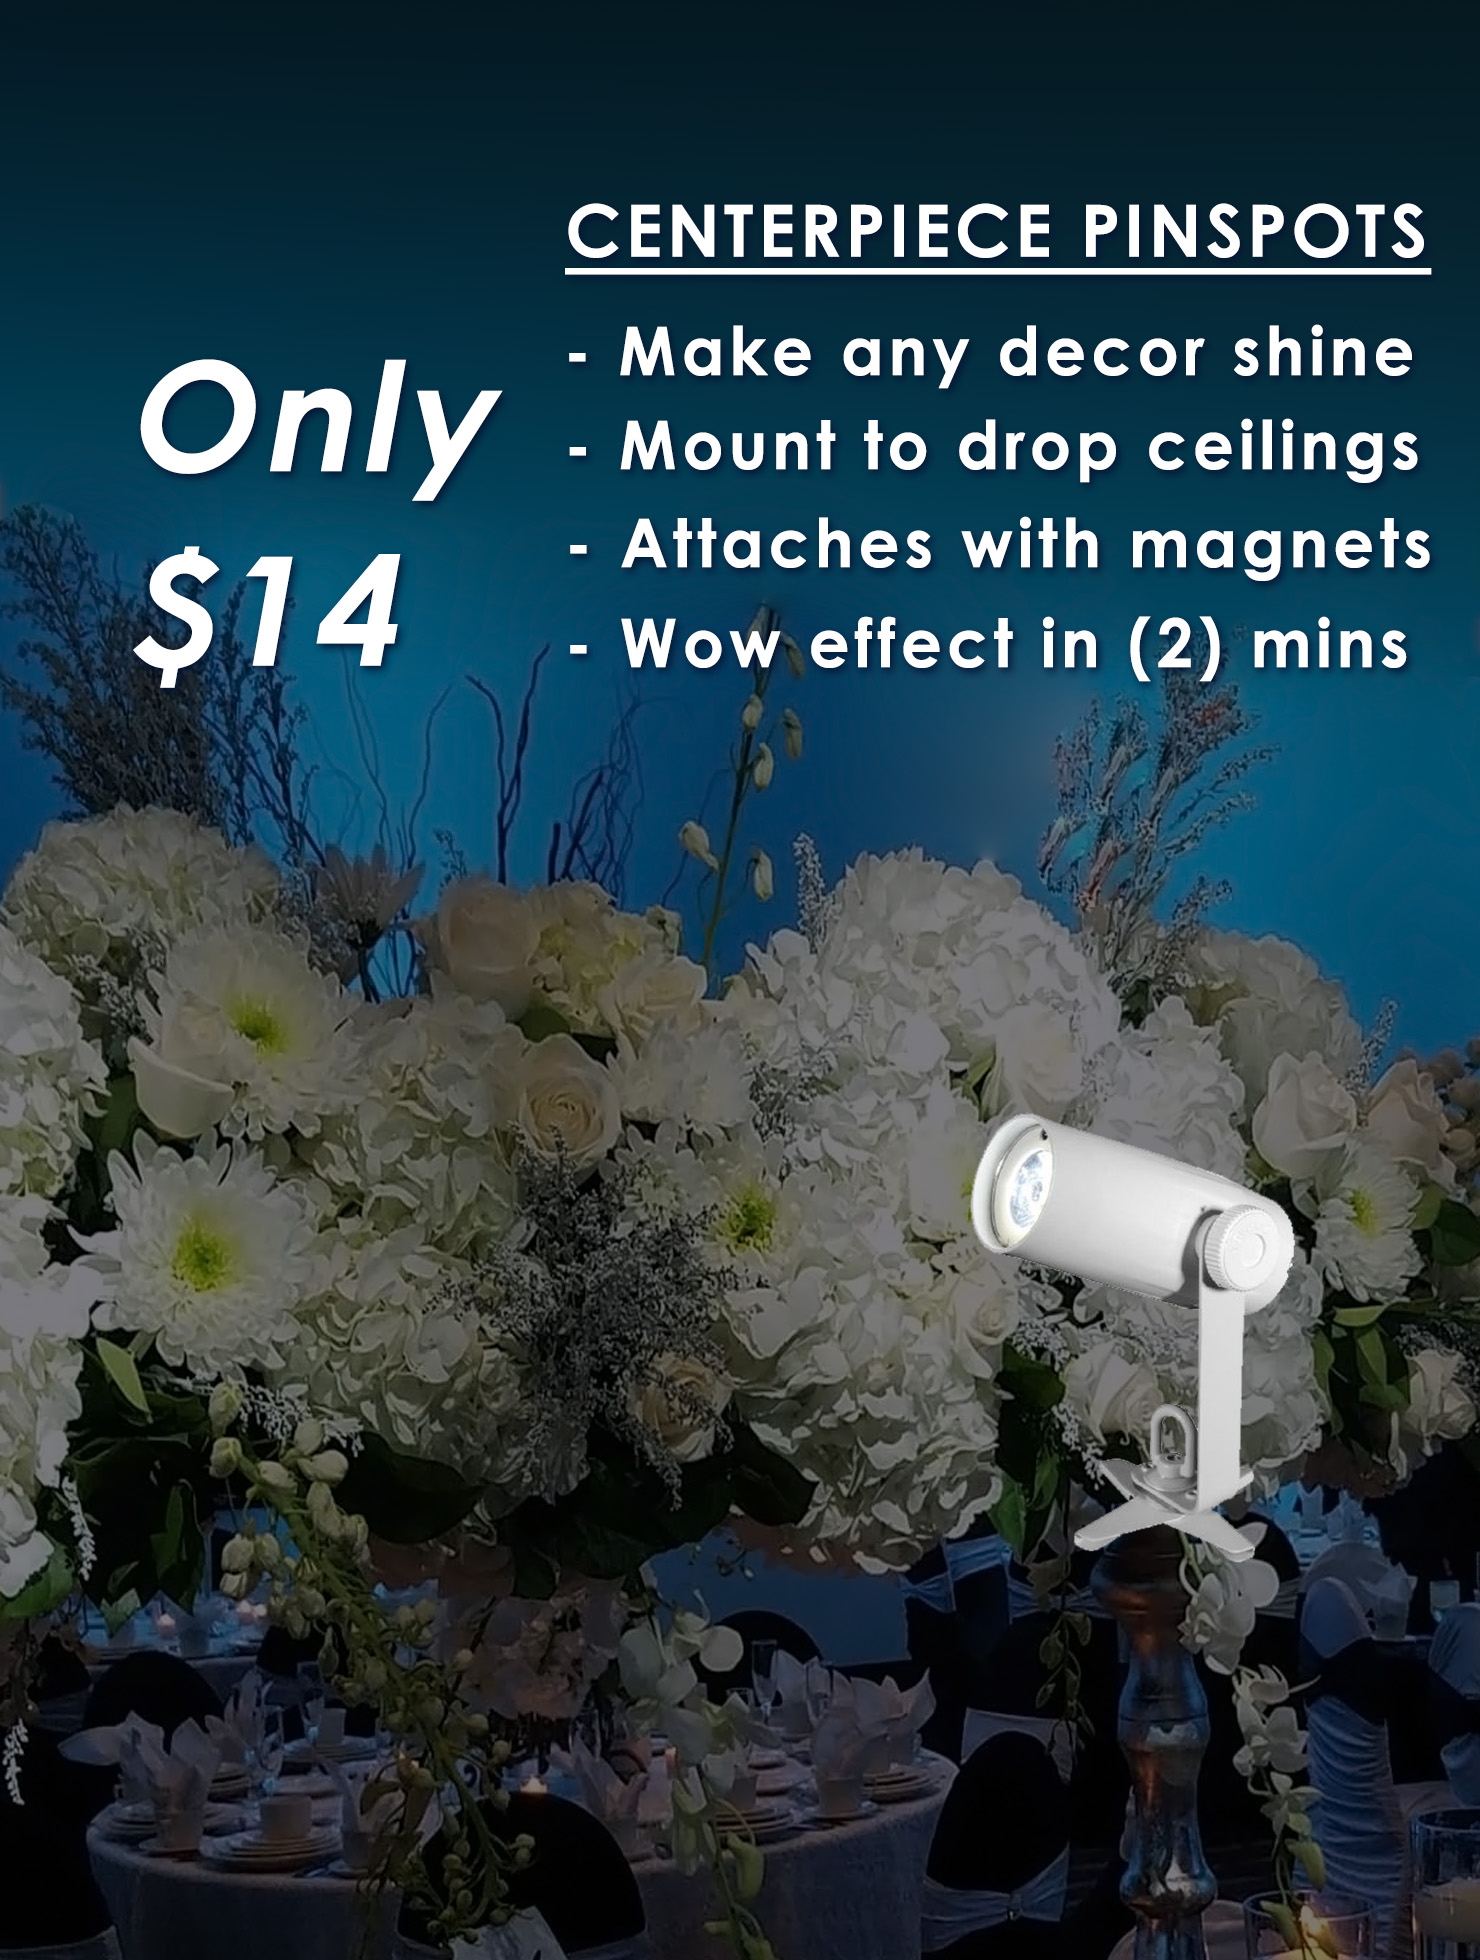
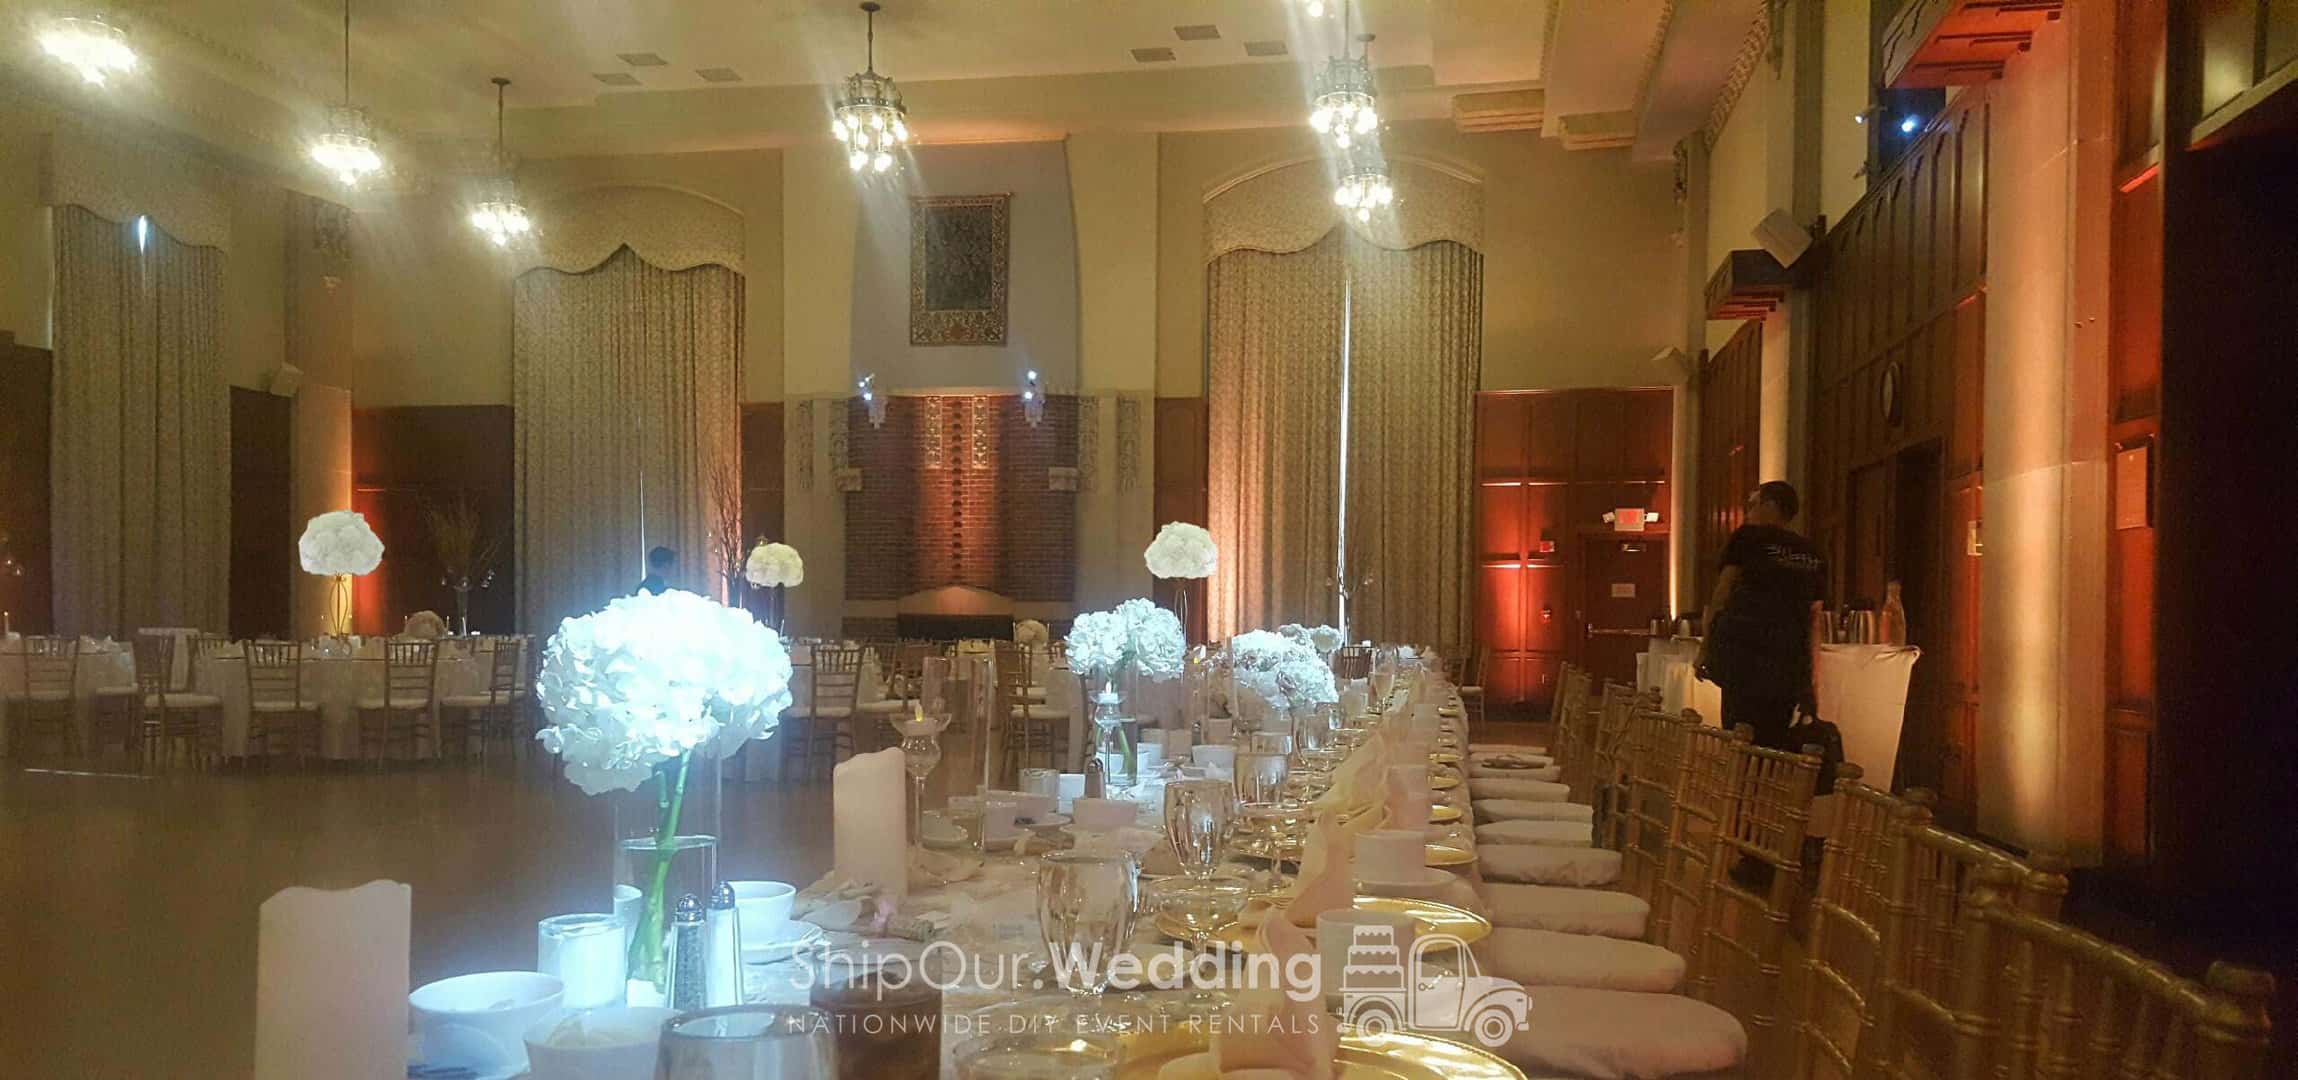
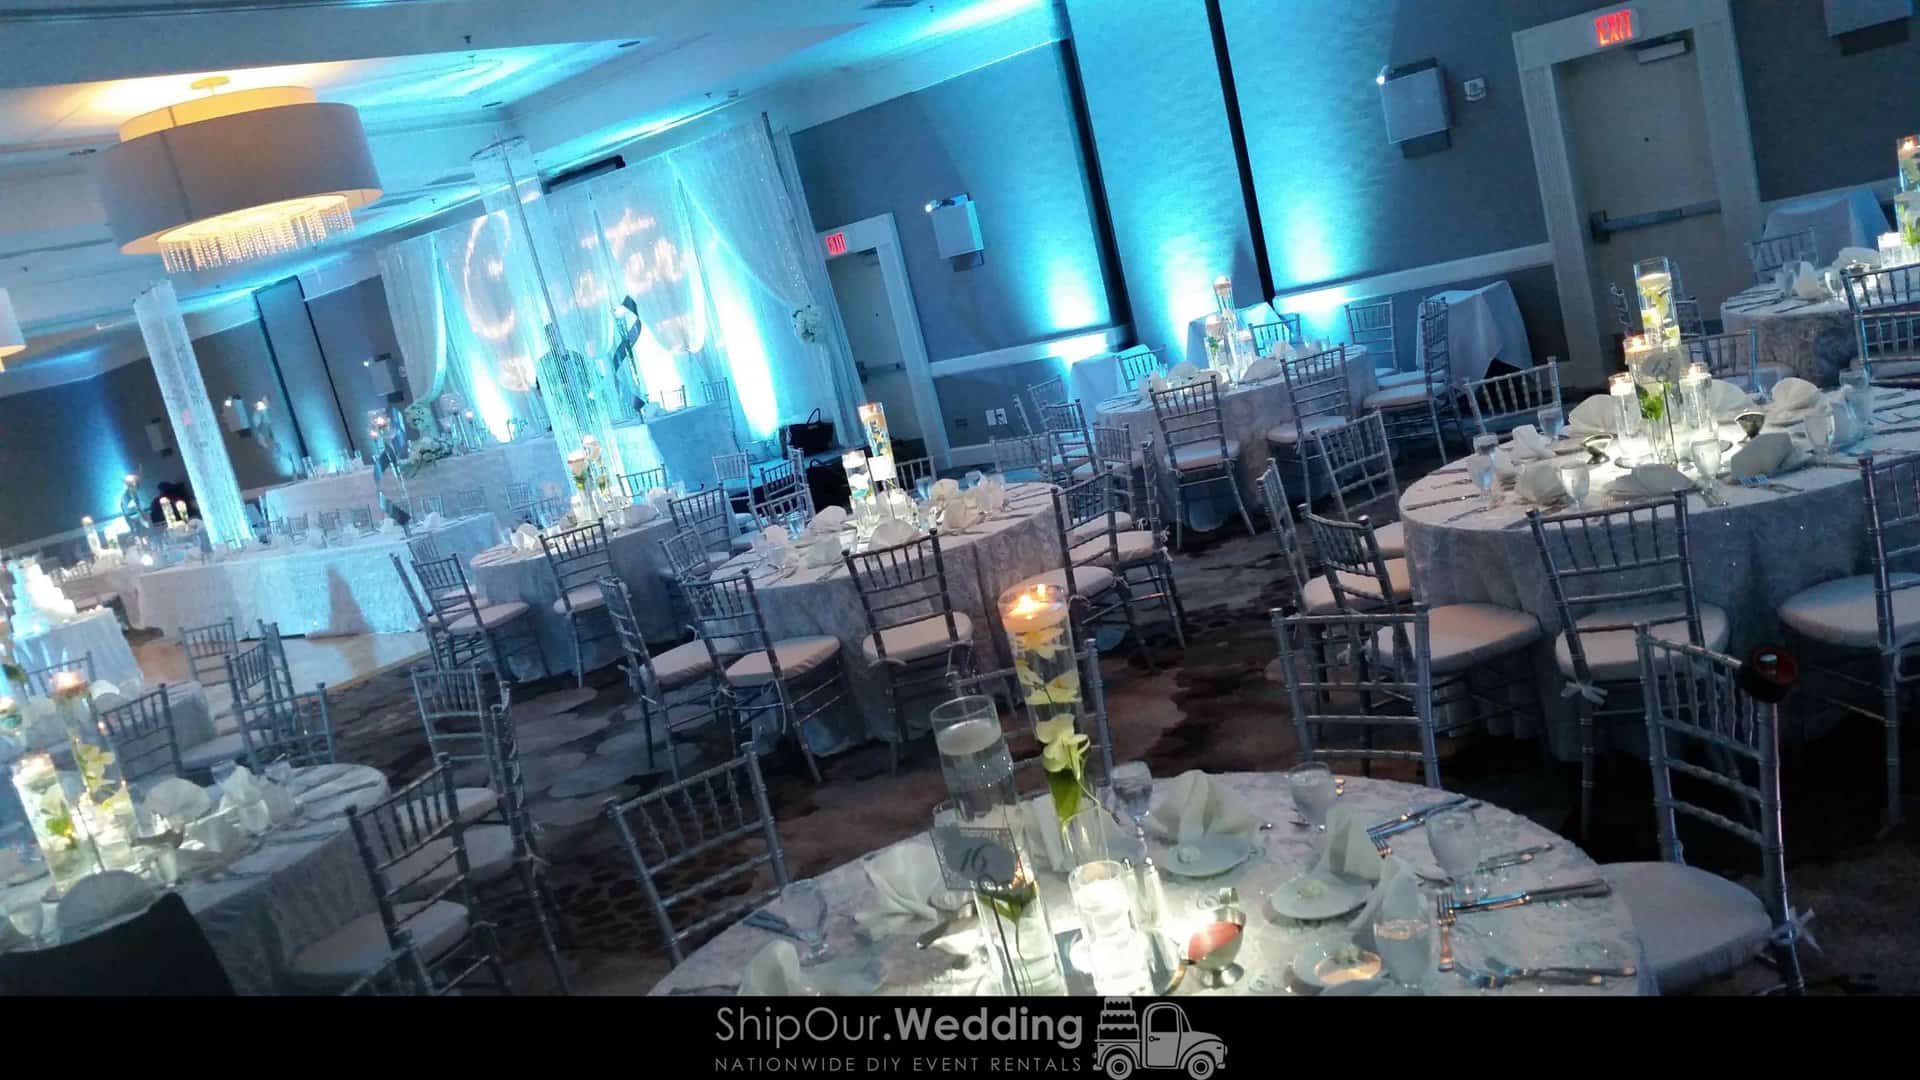
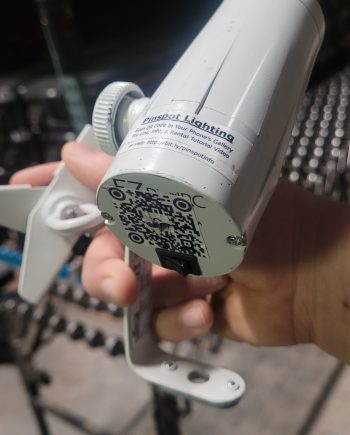
Some event companies may charge expensive prices for pinspot rentals. Costs can be high due to labor & installation. Our package is so easy to use that you can save hundreds going DIY. Mount these pinspots with magnets, bases, drop ceiling clips, or with our stands that have top magnetic bars. They are battery-powered & operate with an IR-remote control (included with orders of 6 or more). When setting up pinspots on the ceiling, turn them on via your remote before your event starts. Read More...
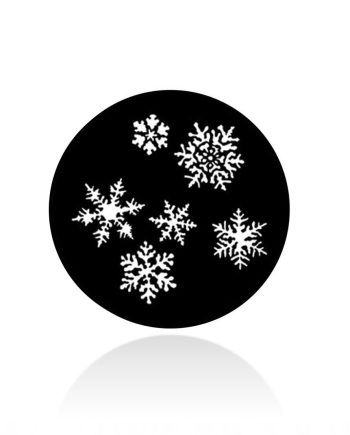
 Scan for
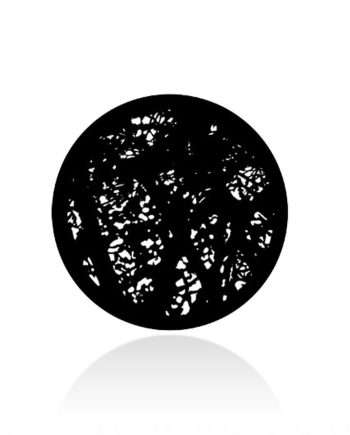
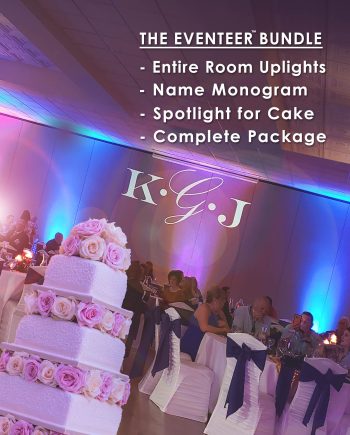
Reviews
There are no reviews yet.