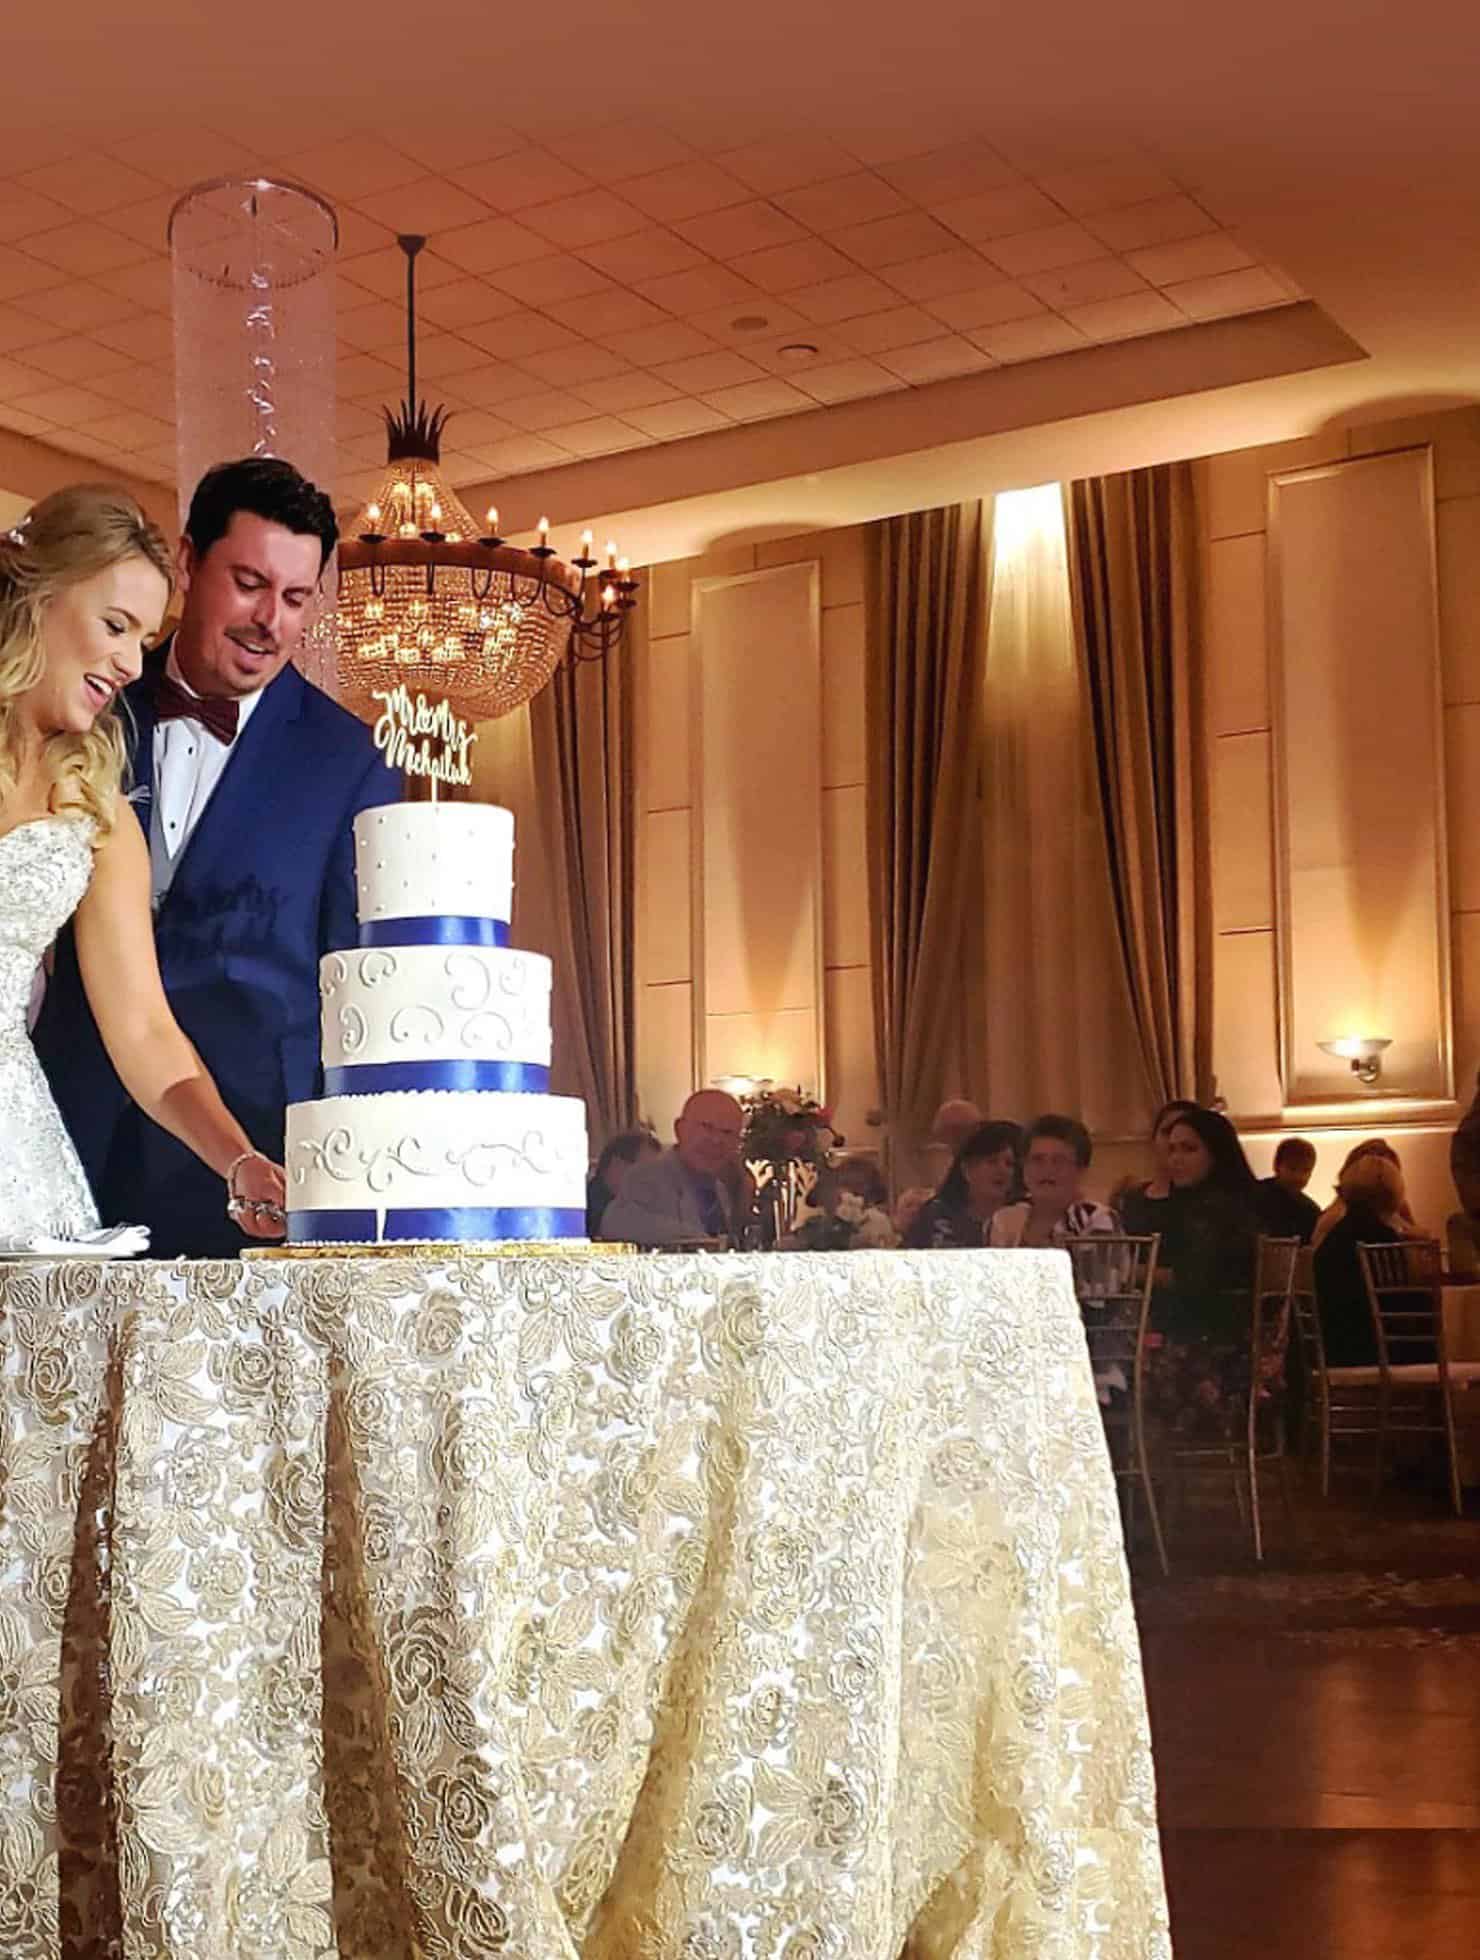
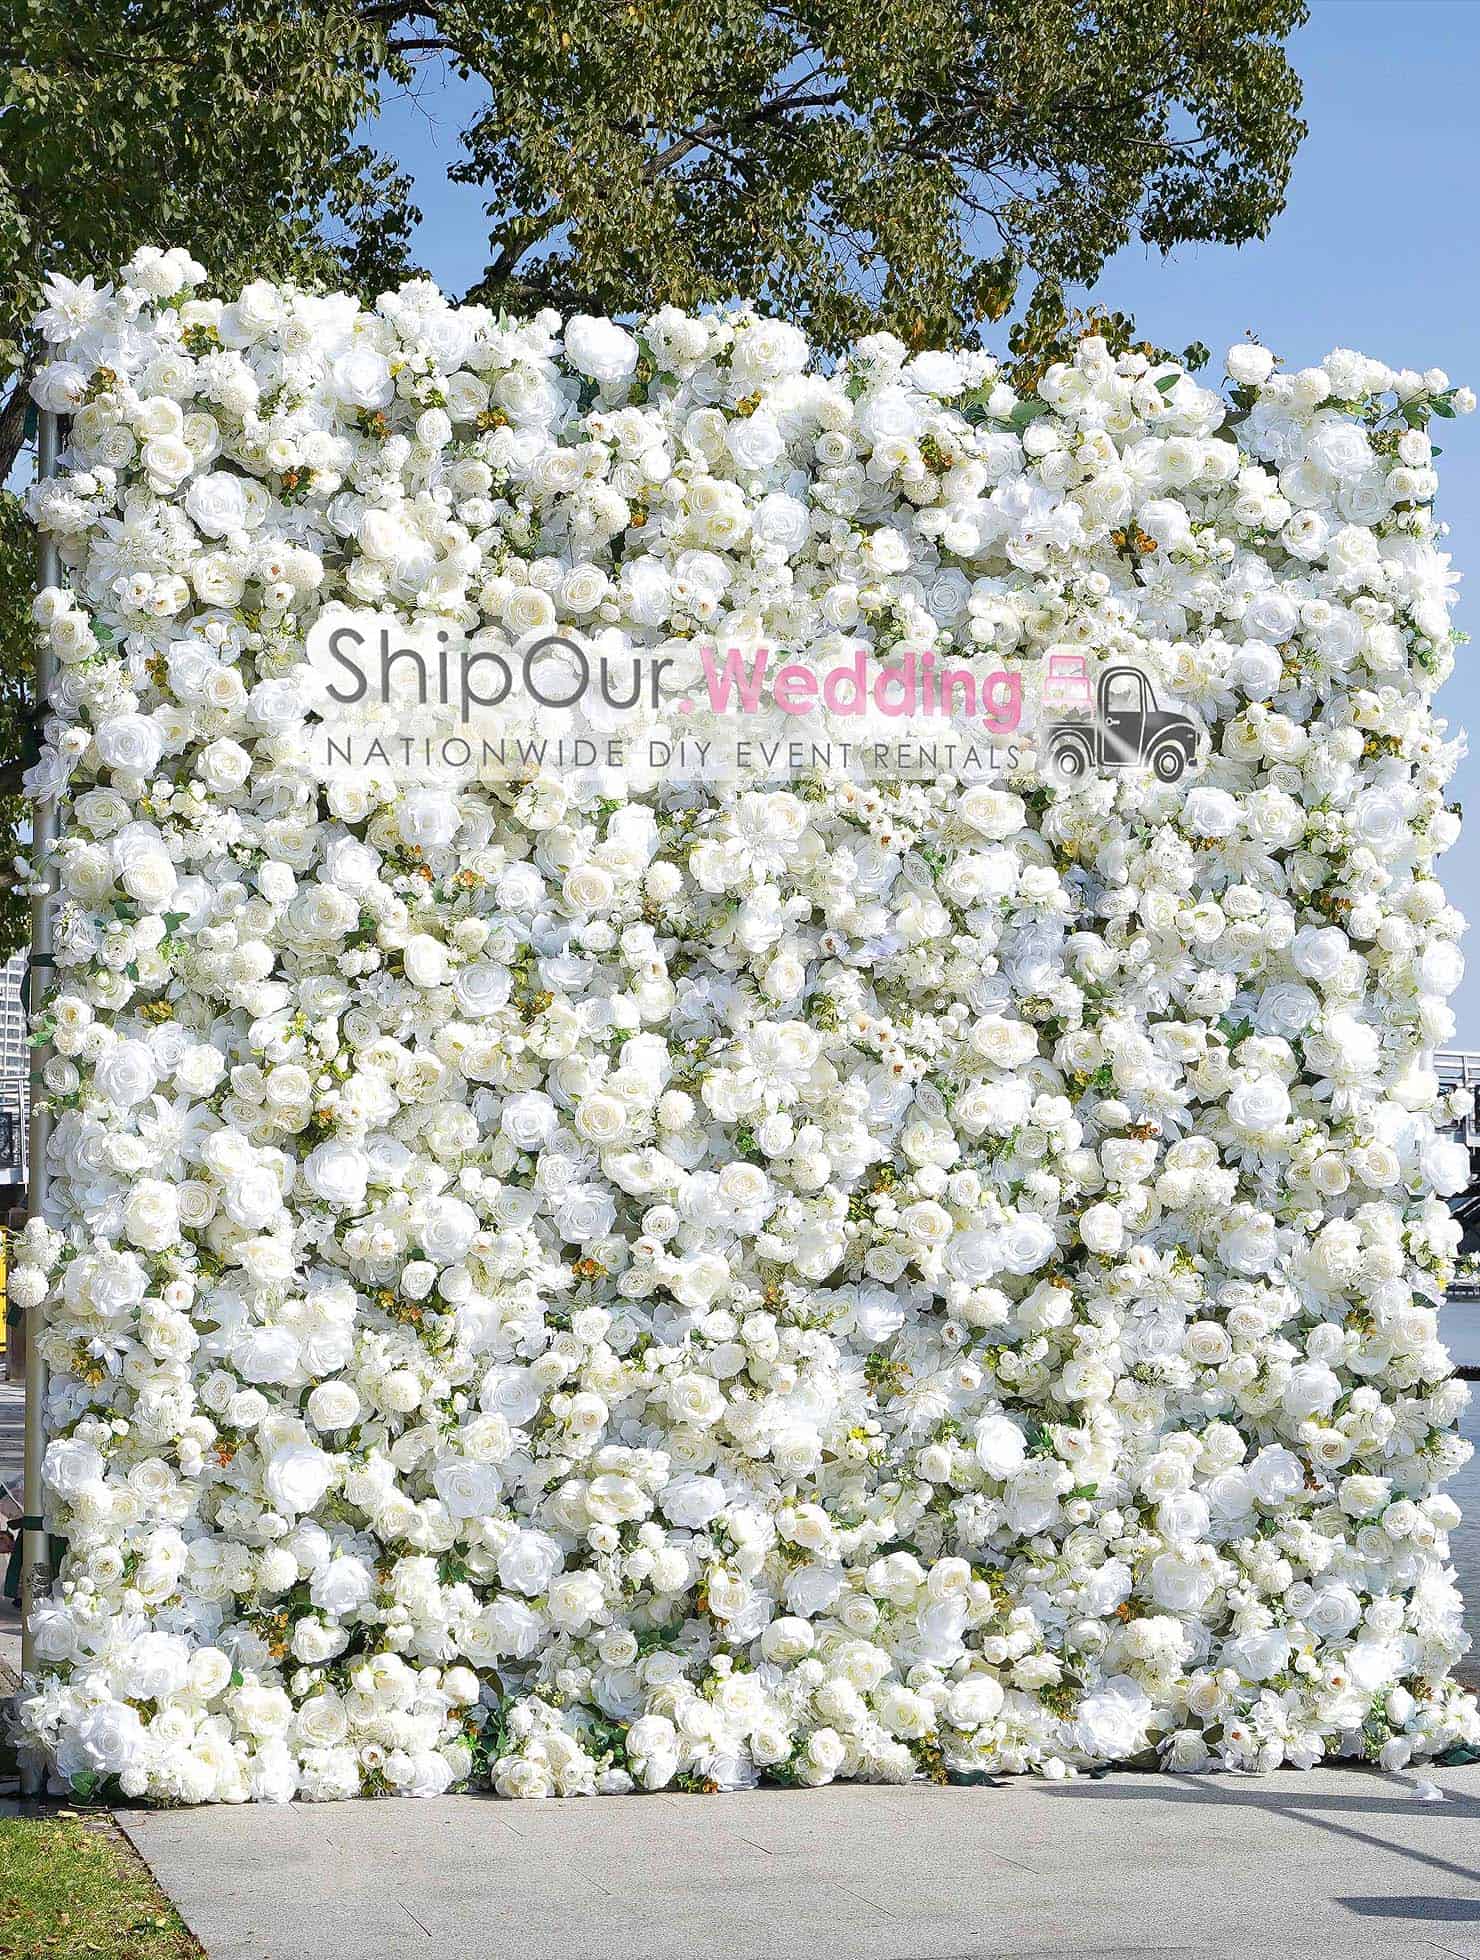
This
simply
looks amazing…
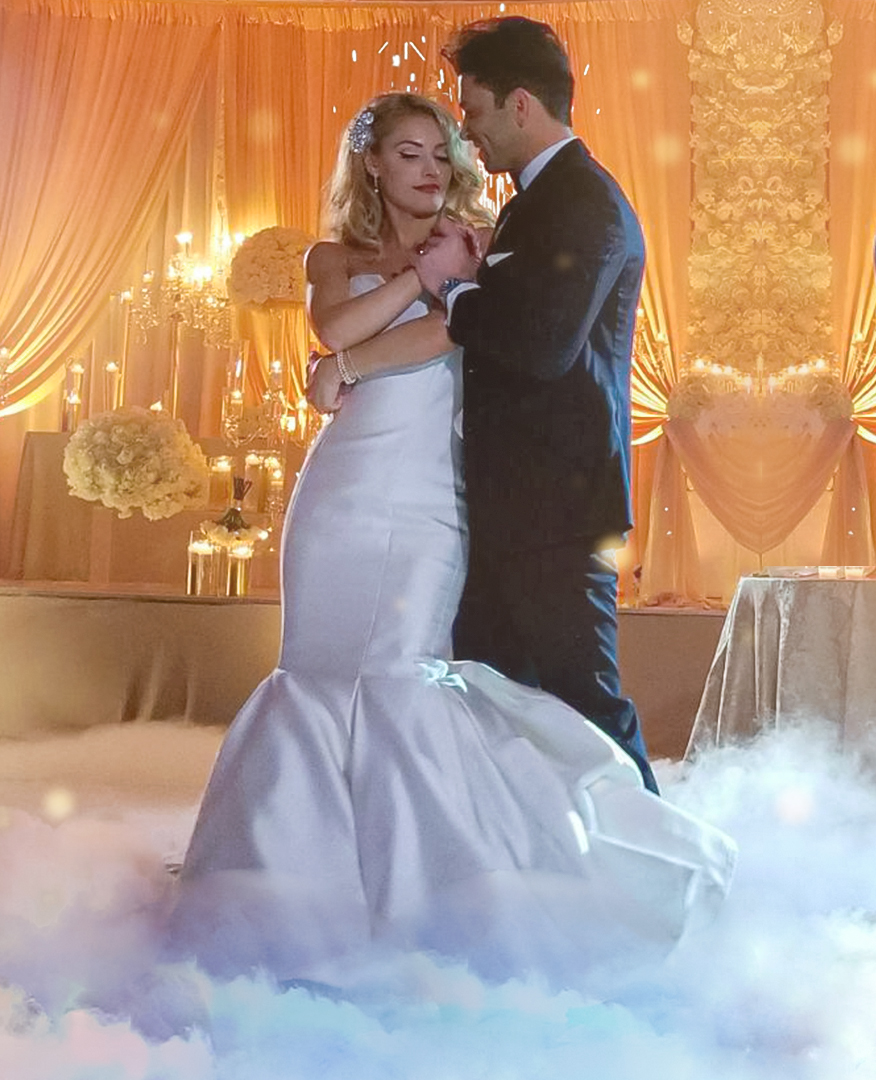
Just imagine when your globes lights up with battery-operated flicker candles! We’ve all seen the photos of hanging glass globes over a head table or from a structure. You’ve probably asked yourself, ‘how can I DIY this look’?
Décor is one of the (6) things budget couples need! Today we are going to show you exactly how to recreate this same look for a fraction of the cost compared to hiring a local vendor.
this is the easiest DIY guide on how to hang glass globes
The reason most wedding costs are high is due to the labor required to transport, set up, operate & break down the rentals. When you do it yourself you save instantly.
Hanging globes are the perfect DIY project because it is easy to do, look lovely, and can be done under budget. So keep reading our article for the exact steps you need to follow on how to create this breathtaking lighting look.
Project Setup Time: Approximately 2 hours
How to Hang Glass Globes with Candles:
The supplies are very straightforward. All you need are crystal globes, LED flicker candles, 40lb fishing wire, and maybe some hanging crystal bead strands for accent. We included a list of the supplies with a quantity below:
- Something to Suspend From – You need rafters or beams to hang all your crystal globes. It can be the same structure you will hang wedding arch fabric or something you are bringing in (like an Indian mandap). You want to avoid hanging from anything that is not load-bearing (electrical lines, light fixtures, chandeliers, fire suppression lines).
- 75 – 100 Plastic Globes – We recommend 75 as a minimum and 100 as a maximum. The more you use the better your effect will turn out. However, it will take time to hang all the plastic globes. So keep in mind that more will equal more work. We recommend plastic globes for durability as they will be easier to work with.
- 75 – 100 LED Flicker Candles – You will need the same amount of candles as globes. We recommend LED candles because it is much safer. Just consider you have real candles hanging above and if hot wax were to drip on a guest from above. This helps you avoid any unnecessary surprises. Also, most venues only allow LED candles compared to actual flames.
- 400+ feet of 40lb Clear Fishing Wire – You need clear fishing wire because it is almost invisible and let’s face it, fishing wire is some good stuff. It is super strong meaning you have less chance of breaking any lines when hanging your decor. Most fishing wire comes in lengths more than 400 feet. So pick out the amount you need chances are you will have more than enough.
- (BONUS) Hanging Crystal Bead Strands – If there is anything true in this world, it is that you can never have enough crystal bead strands. This bling will take your DIY project over the top. A couple of strands go A LONG WAY! We recommend getting 6 or 12 extra pieces that are between 3 feet and 5 feet long. The exact size will depend on how much you want it to hang from where you are attaching it.
We recommend you start shopping and find what you need. You may find substitutes or something different you want to work into your overall design. Stay with the basics & you will more than likely get everything for less than $200.

First, consult with your venue wedding coordinator that you have permission to start hanging decor from their space. You want to get their blessing first before they freak out on you for jumping on a ladder.
Speaking of heights be prepared to get on a ladder. You may have to bring one if the venue location doesn’t have one available.
keep in mind it gets hotter as you go up higher on ladders
Dress accordingly so that you are comfortable. We recommend wearing protective gear over your eyes so that debris doesn’t fall on your face & you flinch while you are so high up.
It helps to have someone assist with your DIY project so you don’t have to walk up and down the ladder a thousand times. We recommend you have a licensed professional do the setup since they are insured for projects like this.
Anyone that helps you will be a huge help as they can stage the hanging globe decorations as you are tying them off on your backdrop or structure. The most important thing is patience!
This DIY project is a labor of love, the more globes you hang the more full your look will be. However, more globes mean more time-consuming.
We suggest a 10-foot by 10-foot space to hang 75-100 globes. #YMMV. You may work in some lighting to reflect off the globes. Here is some additional advice on DIY uplighting.
Here is a quick cheat sheet for the steps involved. If you are more of a visual learner, then we also have a video available that breaks down this same process. Follow our tutorial and you will have your DIY hanging globes set up in no time.
-
Step 1: Unbox all globes & candles, Get supplies neatly organized. Put all boxes in a safe place so that you can box them back up for your tear down.
-
Step 2: Insert a LED candle into every glass globe
-
Step 3: You can hire friends to help decorate, have them double knotting 2-foot-long pieces of fishing wire to each globe, and use fishing wire to start creating your grid (think of this as a spider web). Watch our video for how to create a bunch of 2-foot-long fishing wire pieces quickly!
-
Step 4: Double knot the globes with fishing wire to your grid, and have the globes hang at different heights to look more natural
-
Step 5: Hang any bling you have on the perimeter in spontaneous places to add more visual eye candy to your hanging wedding decorations.
- Step 6: Get off the ladder, grab a refreshing beverage and marvel at your setup… doesn’t this look amazing?!
We get it, you might want to watch how it’s done! View our video and see how easy it is to create this same look at your upcoming DIY wedding reception.
Your space might be different but this video is a great inspiration. Get ideas on how to transform your event space with do-it-yourself hanging crystal globes with candles.
Now that your celebration is over now comes the fun part… you have to tear it all down 🙂 Just do everything from setup in reverse.
You mustn’t accidentally cut any fishing wire that is part of your grid. It could cause everything to fall (oops).
what crafty projects are you doing for your wedding, tell us in the comments below
Word of advice, tear down is typically half as long as setup. So if it took you 2 hours to complete your DIY project, then it should only take 1 hour to tear down. The most time-consuming step will be putting away all the glass globes, LED candles, and crystal strands.
💬 Do you want to learn about more affordable DIY rentals we provide? If you have any questions give us a call or message us on chat.

Founders Robert + Nicole Reno
With a combined (4) decades in the industry; we’ve trained hundreds, booked thousands, & partied with millions. Our first-hand experience allows us to empower others to succeed & be great… (read full bio)
Founders Robert + Nicole Reno
With a combined (4) decades in the industry; we’ve trained hundreds, booked thousands, & partied with millions. Our first-hand experience allows us to empower others to succeed & be great… (read full bio)

Brad & Annika
Cario, Nebraska
![]()

Jennifer & Val
Detroit, Michigan
![]()

Jose Rocha
Omaha, Nebraska
![]()
We saved $15,000 hiring Ship Our Wedding

I’m infatuated thank you hugs + kisses MWAH
We were amazed the uplights were really easy

Brad & Annika
Cario, Nebraska
![]()
We saved $15,000 hiring Ship Our Wedding

Jennifer & Val
Detroit, Michigan
![]()
I’m infatuated thank you hugs + kisses MWAH

Jose Rocha
Omaha, Nebraska
![]()
We were amazed the uplights were really easy

Brad & Annika
Cario, Nebraska
We saved $15,000 hiring Ship Our Wedding
![]()

Jennifer & Val
Detroit, Michigan
I’m infatuated thank you hugs + kisses MWAH
![]()

Jose Rocha
Omaha, Nebraska
We were amazed the uplights were really easy
![]()
The content of this website is intended for informational purposes only & does not constitute legal, financial, or credit advice.