Sale!
DISCLAIMER: RENTALS MAY BE DIFFERENT FROM IMAGES DUE TO PRODUCT SELECTION, MODEL VARIATIONS, COLOR VARIATIONS, QUANTITY, SETUP TIME, & VENUE FACTORS. PRICING & AVAILABILITY MAY CHANGE WITHOUT NOTICE.
 

Portable Projector Screen & Stand 10ft x 8ft (Complete Kit)

$215.00 $163.00

 
  Start Here Enter Date Below
 
State:
Event Date:

Enter state/date to select quantity

.


What does the kit include?
.
One kit includes (2) uprights, (2) bases, (2) crossbars, (1) 10-foot x 8-foot screen with dual pole pockets

  •   Projection Method: Front projection surface
  •   Package weight is in additional info tab below
  •   Approx Setup Time: less than 5 minutes
  •   Rentals Arrive: 2-days prior to the event date
  •   Return 2-days after event date, avoid late fees
  •   Kits $94+ ship FREE nationwide both ways

.

How does this work?
  • Check date, a 25% payment reserves rentals.
  • Make final payment (30) days before your date.
  • Kits arrive early 2-9 days before your event.
  • Easily set up the kit step-by-step with QR codes.
  • Expect compliments! Enjoy rentals for (5) days.
  • Drop off rentals at FedEx (2) days after.

.
Watch QR Codes Make Setup EZ
Watch How Clients Save More
Watch How Vendors Make More
Watch How to Ship & Return
.

Can I watch setup videos?
.


.

What to know before renting?
.
Fabric can't be cut, altered, or dyed. Return fabric without stains. Assembled Dimensions are 10-foot length x 8-foot high screen, 10-foot length x 10-foot high frame, the frame can adjust down to 10-foot width x 8-foot high frame.
.
How much does this cost?
.
The pricing should be listed above. To see more pricing options, enter your state & date above to select quantity in the drop downs.
.
Is this available?
.
We provide rentals in the United States only. If your state is available in the availability checker above then add the quantity you desire to your cart. If it is in stock, then it is available.
.
Don't delay, last minute orders risk availability & FREE ground shipping. Orders with enough time to ship avoid paying hundreds for expedited shipping.
.
When do kits ship?
.
We ship kits 7-12 business days before your event date. Extra time is factored into shipments to ensure rentals arrive plenty of time before your event.
.
If your event is happing in less than 2 weeks, our website recommends you call our office at 844.744.7933 for a quick chat to answer your questions.
.
Are any items for sale?
.
All of our kits are for rental only. The goal of rent & return DIY is to save money instead of buying it.
.
Who sets up the rentals?
.
You do it yourself with our easy-to-follow videos. Stay under budget & look like you hired a pro!
.

.

Setup a DIY Projector Screen (1 Min)


Description

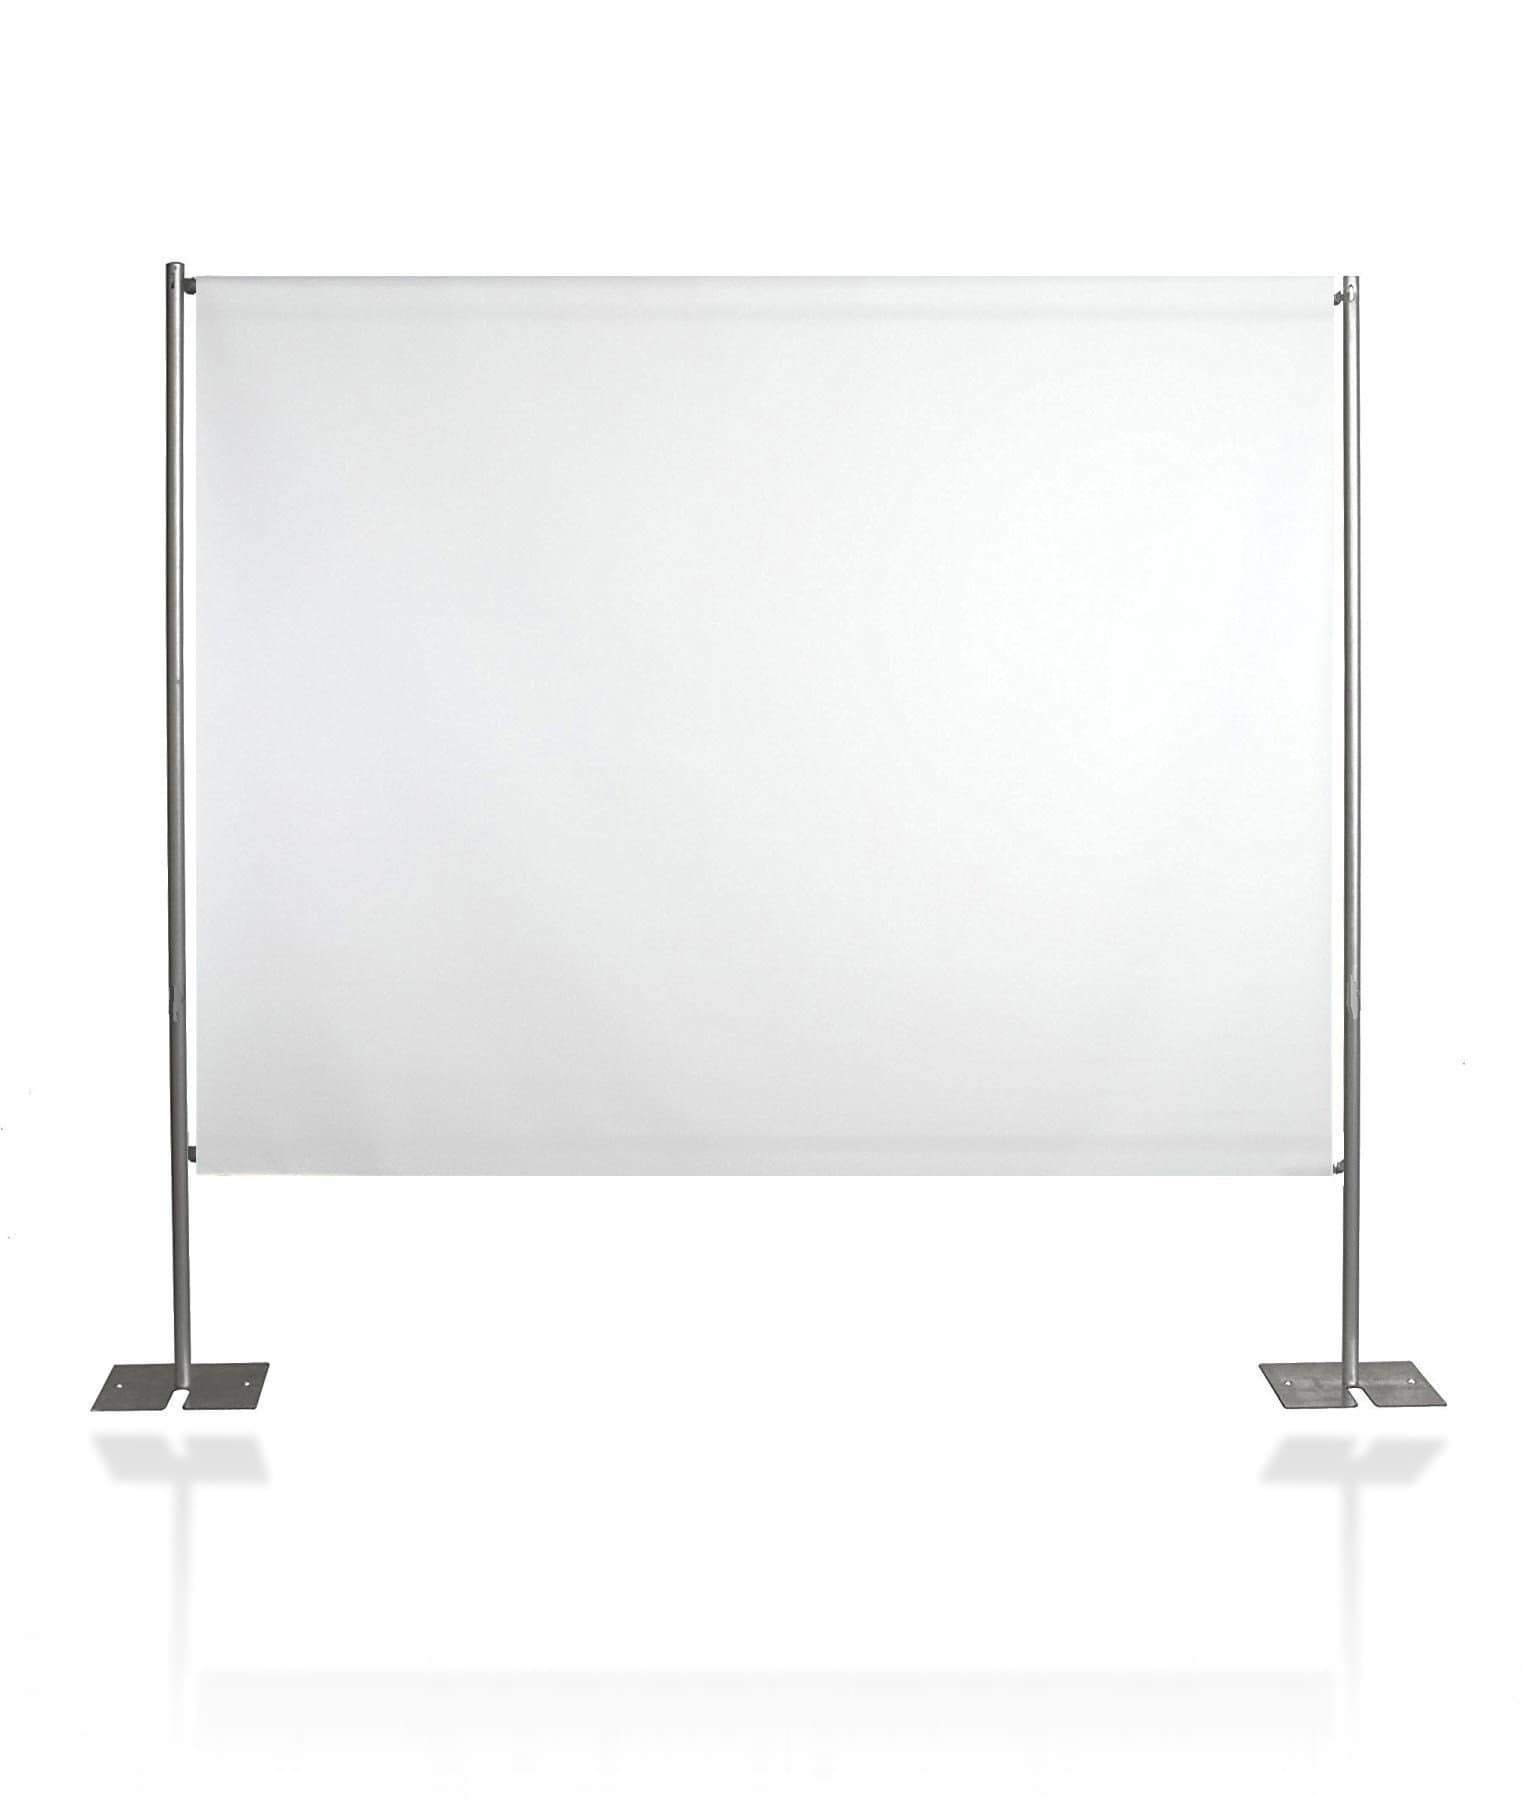
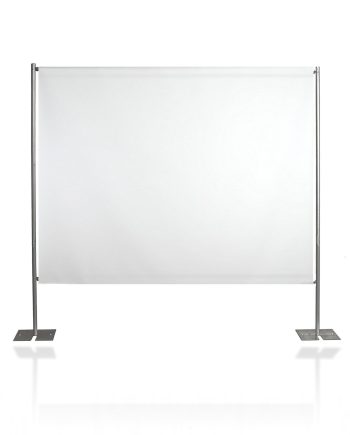
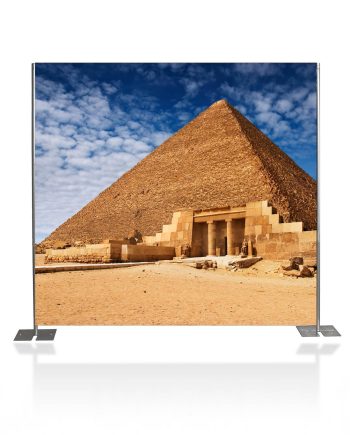
Rent a portable projector screen kit to have your image displayed for everyone to see. Most venues will charge you an arm and a leg for this setup. However, ShipOur.Wedding™ can provide you with this same high-end look for a fraction of the cost with an easy assembly tutorial. Our company is a nationwide AV rental company. Avoid having a local company that charges more for their employees to set this up. Do it yourself and get projector screens that help you stay under budget. Get your DIY projector screen starting at only $163. Read More...
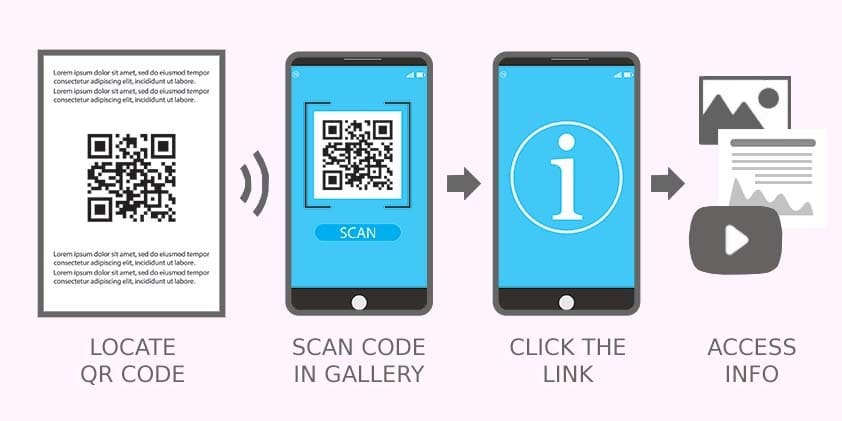
 

(11) Important DIY Projector Screen Tips, Tricks & Pro Advice >>

Read More...

Additional information

Weight 37 lbs
Dimensions 57 x 19 x 7 in

Reviews

There are no reviews yet.

Be the first to review “Portable Projector Screen & Stand 10ft x 8ft (Complete Kit)”

Easy Setup Instructions

How to setup projector screen rentals for meetings & company events

  1. place either (1) crossbar on the ground where you would like your screen setup (we recommend either close to a wall or a corner of your room)
  2. put base plates at the bottom edges of all the crossbar (make sure ferrel pin is screwed into center hole)
  3. slide uprights into the baseplates ferrel pin all the way (do not force upright down onto ferrel pin all the way if they don’t fit, only force down 50% if tight)
  4. attach crossbars between (2) uprights slots, make sure crossbar is in the slot all the way (do this for all crossbar sections)
  5. now that you have a fully completed skeleton, slide the screen fabric loop into the top crossbar piece, make sure fabric has no wrinkles (it is okay to have a couple inches of excess crossbar on each side)
  6. make sure top crossbar is re-attached between the two uprights so the fabric hangs straight down
  7. raise uprights individually in 2 foot increments until entire fabric screen it is roughly a couple of feet off the ground
  8. slide a crossbar into the bottom portion of the screen loop to act as a counter weight (this stretches the fabric and makes it taut)

QR Code

Scan for Fast Access to this Product Page