Throw on fabric
BOOM
instant magic!
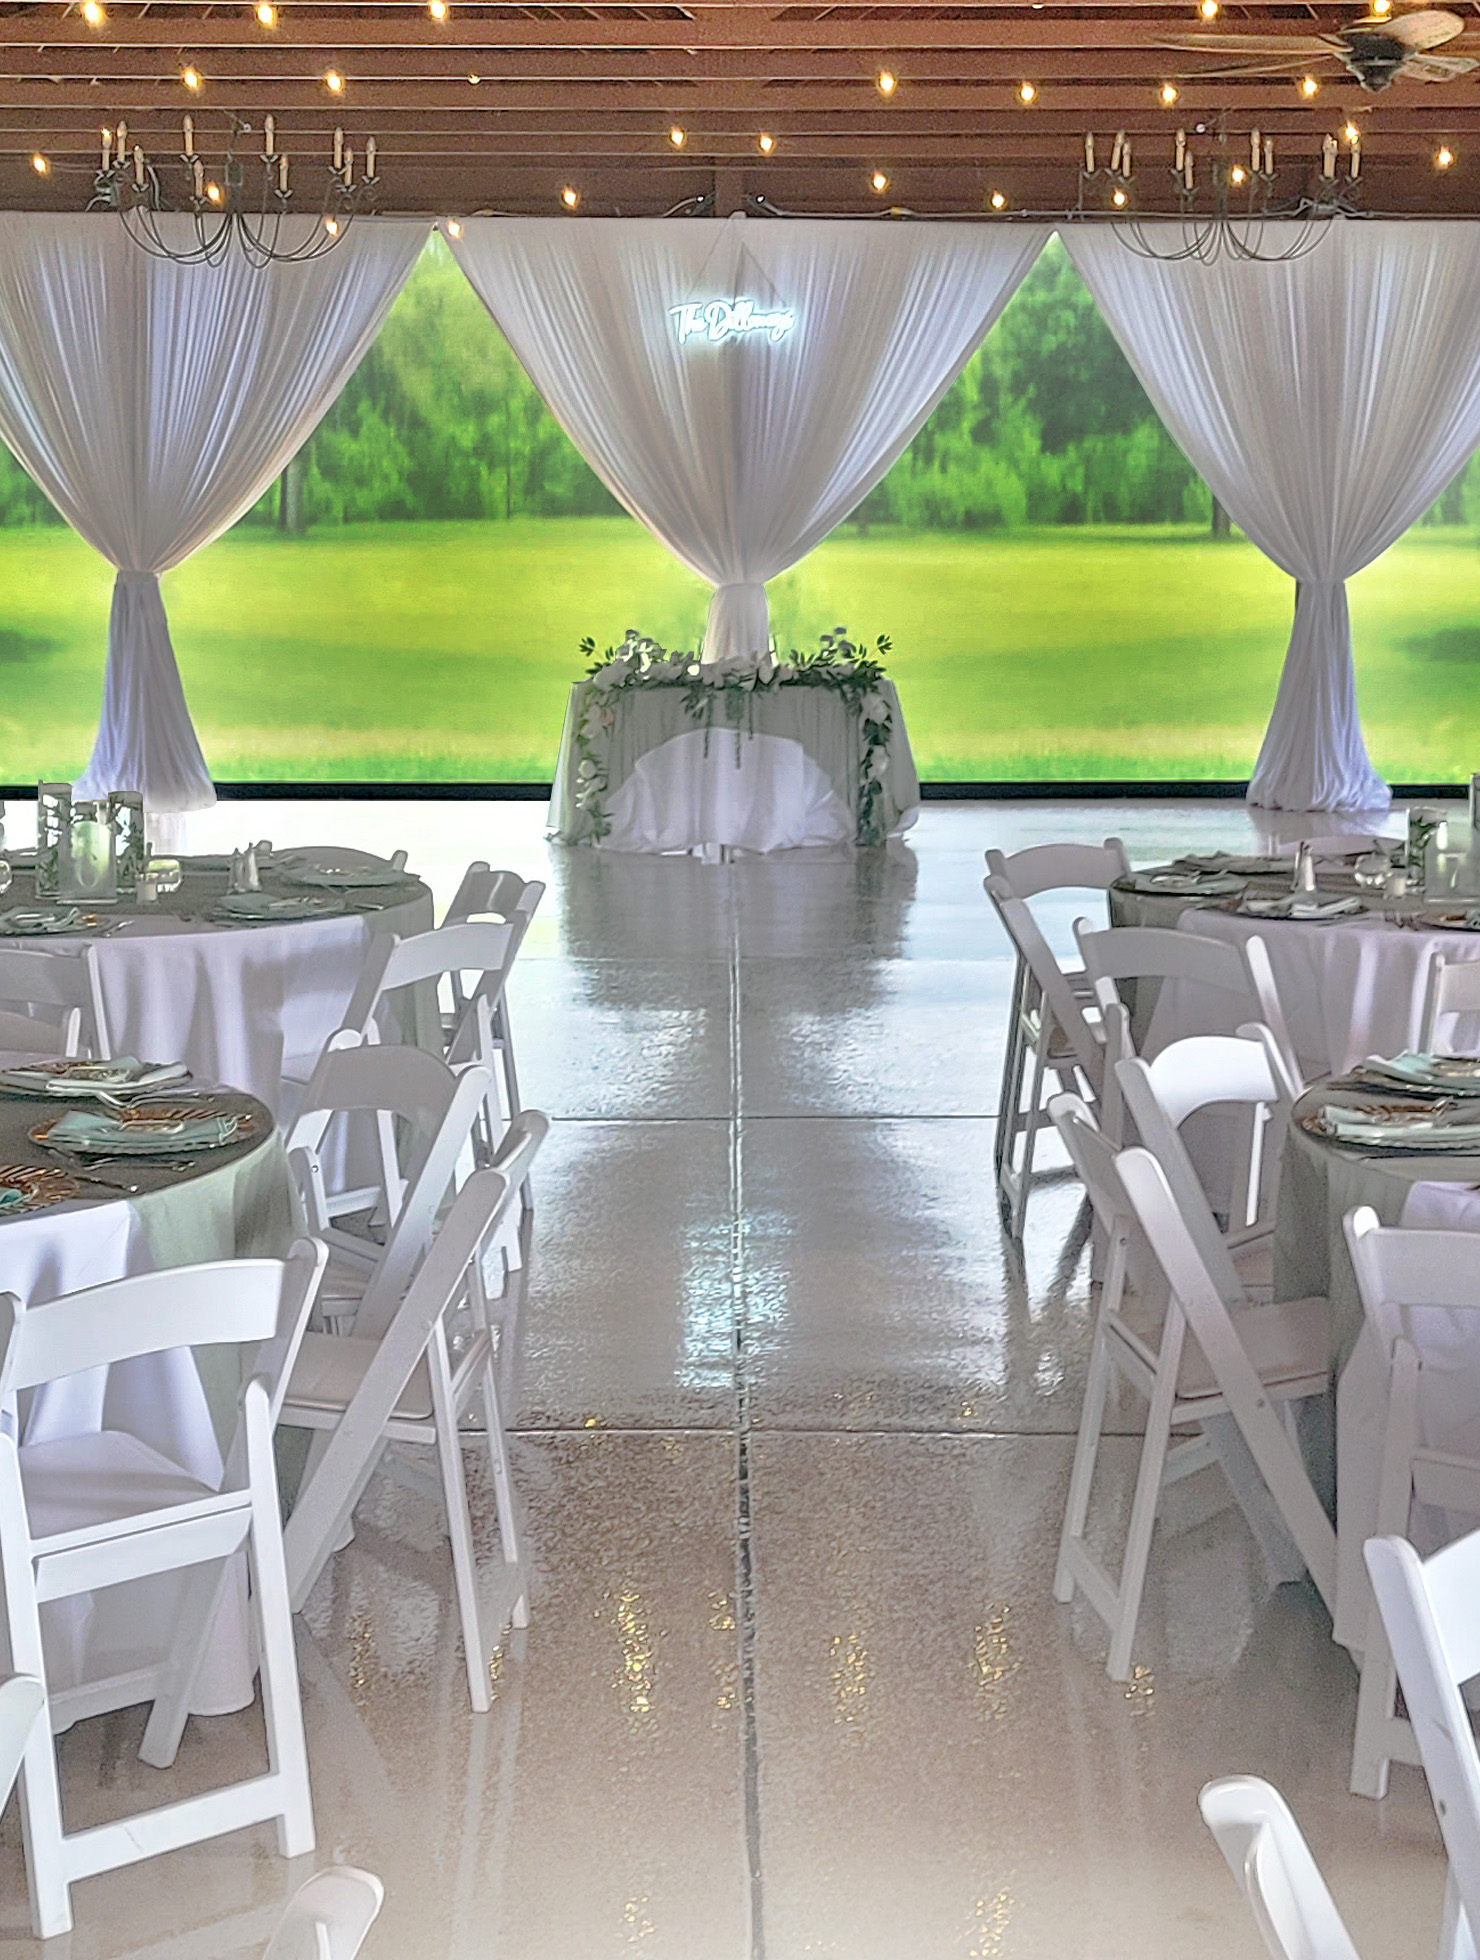
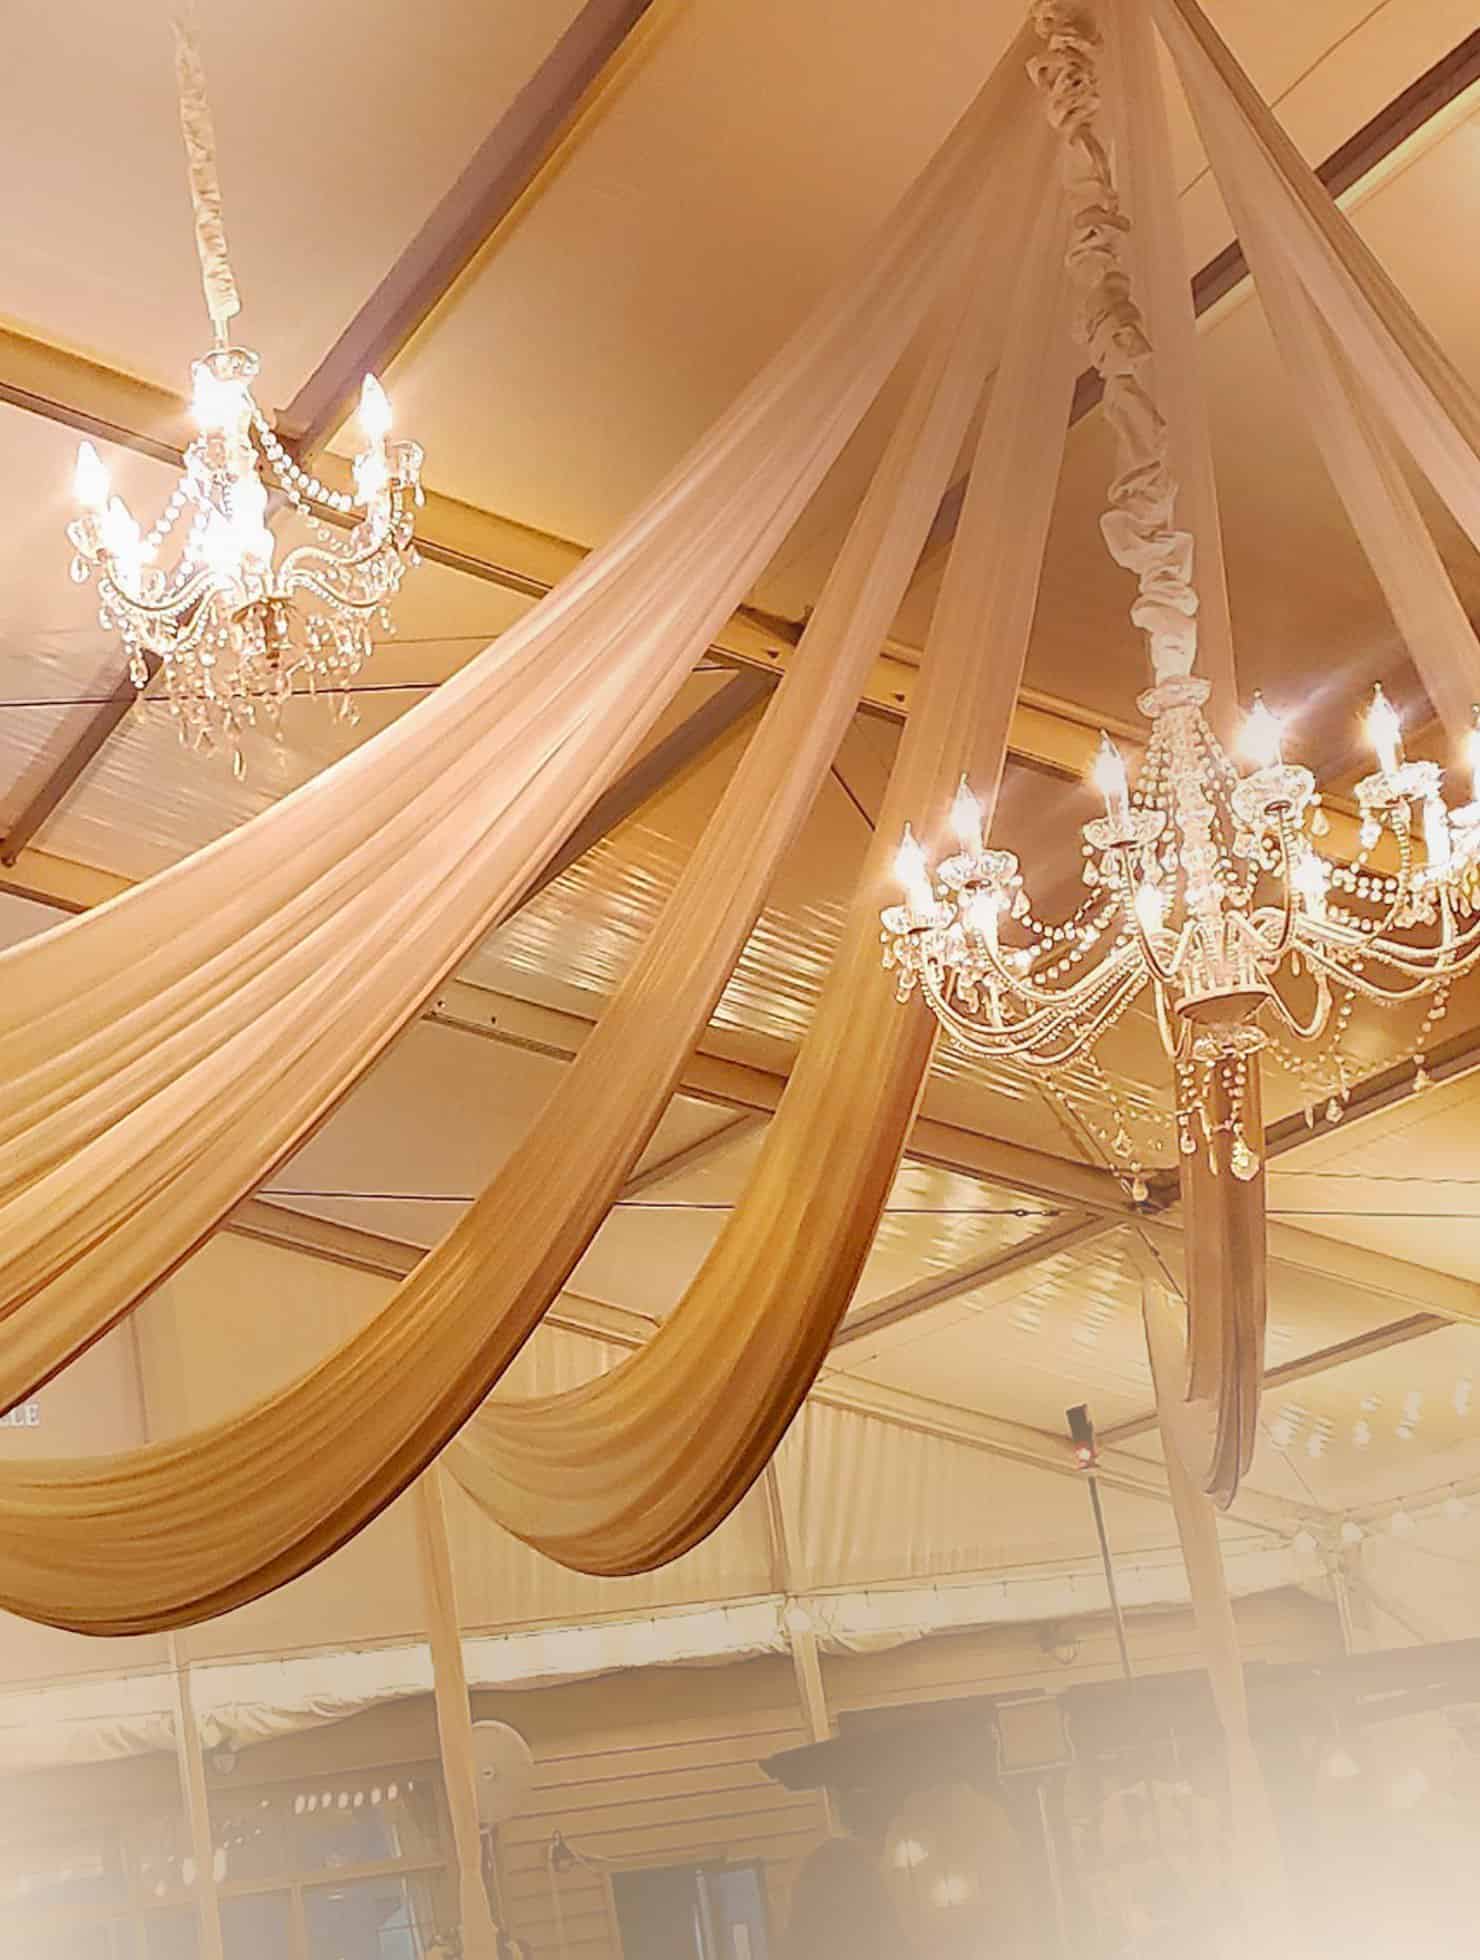
When organizing a wedding or event in a pavilion, a great idea to transform the space is with drapery. It’s crazy how much fabric improves the look of a boring wooden pavilion.
pavilion draping creates the backdrop you need for your wedding photos
In this guide, we will go over the complete walkthrough on how to drape a pavilion. This is hands down the easiest way to makeover your event space while still keeping it within budget.
✔️ Continue reading our article and learn how easy it is to pull off this look using pipe & drape.
Average Read Time: 4 minutes 45 seconds
Guide to Decorating a Wedding Pavilion with Fabric
— A Brief Introduction
— Essential Requirements to Begin
Step 1: Put Together the Foundation Plates
Step 2: Position the Poles
Step 3: Securing the Crossbars in Place
Step 4: Lay the Fabric over the Crossbars
Step 5: Ensure the Fabric is Ziptied
Step 6: Adjust the Drapes
Step 7: Enhance Security Measures
Step 8: Add Finishing Touches & Lights
— Pavilion Wall Draping Final Thoughts
Before starting the process of setting up your curtains or drapes, make sure you have the right items and tools. Having everything in place will save time and headache ensuring a smooth installation process.
Here’s a simple checklist of the right materials to get:
- Base plates to create the foundation
- Vertical upright poles to support the fabric.
- Crossbars to keep the fabric in place along the poles.
- White wall drapery (change color with tent uplights).
- A LOT of Zip ties to hold the fabric in place (you provide).
- Pair of snips to cut the zip ties (you provide).
- Add string lights, to brighten up your space.
Once you got all your supplies and equipment, it’s time to begin the setup!
The first step is going to be putting together your base plates. These bases serve as the foundation for your poles, so securing them safely is super important. Fasten the screws into the center of each base plate and hand tighten when done.
ensure they are tight but not over-tightened
Make sure you complete this step for each baseplate and position them at the bottom of every pavilion post. The pavilion posts should be 10 feet apart to match your 10-foot crossbar.
After securing the base plates, it’s time to install the uprights. Insert each upright into its corresponding base plate so they they stand upright and firm without wobbling.
make sure that the poles have even spacing & are in a staight line
This step will help give a symmetrical drapery look. Take your time to adjust the poles if necessary before moving on to the next step. The baseplates should be flat on the ground.
Now it’s time to attach the crossbars. These bars will support the drapery fabric and keep it in place. Depending on your pavilion dimensions and spacing between the pillars, you may need to adjust the length of the crossbars to fit the area. This is commonly done when the distance between pillars is greater than 10 feet, you will need crossbars longer than 10 feet.
while 10-foot crossbars are what is used 95% of the time, we used 7 foot crossbars in this video to better fit this space
Once the crossbars are the correct length, slide them into the upright slots to attach them. Double-check that your crossbars are evenly setup around the entire perimeter of your pavilion. This makes your setup stable & safe.
Guess what? It’s time to lay over your fabric! We recommend 4 pieces per 10-foot crossbar section. Begin by draping your fabric over the crossbars. If the crossbars are shorter, you could use two or 3 pieces of fabric per crossbar.
for longer crossbars, consider adding extra fabric to give your setup a fuller look
This is where your drapery starts to take shape. Gently arrange the fabric so that it hangs smoothly and evenly, making sure it falls symmetrically to the floor.
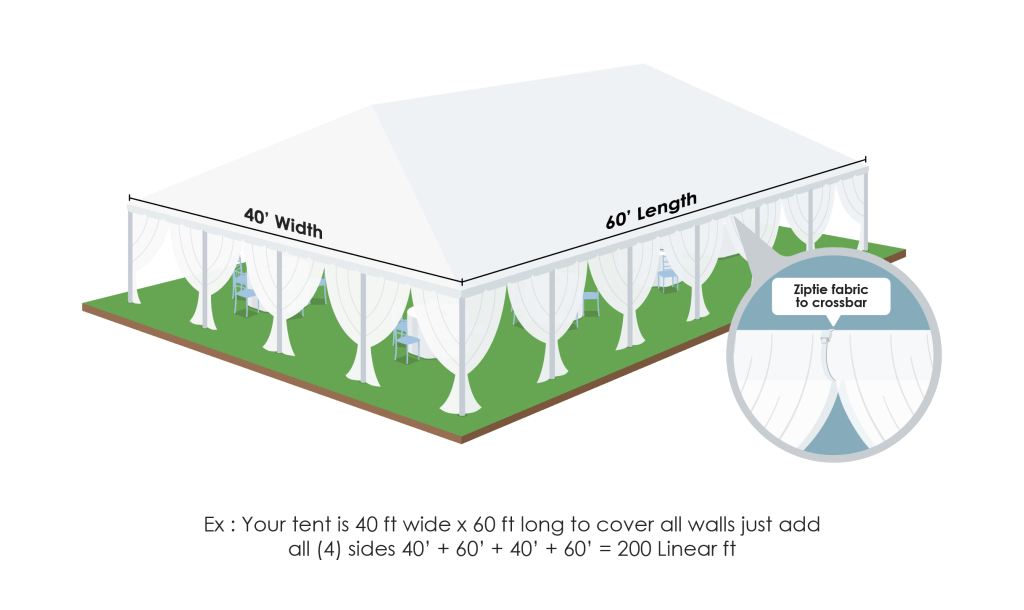
Now your fabric is on the crossbars, let’s secure it. Use zip ties to fasten the fabric to the crossbars. Overlap the 2 fabric edges, pull it taut, and use the zip ties to keep it in place.
this step will prevent the fabric from moving while blowing in the wind
Be mindful when using zip ties—adjust them so they are hidden in photos or pictures. Once this step is done raise all your uprights in increments to the desired height.
Get ready to adjust every piece of fabric! Grab 2 pieces of fabric from the middle and pull it towards the upright. Use a pipe cleaner to attached this gathered fabric to the pole. Repeat this step for the other side. You now have an opening with fabric centered and attached to the side of the poles.
use zip ties to keep the fabric gathered near the uprights, you may need 2 or 3 connected together
In areas with windy conditions, like a pavilion, it’s especially important to make sure the fabric is tightly secured to prevent it from fluttering or becoming messy. Don’t rush this step.
To make sure your drapery stays safely in place, consider adding extra support to your uprights. Use extra zip ties or strings on the poles to reinforce the setup on the pavilion structure. This is 100% necessary for any outdoor event setup. You may want to do this step before adding fabric to your crossbars if there is wind present.
Zip tie EVERY upright to the pavilion beam, this is what keeps your drapery from blowing over
Take a step back and look over all of your drapery setup. Does everything look even and tidy? If necessary, make adjustments to improve the overall symmetry and appearance of the fabric.
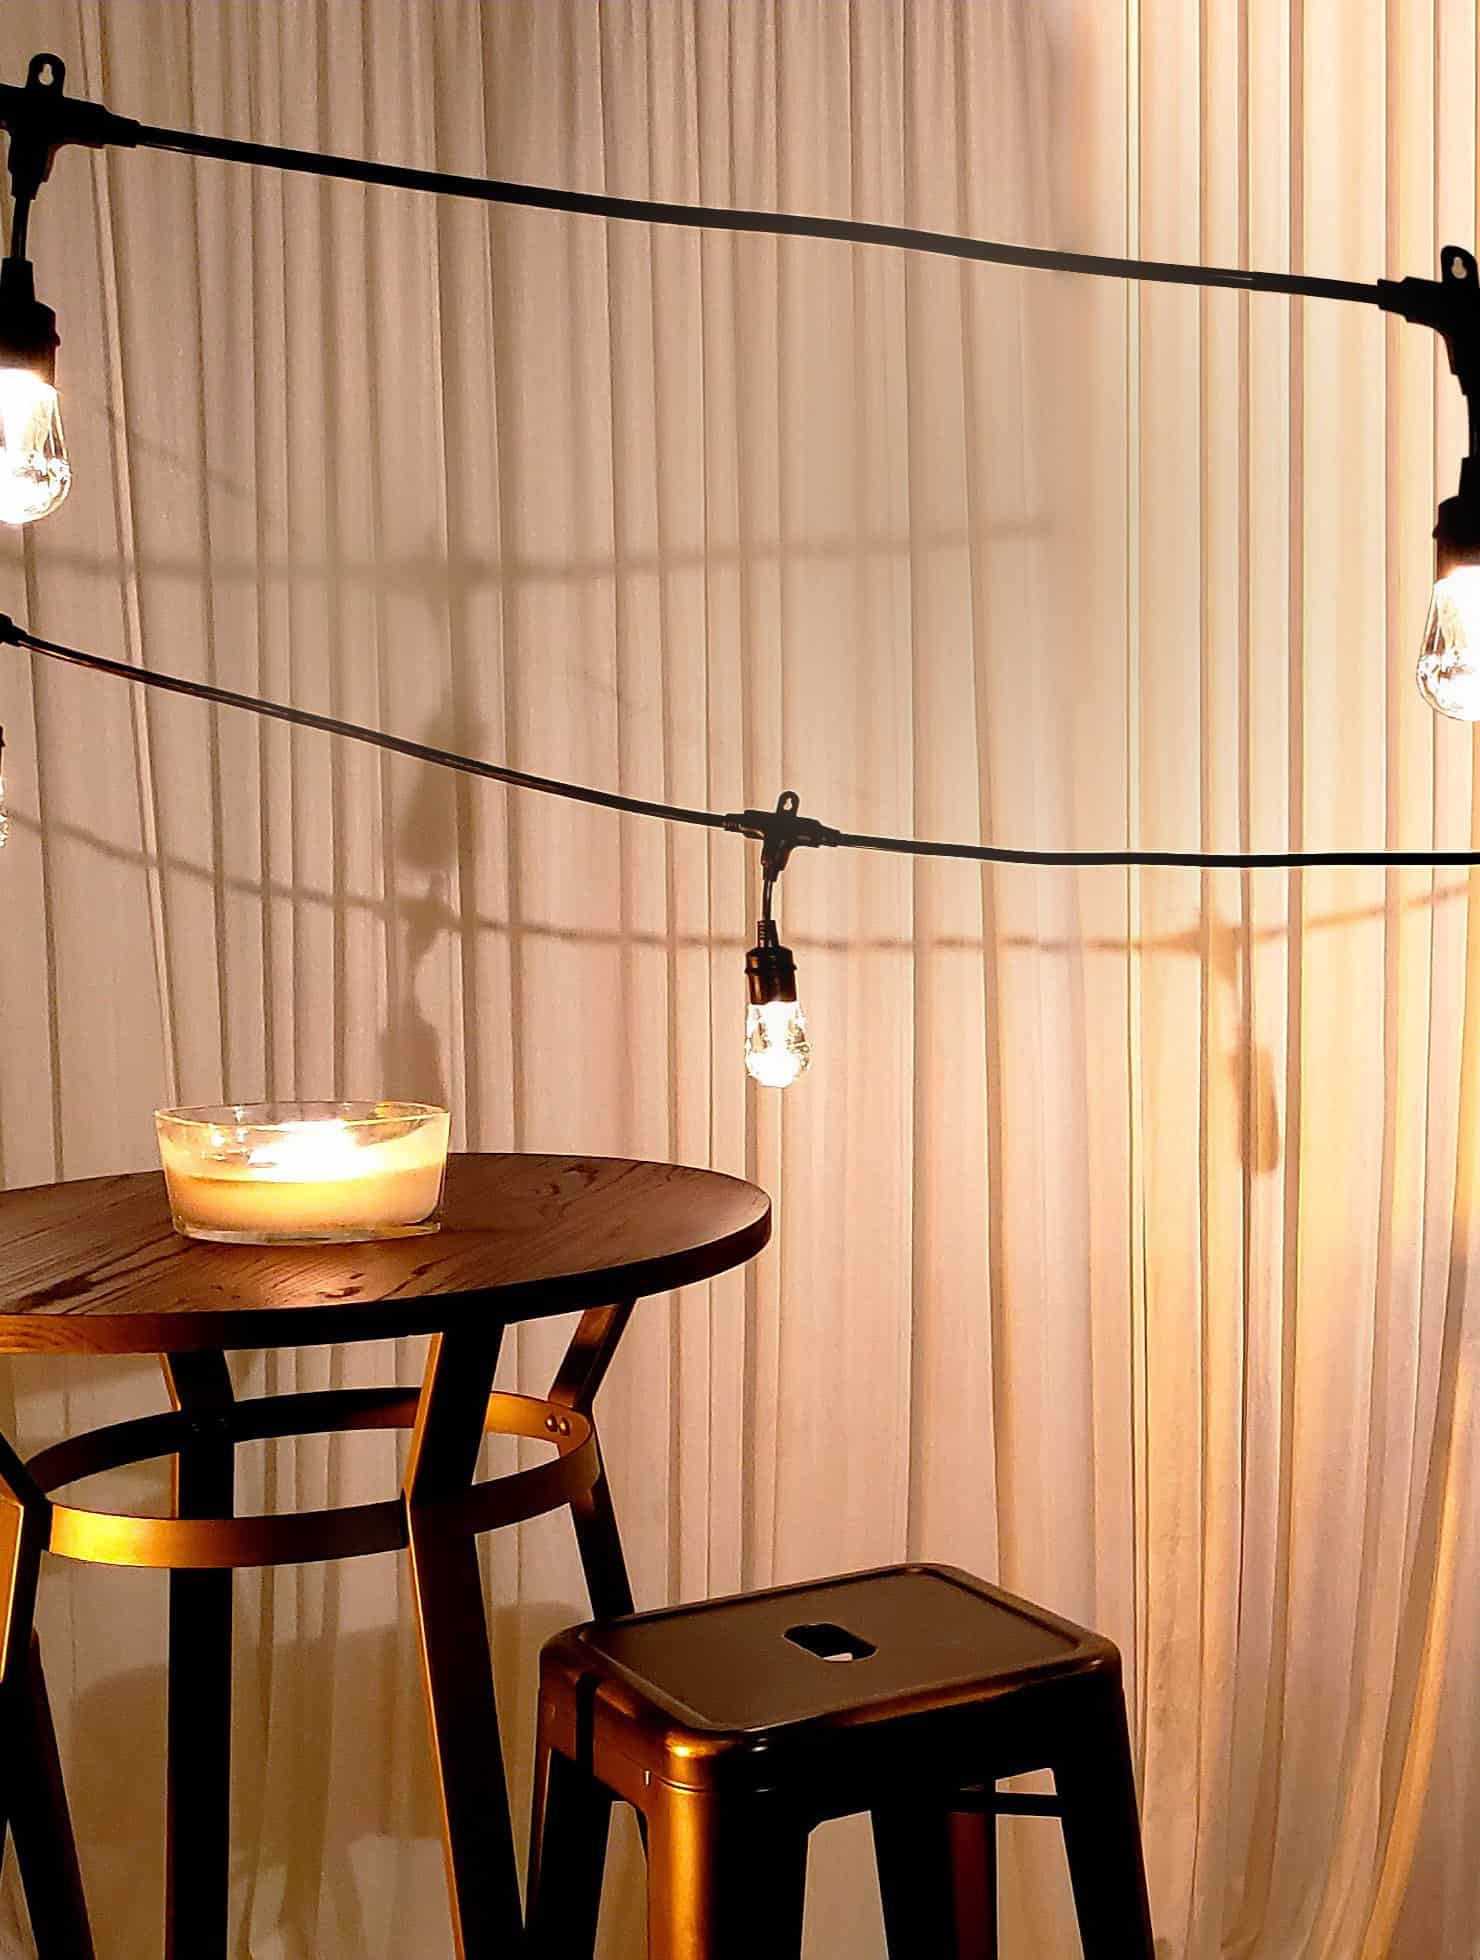
The final detail to your pavilion draping is incorporated lighting into your setup. String lights & outdoor uplighting add warmth and charm to your pavilion.
hang string lights along the ceiling or aim outdoor uplights from the bottom up your fabric
Besides lighting, you can work in some decorative elements, like flowers, ribbons, & eucalyptus greenery. These decor ideas highlight the drapery and tie the entire design together.
you and your guests will love any combo of draping, lighting, & decorative for your pavilion
Decorating a wedding or event venue isn’t difficult. With the right supplies and know-how, you can easily transform any sad-looking pavilion into an elegant venue.
Whether you tackle this project alone or with the help of a friend, this draping setup will be the highlight of your event. While the process may seem straightforward, it’s important to pay attention to details like securing your fabric and poles to the pavilion beams.
Explore our other guides for more ideas and tips to help with your event planning. Feel free to give us a call or message us on chat. We would love to work with you!
Founders Robert + Nicole Reno
With a combined (4) decades in the industry; we’ve trained hundreds, booked thousands, & partied with millions. Our first-hand experience allows us to empower others to succeed & be great… (read full bio)
Founders Robert + Nicole Reno
With a combined (4) decades in the industry; we’ve trained hundreds, booked thousands, & partied with millions. Our first-hand experience allows us to empower others to succeed & be great… (read full bio)

Brad & Annika
Cario, Nebraska

Jennifer & Val
Detroit, Michigan

Jose Rocha
Omaha, Nebraska

The content of this website is intended for informational purposes only & does not constitute legal, financial, or credit advice.


