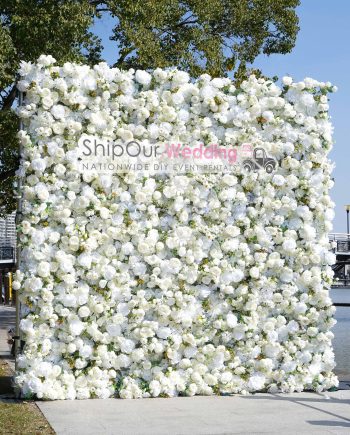
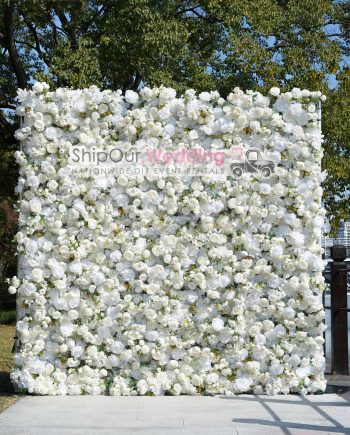
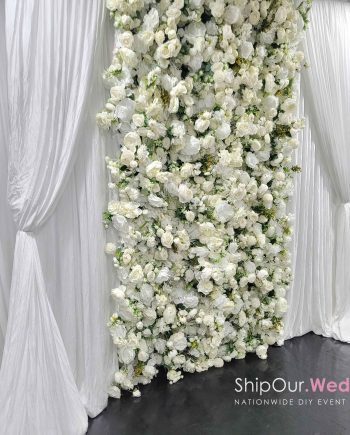
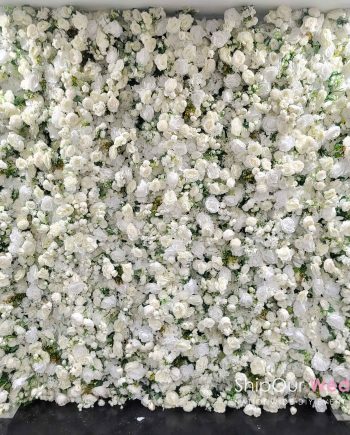
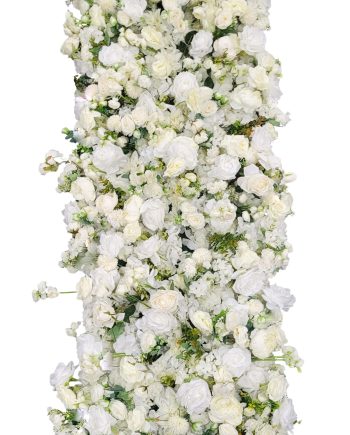
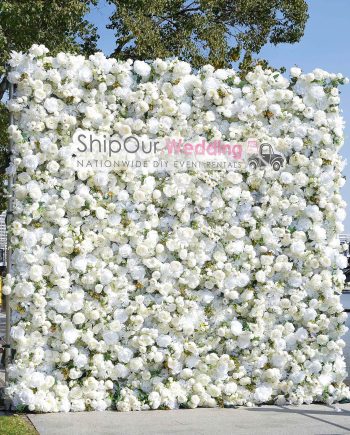
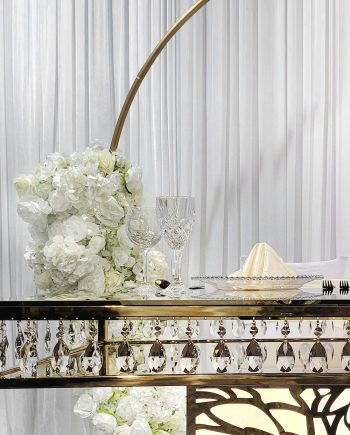
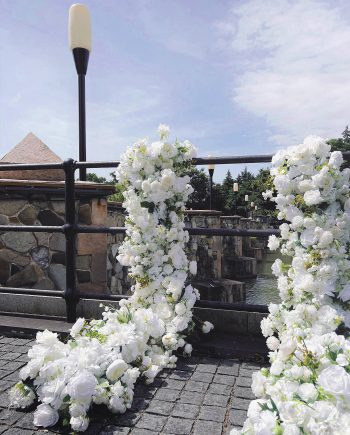
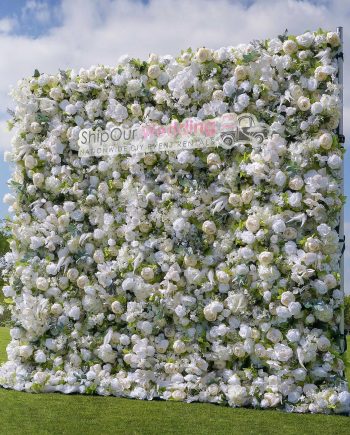
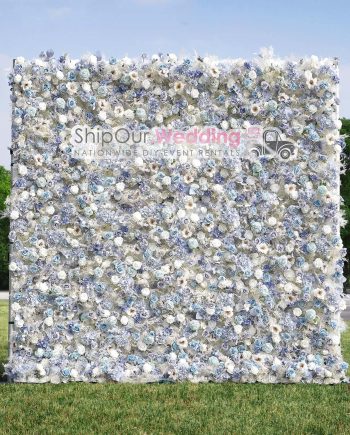
Wedding Flower Wall (8’x8′ Floral Backdrop)

$693.00 $519.91

 
  Start Here Enter Date Below
 

.


What does the kit include?
.
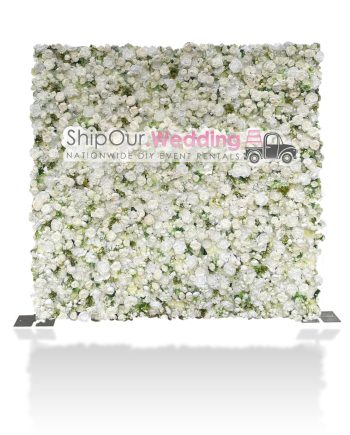
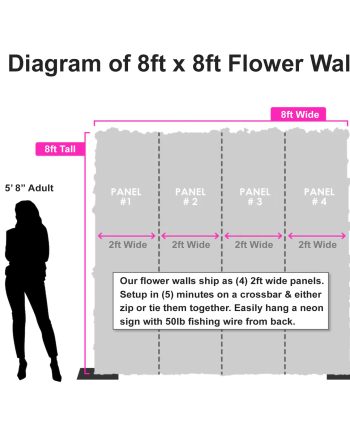
One kit includes (1) 8ft x 8ft backdrop with (4) wedding flower garlands if selected

  •   Package weight in additional info tab below
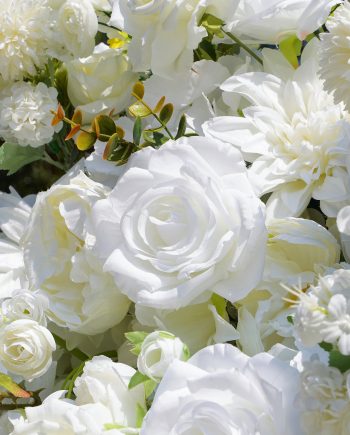
  •   Floral: roses & dahlia flowers (if selected)
  •   Max Size: 8ft long x 8ft tall
  •   (1) 2.75″ Pole Pocket hang on pole/crossbar
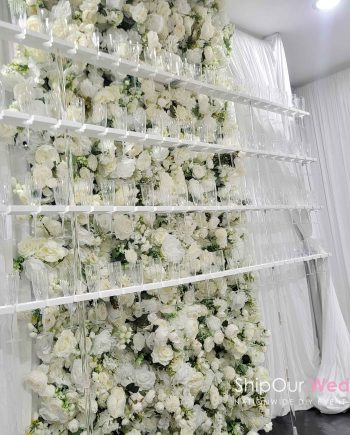
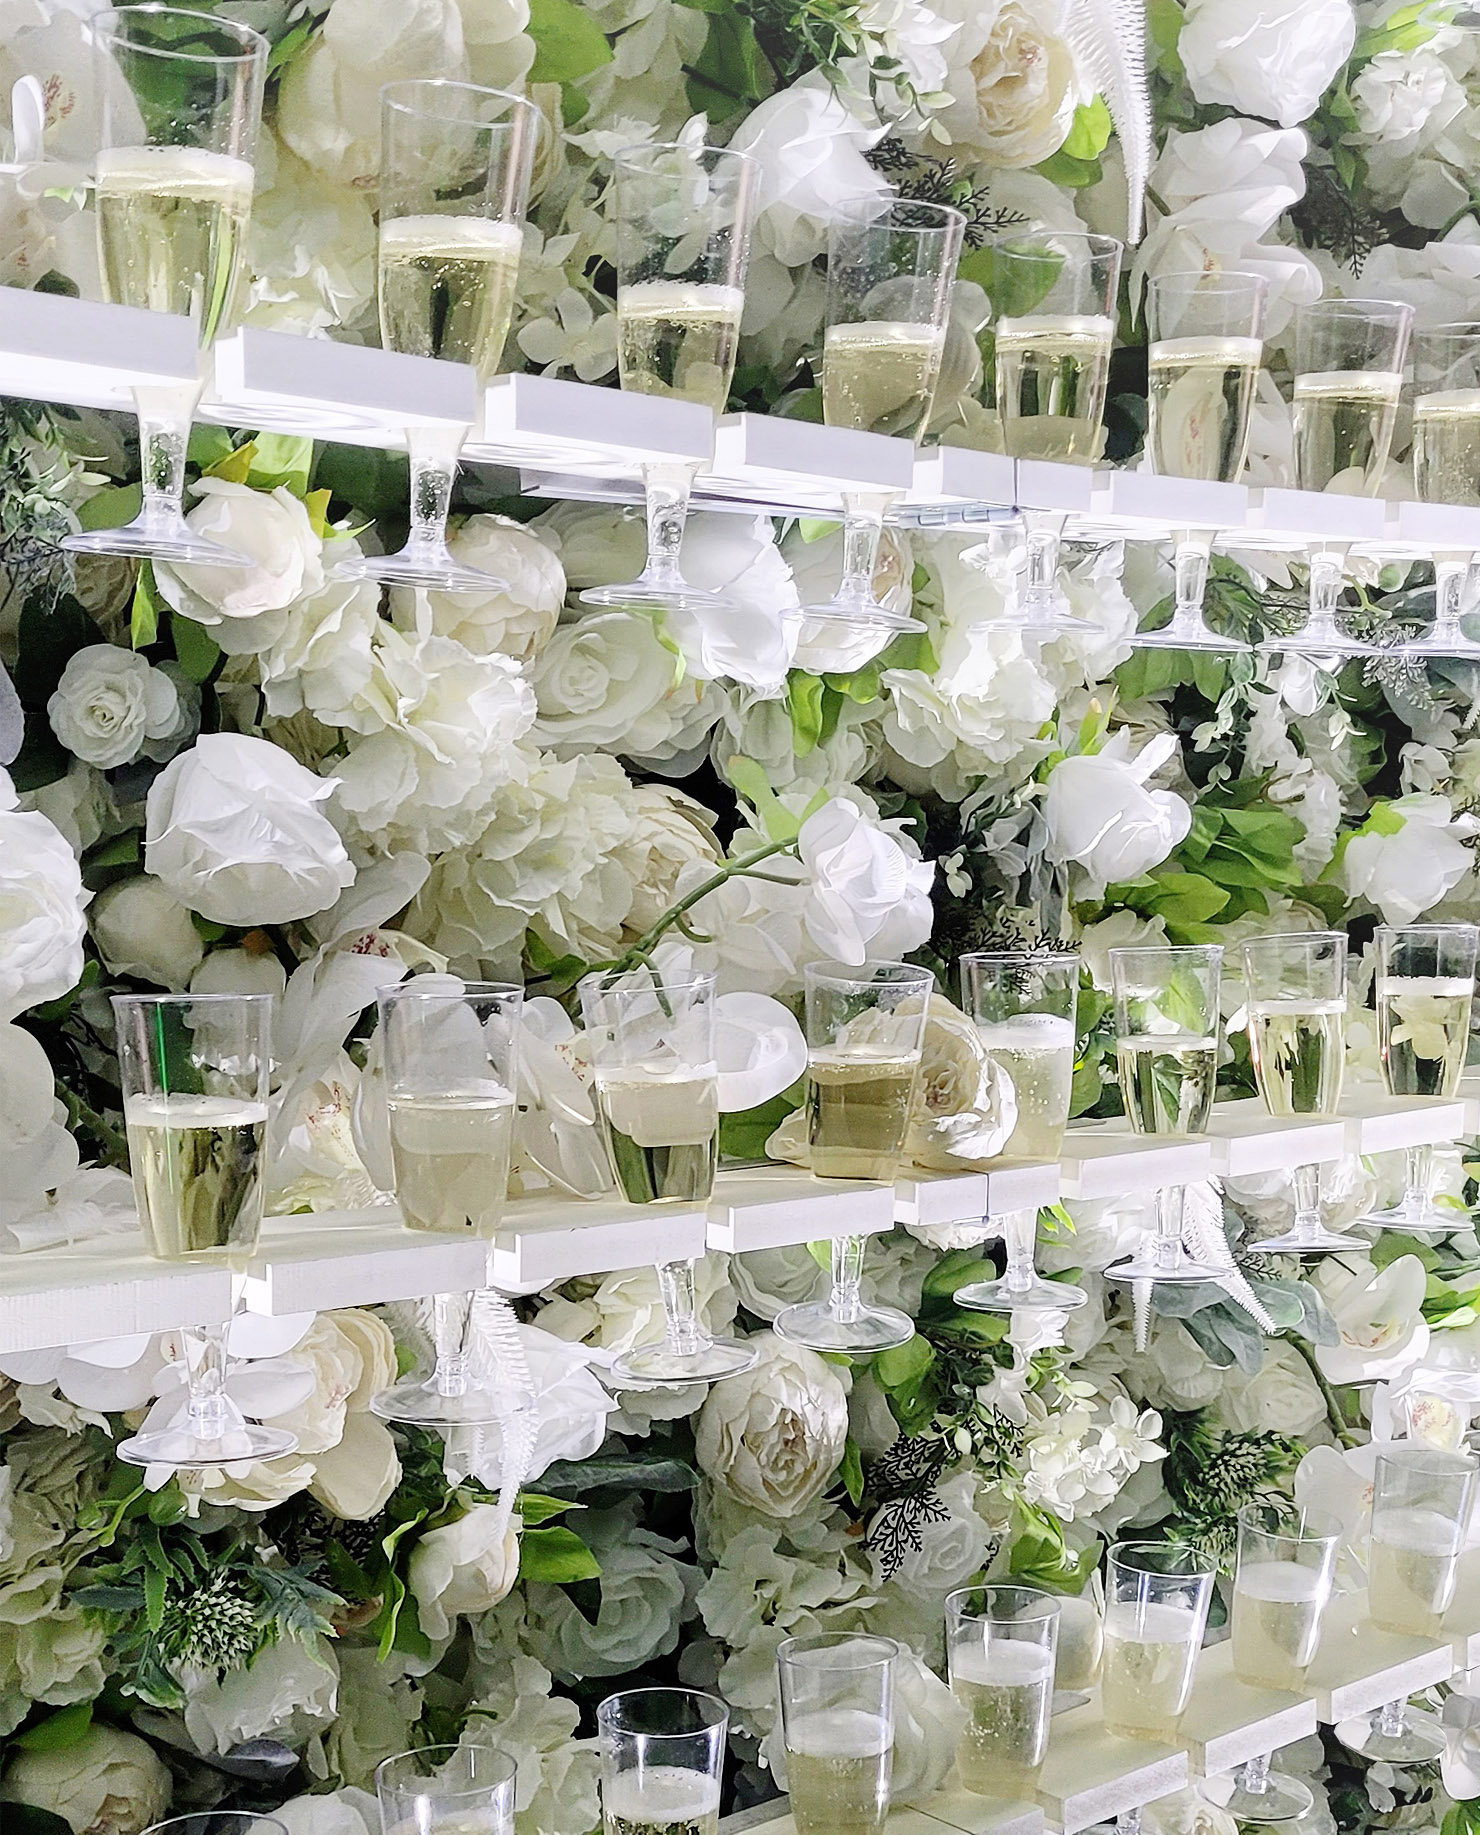
  •   Add: Champagne wall kit holds (96) glasses
  •   Note: hanging sign not included
  •   Setup Time: less than 5-minutes
  •   Rentals Arrive: 2-days before the event date
  •   Return 2-days after event date, avoid late fees
  •   Kits $94+ ship FREE nationwide both ways

.

How does this work?
  • Check date, a 25% payment reserves rentals.
  • Make final payment (30) days before your date.
  • Kits arrive early 2-9 days before your event.
  • Easily set up the kit step-by-step with QR codes.
  • Expect compliments! Enjoy rentals for (5) days.
  • Drop off rentals at FedEx (2) days after.

.
Watch 3D Visualization of Kit
Watch QR Codes Make Setup EZ
Watch How Clients Save More
Watch How Vendors Make More
Watch How to Ship & Return
.

Can I watch setup videos?

.


.

Why rent a flower wall?

.

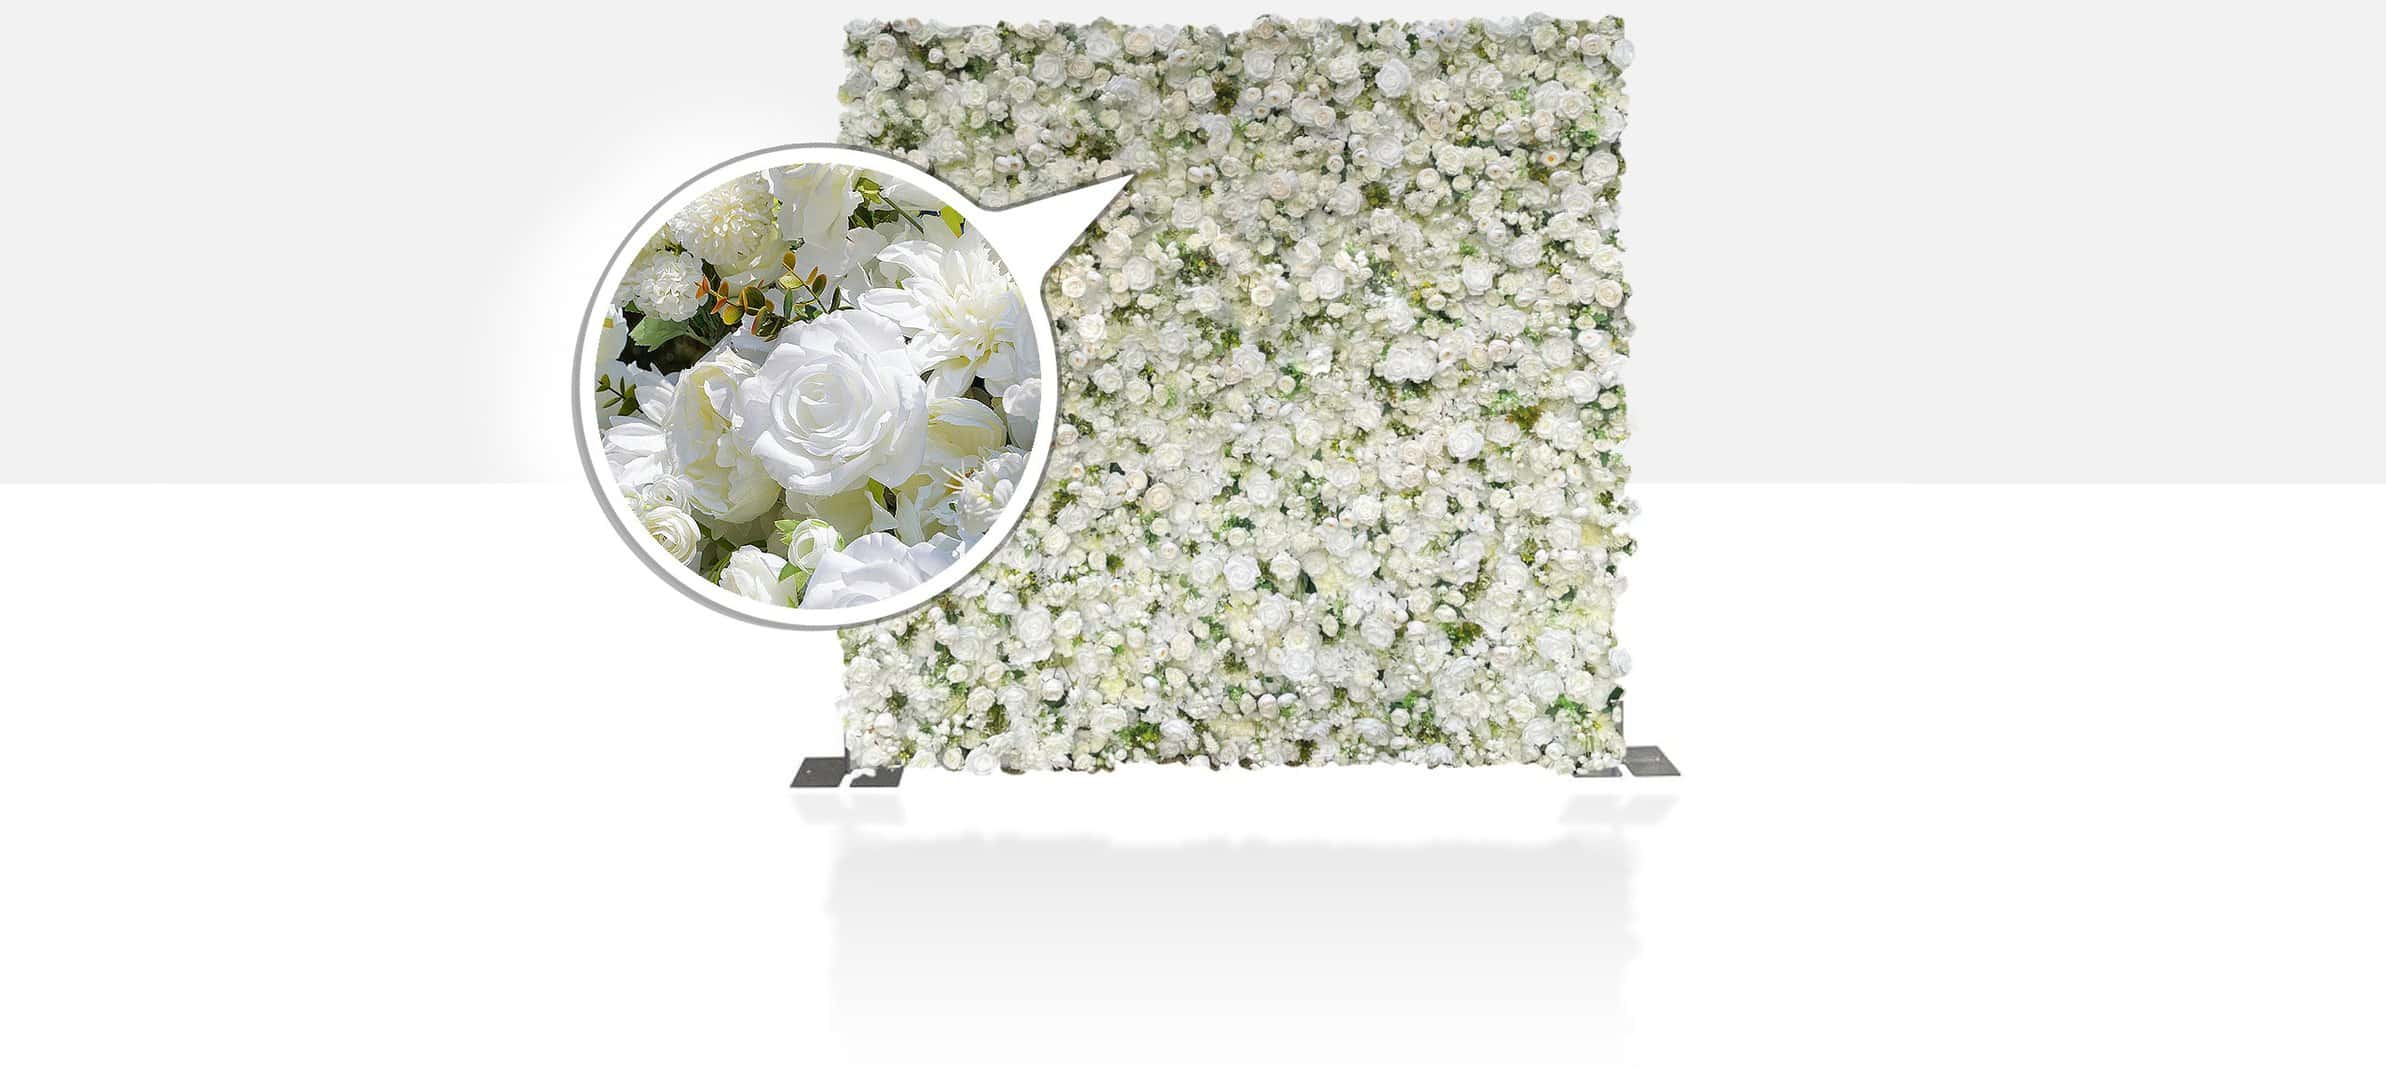
  • Ultra-realistic: Has (5) layers of silk wedding flowers
  • High quality: We dedicate weeks creating each wall
  • User-friendly: Box has wheels, 5-min setup, many uses
  • Affordable: Why buy, rent this & do it yourself for less

.

How much does this cost?
.
The pricing is listed above. To see more pricing options, enter your state & date above to select quantity in the drop downs.
.
Is this available?
.
We provide rentals in the United States only. If your state is available in the date checker above then add the quantity you desire to your cart. If it is in stock, then it is available.
.
Don't delay, last-minute orders risk availability & FREE ground shipping. Orders with enough time to ship avoid paying hundreds for expedited shipping.
.
When do kits ship?
.
We ship kits 7-12 business days before your event date. Extra time is factored into shipments to ensure rentals arrive plenty of time before your event.
.
If your event is in less than 2 weeks, our website recommends you call our office at 844.744.7933 to discuss shipping options.
.
Are any items for sale?
.
All of our kits are for rental only. The goal of rent & return DIY is to save money instead of buying it.
.
Who sets up the rentals?
.
You do it yourself with our easy-to-follow videos. Stay under budget & look like you hired a pro!
.

.

Setup a Wedding Flower Wall (1-Min)

Description

A Timeless Wall for Your Wedding

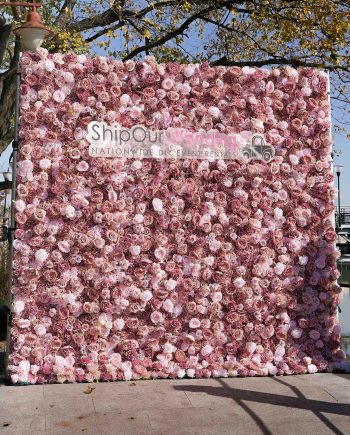
the main floral used are symbolic roses & dahlia flowers...
Order online (as easy as pie)

Cancel up to (1) month prior

Go DIY, rent with confidence

Simple Setups +
Returns

Order online (is easy as pie)

Cancel up to (1) month prior

Go DIY, rent with confidence

Open Your Box

Kit arrives week of the party

User-friendly box has wheels

Includes everything you need

Open Your Box
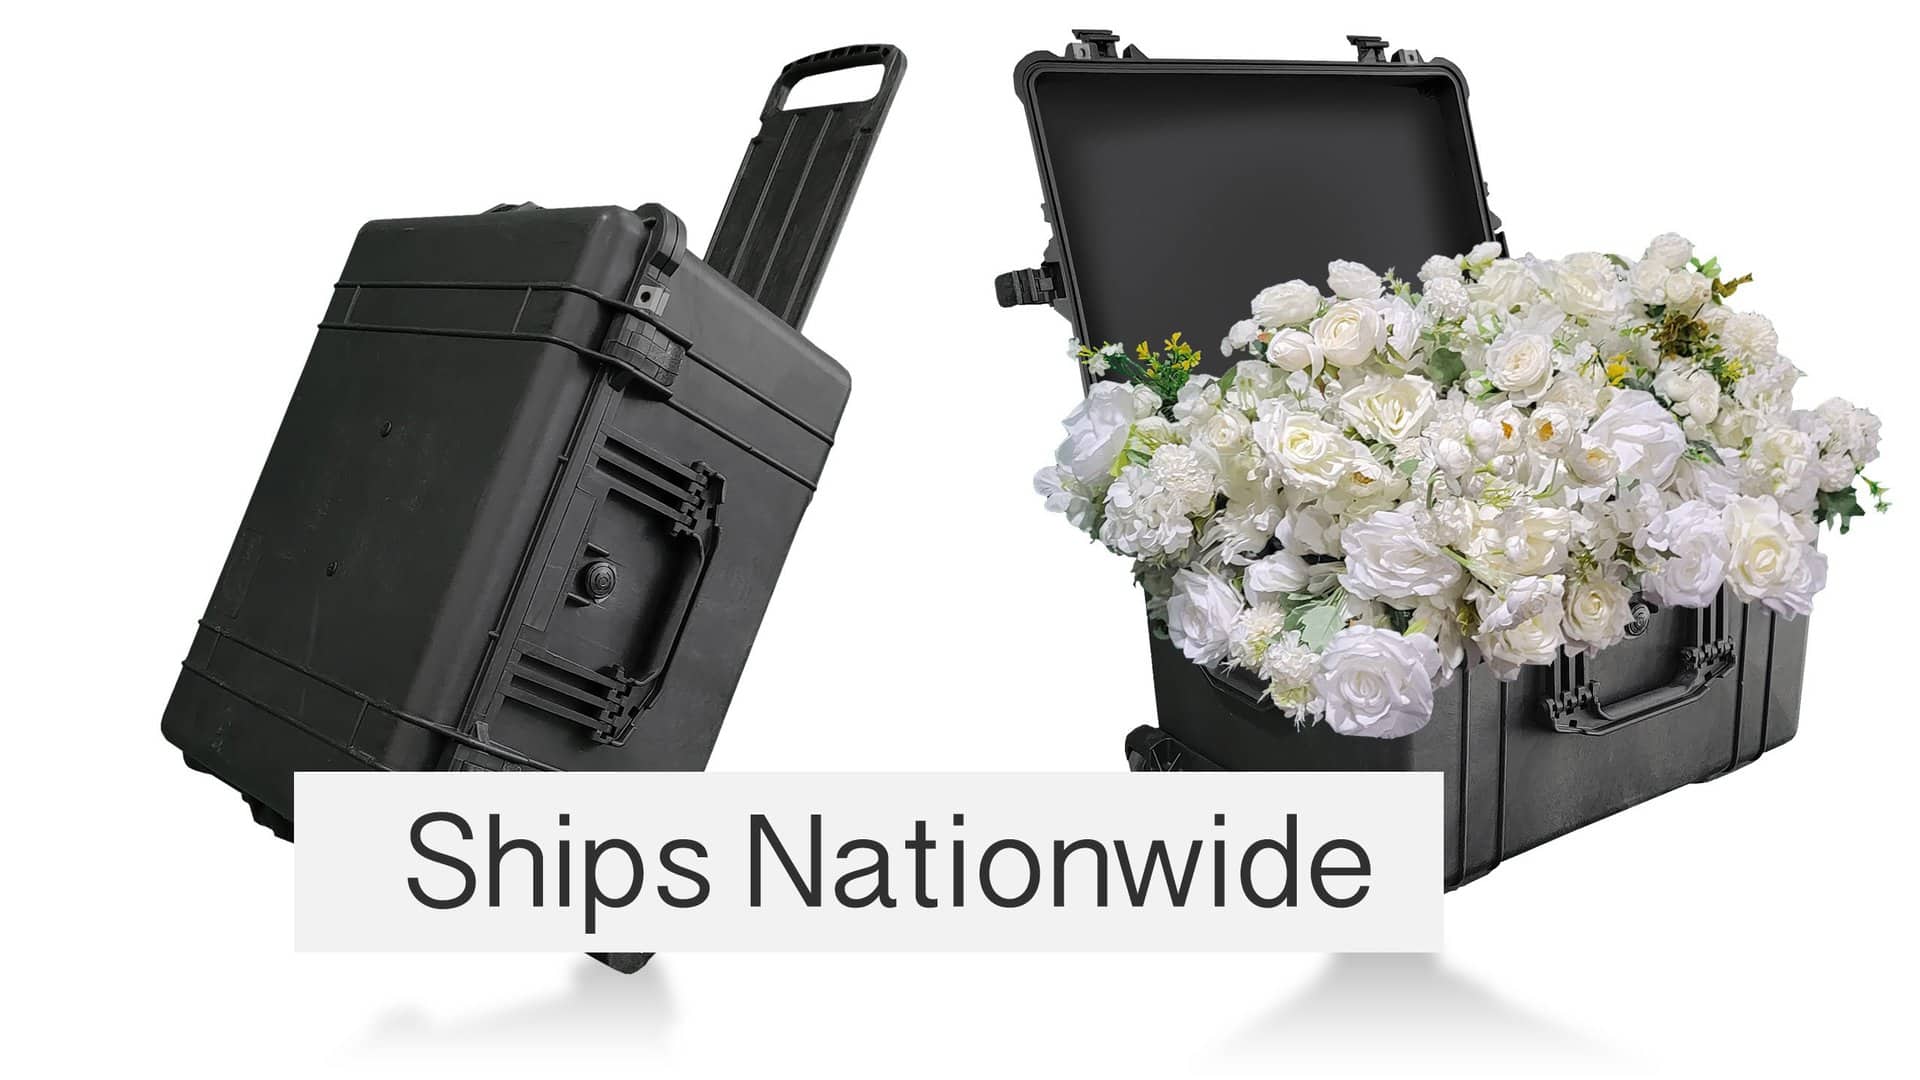
Kit arrives week of the party

User-friendly box has wheels

Includes everything you need

Zip + Ship

Hang it on a bar or zip garland

Return shipping label is in box

Return (2) days after the date

Zip + Ship
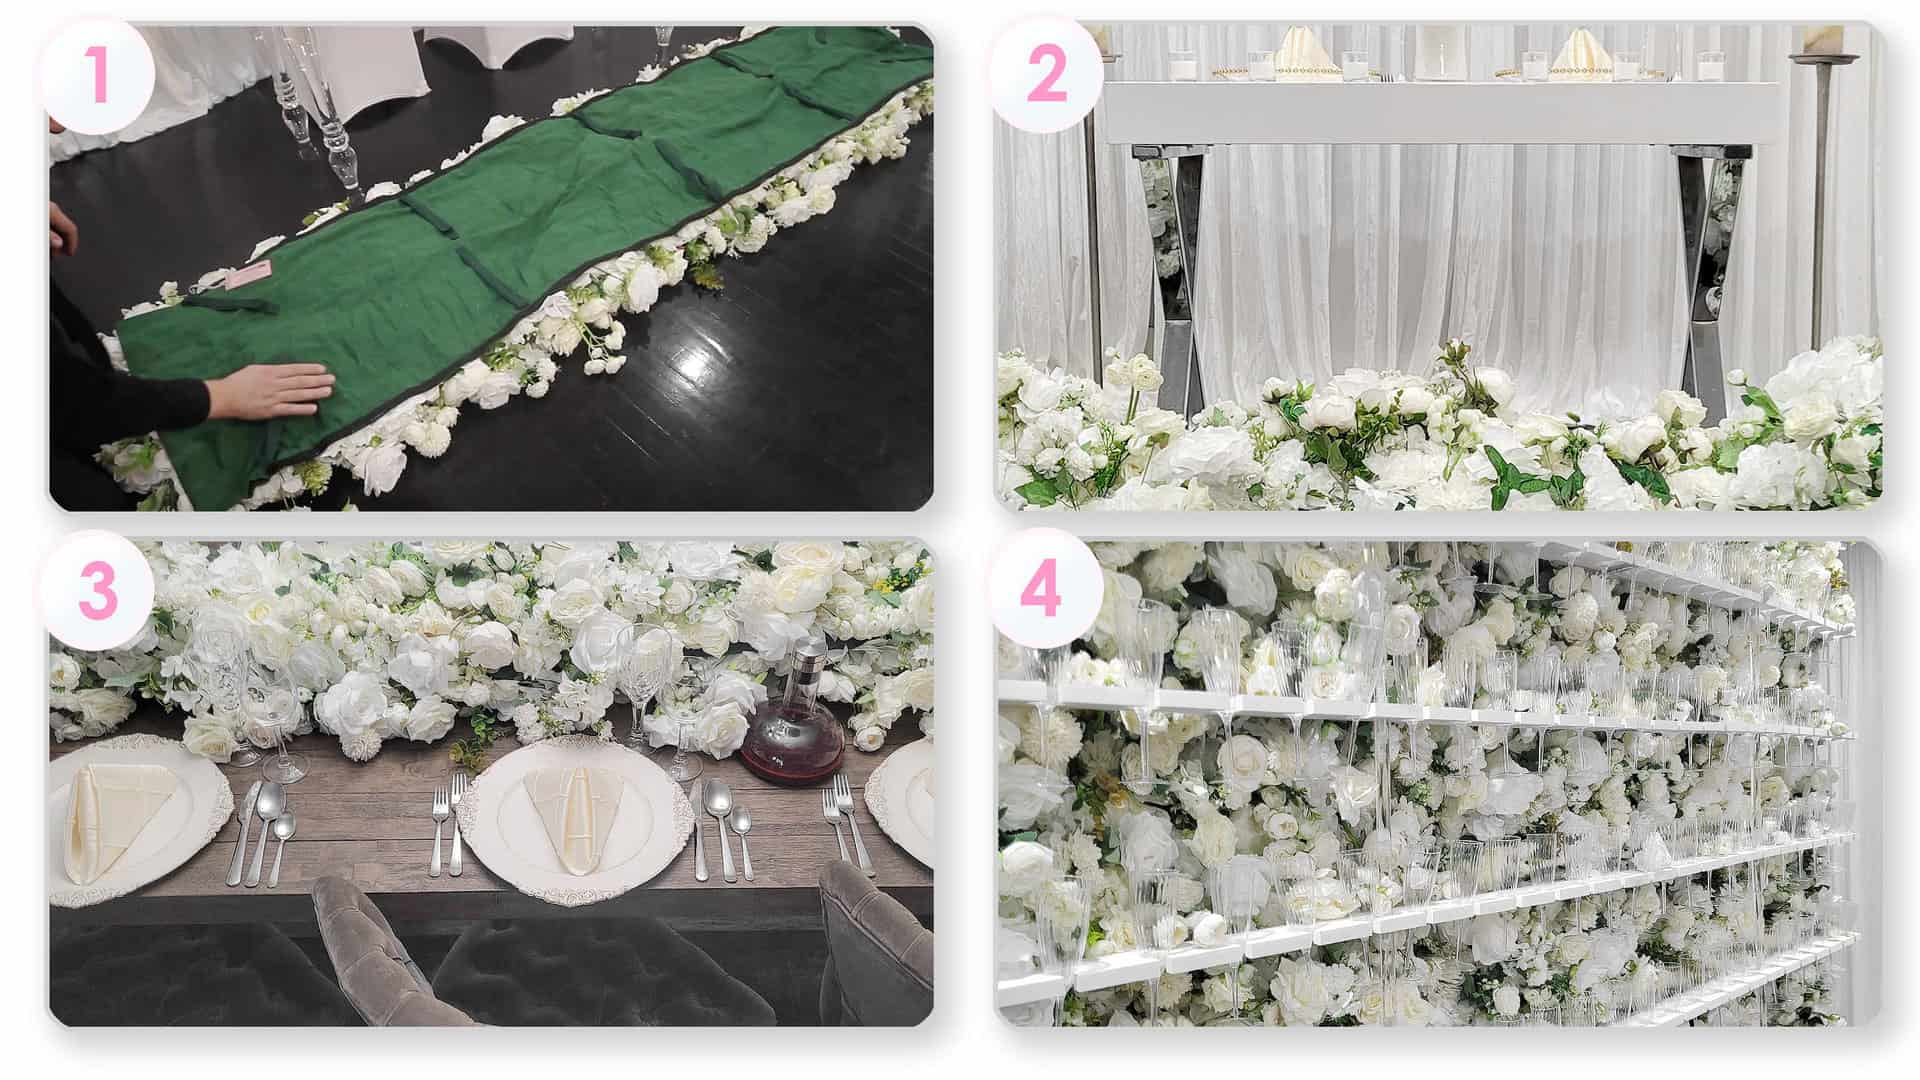
Hang it on a bar or zip garland

Return shipping label is in box

Return (2) days after the date

Instant Champagne
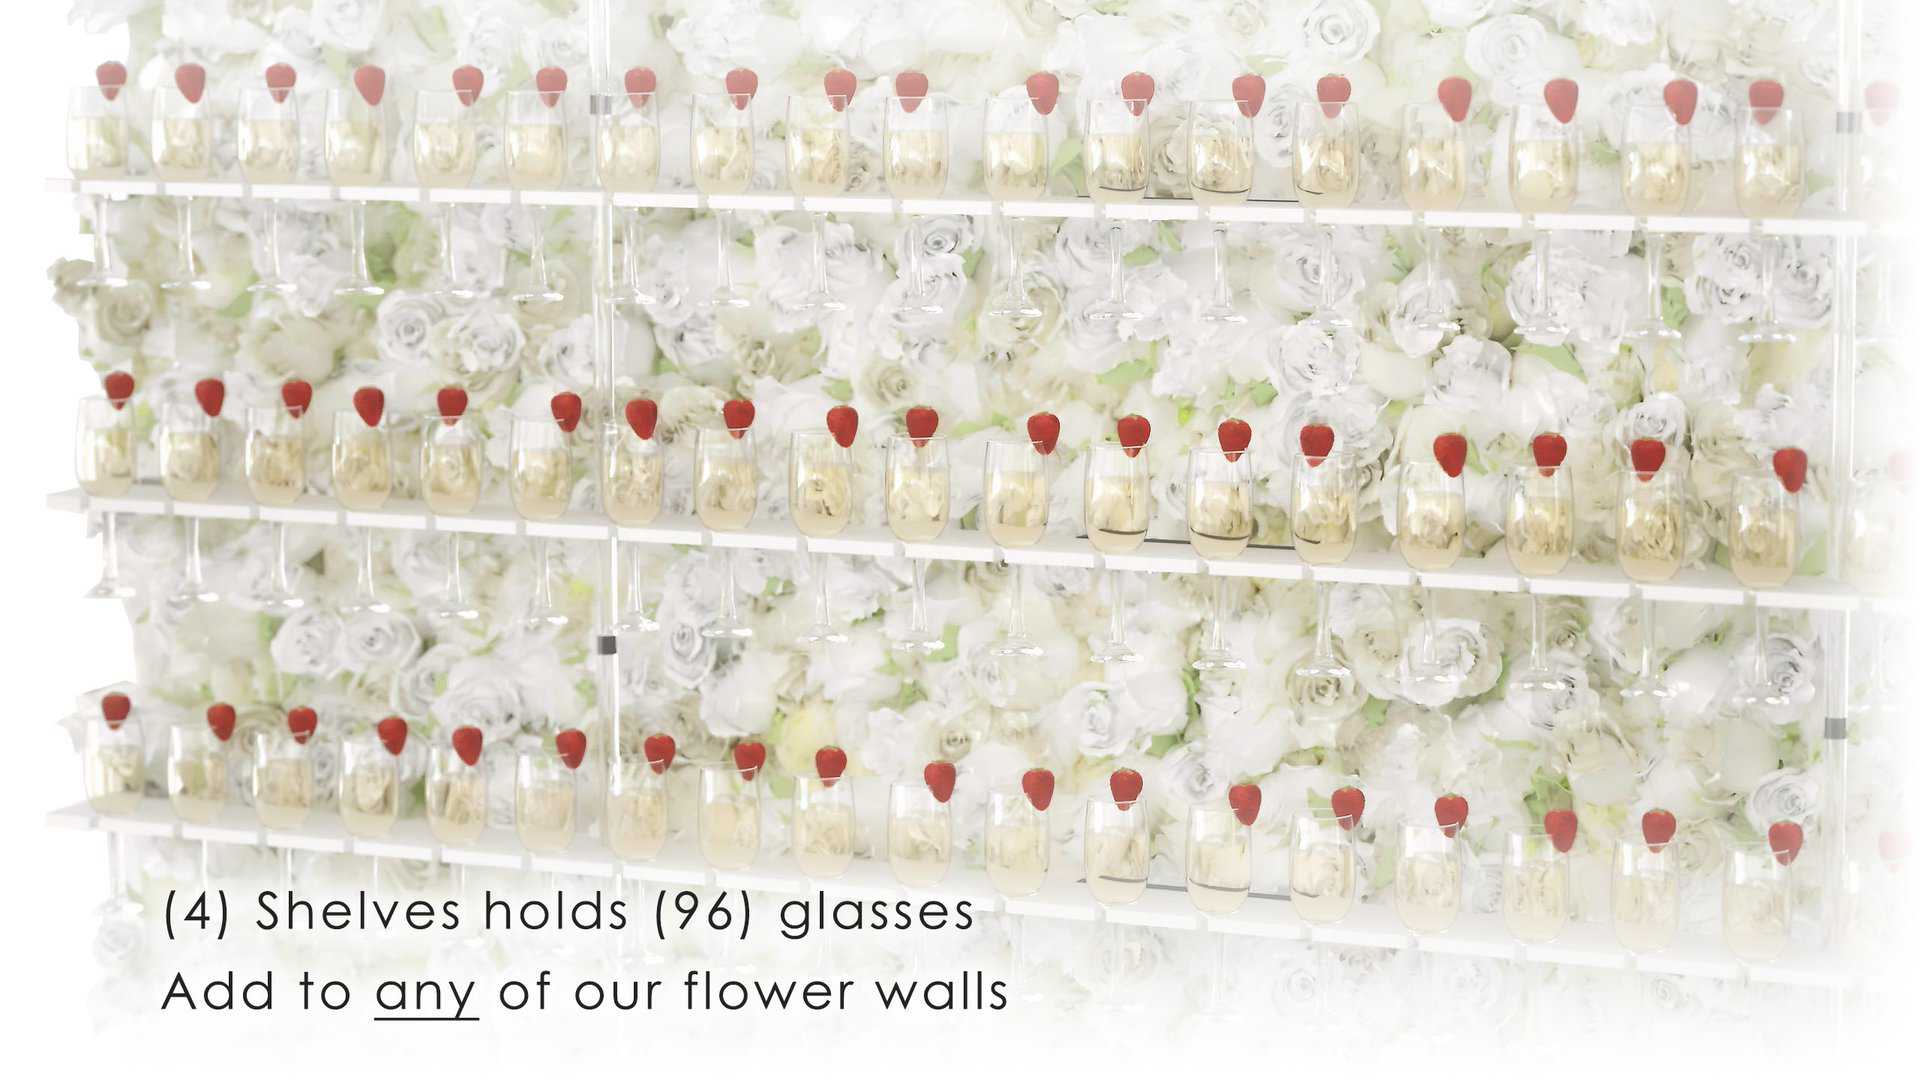
Patent pending collapsible kit

5 minute setup & serve drinks

Teardown and pose for photos

Instant Champagne

Patent pending collapsible kit

5 minute setup & serve drinks

Teardown and pose for photos

Easily Do More

We’re here chat with us 24/7

Manage multiple events online

QR code technology trains you

Easily Do More

We’re here chat with us 24/7

Manage multiple events online

QR code technology trains you

DIY on Your Time

Shipping schedule prevents delays

Extra time factored into shipments

Get E-mail of tracking notifications

DIY on Your Time
Shipping schedule prevents delays

Extra time factored into shipments

Get E-mail of tracking notifications

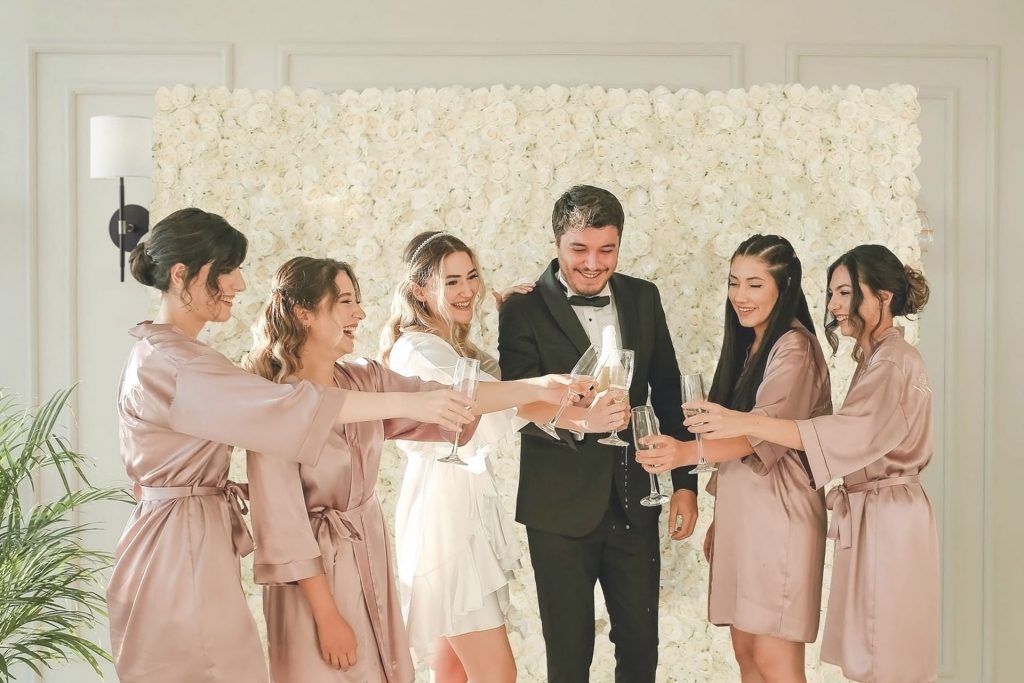
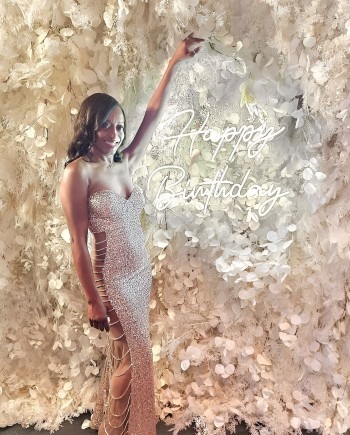
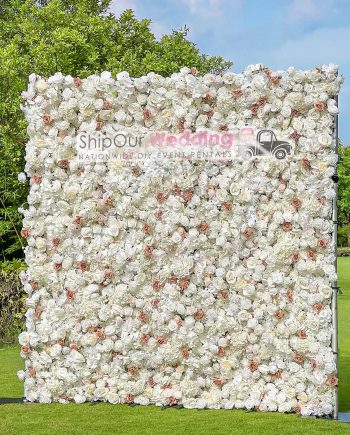
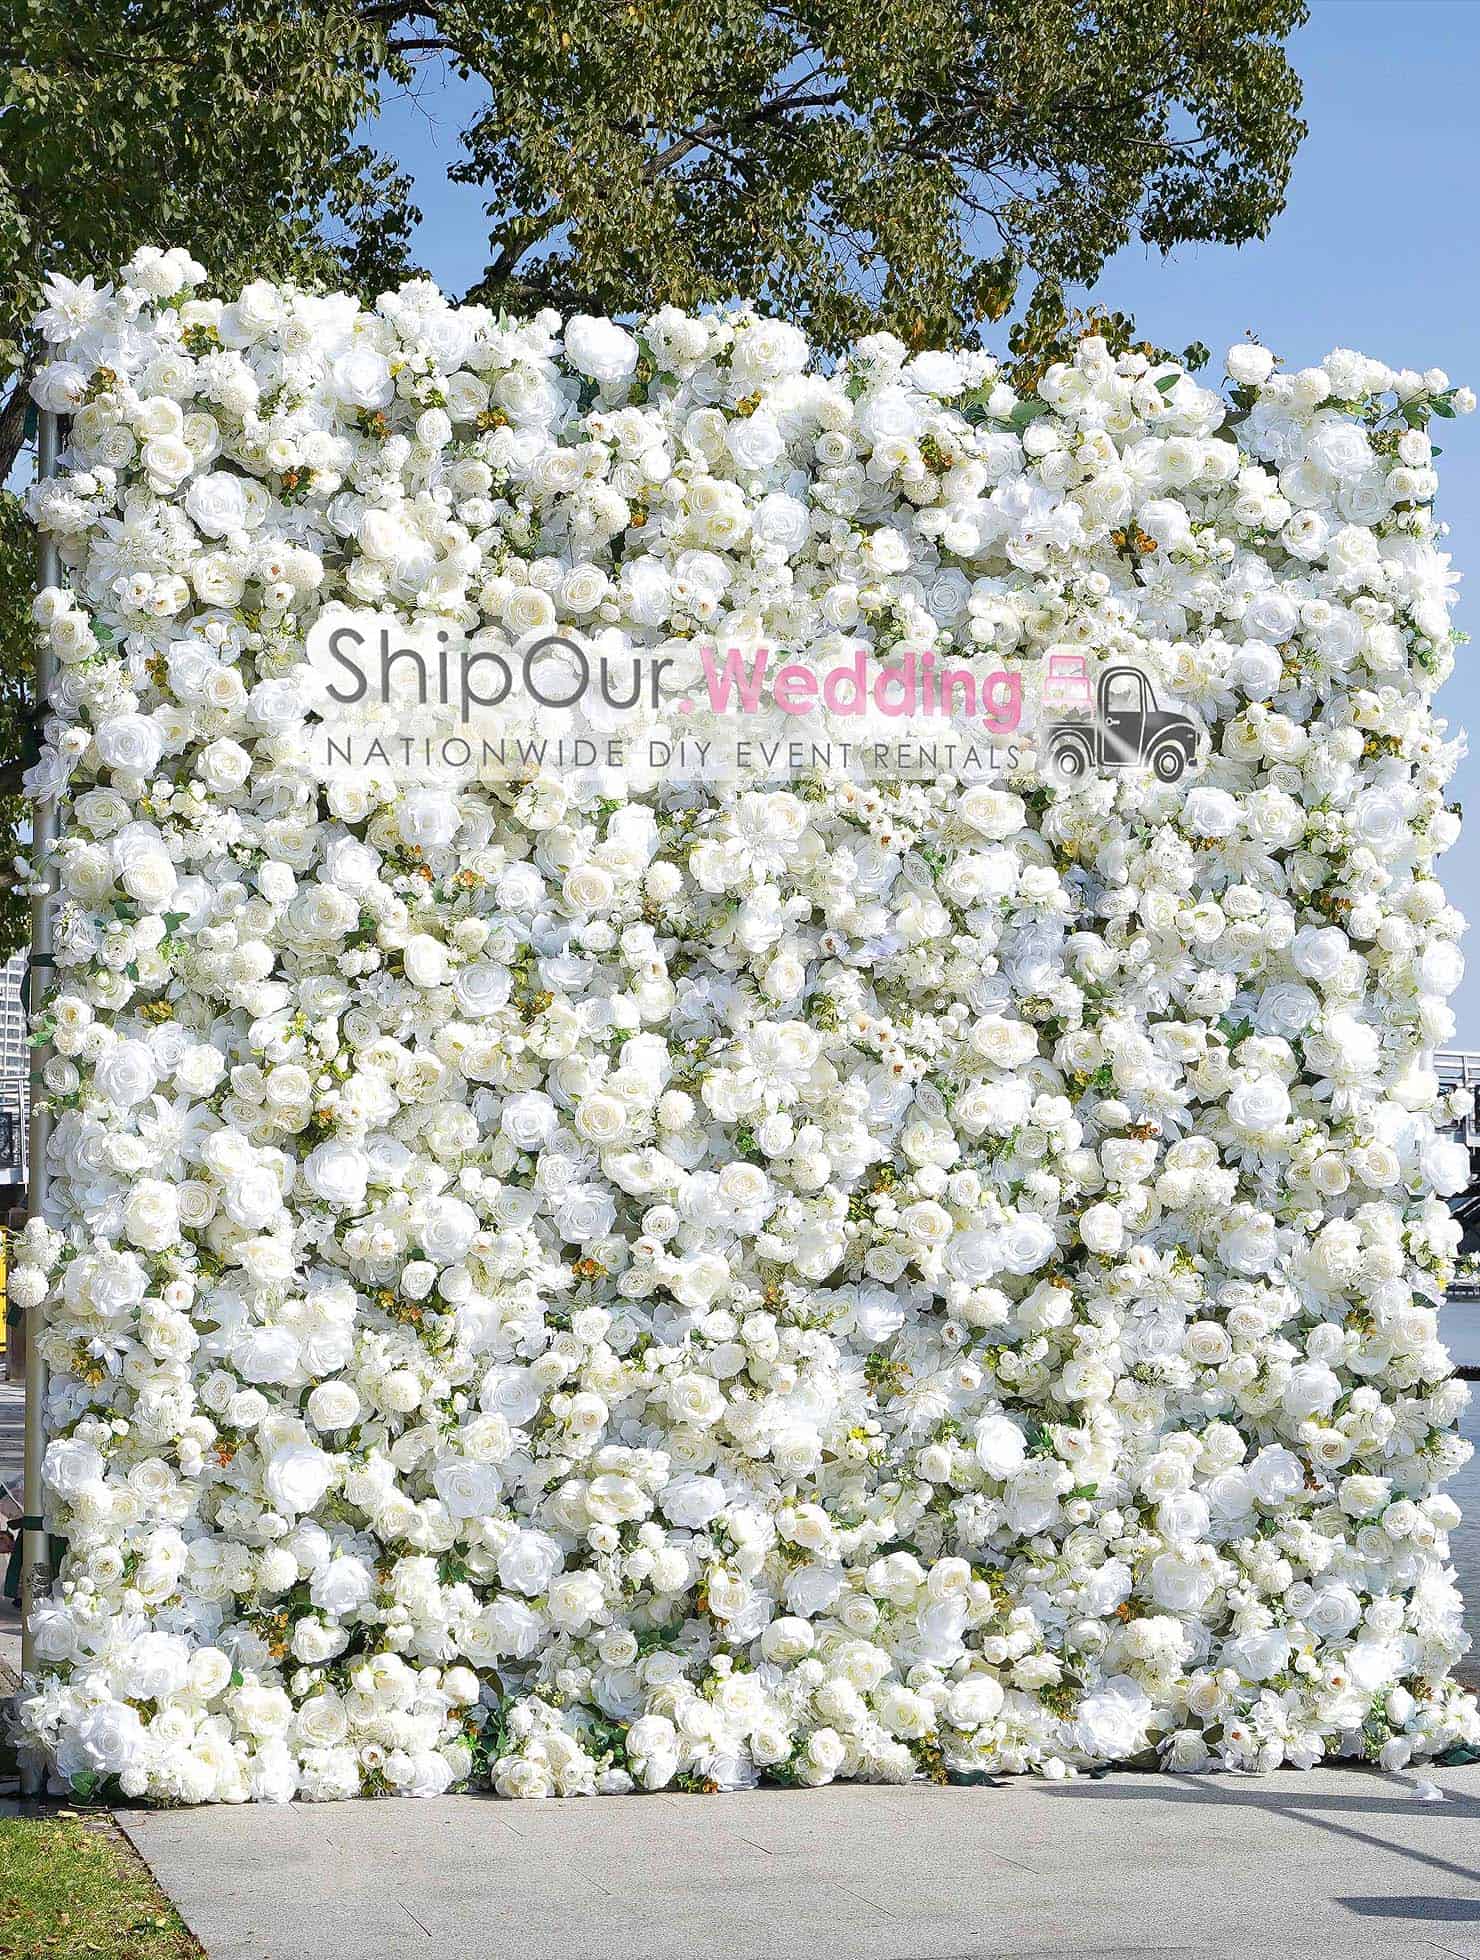
Wedding flower wall kits are the perfect backdrop for weddings, parties, & events. This decoration is used as a backdrop for a photo area. It is traditionally used for weddings & receptions. The colors are neutral white and green giving it the ability to blend with a variety of colors.

We recommend renting our optional flower stand kit to ensure a smooth positive experience. No experience is needed to set up our faux walls. Keep reading and learn how you can get a beautiful do-it-yourself look for cheap. Read More...

 

(18) Important Wedding Flower Wall Tips, Tricks & Pro Advice >>

Read More...

Additional information

Weight 52 lbs
Dimensions 57 x 19 x 8 in
Color

, , , ,

Reviews

There are no reviews yet.

Be the first to review “Wedding Flower Wall (8’x8′ Floral Backdrop)”

Easy Setup Instructions

How to set up an 8ft x 8ft wedding flower wall (using our optional photo backdrop frame)

  1. place crossbars end to end on the ground and center on the space you want to cover
  2. put base plates at the bottom edges of all the crossbars (make sure the ferrule pin is screwed into the center hole)
  3. slide uprights into the baseplates ferrule pin all the way (do not force upright down onto ferrule pin all the way if they don’t fit, only force down 50% if tight
  4. attach crossbars between (2) uprights slots, and make sure the crossbar is in the slot all the way (do this for all crossbar sections)
  5. continue by gently laying (4) flower wall pieces on a clean flat surface with the backcloth side facing up and flowers facing down, (moving the flower garland may cause settling resulting in small petals or loose strands on the floor that can easily be vacuumed), have at the bottom of the stands with (4) pieces going across, and make sure the pocket on the flower garland is at the top
  6. take your crossbar off the backdrop and slide (1) flower garland lengthwise into the pole pocket, repeat this step 3 more times until all flower garlands are hanging from the crossbar
  7. adjust the flower garlands so they are straight, and gently pull the flower garland pocket to cover any hardware (edges of upright & all of crossbar)
  8. now slowly raise both uprights, until the flower garland is not touching the ground
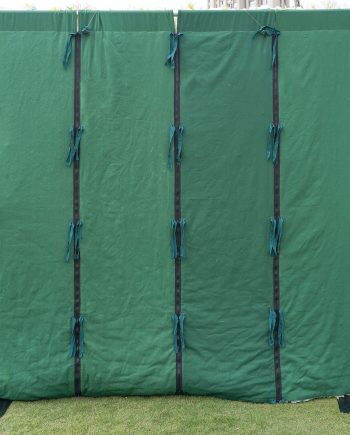
  9. next tie the backcloth area together using only bow ties and not knots, also tie the edges of the garlands to the verticle upright so the hardware is hidden
  10. finally, adjust the flower garland to give more fullness to your flower wall

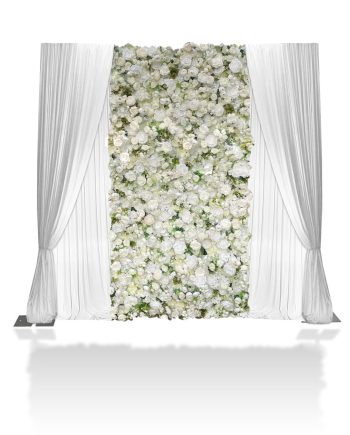
How to set up half flower wall & half drapery (using our optional stand kit)

  1. place crossbars end to end on the ground and center on the space you want to cover
  2. put base plates at the bottom edges of all the crossbars (make sure the ferrule pin is screwed into the center hole)
  3. slide uprights into the baseplates ferrule pin all the way (do not force upright down onto ferrule pin all the way if they don’t fit, only force down 50% if tight
  4. attach crossbars between (2) uprights slots, and make sure the crossbar is in the slot all the way (do this for all crossbar sections)
  5. continue by gently laying (2) flower wall pieces on a clean flat surface with the backcloth side facing up and flowers facing down, (moving the flower garland may cause settling resulting in small petals or loose strands on the floor that can easily be vacuumed), have at the bottom of the stands with (2) pieces going across, and make sure the pocket on the flower garland is at the top
  6. take your crossbar off the backdrop and slide (1) flower garland lengthwise into the pole pocket, repeat this step 1 more time until (2) flower garlands are hanging and centered on the crossbar
  7. throw (1) piece of draping fabric over the bare left side of the cross (try to keep the same amount of fabric on both sides of a single crossbar when throwing it over) and repeat this step for the bare right side of the crossbar, Tip if you are using silver sequin or gold sequin fabric then you will insert this crossbar into the pole pocket
  8. pleat fabric overlap fabric edges & cover any hardware, make sure the center of your crossbar is the center point with the two flower garlands)
  9. use a zip-tie or clip on the edge of the fabric closest to the flower garland, ziptie the fabric to the crossbar and then slide the pole pocket of the garland over the ziptie to hide the ziptie, (repeat this for another side of the fabric) this holds your fabric in place when you pull it back in steps 11 & 12
  10. now slowly raise both uprights, until the flower garland is not touching the ground
  11. pull back only 1 front left piece of fabric and gather towards left upright, adjust fullness by accordion pieces in hand, attach with zip-tie or pipe cleaner to left upright, do not pull back layer of fabric
  12. pull back only 1 front right piece of fabric and gather towards right upright, adjust fullness by accordion pieces in hand, attach with zip-tie or pipe cleaner to right upright, do not pull back layer of fabric
  13. next, tie the backcloth area together using only bow ties and not knots
  14. finalize the back row of draping by lifting each piece of fabric on the back only, accordion back fabric down, and tuck and roll the bottoms
  15. finally, gently adjust the flower garland to give more fullness to your flower wall

QR Code

Scan for Fast Access to this Product Page