
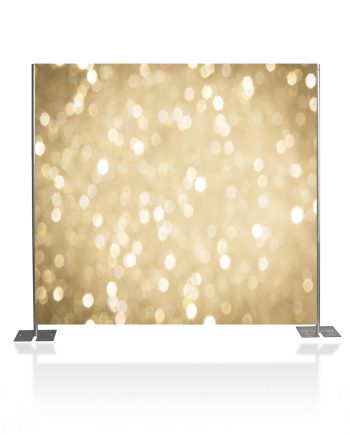

Description
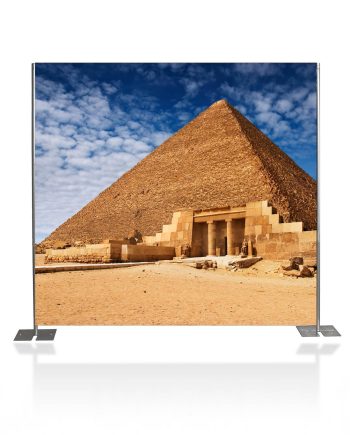
Rent a gold backdrop for a traditional look for your celebration. You might be planning a wedding reception or event and need a place for guests to take pictures. What we LOVE about this DIY gold shimmer banner kit besides the main use for photos, is the color. Gold is the number 1 requested wedding theme with silver being the second most popular. Rent our step & repeat by spending as little as $119. Read More...
(13) Important DIY Step Repeat Gold Backdrop Tips, Tricks & Pro Advice >>
Read More...
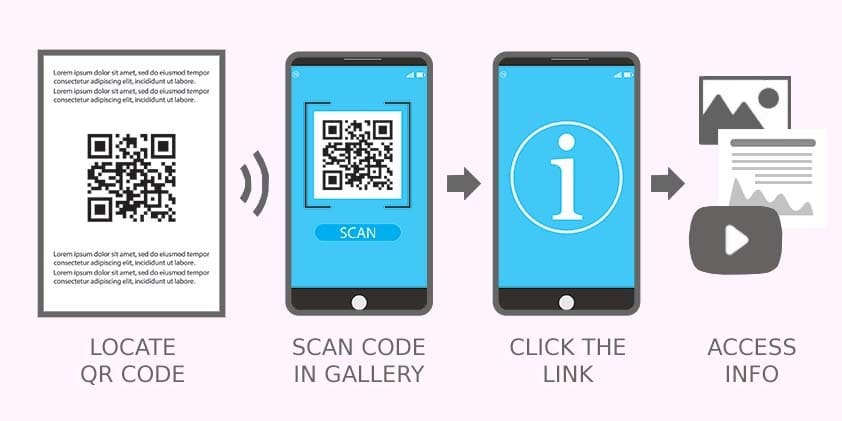
 Scan for


Reviews
There are no reviews yet.