Good news!
Get this exact look.
Without spending a lot!
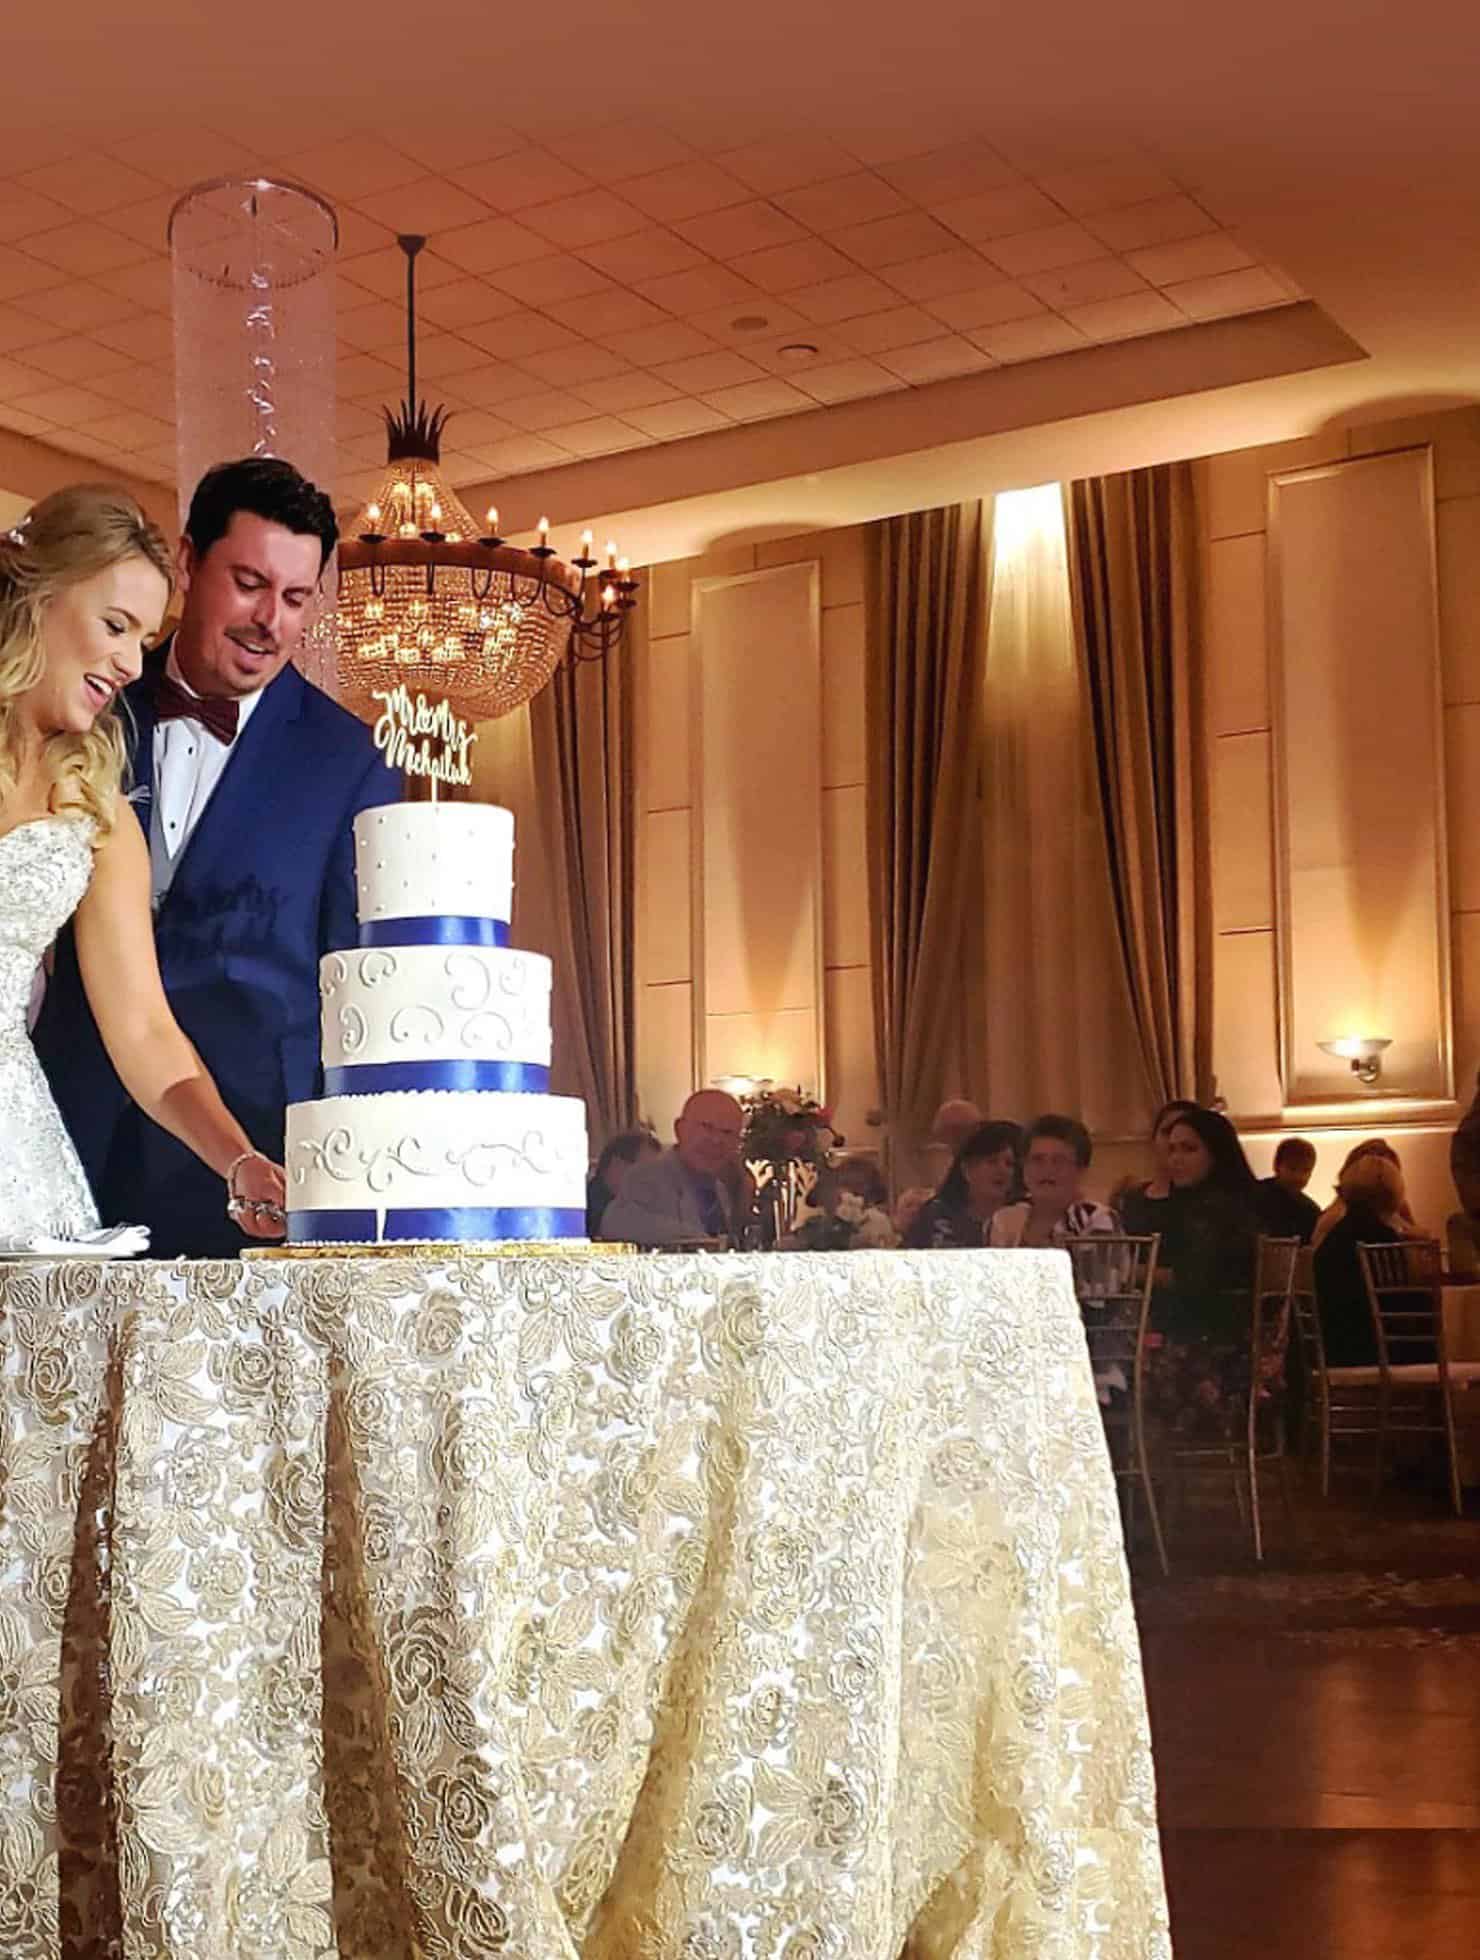
Hello everyone! I’m Rob from Ship Our Wedding, and I’m thrilled to share a tutorial on leveling up your wedding decorating game with an easy DIY drapery kit. Using drapes is the best way to improve the layout & look of your banquet hall.
pipe & draping is both stunning & practical
The main issue with paying a company to set it up or buying the draping is that it can quickly put you over budget. For these scenarios, we recommend our easy-to-set-up DIY kits. We ship these nationwide for head table backdrops, portable wall partitions, and entire room draping.
✔️ So let’s roll up our sleeves & dive into our draping process step by step!
Average Read Time: 5 minutes 35 seconds
Step-by-Step: How Pipe & Drape Covers Walls
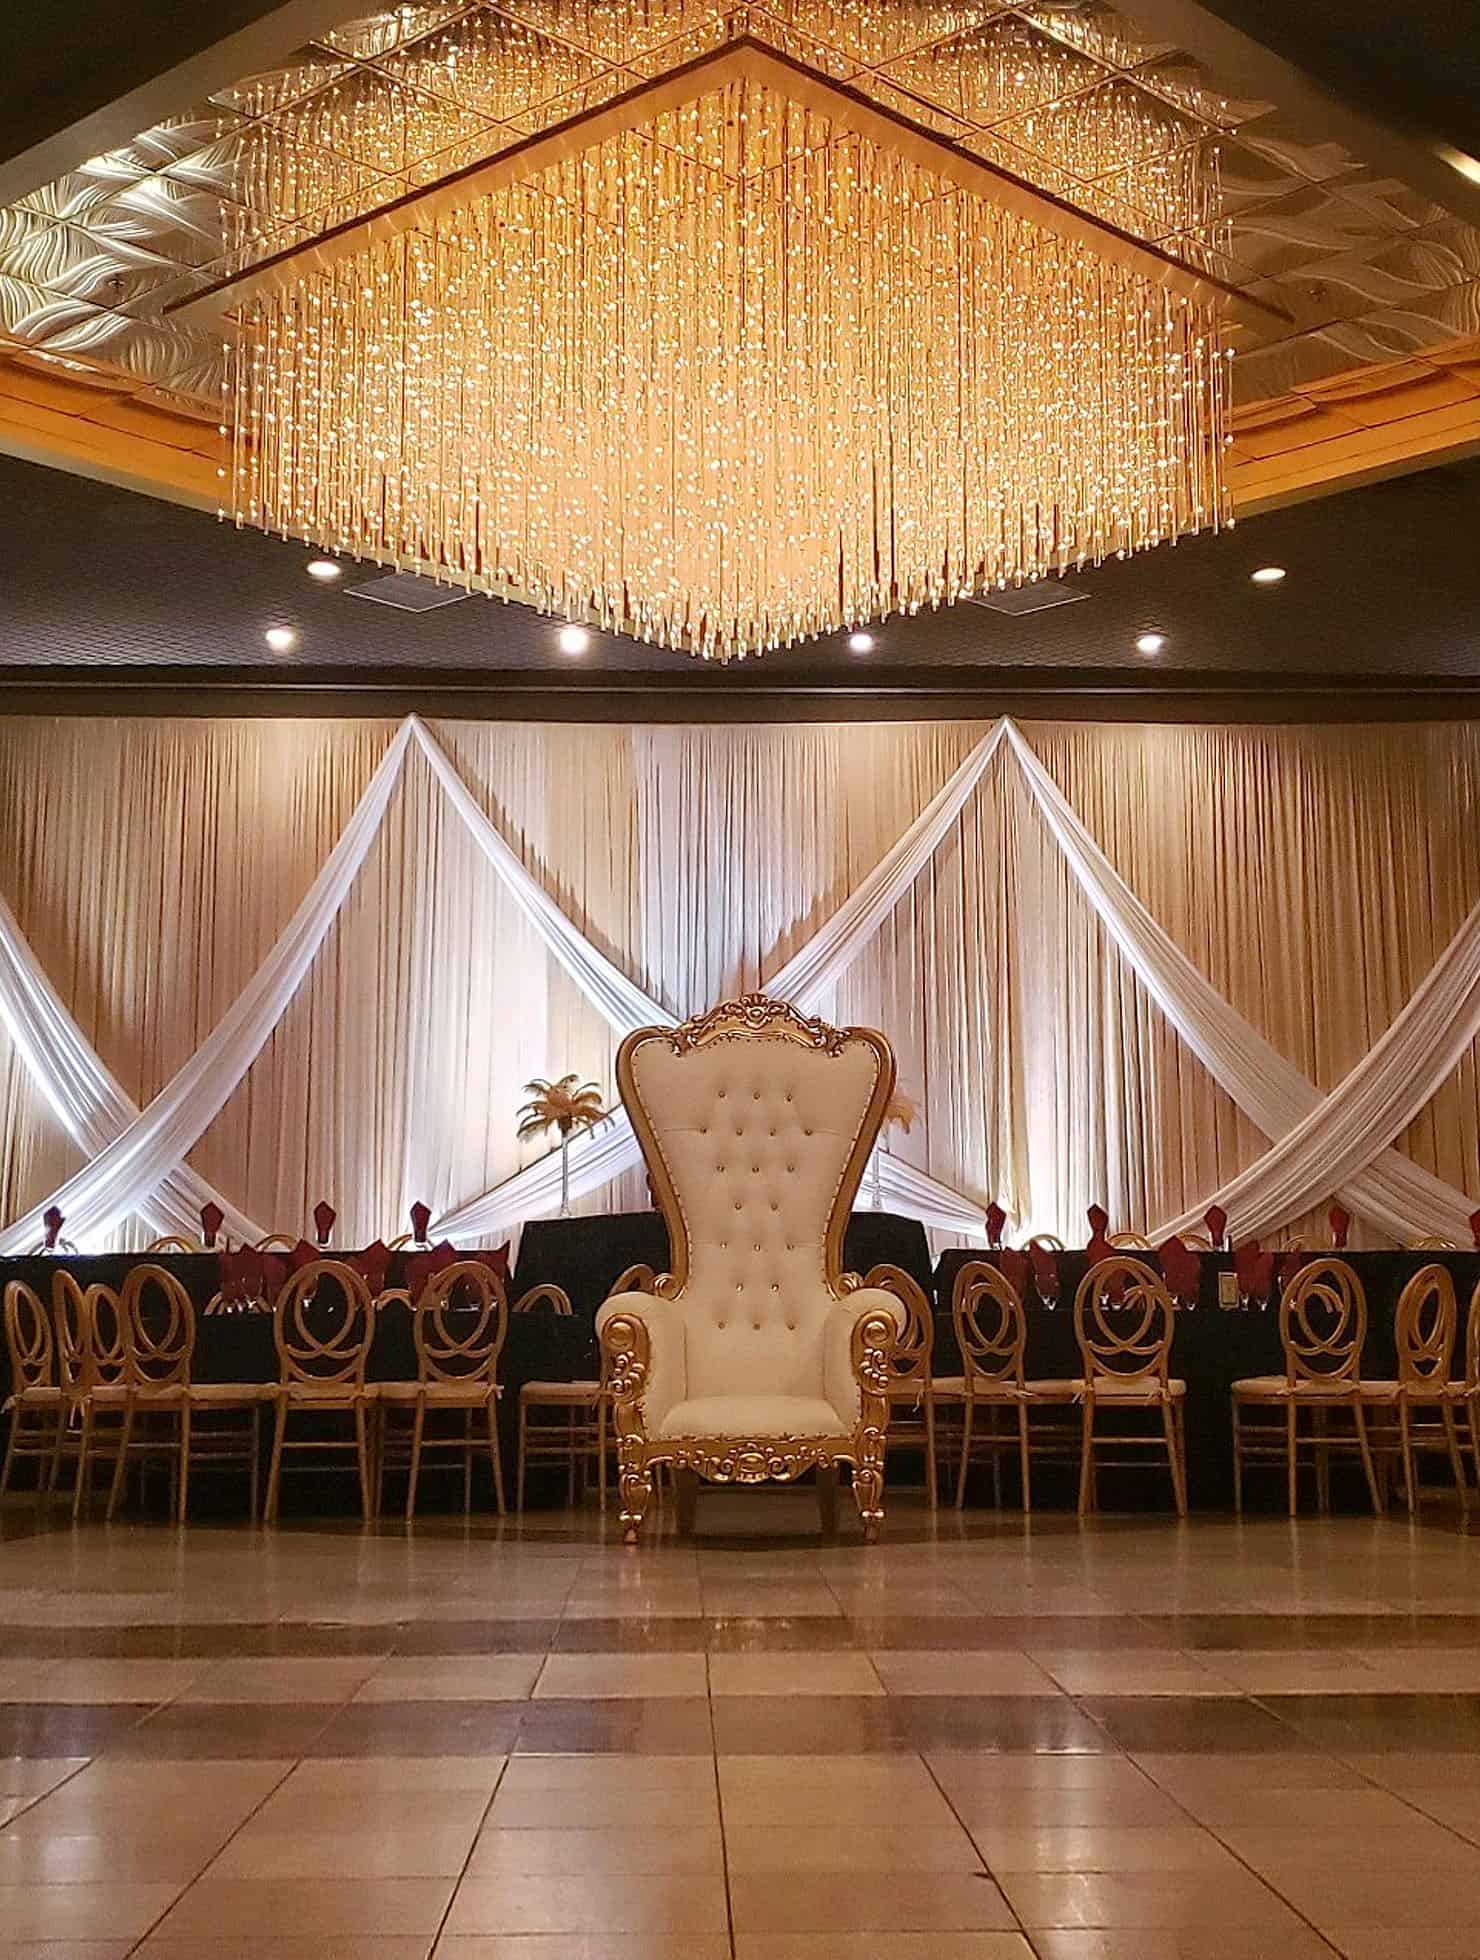
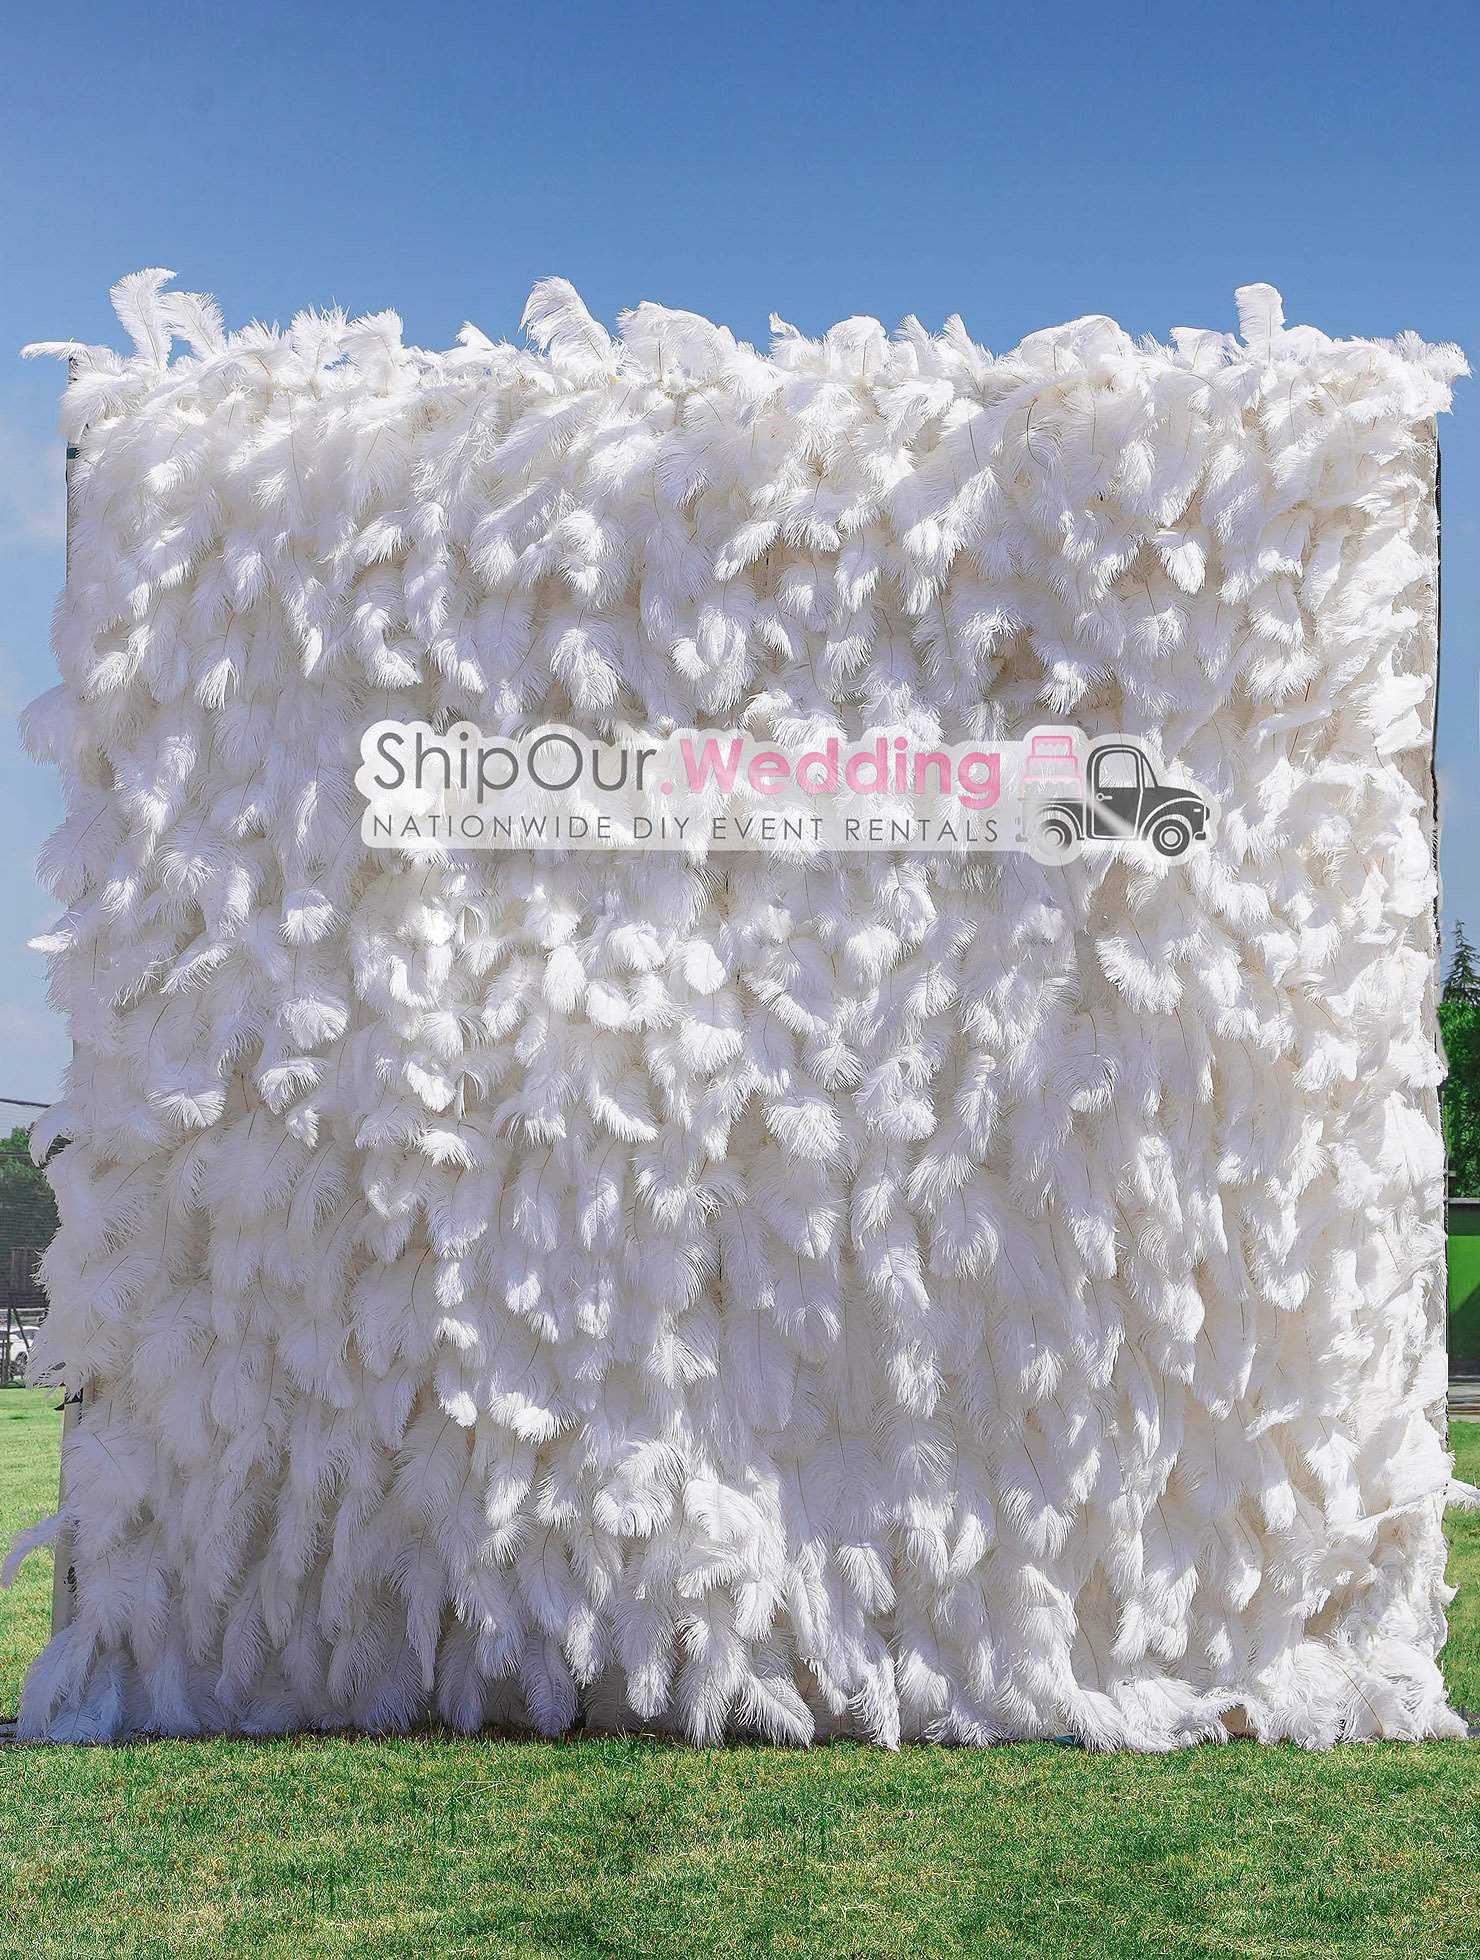
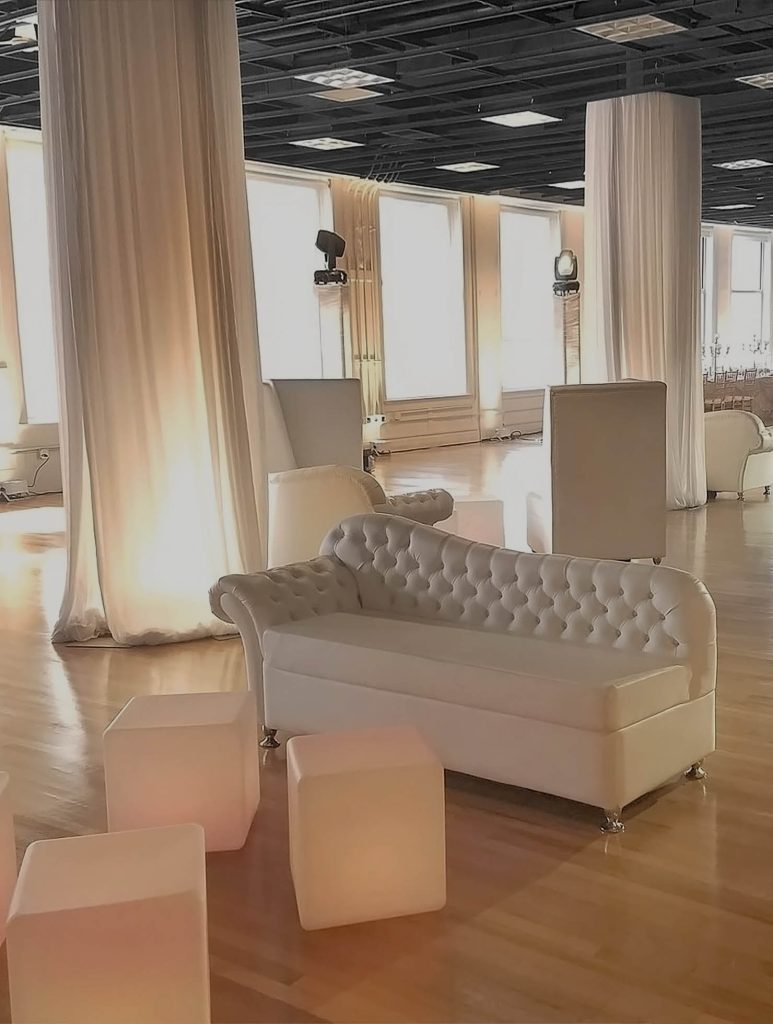
Imagine your guests showing up at your party and the first thing they see is beautiful white draping covering all of your walls. So what else can pipe & draping accomplish?
- Draping Creates Cozy Atmospheres
- Transform a spacious venue into a warm, intimate setting by softening your walls.
.
- Transform a spacious venue into a warm, intimate setting by softening your walls.
- Drapery Conceals Flaws
- Not every venue comes perfect; use elegant drapes to hide undesirable areas.
.
- Not every venue comes perfect; use elegant drapes to hide undesirable areas.
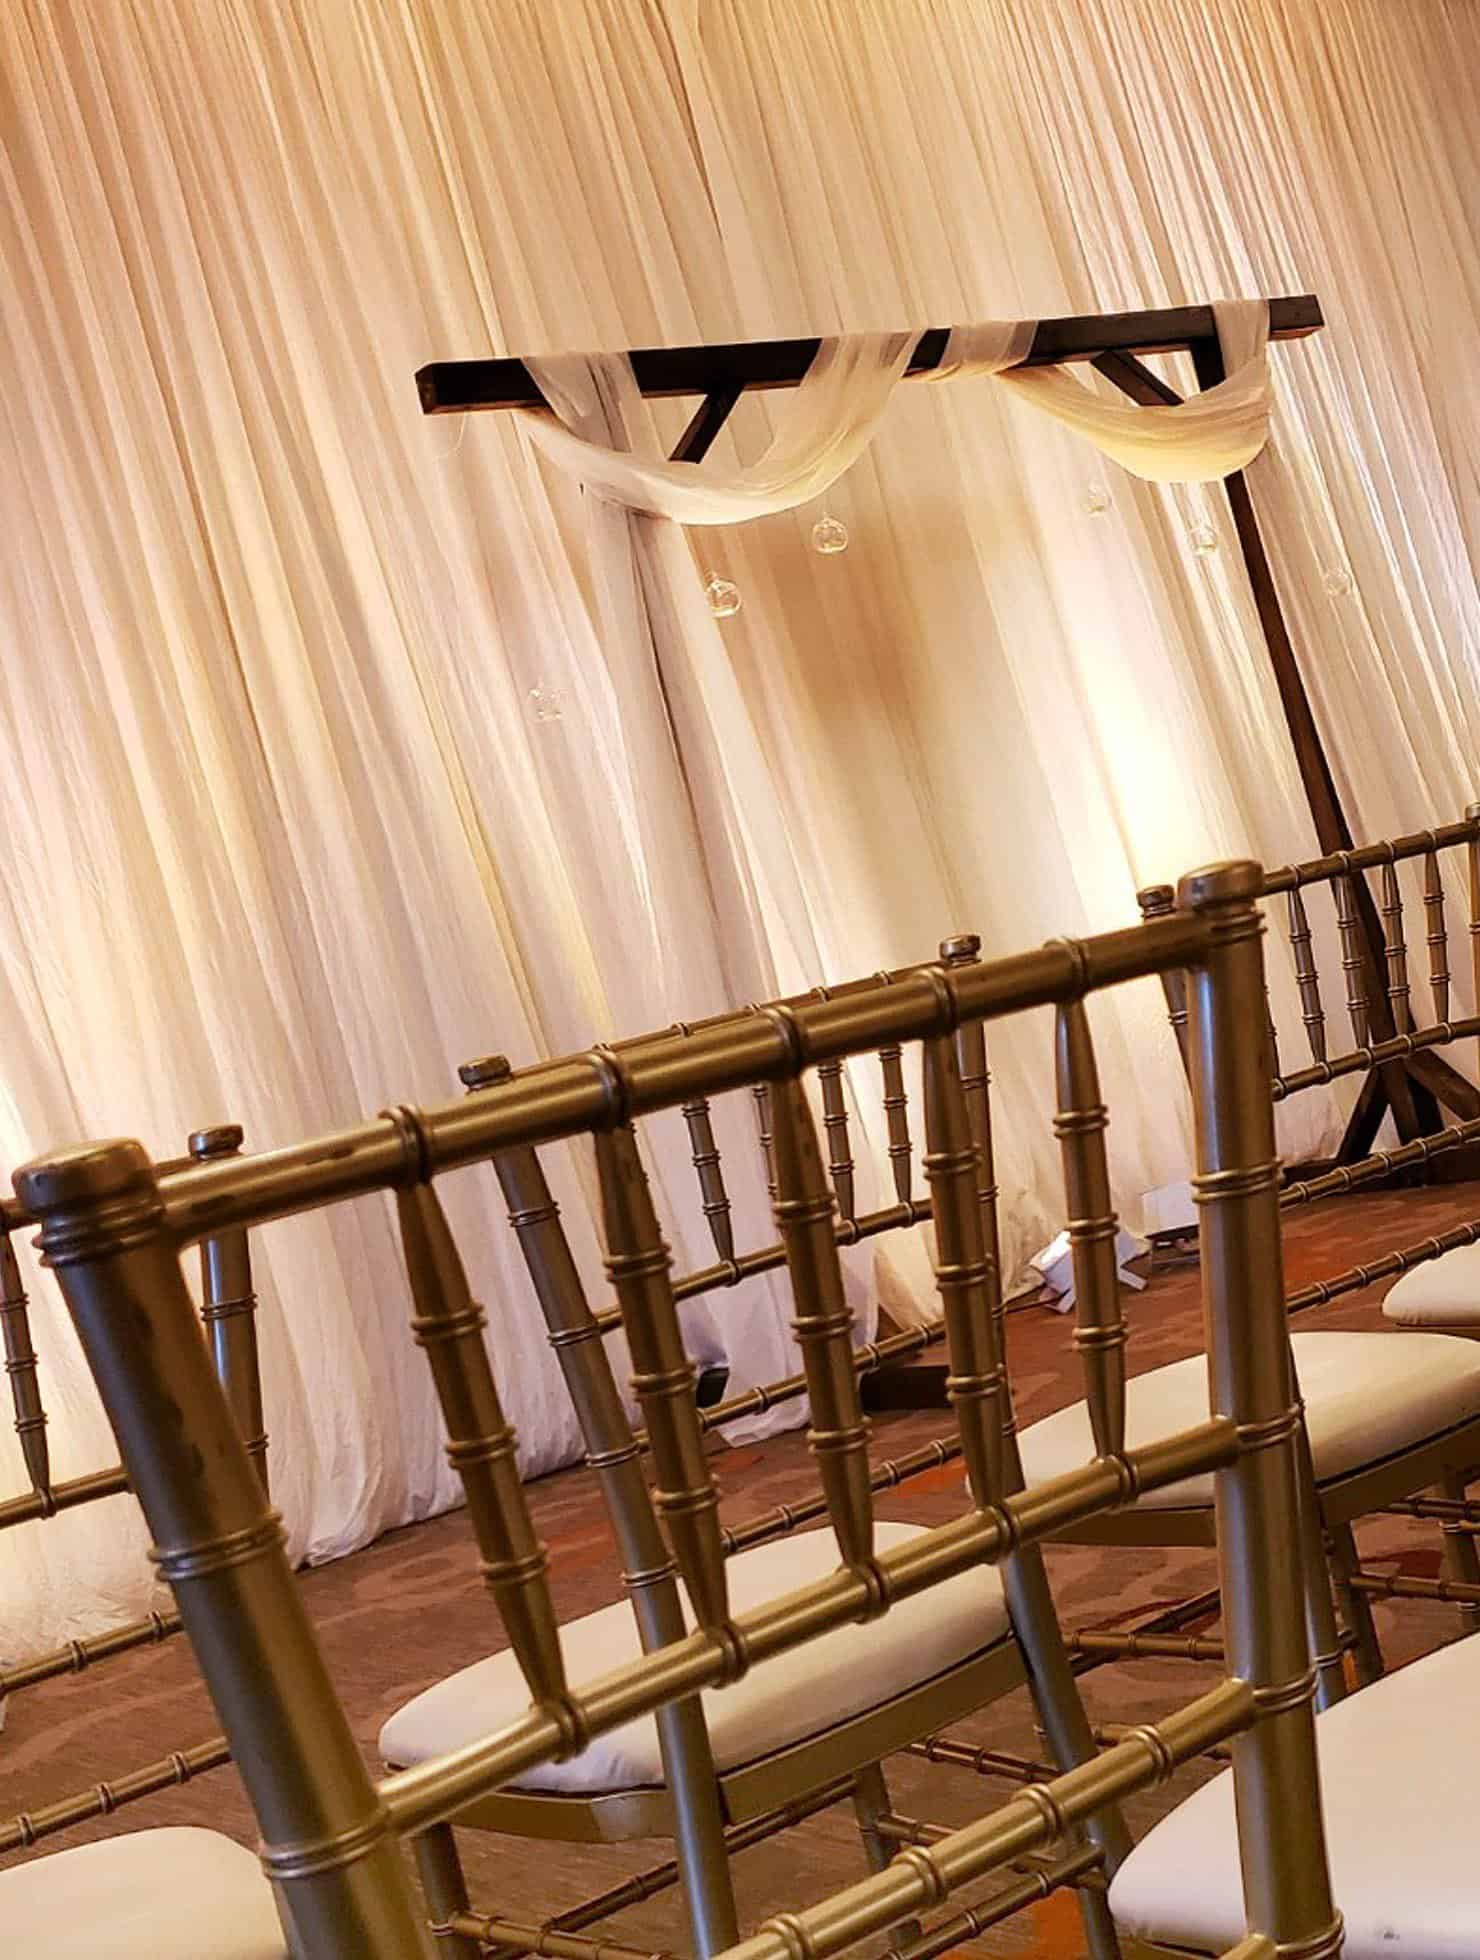
- Wedding Photographers Love Draped Backdrops
- You need areas guests can use to take group photos. A thoughtfully arranged drapery backdrop enhances your wedding photos.
.
- You need areas guests can use to take group photos. A thoughtfully arranged drapery backdrop enhances your wedding photos.
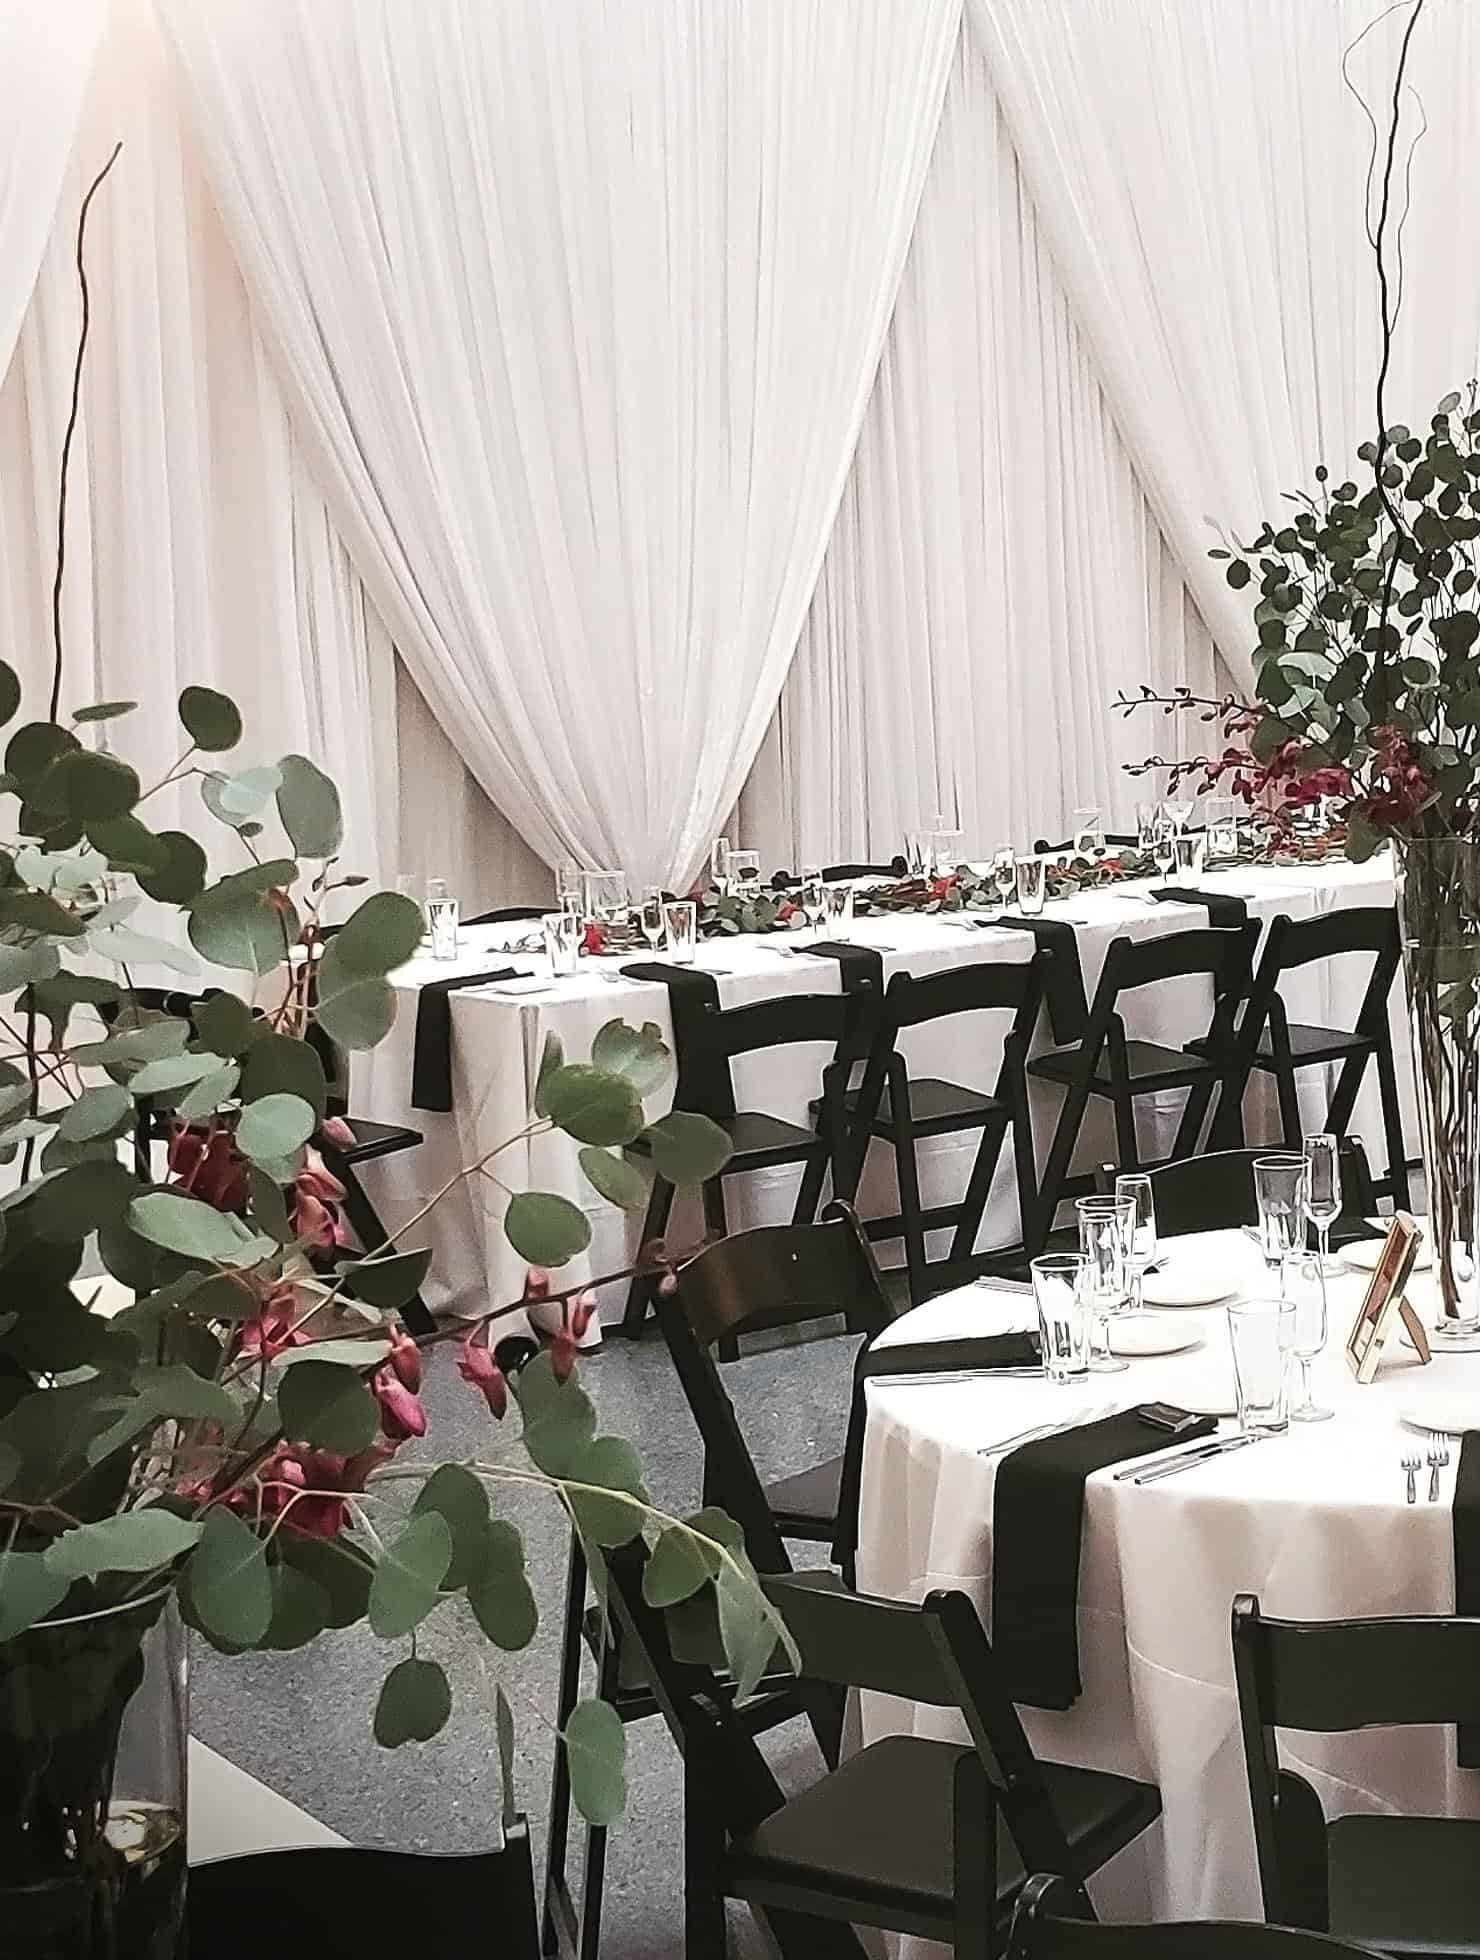
- Pipe & Drape Enhances Sound Quality
- Strategically placed drapes can absorb sound, improving acoustics, reducing echoes, and making a room sound like you are not in a tin can.
As you can tell, drapery is the ultimate decor rental for so many reasons! In this super helpful guide, we’ll go over in depth how to install drapes that go 10 feet high, giving your venue warmth & charm
First, measure your space and determine how many supplies you need. We recommend measuring length by width. Is your room is shaped like a rectangle? If so, then (2) measurements will give you the dimensions of all (4) walls.

Just round up each measurement to the nearest 10 when adding all your walls
Before we start, make sure you have all the necessary items for the task at hand. Refer to this checklist:
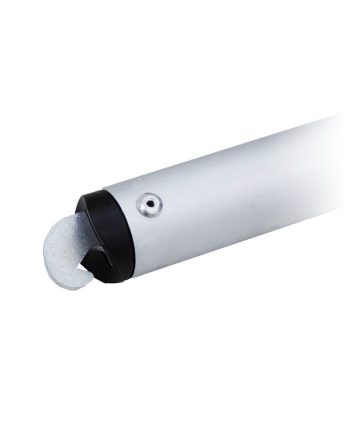
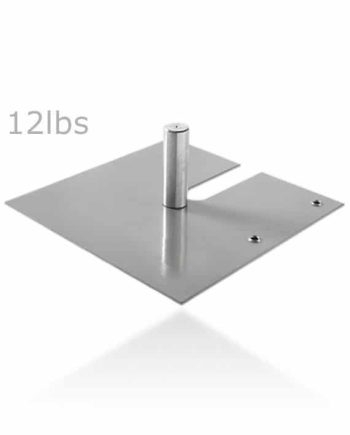
- Base Plates: Essential for ensuring the stability of your draped structure.
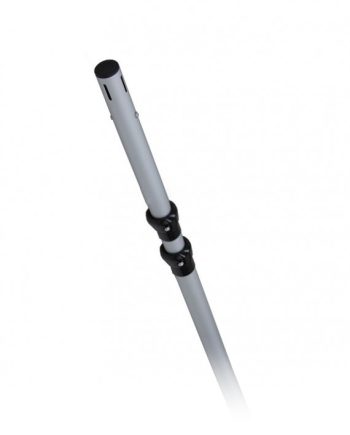
- Upright Poles: To hold up the fabric material.
- Crossbars: Horizontal bars that link your uprights together.
- Fabric: Choose colors that complement your wedding theme.
- Extra Weight: To add to baseplates near doorways & busy areas
- Zip Ties: Ideal for holding fabric in place and forming swags.
- Scissors: Useful for making adjustments by cutting zip ties.
- Pipe Cleaners: (optional) In case you run out of zip ties.
-
Upright 4ft – 10ft Tall Adjustable
Original price was: $39.99.$29.99Current price is: $29.99. -
Crossbar 7.5ft – 10ft Long Adjustable
Original price was: $25.99.$19.99Current price is: $19.99. -
Base Plate 14 inches x 16 inches (12 lbs)
Original price was: $27.99.$21.99Current price is: $21.99.
You will also need 2-3 people to help with setup. Estimate each 10-foot section takes approximately 12 minutes to set up. So 300 feet = 30 ten-foot sections. This would be 360 minutes or 6 hrs for (1) person. (2) people can set up 300 feet in 3 hours. (3) people can set up 300 feet of draping in 2 hours.
Let’s get started! Lay the crossbars on the ground to form your perimeter. Strategically position the base plates at every crossbar end. Base plates help keep your draping upright by lowering the center of gravity and increasing stability. You might need extra weight on your base plates around doorways and busy areas.
Watch how we do this in our video below
Once your crossbars are in place, slip the uprights over the base plate ferrule and then connect crossbars between every upright. This establishes a more sturdy support for your drapery.
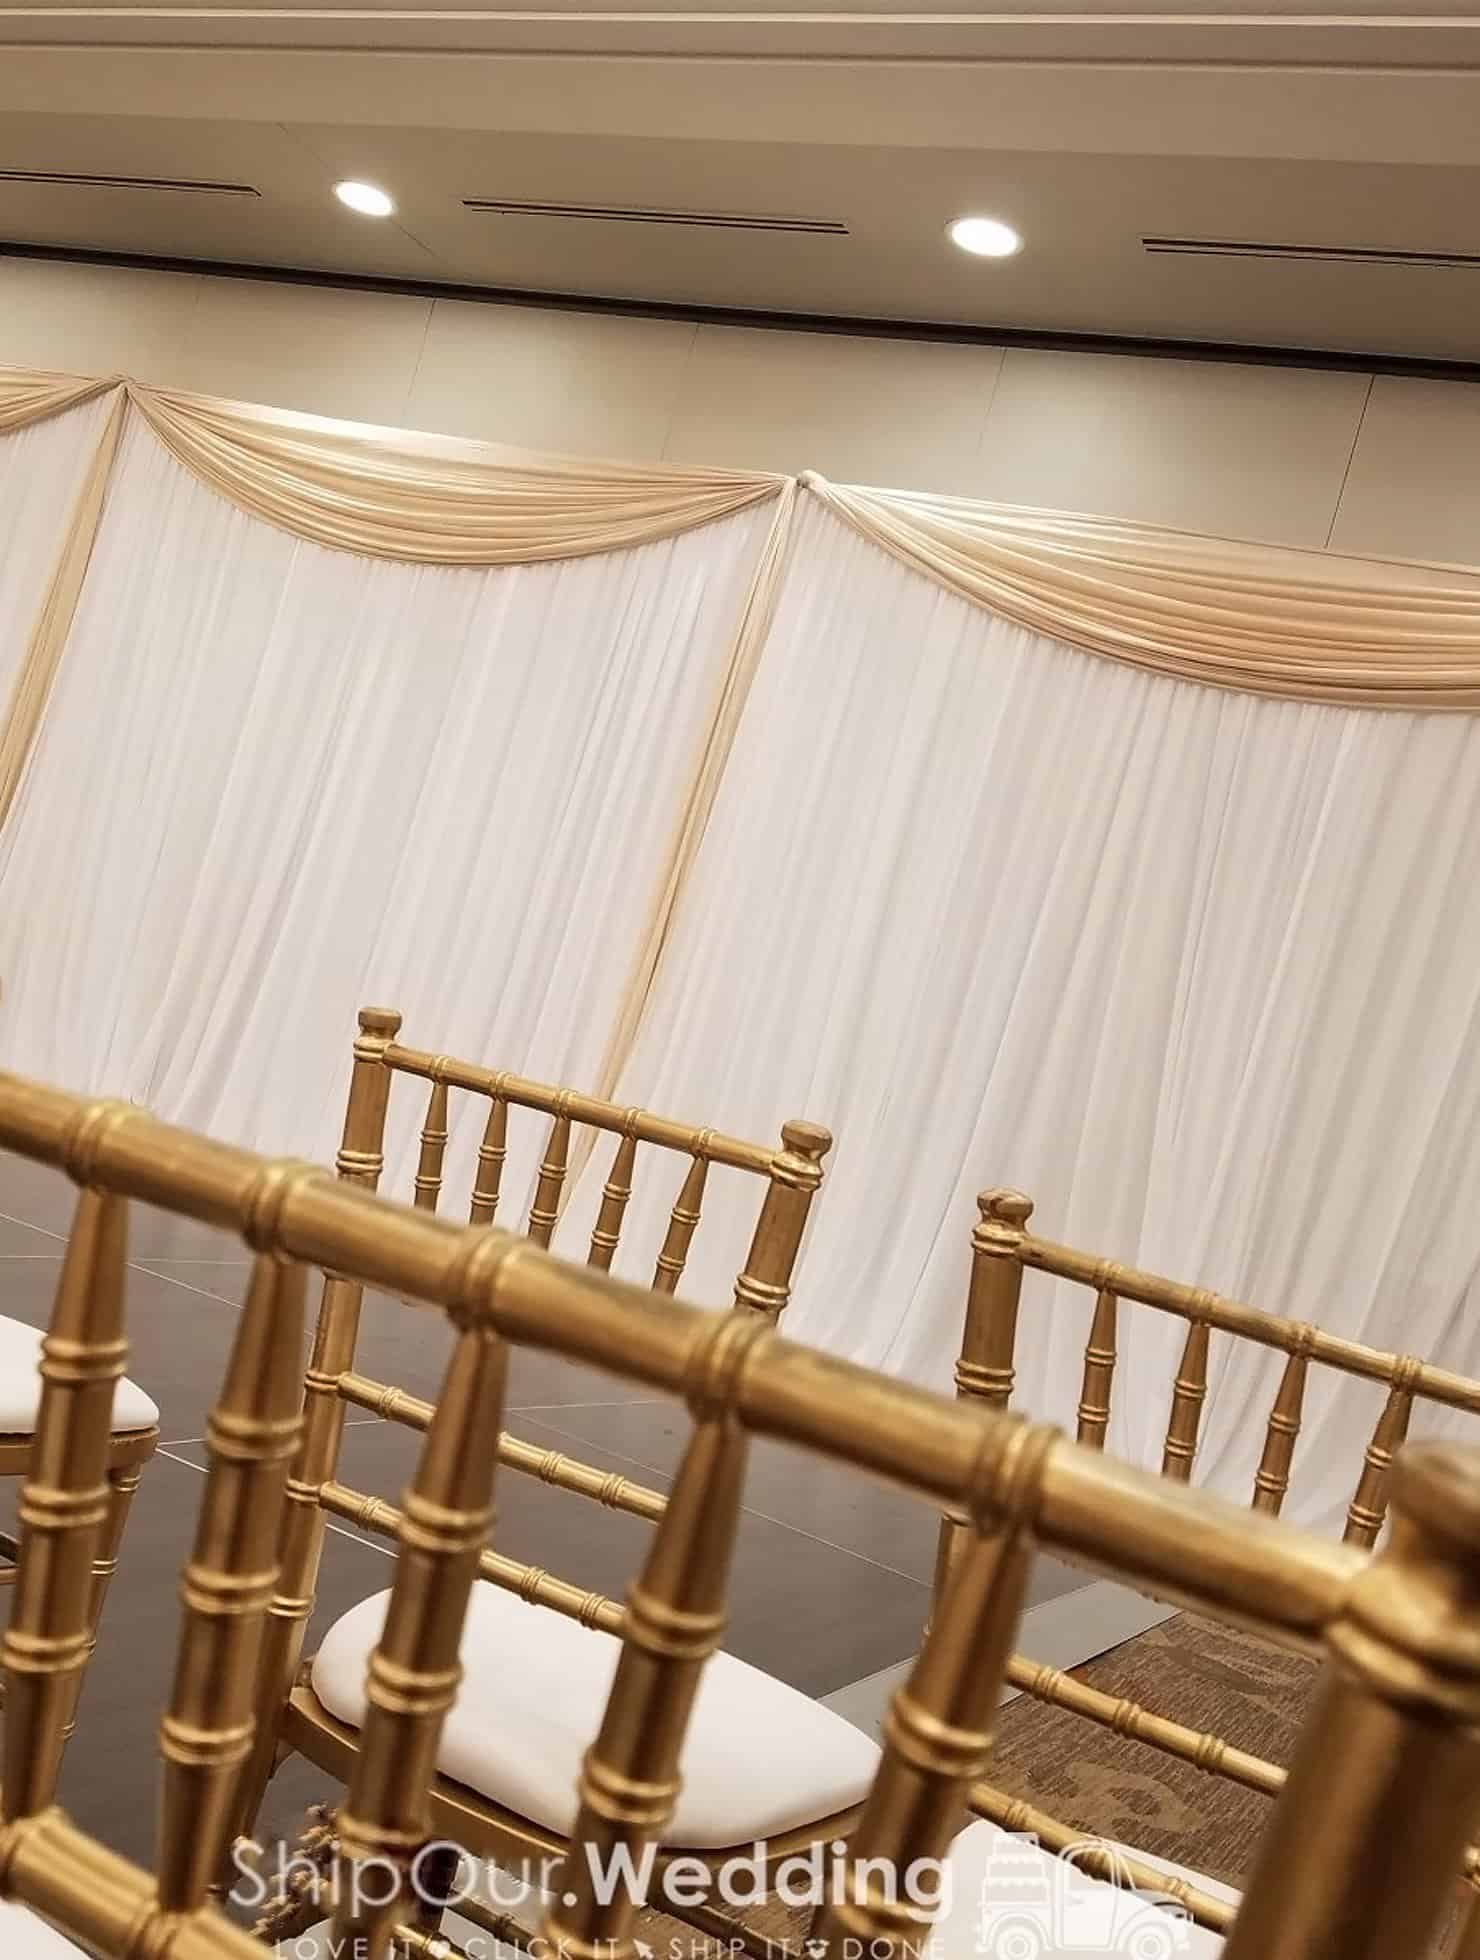
Now that the framework is set up securely, it’s time to dress it with fabric. We will be using our 25ft fabric. For each 10-foot section, we recommend (4) pieces of fabric per horizontal bar. Keep in mind this doesn’t have a pole pocket and is thrown over the crossbar evenly.
When hanging the fabric, ensure it is evenly distributed on both sides. This will keep it as close to the ground as possible when raised to 10 feet tall. Keep the ground clean so dirt & dust bunnies don’t stick to the drapes.
✔️ Once positioned, overlap the fabric on the crossbar and smooth it out completely by pleating all the way across.

Now that the fabric is covering every inch of your crossbars, it’s time to raise your uprights in sections one at a time to the desired height. Finally, lift each piece of fabric to remove any folds or creases.
Examine each section to ensure it isn’t twisted & falls straight down
If you spot wrinkles, tweak the fabric surface. Pro tip use a fully extended crossbar as a long arm to fix areas at the top not pleated. This prevents using a ladder to adjust the fabric after the pipe & drape is raised. Carefully pull left and right on the fabric and not too hard or away from the wall.
Guest & vendor entrances need easy access. To make open walkways more inviting, tie (2) pieces of fabric with a zip tie at the left and right uprights of the doorway.
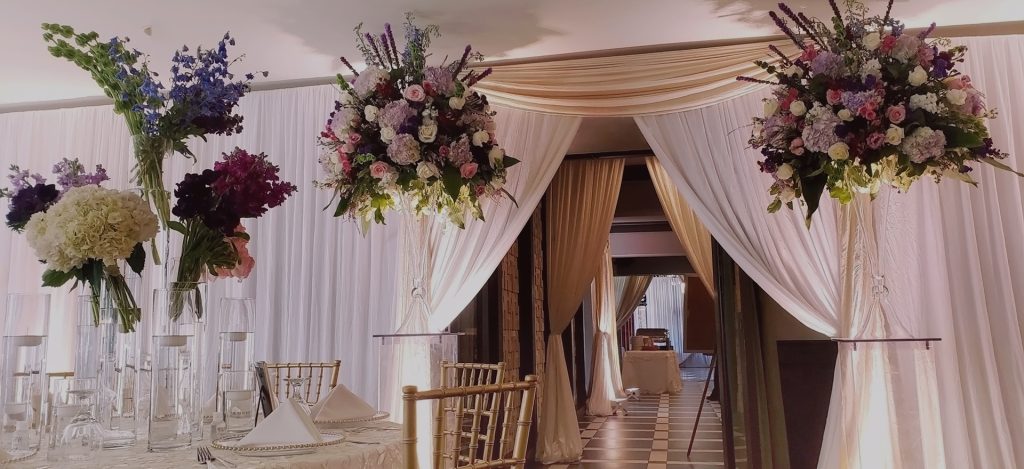
Any excess fabric puddle at the bottom in a chocolate kiss shape so the fabric looks good and isn’t a tripping hazard. You should also use heavier base plates on doorways with draping since it has more foot traffic.
✔️ You can also rent just doorway draping if you don’t need a backdrop
As you wrap up the decorating process, be cautious of any doors that might swing open at your venue. Hold off on fastening the fabric to the door frame to avoid mishaps like the fabric getting tangled.
Only loop fabric around permanent non-moving vertical posts to keep it in place
If your venue lacks air conditioning, consider positioning fans (far away from fabric) to keep the space comfortable. You don’t want to open doors or windows, this will create wind which is not ideal for pipe & drape setups. You might even have to remove drapery in some areas if the wind affects it too much.
If you need to go higher than 10 feet tall, we recommend (1) 3ft upright extension for every upright. This will extend your backdrop an extra 3 feet giving you a total height of 13 feet tall.
Keep in mind that there can be no wind with taller backdrops & you will need additional weights on your baseplates. We also recommend that your backdrop height is equal to or less than the total ceiling height in case you need to wedge the draping between the ceiling and floor to keep it in place.
✔️ Use heavy base plates (50+ lbs) or lower your overall backdrop height if you feel any elements might cause the draping to become unstable.
After arranging the drapes along the walls of your event space, pay attention to the finishing touches. Use extra fabric to help hide any exposed draping. Tuck fabric so it is not in the way of guests and evenly pleated on doorways.
re-finalizing the fabric bottom is what gives a polished, professional look
As the newlywed couple enters, swing the fabric gracefully back to create a memorable moment during the introduction ceremony. This way a wall of pipe & drape instantly becomes an entrance to the aisleway.
✔️ Use pipe cleaners or zip ties to keep everything pulled back for extended periods.
After all your dedication, take a quick second to admire what you have done! Doesn’t the pipe & drape look dreamy? Just imagine all the compliments you will get from family and friends… Psst, they will more than likely think you hired a draping company!
With the right tools & little collabing, you can achieve a memorable pipe and drape just like you see on our website. Setting up drapery yourself is a rewarding endeavor:
- DIY pipe & drapes cost less
- Draping equipment is pro-grade
- Kits look amazing when set up
- Drapery is easy to set up with others
- Doing it yourself feels damn good!
Thank you for joining us in this guide! We love creating great content for our viewers. We hope you found our draping tips useful and enjoyable.
If you have feedback or suggestions for future topics, please leave a comment below. Let us know if you need any help on renting pipe & drapes give us a call or message us on chat.
Founders Robert + Nicole Reno
With a combined (4) decades in the industry; we’ve trained hundreds, booked thousands, & partied with millions. Our first-hand experience allows us to empower others to succeed & be great… (read full bio)
Founders Robert + Nicole Reno
With a combined (4) decades in the industry; we’ve trained hundreds, booked thousands, & partied with millions. Our first-hand experience allows us to empower others to succeed & be great… (read full bio)

Brad & Annika
Cario, Nebraska
![]()

Jennifer & Val
Detroit, Michigan
![]()

Jose Rocha
Omaha, Nebraska
![]()
We saved $15,000 hiring Ship Our Wedding

I’m infatuated thank you hugs + kisses MWAH
We were amazed the uplights were really easy

Brad & Annika
Cario, Nebraska
![]()
We saved $15,000 hiring Ship Our Wedding

Jennifer & Val
Detroit, Michigan
![]()
I’m infatuated thank you hugs + kisses MWAH

Jose Rocha
Omaha, Nebraska
![]()
We were amazed the uplights were really easy

Brad & Annika
Cario, Nebraska
We saved $15,000 hiring Ship Our Wedding
![]()

Jennifer & Val
Detroit, Michigan
I’m infatuated thank you hugs + kisses MWAH
![]()

Jose Rocha
Omaha, Nebraska
We were amazed the uplights were really easy
![]()
The content of this website is intended for informational purposes only & does not constitute legal, financial, or credit advice.