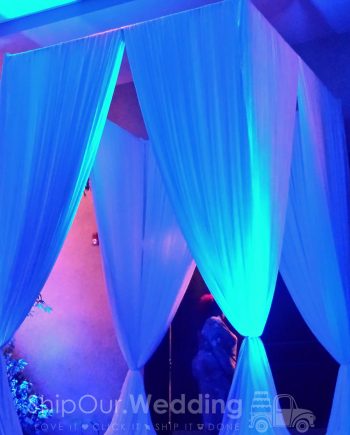
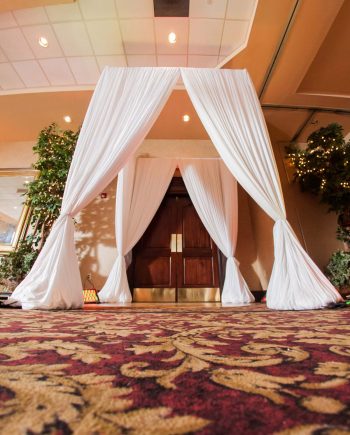
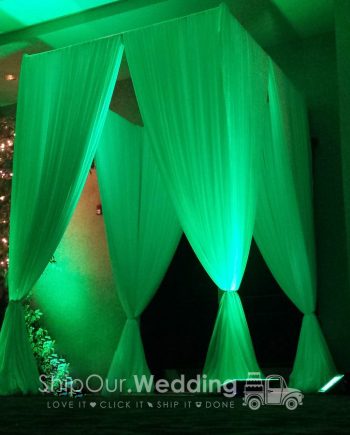
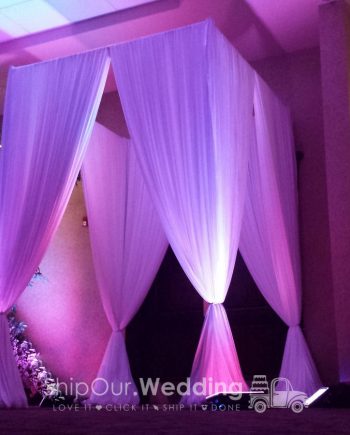
10’x10′ Four Walls (White Backdrop Only)

$450.00 $340.00

 
  Start Here Enter Date Below


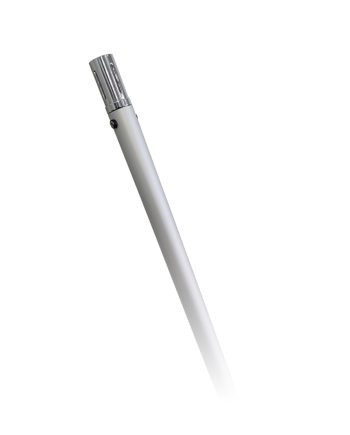
Enter state/date to select quantity   kit includes (4) uprights, (4) bases, (4) crossbars, (12) pieces of drapery fabric, zip ties

–  Note: fabric can’t be cut, altered, dyed, or stained
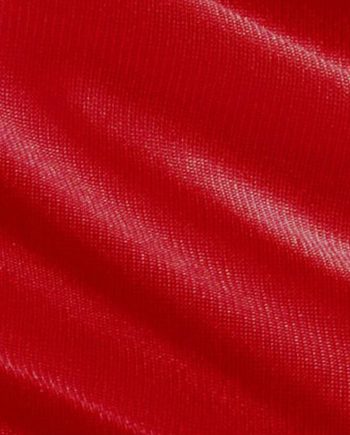
–  Fabric Material: Poly-Silk
–  Default Fabric Color: white
–  Also Avail: view square canopy arch for more colors
–  Upgrades: reserve (4) uplights, place at 4 corners
–  Flame Retardant Fabric: Yes
–  Wrinkle-Resistant Drapery: Yes
–  Package weight is in additional information tab below
–  10-foot length x 10-foot width, up to 10 feet tall
–  Setup Time: 40 minutes per 10-foot section
–  Rentals Arrive: 2-days prior to the event date
–  Send back 2-day after event date to avoid late fees
–  FREE Nationwide Shipping both ways on orders $94+


Easy Do It Yourself Rentals (1 Min)

Learn how to set up this rental by watching the video below

Description

Read: How Much Does a Wedding Chuppah Rental Cost

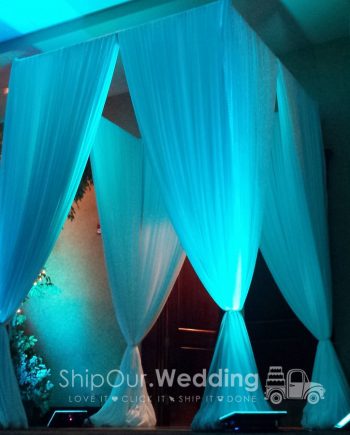
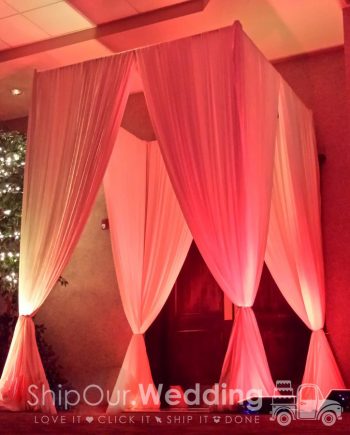
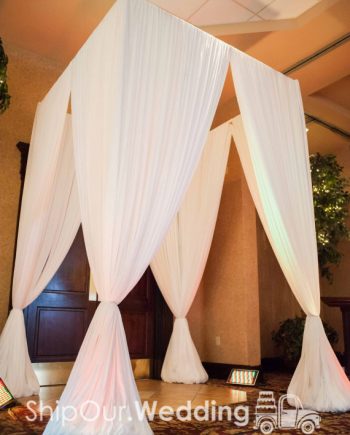
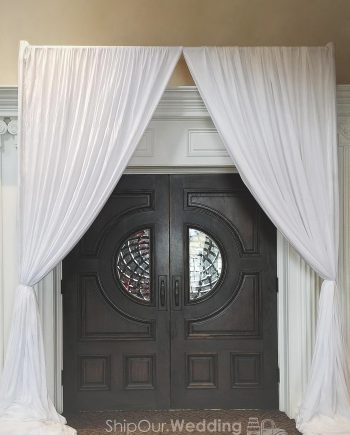
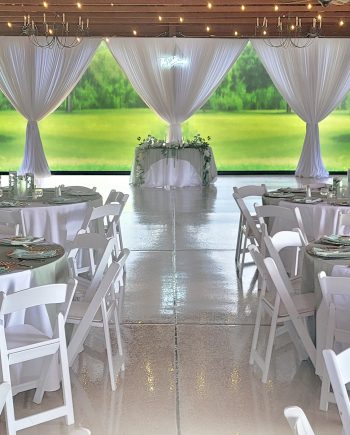
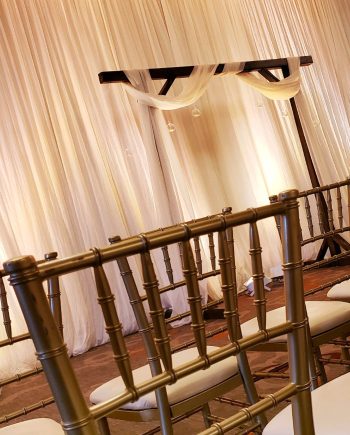
Rent a photo booth fabric enclosure to build a classic picture area for your family and friends. When you think of a photo booth it can be of two styles, either an open concept or a more secluded variation. This white fabric features an intimate curtain backdrop with (4) enclosed walls. The pricing and setup time makes this an attractive rental for your DIY wedding or party. Read More...


(11) Important DIY Photo Booth Fabric Enclosure Tips, Tricks & Pro Advice >>

Read More...


Additional information

Weight 58 lbs
Dimensions 57 x 19 x 7 in

Reviews

There are no reviews yet.

Be the first to review “10’x10′ Four Walls (White Backdrop Only)”

Easy Setup Instructions

How to setup affordable pipe and drape lounge cabana:

  1. place crossbars end to end on the ground, center on the space you want to drape, and form either a 10’x10′ or 20’x20′ square box
  2. put base plates at the bottom edges of all the crossbars (make sure ferrule pin is screwed into center hole)
  3. slide uprights into the base plate ferrule pin all the way (do not force upright down onto ferrule pin all the way if they don’t fit, only force down 50% if tight)
  4. attach crossbars between (2) uprights slots, make sure crossbar is in the slot all the way (do this for all crossbar sections)
  5. now that you have a fully completed skeleton, place (3) pieces of fabric under each crossbar, throw 4 pieces of fabric over each single crossbar (try to keep the same amount of fabric on both sides of a single crossbar when throwing it over) Tip if you are using silver sequin or gold sequin fabric then you will insert the top crossbar into the pole pocket
  6. pleat all drapes at 1/3 coverage on all 4 crossbars
  7. zip tie open ends of all fabric pieces to crossbars, you will do this step 8 times
  8. Drape valance on one side & cover crossbar completely, you will do this step for all 4 sides
  9. raise uprights individually in 2 foot increments until entire backdrop is 10 foot high
  10. pick one upright, pull back fabric on the left and right, adjust fullness by accordion pieces in hand, attach with zip-tie or pipe cleaner to right upright
  11. repeat step 10 for every corner of your square canopy, you will do this step 4 times
  12. finalize bottom by lifting each piece of fabric, accordion fabric down, and tuck and roll the bottoms