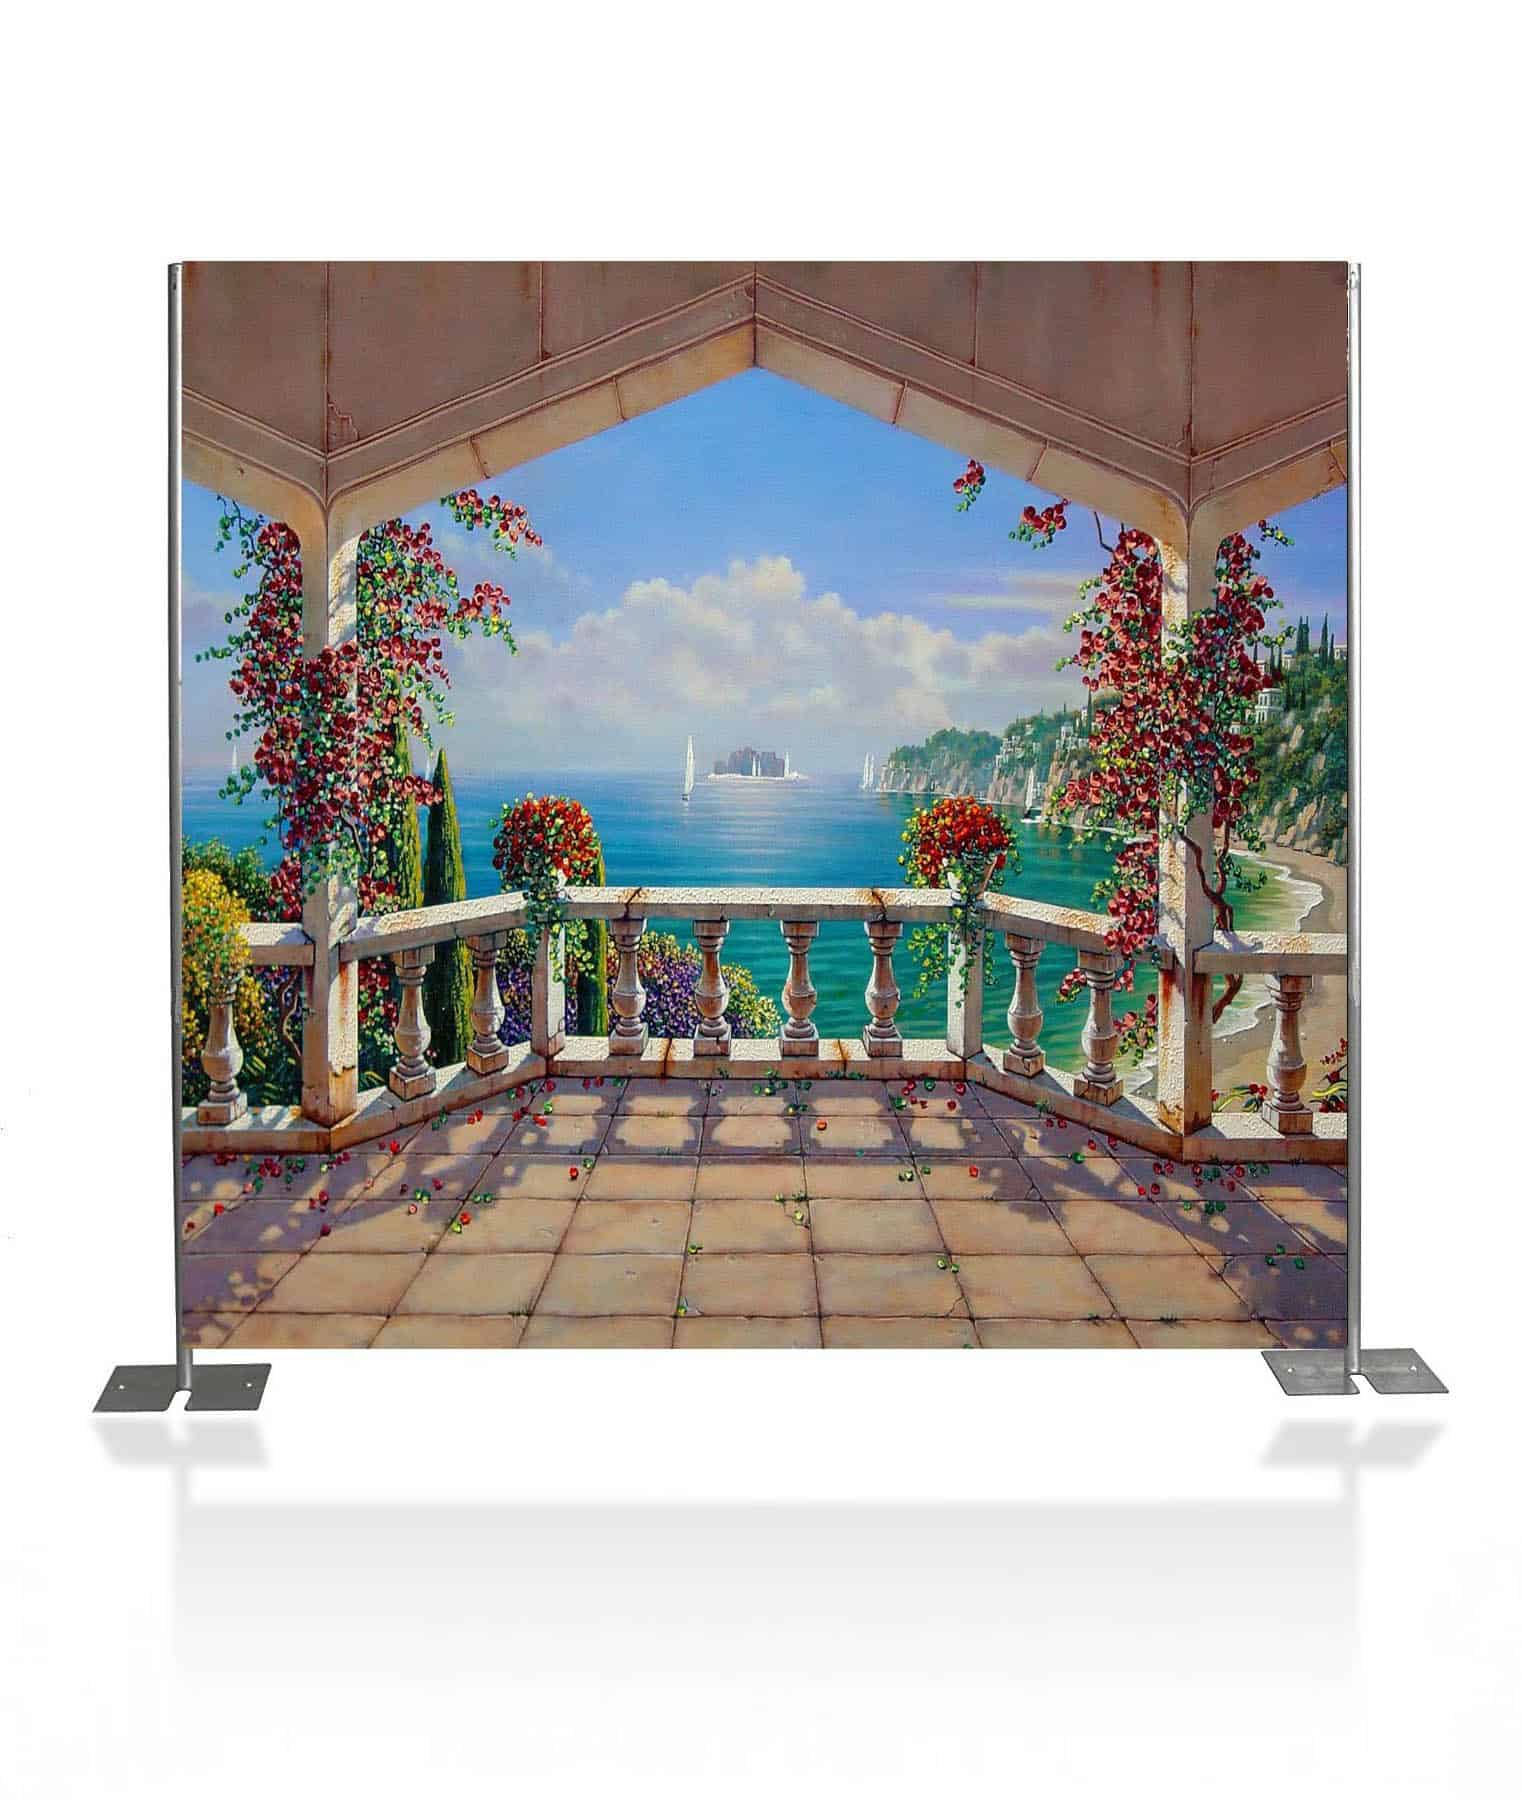
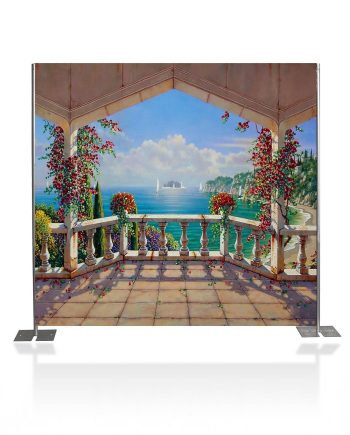
Description
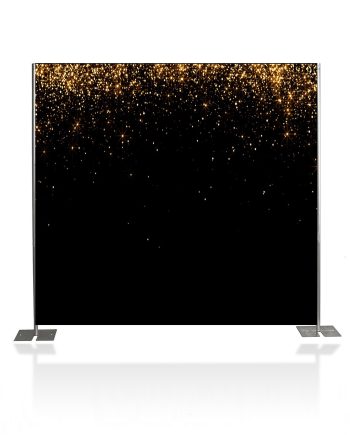
Night in Tuscany DIY Step & Repeat Backdrops creates the classic veranda-style setting. If you are going for a Mediterranean or Italian vibe then your guests will love this DIY Italian banner. It has a natural setting that looks like something out of a movie. This has a diverse grouping of outdoor colors in the backdrop itself. What you will love most are the rental prices at $119. Read More...
(13) Important DIY Step & Repeat Backdrop Night in Tuscany Tips, Tricks & Pro Advice >>
Read More...
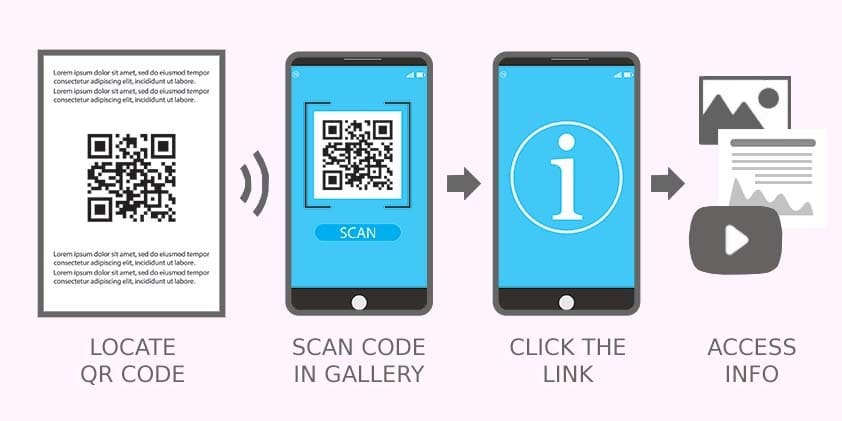
 Scan for


Jenny Moore –
I am so glad we got this backdrop for our party. We used this as a photo station for our Tuscany inspired theme. It is very good quality and the material is very thick. Everything came in 1 shipping case that was easy to move around. We used the qr code thingy to access the setup videos and it was super helpful