Description
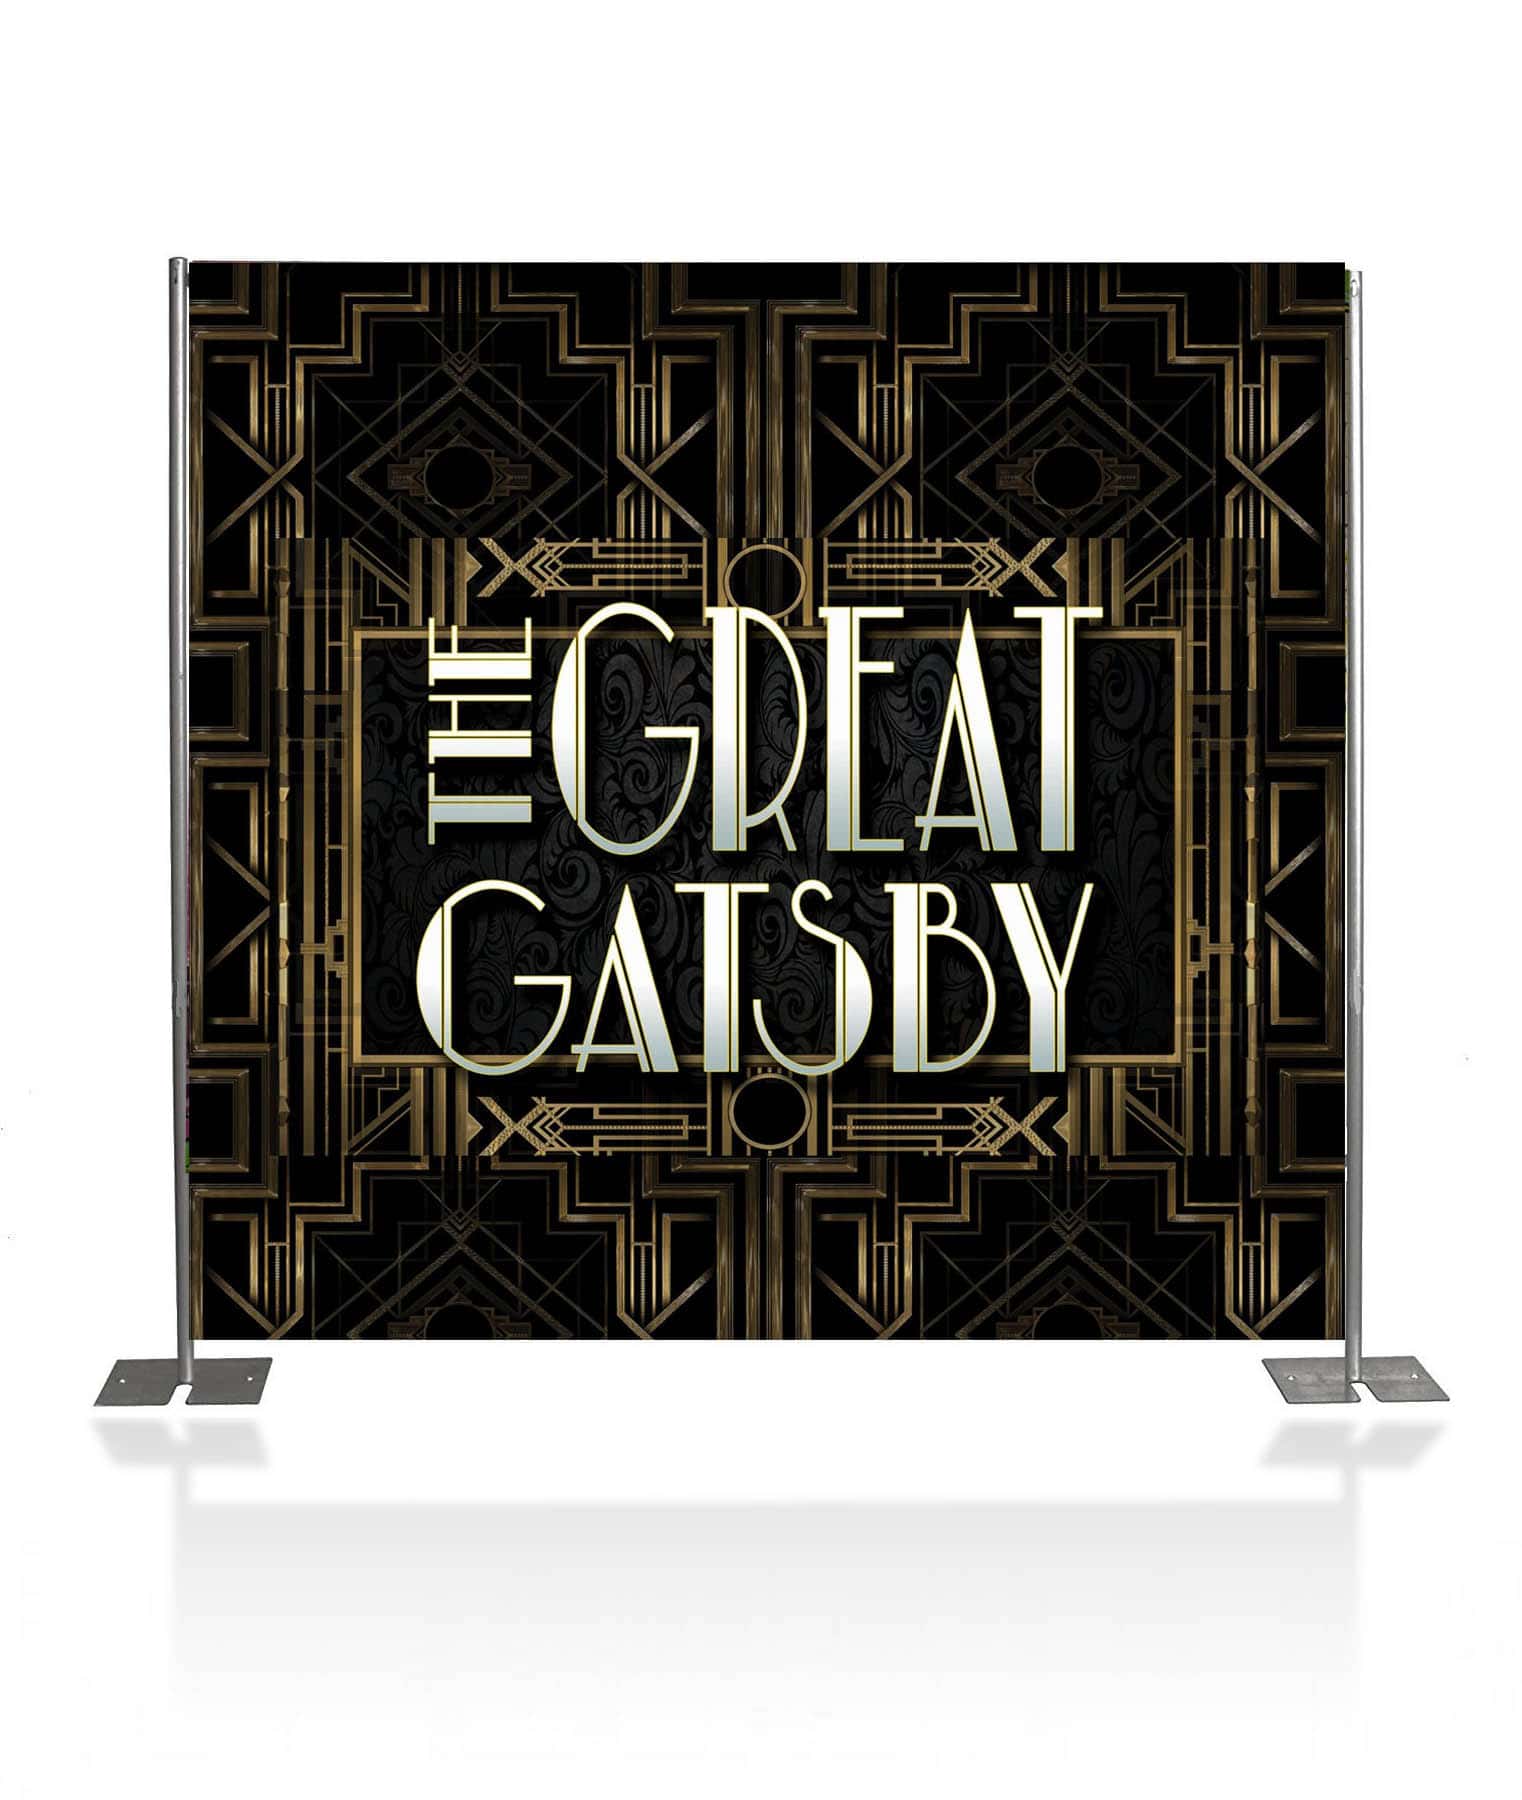
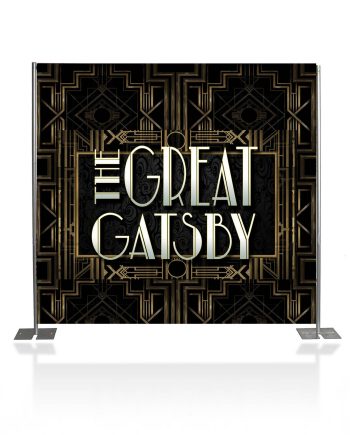
Rent step repeat Gatsby backdrop to pull off a theme that goes back to the days of a classic era. Our company has done many events themed around speakeasies. This is a fun theme that can be done at your wedding reception or any other event. Some popular color palettes to work with this backdrop are gold and black. We encourage this rental for prohibition-style events. This also works well when your guests are dressed in attire that matches the time period. Find out how to get reserve this economical DIY step and repeat, it’s only $119. Read More...
(13) Important DIY Step Repeat Gatsby Backdrop Tips, Tricks & Pro Advice >>
Read More...
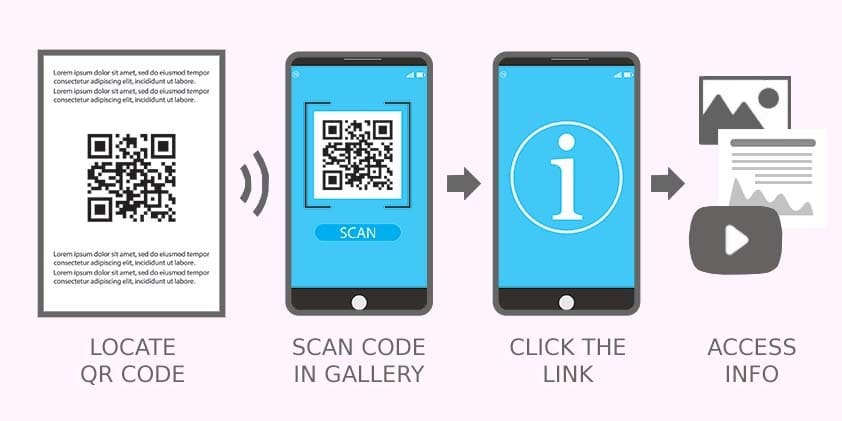
 Scan for


Reviews
There are no reviews yet.