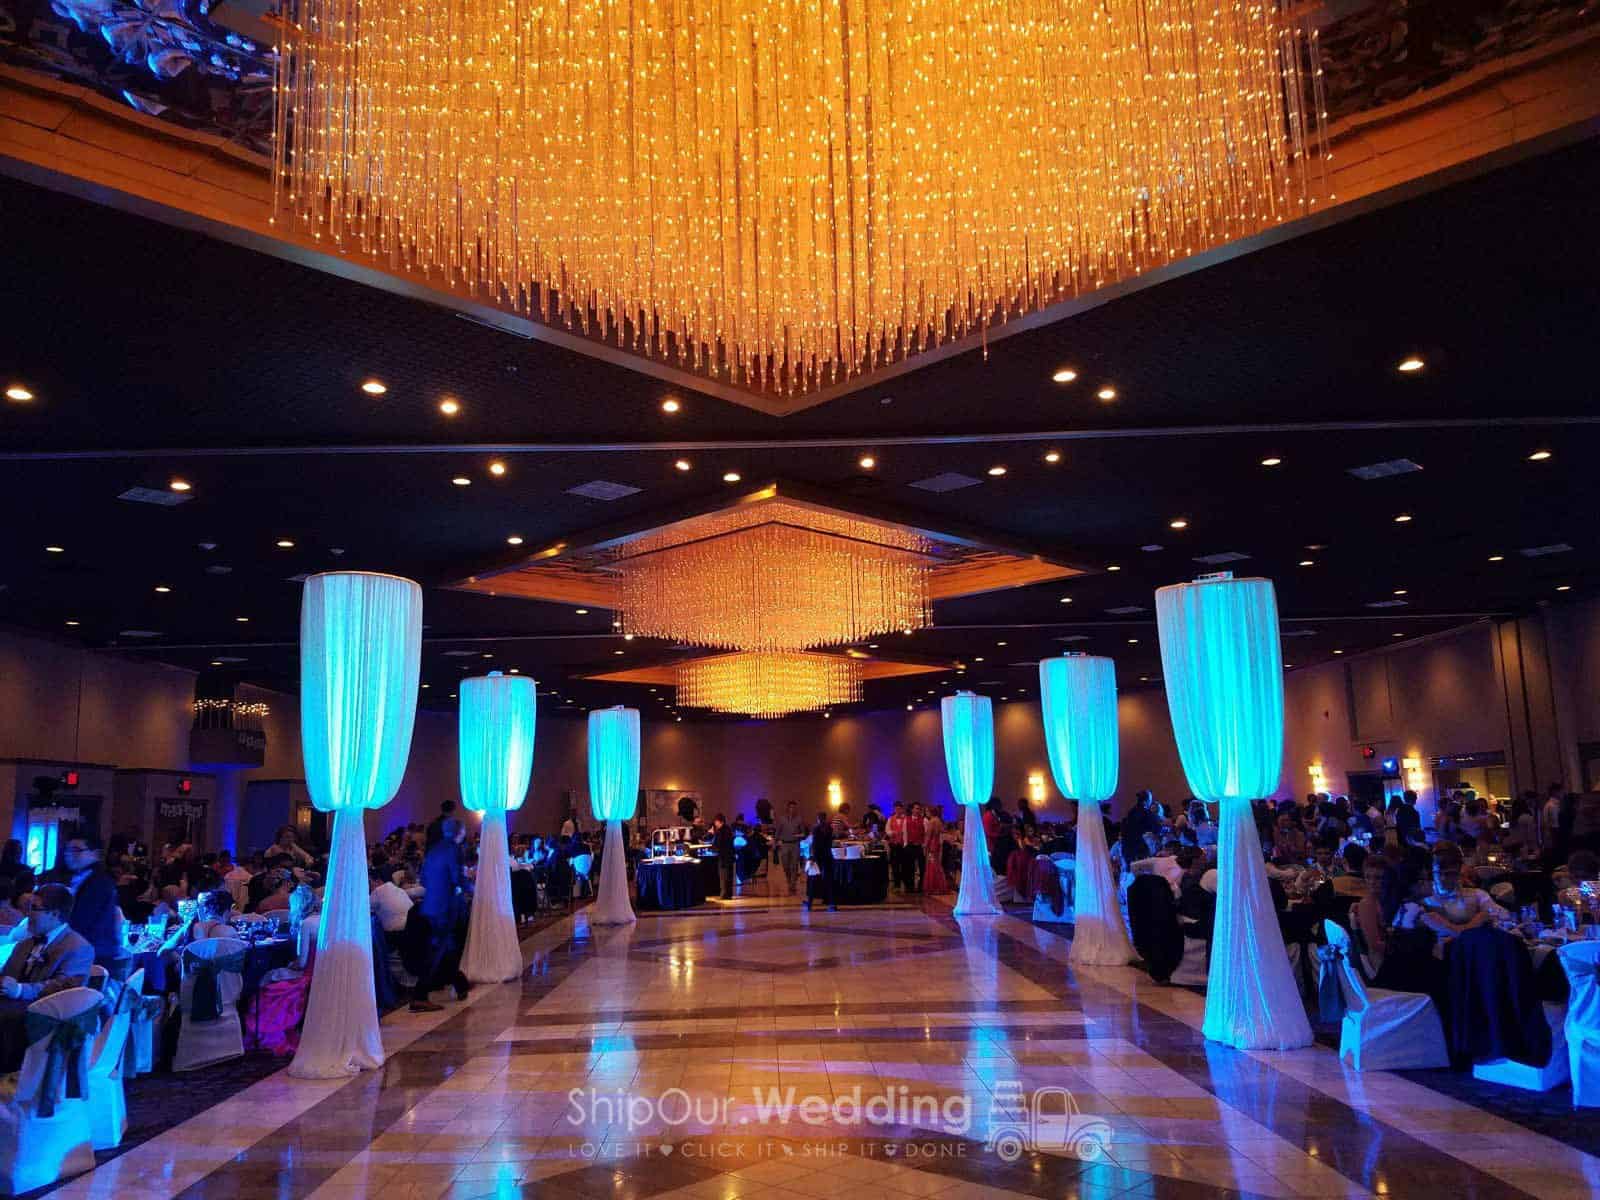
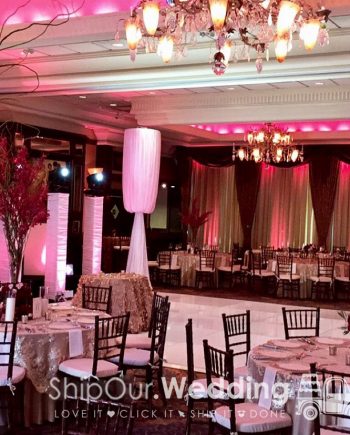
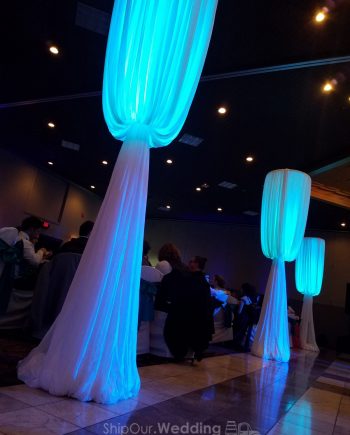
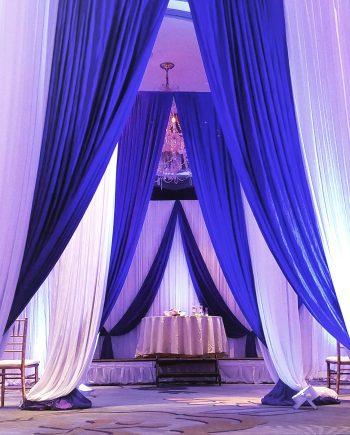
DIY Bishop Column™ Décor (1 per)

$233.00 $175.00

Enter state/date to select quantity  📦 30inch round diameter bishop column includes zip ties, (1) upright, (1) base plate, (1) enclosed ring, (3) pieces of drapery fabric, zip ties

–  Note: fabric can’t be cut, altered, dyed, or stained
–  Need to use additional weight on the baseplate
–  Height Adjusts: 4 ft – 10 ft tall
–  Setup Size: 30 inch diameter up to 10 feet tall
–  Setup Time: approx 7 mins
–  Fabric Material: poly-silk
–  Default Fabric Color: white
–  purple, light purple, red, pink, ivory, teal, blue, black
–  Upgrades: reserve (2) uplights with brackets for color
–  Flame Retardant Fabric: Yes
–  Wrinkle-Resistant Drapery: Yes
–  Package weight is in additional information tab below
–  Rentals Arrive: 2-days prior to the event date
–  Send back 2-day after event date to avoid late fees
–  FREE Nationwide Shipping both ways on orders $94+


Easy Do It Yourself Rentals (1 Min)

Learn how to setup this rental by watching the video below


  Start Here Enter Date Below
 

Description

Read: The Top 7 Wedding Draping Kits

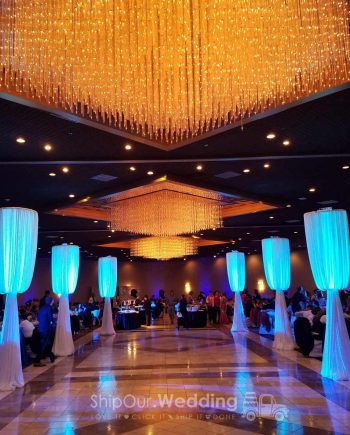
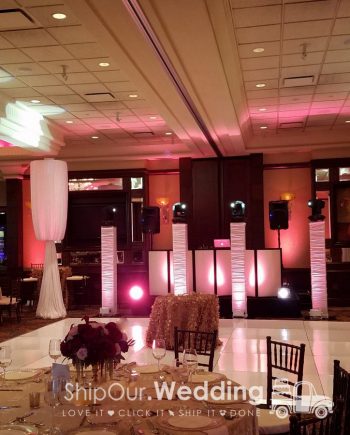
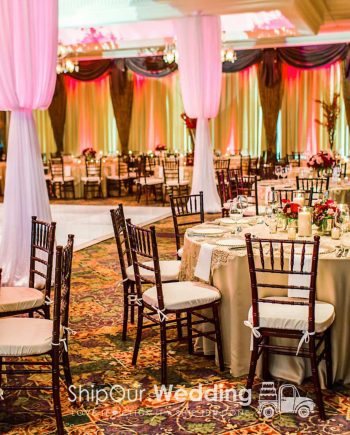
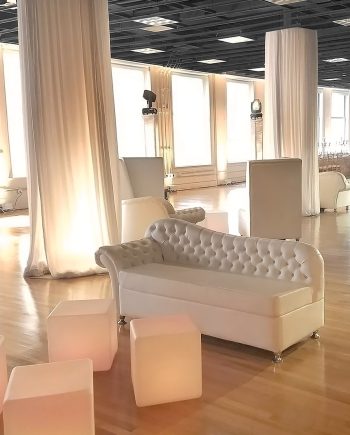
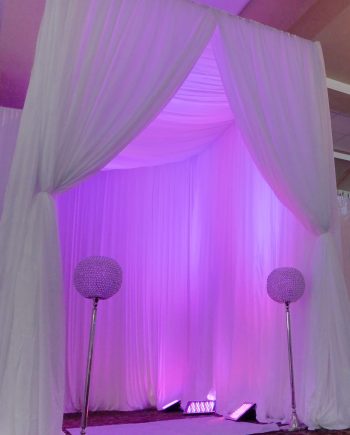
DIY bishop column rentals will give your event the class it deserves. It’s the small details that can make or break your wedding reception. These tall columns stand out and give your space a completely different vibe. These are not considered your typical drapery decorations. These are what we would consider a glam wedding idea. Our DIY wedding drapery rentals are good for receptions, parties, & events. With our bishop column, you are given the power to transform your space with the placement and look of a unique draping option. Read More...


(12) Important DIY Wedding Bishop Column Tips, Tricks & Pro Advice >>

Read More...


Additional information

Weight 54.41 lbs
Dimensions 21 x 48 x 7 in

Reviews

There are no reviews yet.

Be the first to review “DIY Bishop Column™ Décor (1 per)”

Easy Setup Instructions

Glam wedding idea how to setup bishop column™ pipe and drape

1.) place heavy base plates where you would like your bishop column setup (make sure ferrule pin is screwed into center hole)
2.) slide upright into the heavy base plate ferrule pin (do not force upright down onto ferrule pin all the way if they don’t fit, only force down 50% if tight)
3.) attach the round bishop column piece to the top of the upright by sliding it on top (do not force upright down onto round piece all the way if it doesn’t fit, only force down 50% if tight)
4.) if you have only one battery powered led(s) reserved, zip-tie fixture upside down onto the top of the round bishop column piece (the light should be aimed down inside the column, keep in the off position, zip-tie connect the light bracket to the round bishop column brackets)
5.) if you have a 2nd battery powered led reserved, place this on your heavy base plate aimed straight up
6.) now that you have a fully completed skeleton, throw (1) pieces of fabric over each round bishop column opening (their will be a total of 3 pieces of fabric used with one bishop column) Limitations: Because the round bishop column bracket is a complete section, you can not use silver sequin or gold sequin fabric. There is no opening in the round bishop column bracket to insert the pole pocket. Please choose from any of our (9) popular colors.
7.) try to keep the same amount of fabric on both sides of the round bishop column attachment when throwing it over
8.) pleat fabric overlap fabric edges & cover any hardware (edge of round bishop column attachment)
9.) if you have battery powered led(s) reserved, set it to the the color you would like to use, keep this in the off position and keep the drapery lowered until 30 minutes before your event starts
10.) 30 minutes before your event, raise upright individually in 2 foot increments until entire backdrop is 10 foot high (if you do not have lighting for your bishop column reserved, then you can raise the uprights immediately)
11.) You can either have the fabric drape straight down or pull it back
12.) If deciding to pull back draping, simply gather from outside and work you way in, then secure draping to upright in the center with either a zip tie or pipe cleaner
13.) pro tip gather all the fabric at shoulder height, attach loose zip-tie over all bunched fabric, raise up on upright, then tighten to keep fabric in place

QR Code

Scan for Fast Access to this Product Page