


Description
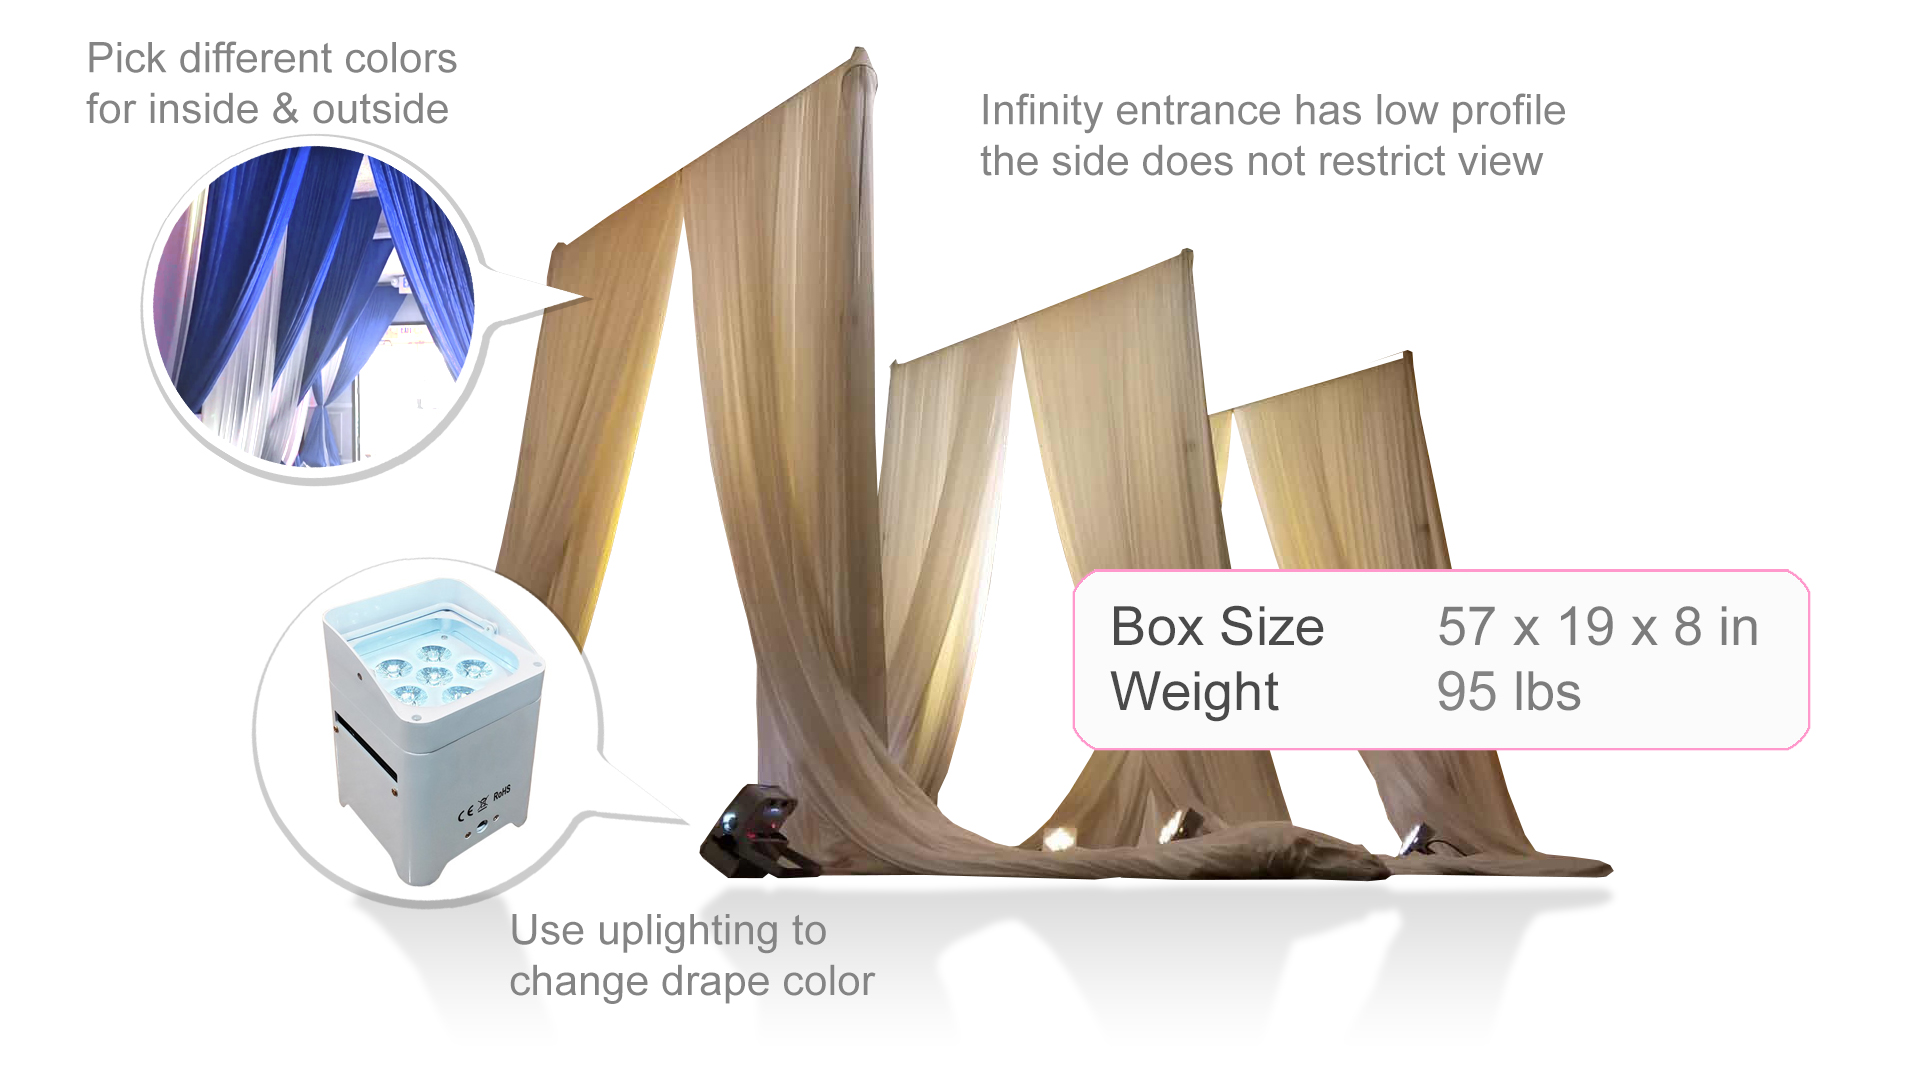
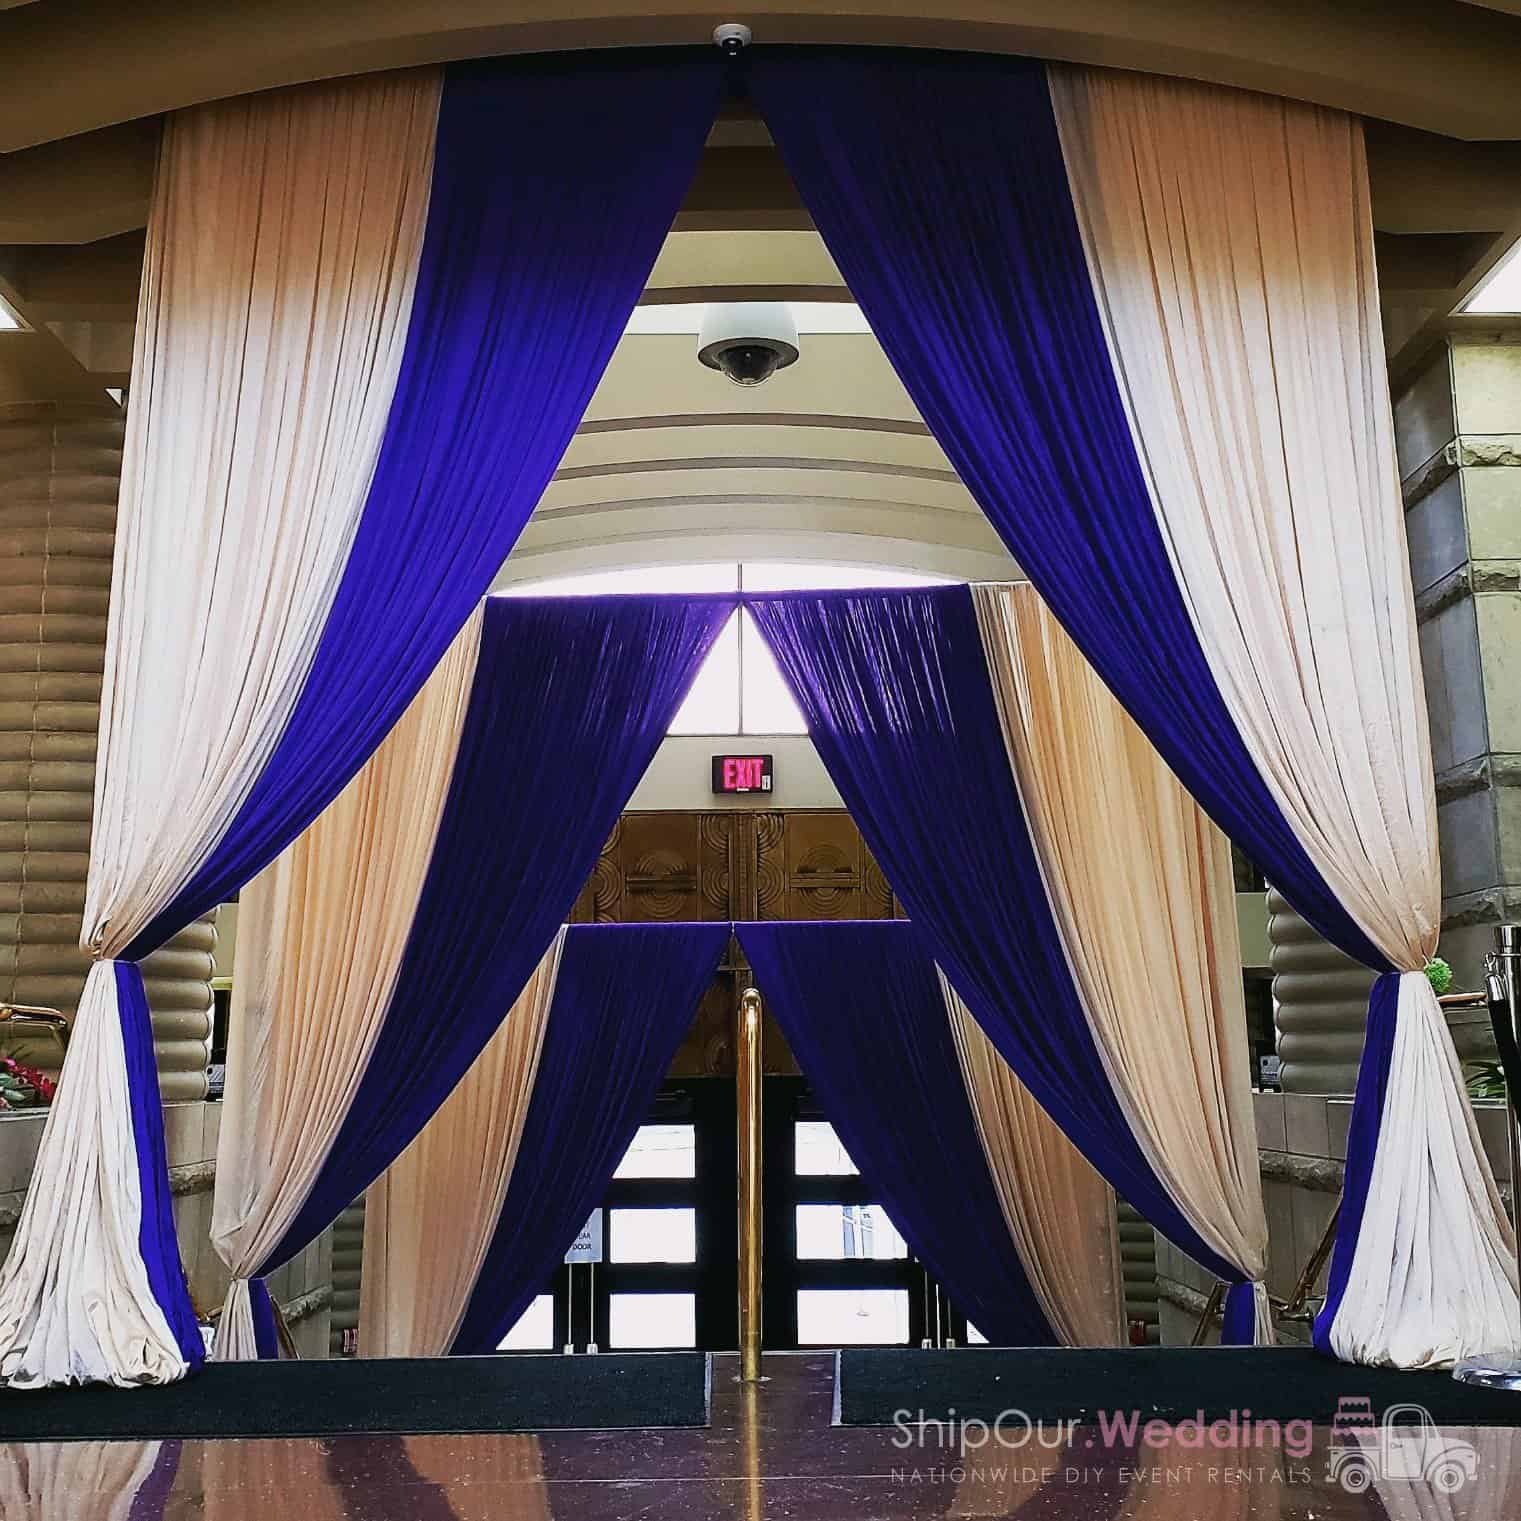
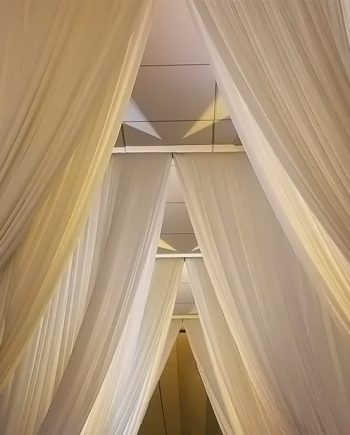
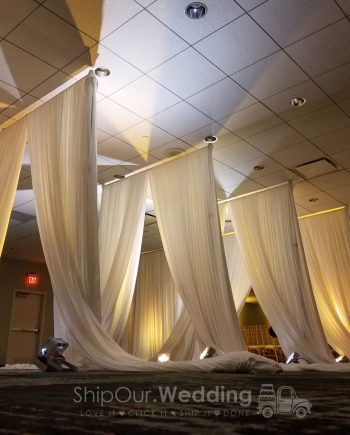
Create an Infinite Draping Illusion
Create an Infinite Draping Illusion
Portable Draping Kit
✓ Kit arrives week of the party
✓ User-friendly box has wheels
✓ Includes everything you need

Portable Draping Kit
✓ Kit arrives week of the party
✓ User-friendly box has wheels
✓ Includes everything you need
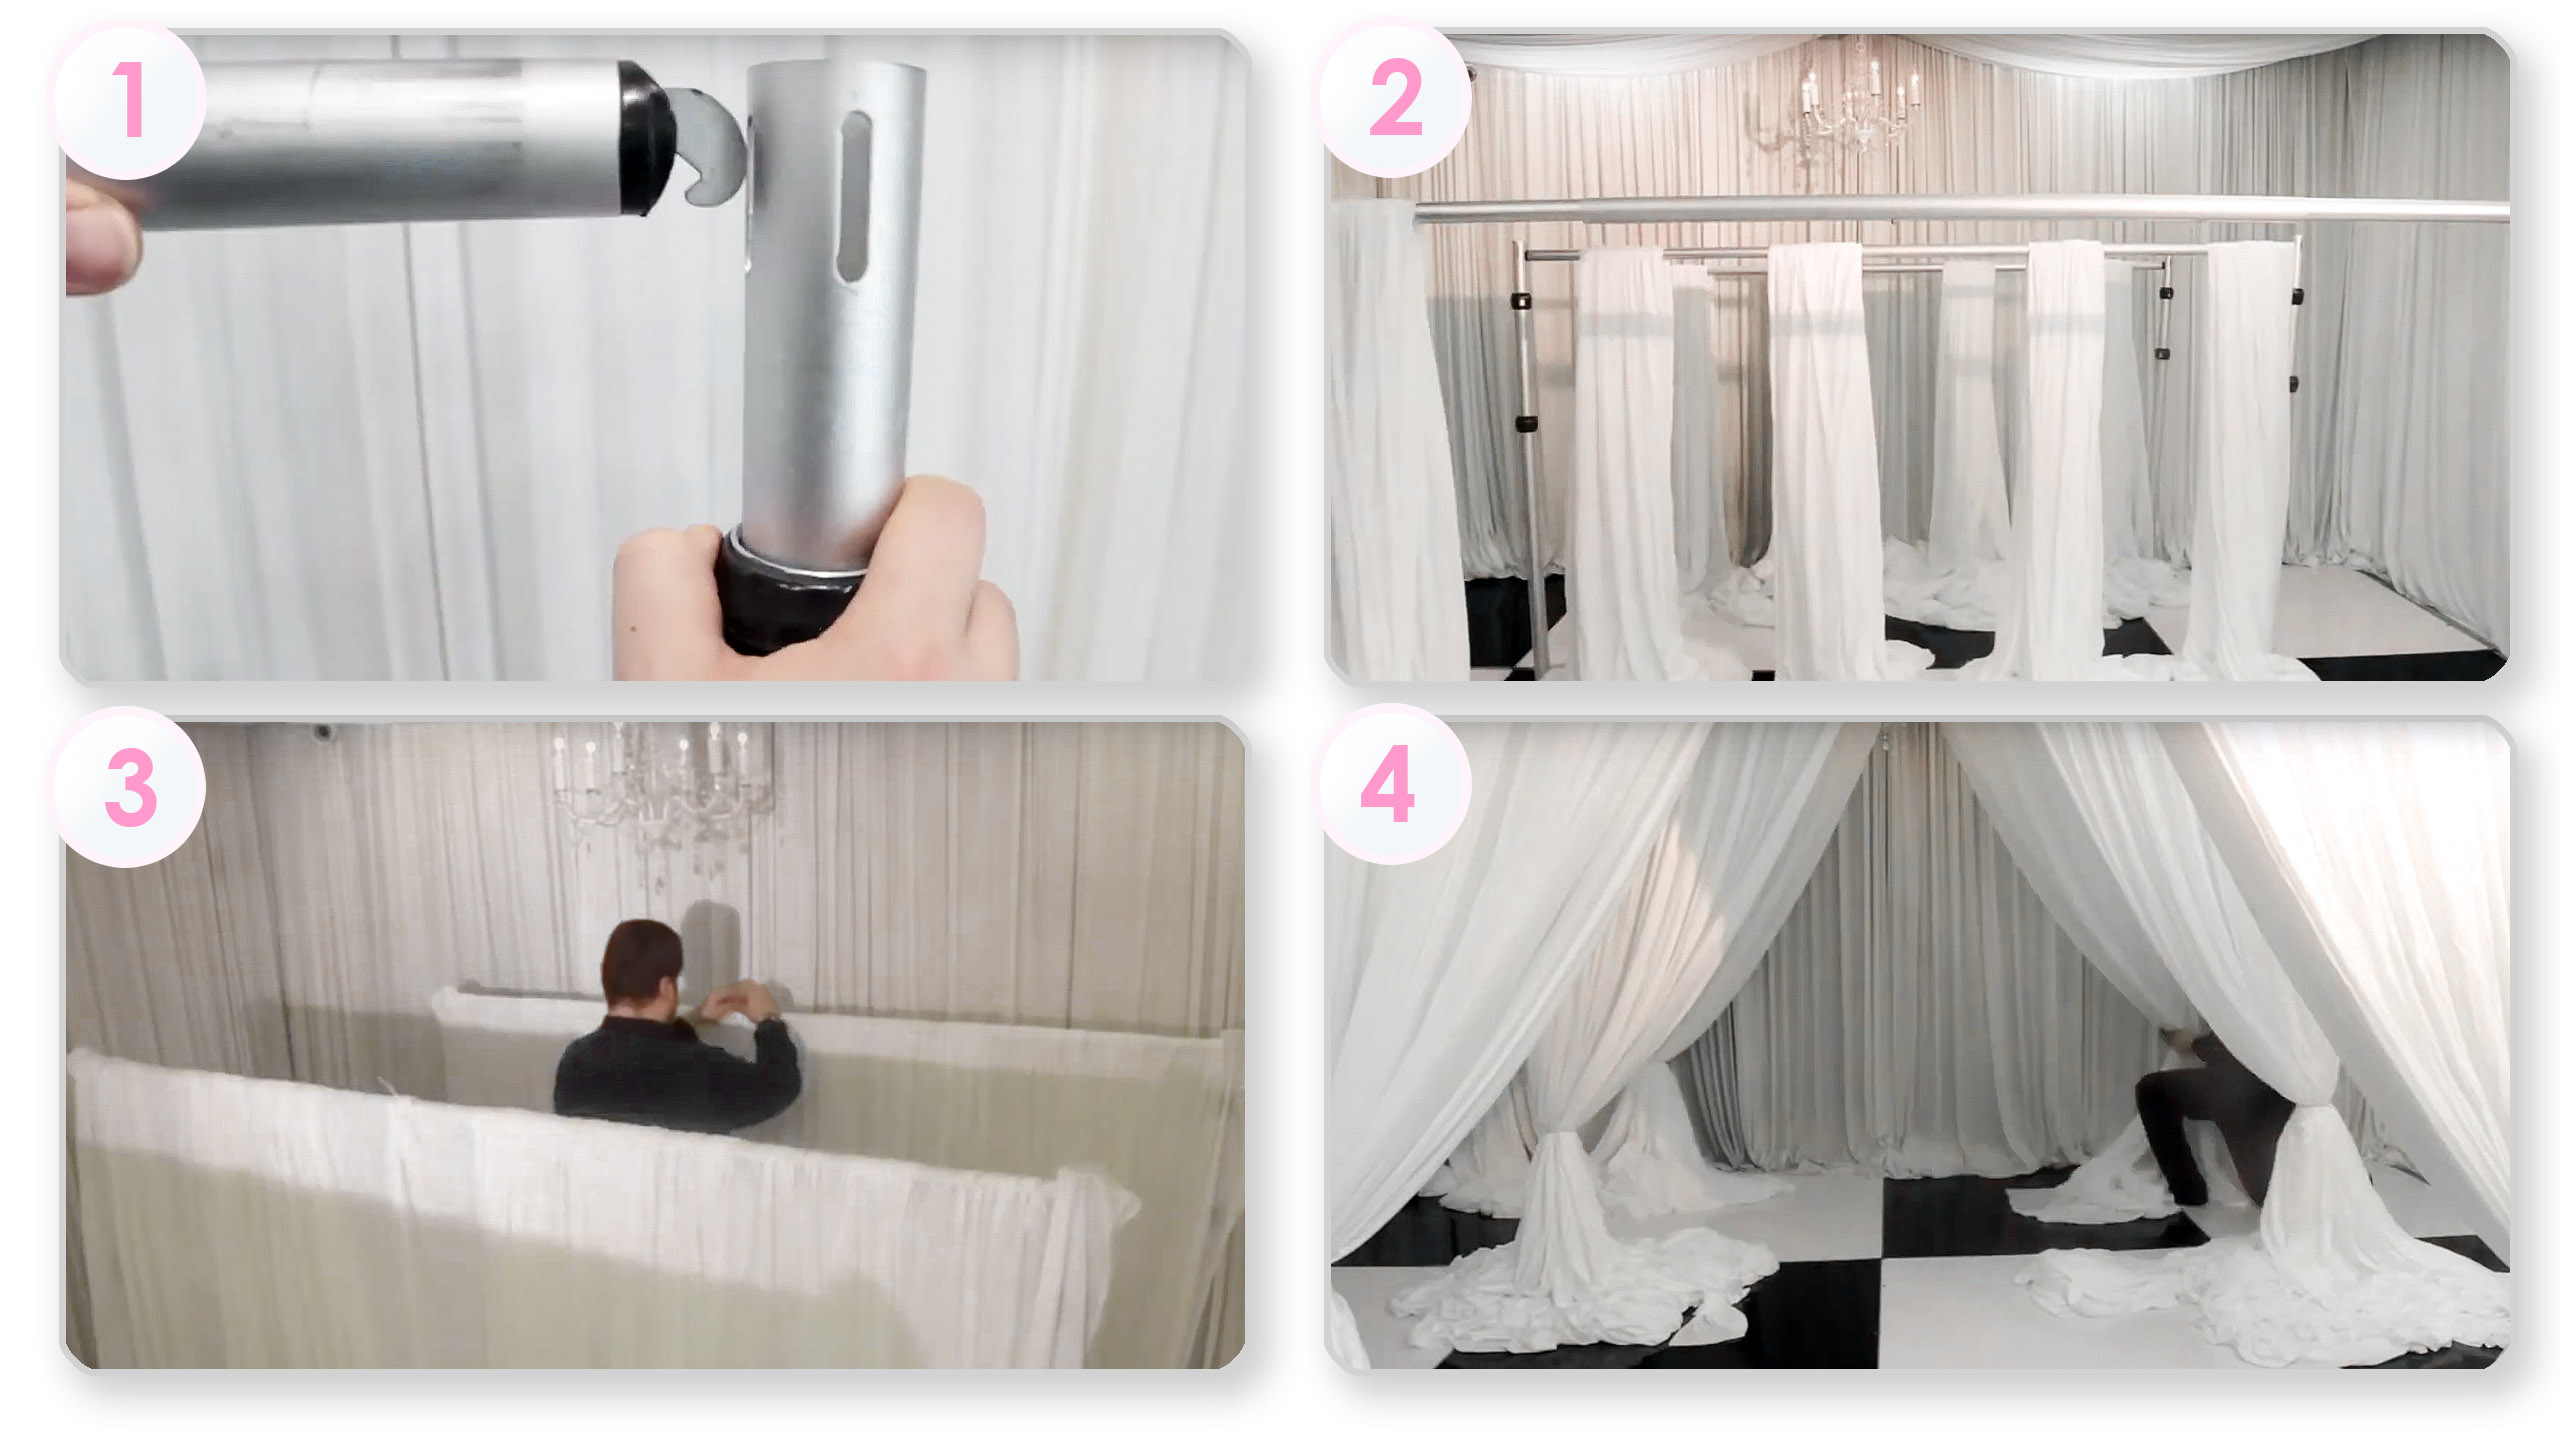
5-Minute Setup
✓ Just set it, drape it, & raise it
✓ Return shipping label is in box
✓ Return (2) days after the date
5-Minute Setup
✓ Just set it, drape it, & raise it
✓ Return shipping label is in box
✓ Return (2) days after the date
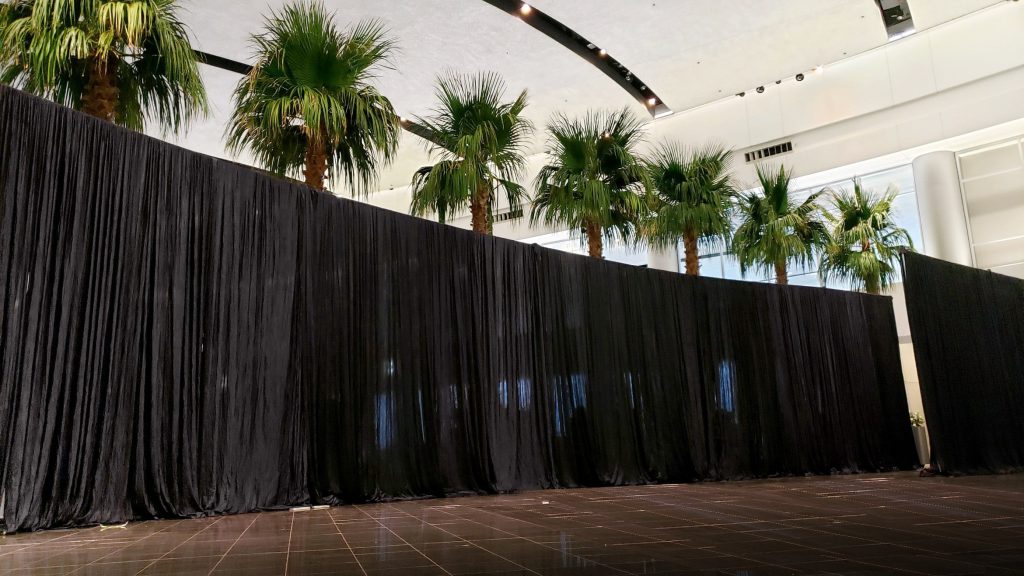
The Kit Your Need
✓ Setup for your ceremony aisle
✓ Use to improve your hallways
✓ Drapes create a grand entrance
The Kit You Need
✓ Setup for your ceremony aisle
✓ Use to improve your hallways
✓ Drapes create a grand entrance
Easily Do More

Easily Do More

DIY on Your Time
✓ Shipping schedule prevents delays
✓ Extra time factored into shipments
✓ Get E-mail of tracking notifications
DIY on Your Time
✓ Shipping schedule prevents delays
✓ Extra time factored into shipments
✓ Get E-mail of tracking notifications


Simple DIY Guides
You will notice in the pictures on this page that there is a 4th entrance pulled back at the very end. This is a wall of straight fabric pulled back in the center opening. For this reception, a straight wall of drapery was used to create a partition to fill the empty space. The actual DIY infinity entrances™ were used to funnel guests & reduce the open space. Infinity drapes are created with (3) draped openings. Do you want to cut your room in half? If so, then bundled this with DIY pipe & drape to achieve this look. Read More...

 Scan for


Reviews
There are no reviews yet.