
Description
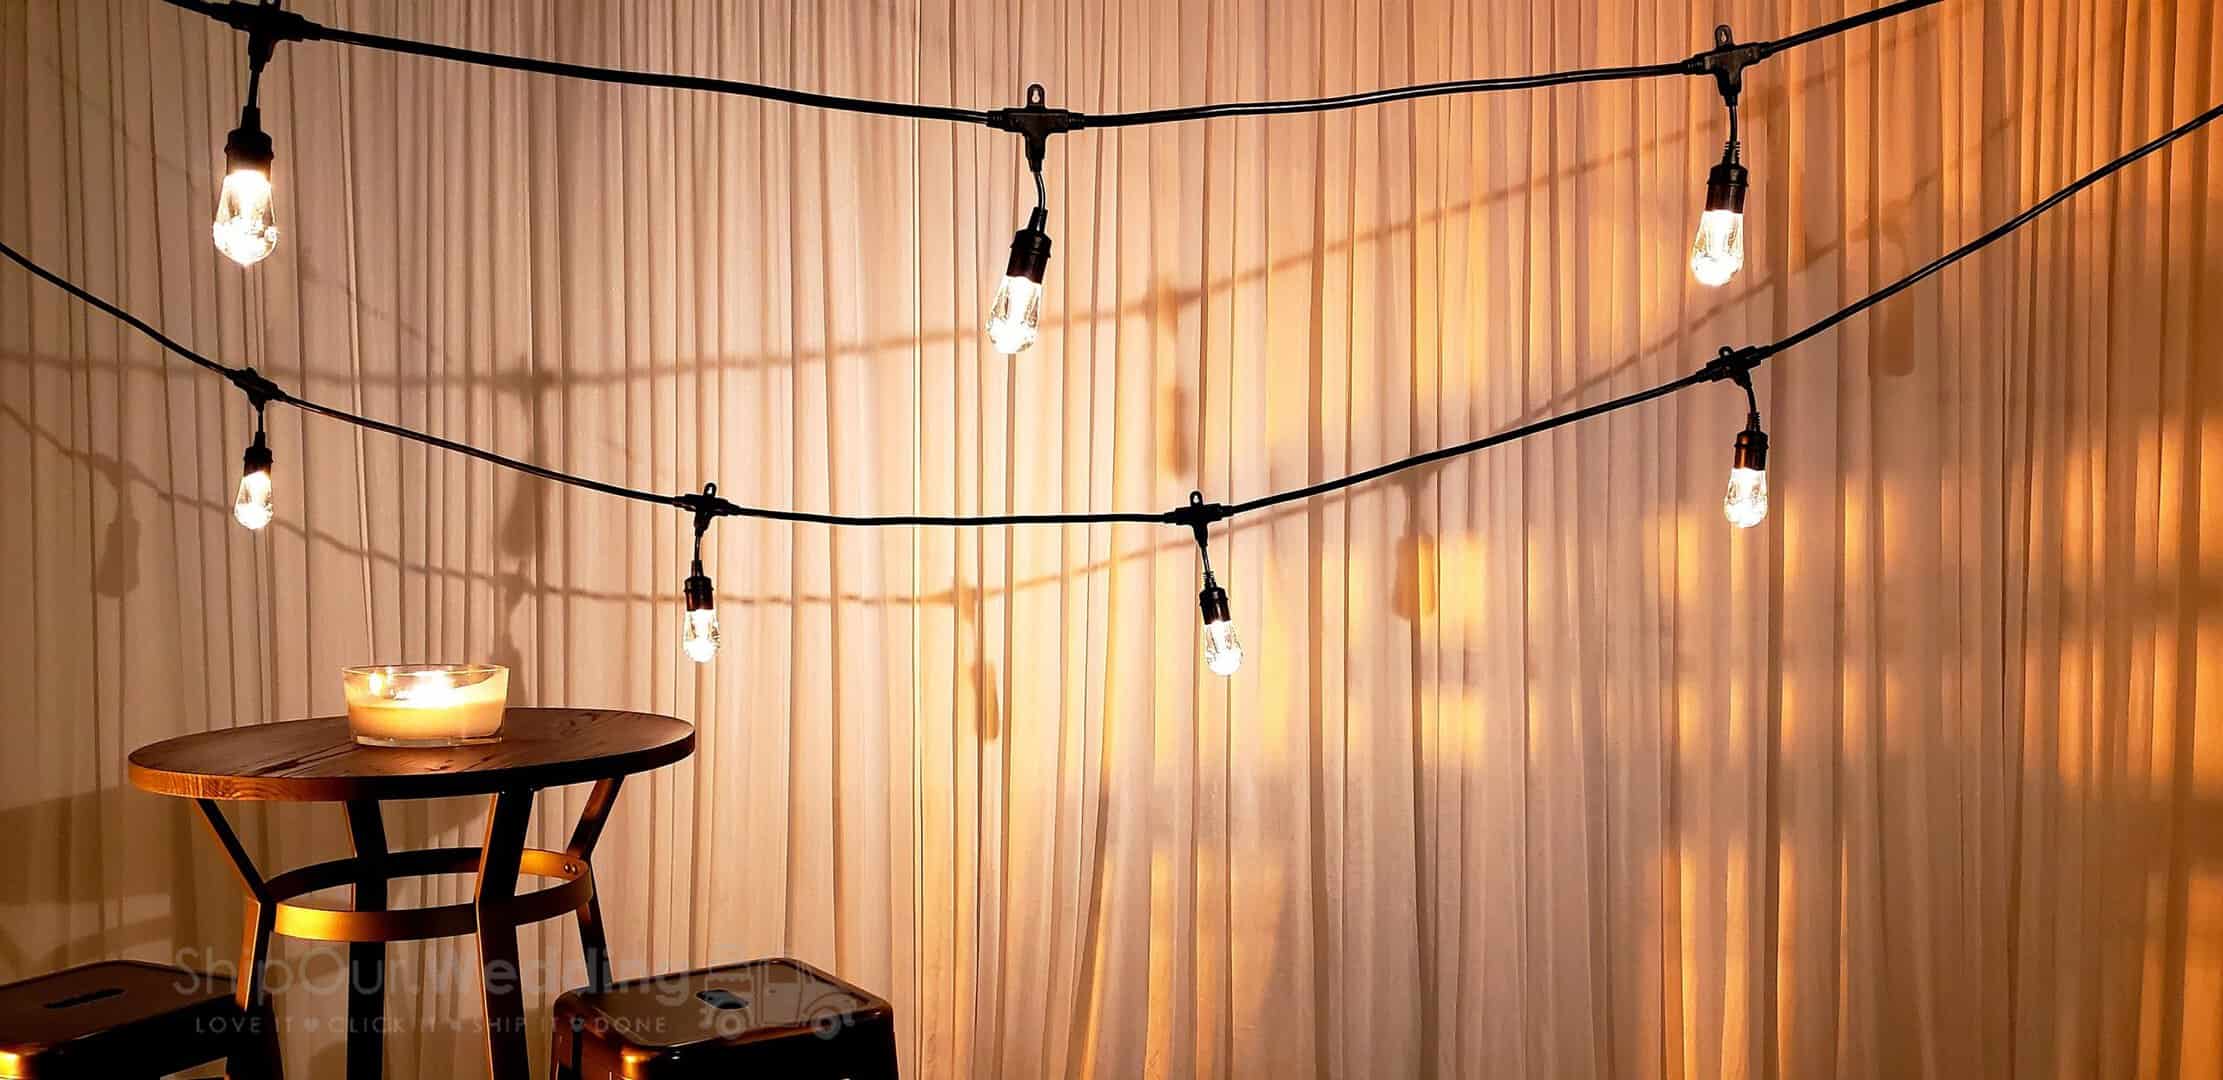
![]() Read How to Hang Edison String Lights Like a Champ
Read How to Hang Edison String Lights Like a Champ
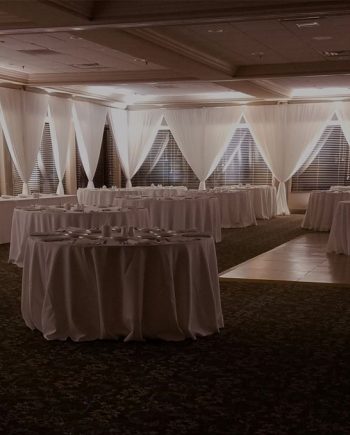
![]() Read Simple Tent Draping 101: Guide for DIY Weddings
Read Simple Tent Draping 101: Guide for DIY Weddings
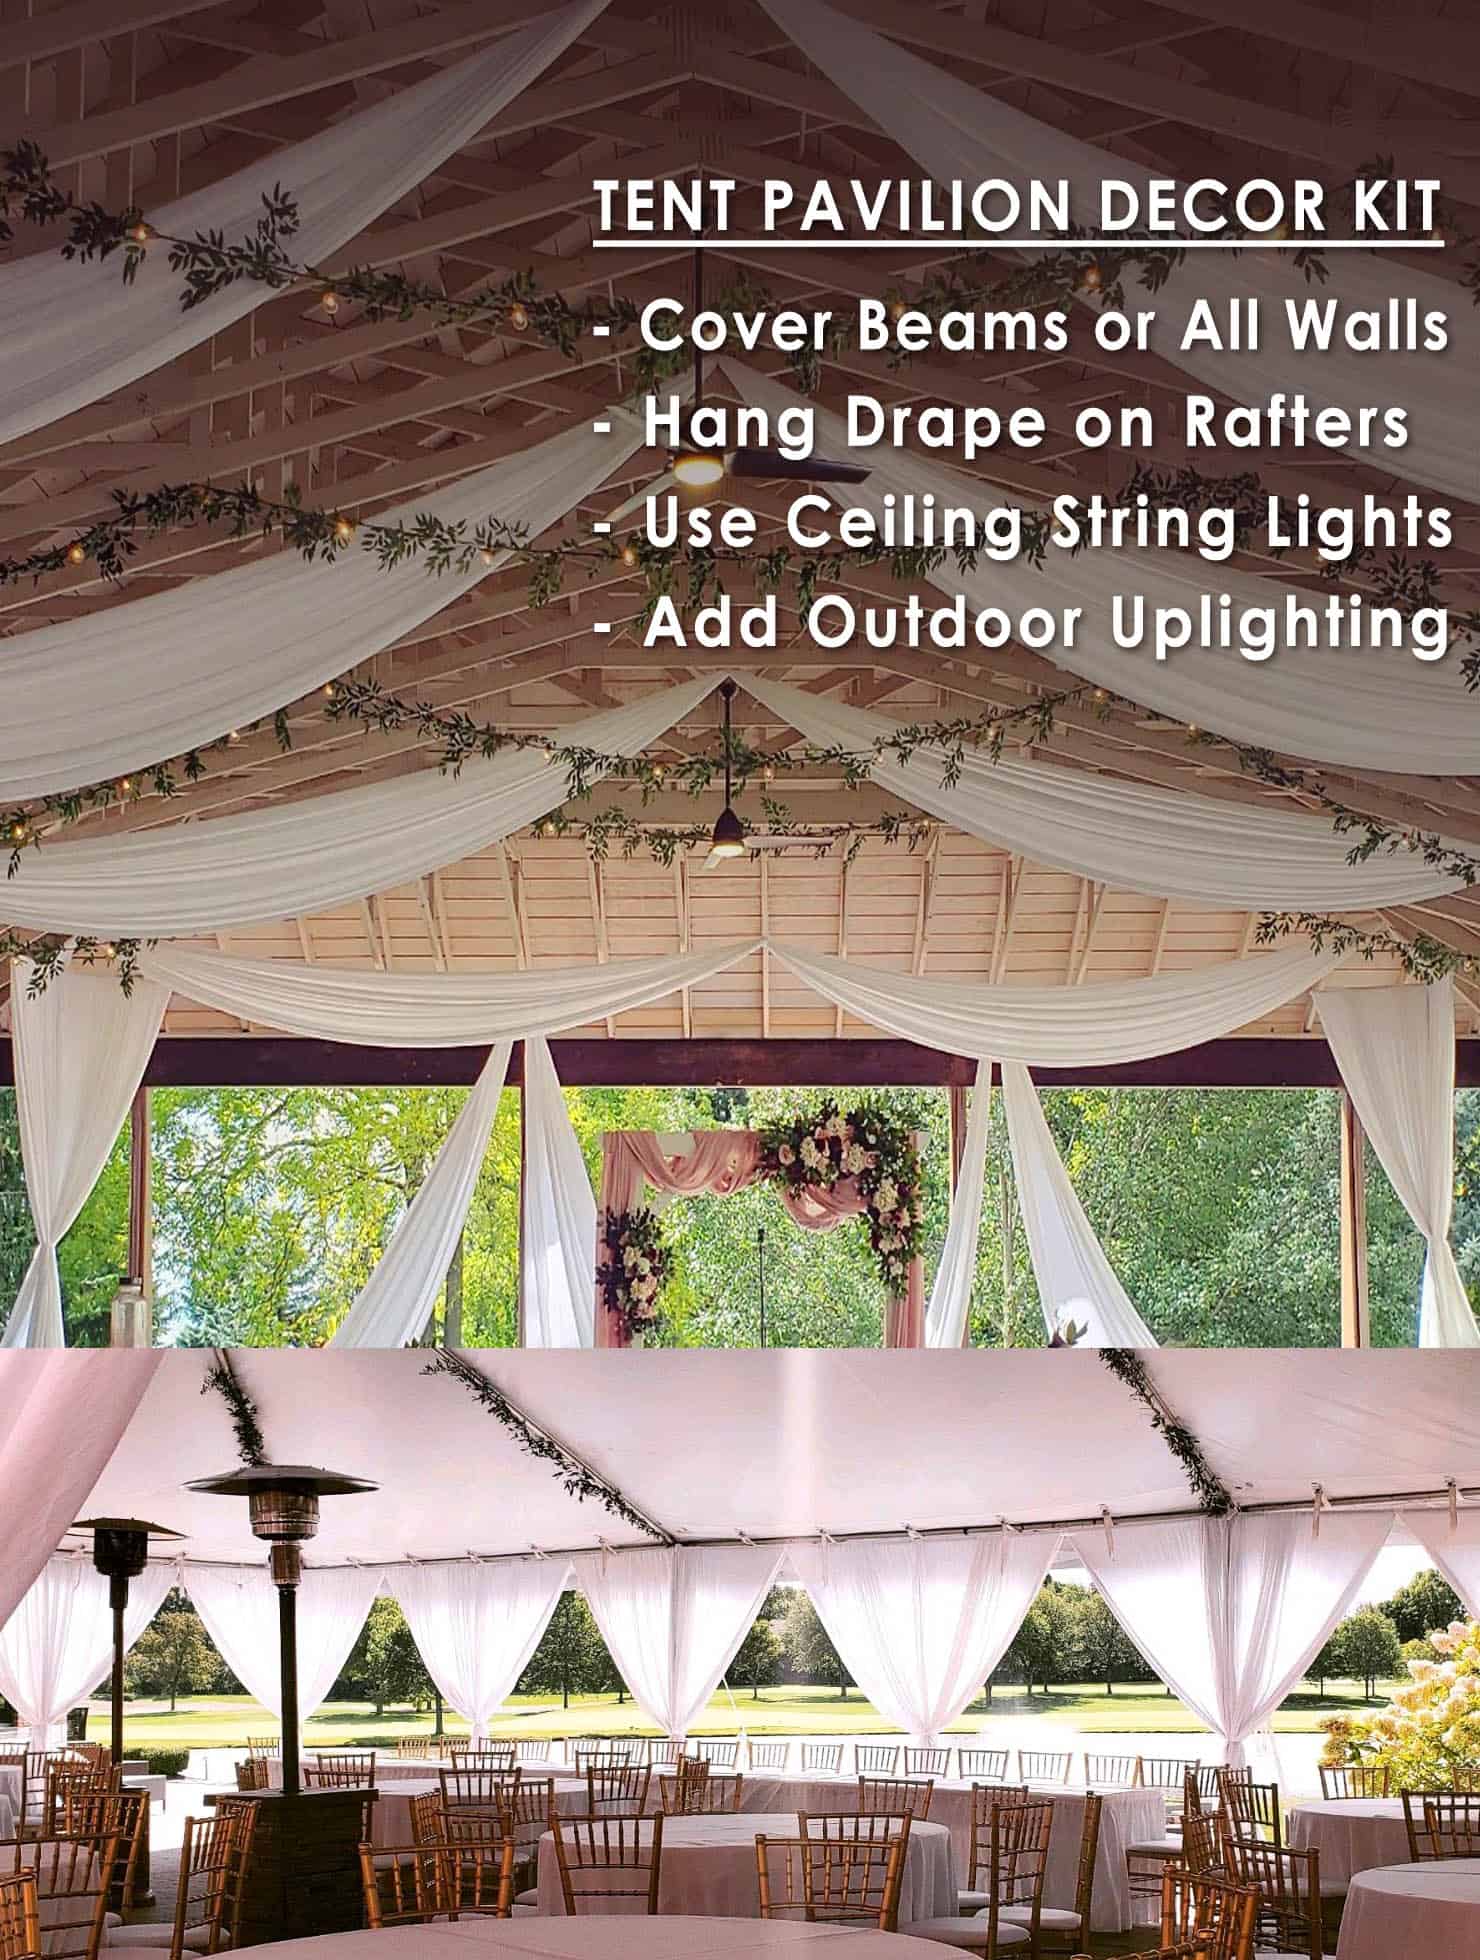
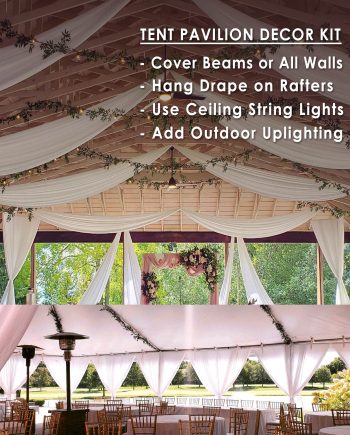
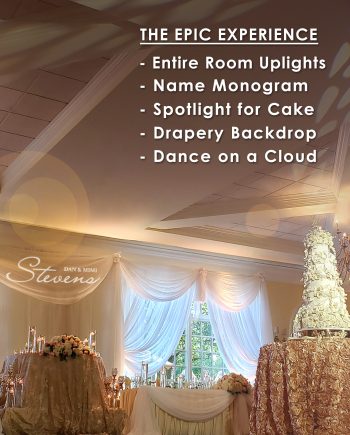
Our ‘Pavilion Tent Decor Kit’ bundles decorations for your outdoor space. Instead of booking a local event group, save on labor costs by doing the pavilion decor yourself. It’s beautifully simple & affordable! This kit has lighting & draping to transform your tent or pavilion. This package includes DIY pavilion tent draping for pillars or straight swag drapery, 25′ short ceiling drapes, vintage string lights, & DIY outdoor uplighting. Keep reading for a closer look at décor rentals. Read More...
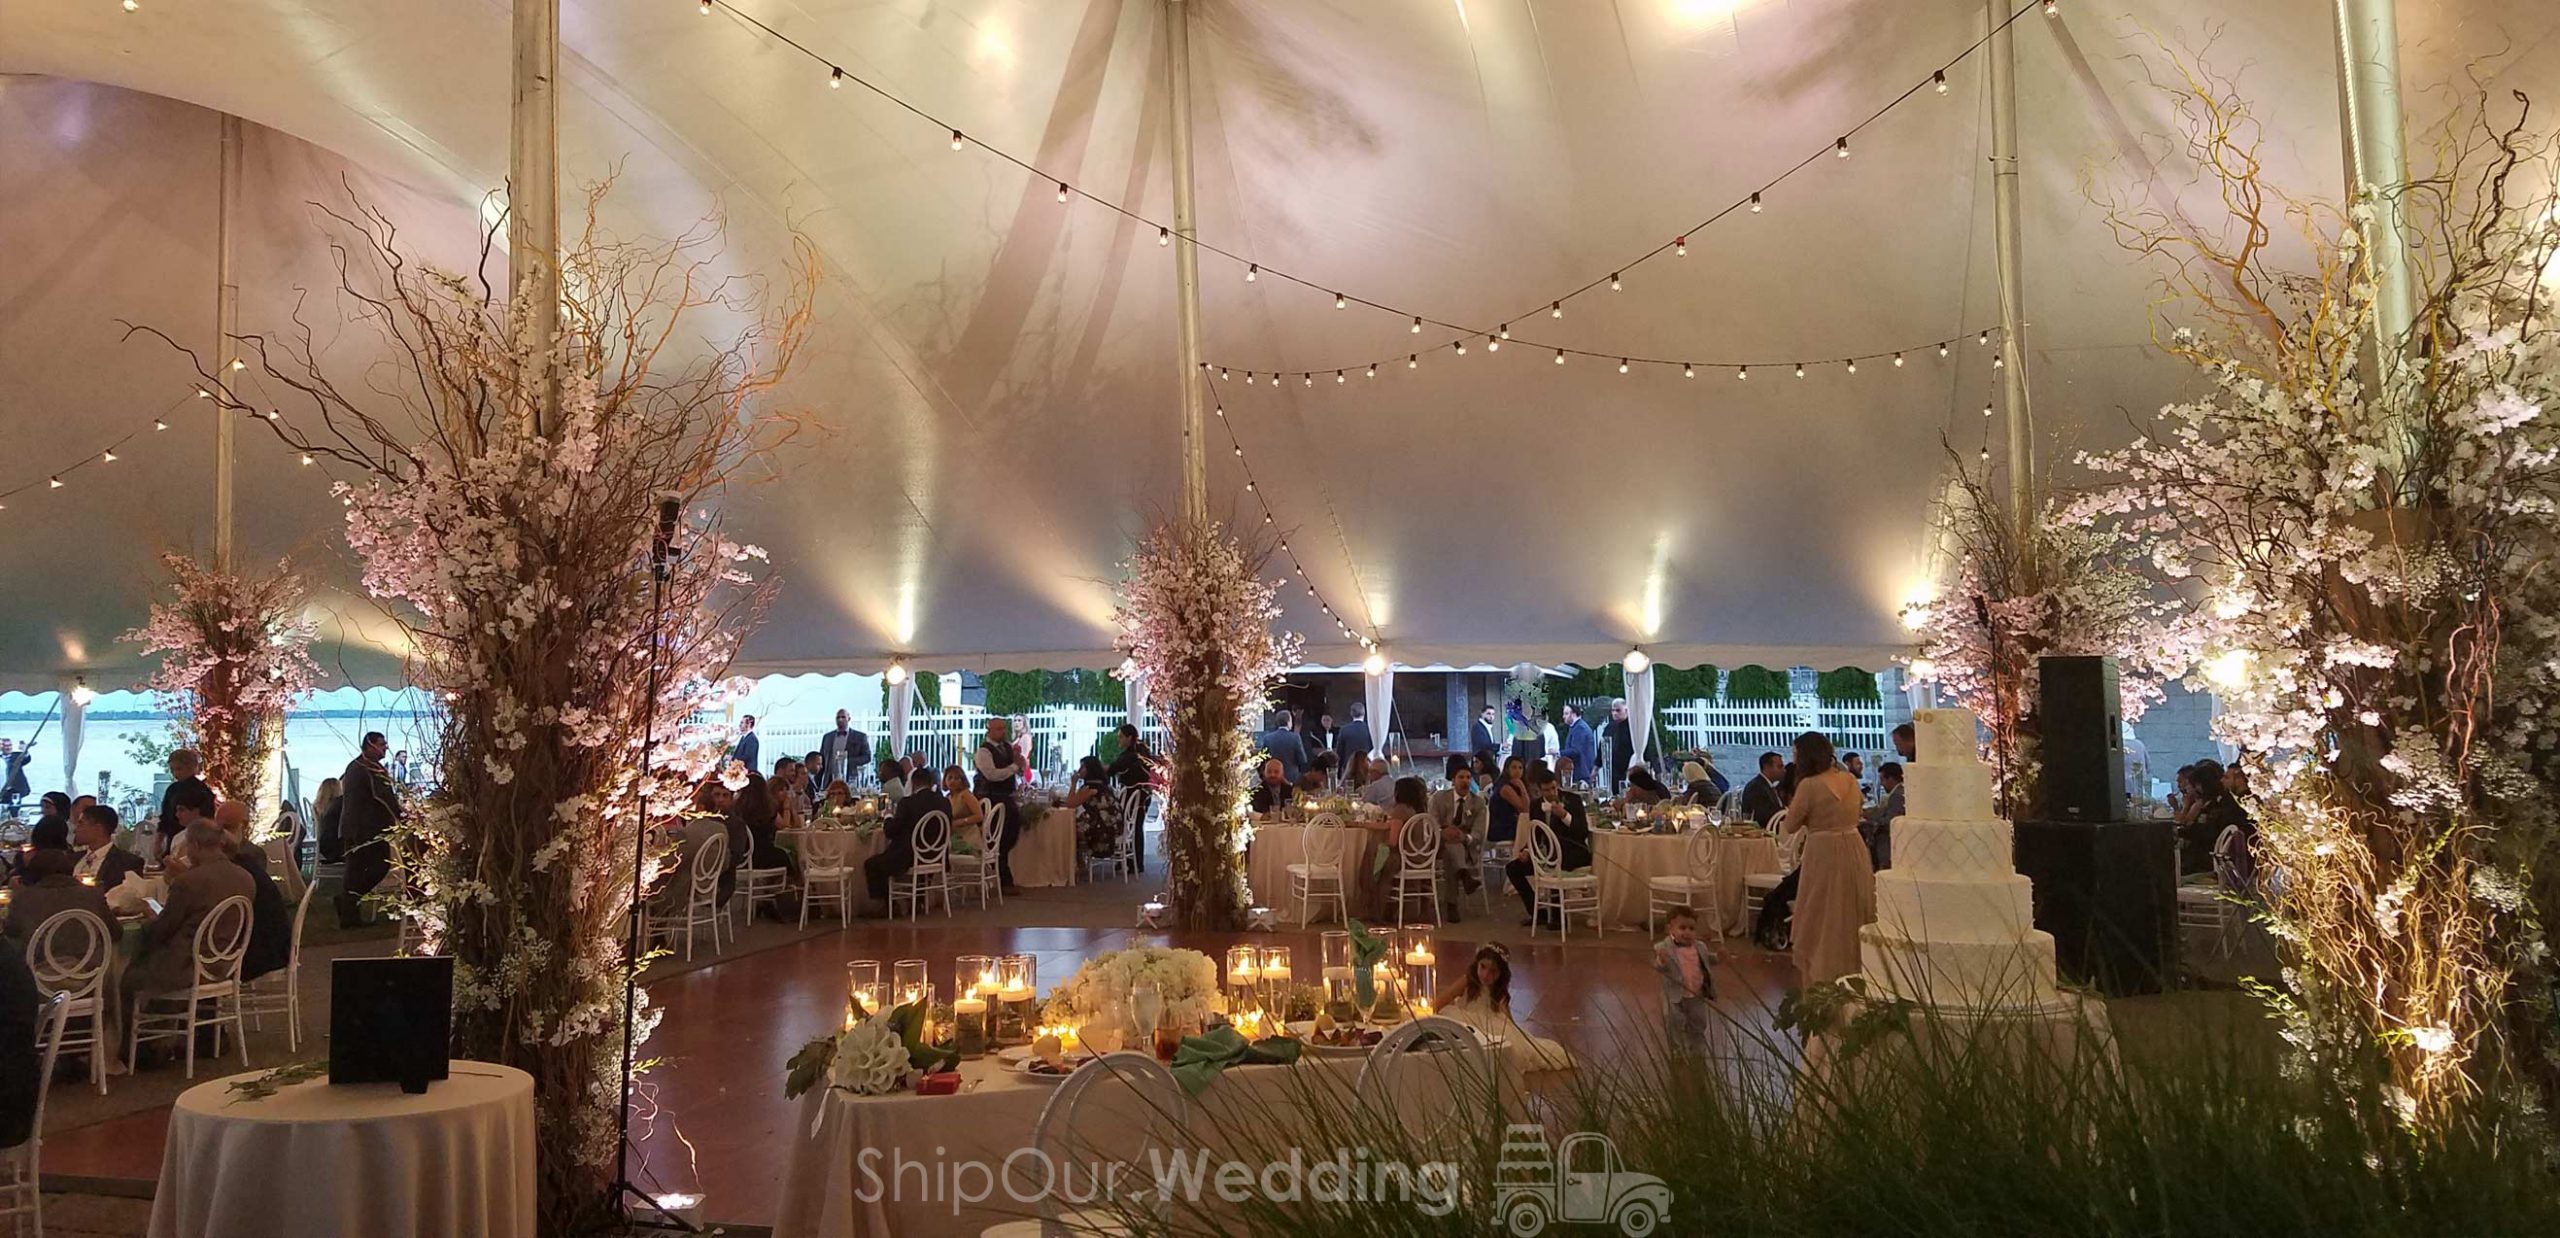
THE BEST BUNDLE FOR TENT & PAVILION WEDDINGS
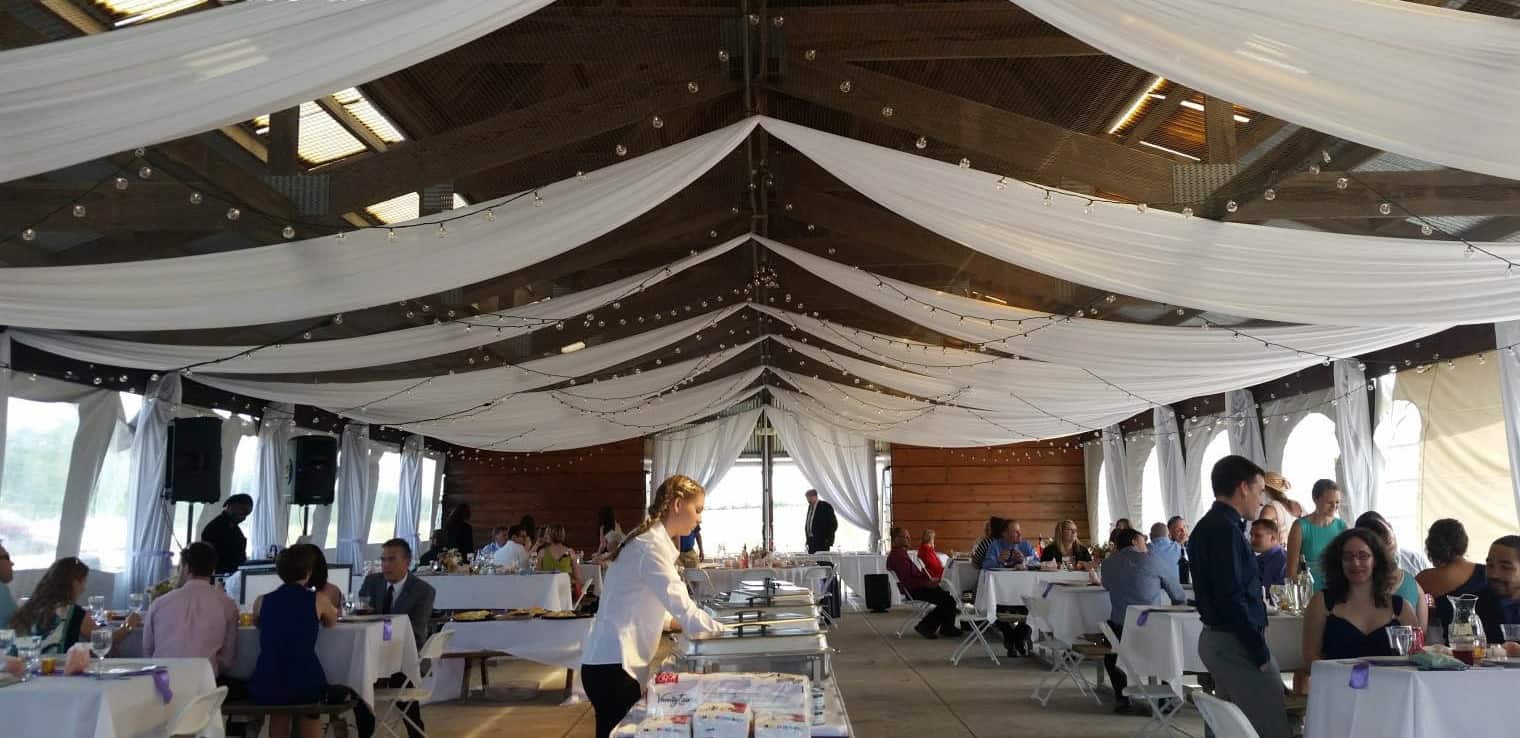
Decorate any outdoor event with draping. Tents & pavilions have poles/pillars, so we suggest either draped corners or straight swagged draping. The draped corners rent in pairs & our straight swagged draping rents in 10 ft sections. Use draped corners to cover a few poles along your perimeter. Use straight swag to cover some or all of your perimeter walls. If your tent is 30′ x 40′ then you would rent 140 linear feet of straight swagged draping to cover your perimeter (30 + 30 + 40 + 40). Use our 25′ short drapery swags to accent your ceiling, canopy, tables, or railings.
CREATE A BEAUTIFUL LOOK AND STAY UNDER BUDGET
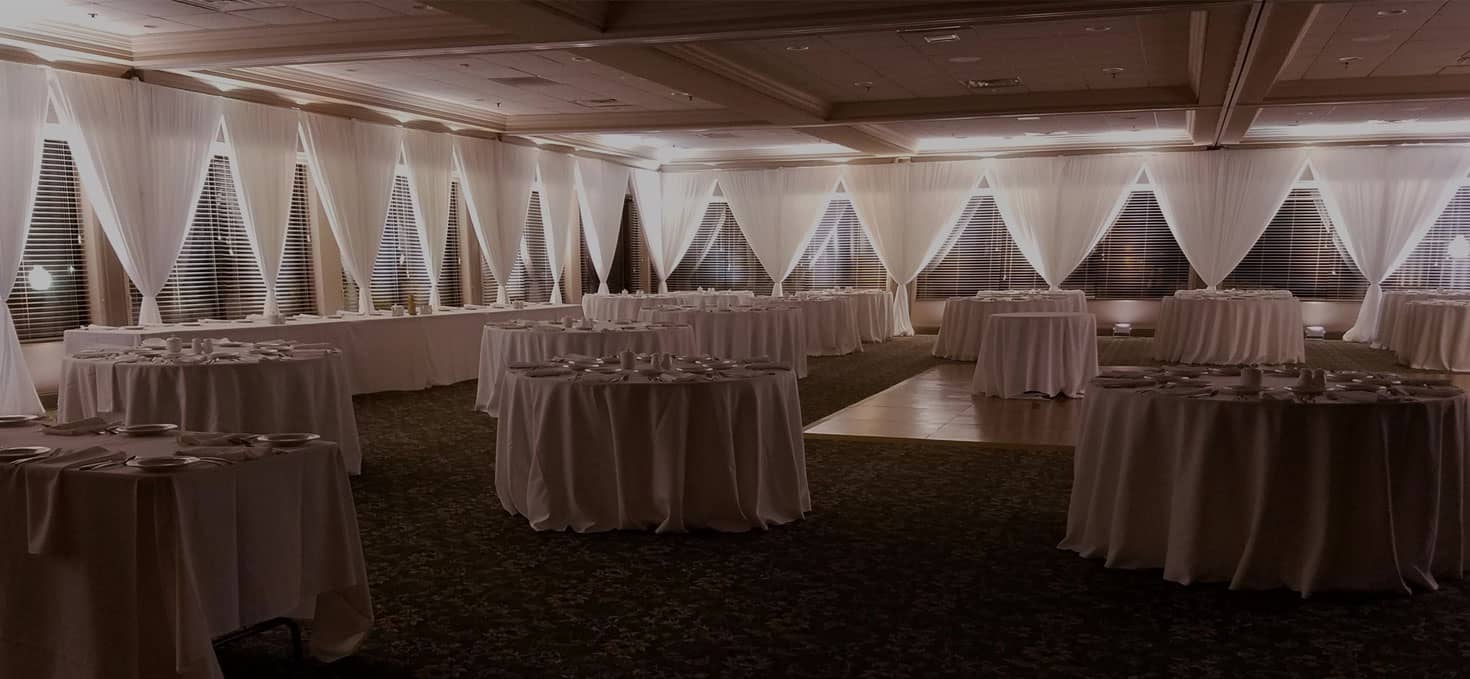
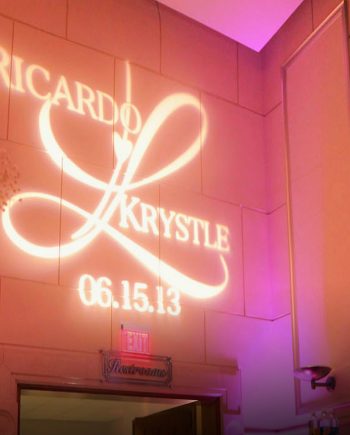
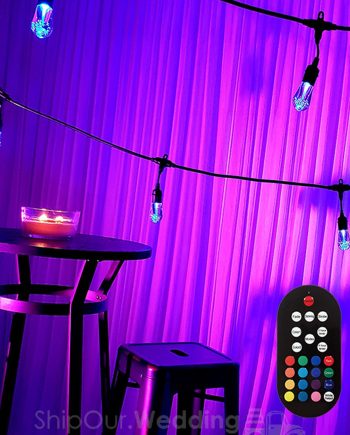
Typically you would have to hire an expensive company to set up your tent lighting. ShipOur.Wedding has DIY uplighting & string lights you can do it all by yourself. Enjoy uplighting that setups in minutes and matches your event color. We recommend 10 for minimal coverage (small tents/small yards), 20 for standard coverage, and 30 for maximum cover (large tents/large yards). Use this lighting from the ground to light up your drapery, hang them from clamps and light up your canopy ceiling, or use them in trees to make them look larger than life. Bistro string lights look amazing when strung over cocktail tables, inside tents, and between trees. Our strands measure 48′ long, so make sure you rent enough to chain them together to cover larger spans. Get started & check your date’s availability under our video.
.
Make the Most of Your Bundled Experience with Pro Rental Advice >>
.
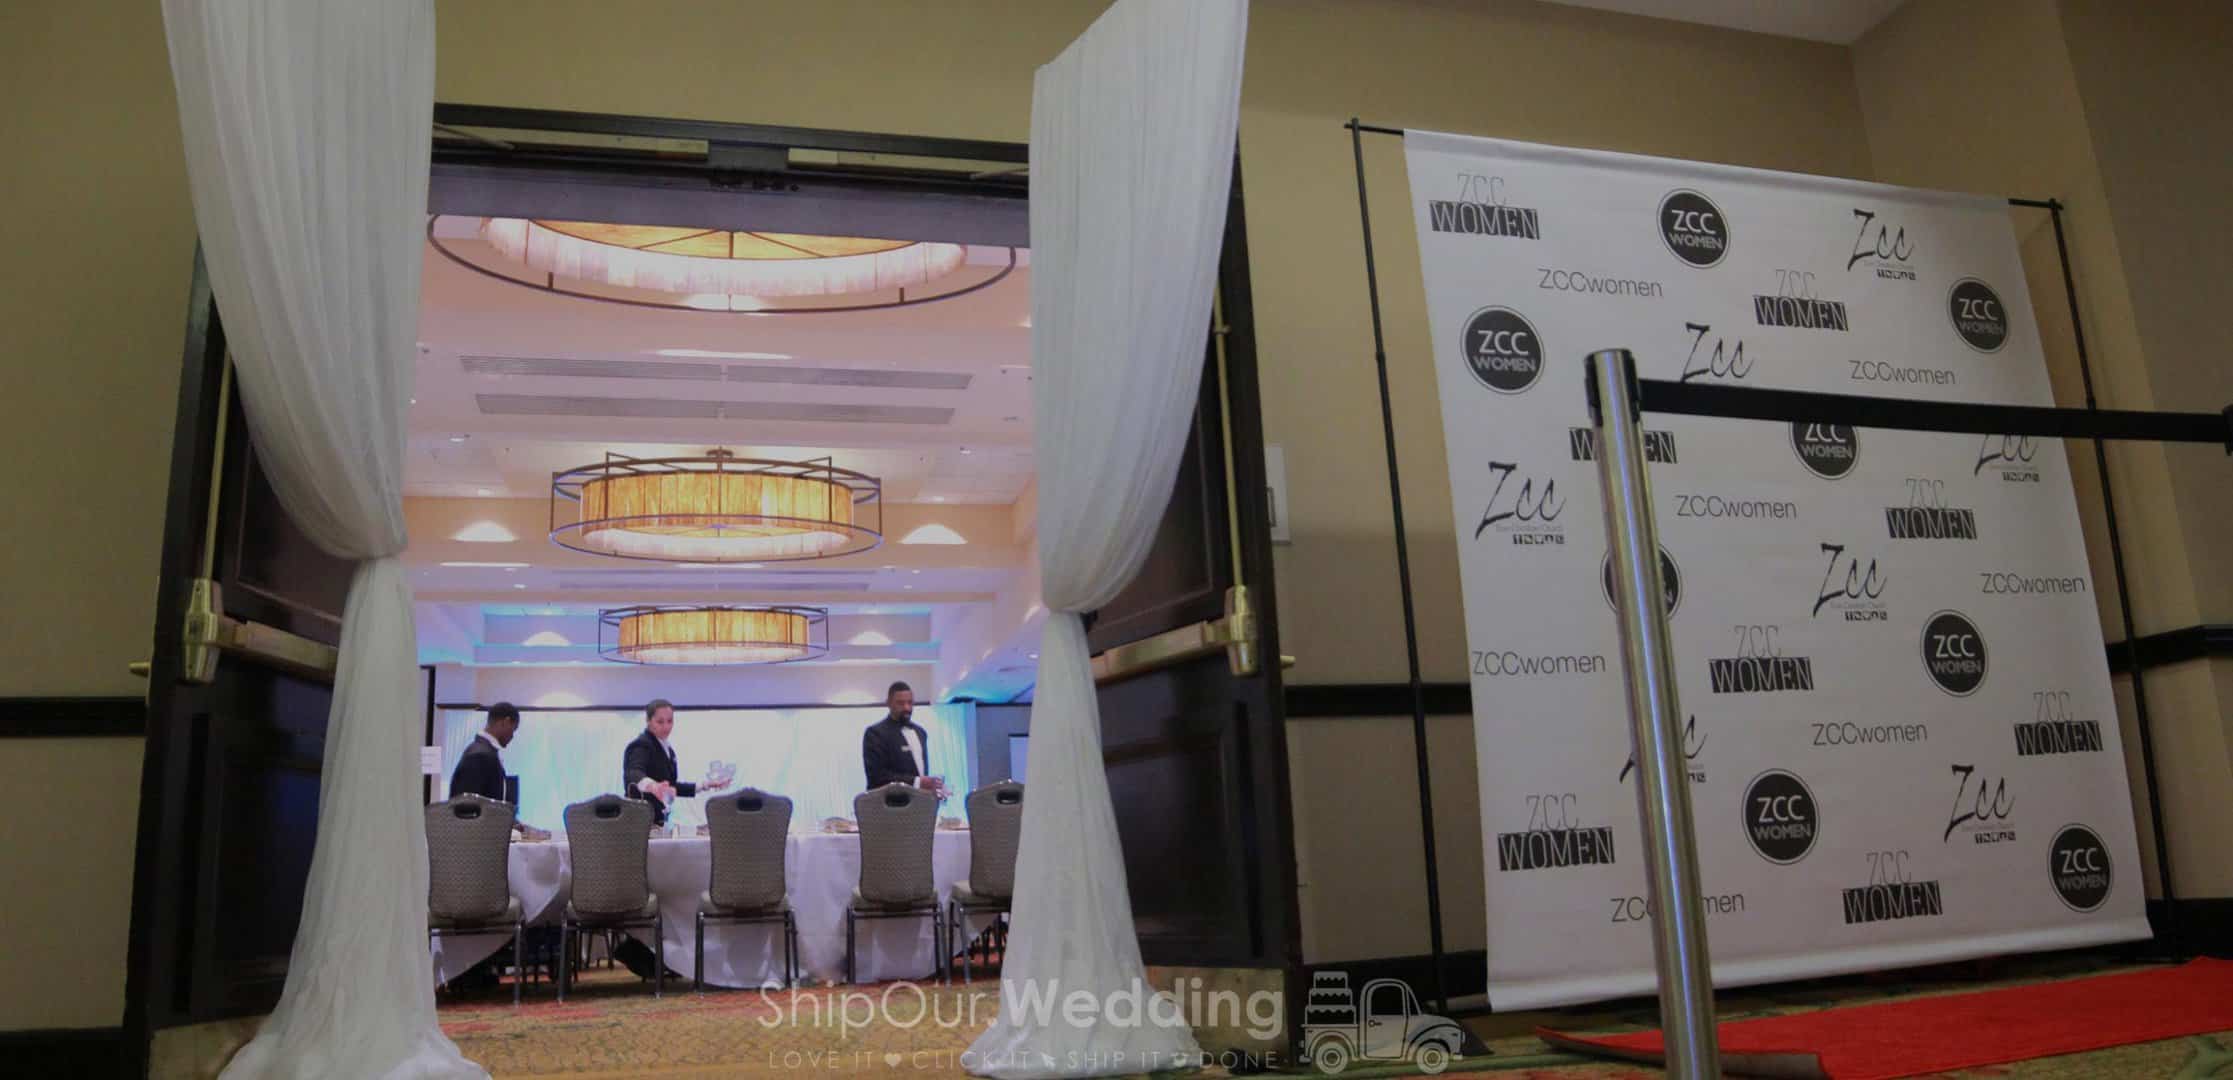
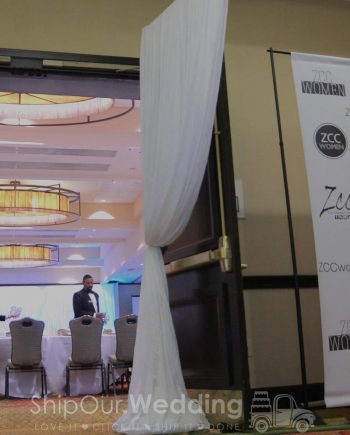
All About Pillar Pavilion Tent Drapes
- All fabric can not be changed from its original state this has to be sent back to us as it was received
- Prevent drapes from getting filthy, don’t have them make contact with the ground during use
- Give everybody in the event space a heads up that you are setting hardware on the ground during setup so they know
- We suggest utilizing a versatile stepping stool that is adequate during setup
- We don’t suggest any curtains setup for outdoor parties, breezy conditions may cause the setup to become unstable, also this should be on a level surface
- If adding floral decor, utilize non-wet silk blossoms rather than genuine blossoms, genuine blossoms will spill water and leave green streaks in any photos taken (ruining your photographs and our fabric)
- When utilizing uplights to highlight backdrops, place on the ground as close to your setup as possible
- Ensure curtain doesn’t get blended in with any different vendor material or discarded by another company; put fabric piles away in a safe area when not being used and during setup and strike (you are liable for the safe return of all leased items including transporting boxes)
- Avoid using rentals unattended at public events
- When drapes are set up to cover a column in a structure, all uprights need to be strapped to the pillar at least 1/2 way up. Doing so helps your setup from getting kicked over by the wind. The uprights of free-standing corners can get tied to poles by using either zip-ties, tape, or strong string (tieback materials are not included with rental).
- All containers for shipping including the foam inserts need to be shipped back with all orders (be sure it doesn’t get confused as part of another company’s rentals)
All About Pipe & Drape Straight Down
- Drapery can’t be reshaped or changed, this includes cutting and altering, all orders must be returned to us under the same quality that was sent out
- Get linear dimensions of your space to determine exactly how much pipe and drape to reserve
- To preserve from getting soiled, keep fabric away from any floor surfaces while you are setting up and tearing down
- Tell anyone in your ballroom during setup that you will have your rentals on the floor, this way your guests can safely be in the room while equipment is being assembled
- It is encouraged to use a ladder if you think that you will be unable to pleat fabric after the backdrop is raised
- Drapery should not be set up outside unless all hardware is attached to a structure, the wind will cause the fabric to become unstable and potentially fall over without tied back support, setup all bases on flat ground
- To attach flower bouquets, make sure the flowers are either silk or non-watered real bouquets, you do not want the water to drip down all over your white fabric, this will discolor the drapery (damaging our rentals and your photos)
- You do not want another event company to accidentally combine their rentals with ours, all fabric/linen should be kept separate from other vendors, and using a separate room for storage can help distinguish what belongs to who (you must ship back everything you have received)
- All rentals are for private event use, avoid using them in public settings so rentals are secured
- You don’t want to put your shipping boxes, rentals, or memory foam in a place that might end up missing (keep your order away from others so that only you have access to it)
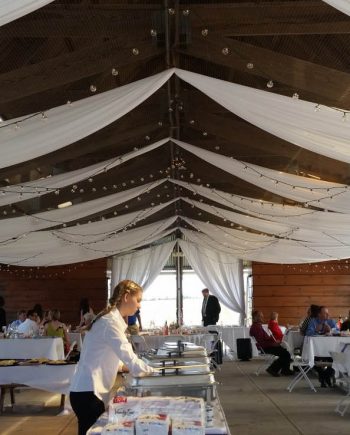
All About Short Ceiling Drapery 25′ Long (For Accents)
- The draping cloth can not be cut, changed, or colored in any capacity & must be sent back to us in a similar condition you got it
- Check with your event facility 1st before you reserve any fabric, you need their approval to mount any fabric to their ceiling or walls
- Always get a dimension of your space to drape, this way you can reserve the exact amount you need
- Tell those in your room you are setting up rentals, you want them to be aware so they know that equipment is laying on the ground
- Ceiling drapery setups quickly, all you need is zip ties to hang the fabric ends from a drop ceiling or mounting point
- The fabric should be carried as a bundled piece of fabric instead of dragging on the ground, this keeps it clean for your rental
- Keep in mind how you will mount your drapery, some spaces might be very tall and may require a ladder (not provided)
- Drop ceiling tiles break easy and dust might get into your eye during setup, you should always wear safety goggles during your setup
- Because dust can fall from the ceiling always setup your ceiling draping before you start setting your tables
- Never hang your drapery from any utility lines or pipes in your event space, also chandeliers should not be considered a location for mounting it might break or cause damage to the facility lighting
- Any fabric that is hanging from the ceiling needs more than 1 way to mount (use multiple safety cables and multiple zip ties strong enough to support the fabric weight)
- Drapery doesn’t always cooperate outside, wind can cause it to fall it needs to be mounted to where any gust won’t affect your draping
- It is easy to swag drapery from railings pillars, pedestals, stairs, backdrops & walkways
- The fabric should not get mixed with another company, it should stay in your possession during setup, use, and tear down; all fabric should be stored safely so that you can return everything that was shipped in originally packaging
- Safe removal of draping is important, don’t just rip it out of the mounting place this may cause damage to the walls or ceiling, you may have to use wire cutters to cut a zip tie loose this way you can take down your drapery
- Public places are not a good location to use rentals, these are in your possession so only use for private events that you have control over
- All rentals are to be shipped back to our company, this includes all the foam, rentals, and misc supplies (a great place to store equipment is a secondary locked room or under a table in the original boxes)
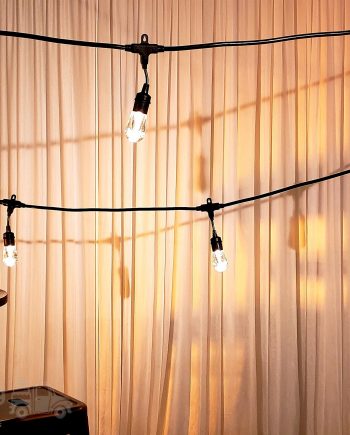
All About Patio String Lighting
- String lighting is to only be temporarily installed at your event, all rentals including shipping containers are sent back to our company, avoid placing equipment in public areas where others can access
- The foam must be kept inside your box for shipping (you can store this locked under a table or in a room away from your event, this way it isn’t misplaced and still stays in your possession)
- Get your venue to okay and setups that require mounting overhead, you want to make sure that any concerns and liabilities are understood
- When installing string lights a ladder will be needed, since one is not provided with your rental make sure you have one readily available
- Our string lights are meant for outdoor events, these outdoor weatherproof lights will work in hot & cold temperatures
- To save time you can connect many strands end to end
- The max number of light strands you can connect in a row is (12), each strand will use approximately 19 watts of power
- You have 18 in distance on the string light between your plug and 1st bulb, consider renting an extension cord
- You have a space of 2 feet between each light socket
- The bulbs emit 40 – 50 lumens
- What to know about drop height? The sockets have a distance of 7.8 in from the tip of the ring hole to the bottom bulb
- You can make a warm amber color (2700 kelvin)
- Cafe lights will become more bright as it gets darker in your space determine when the sun sets
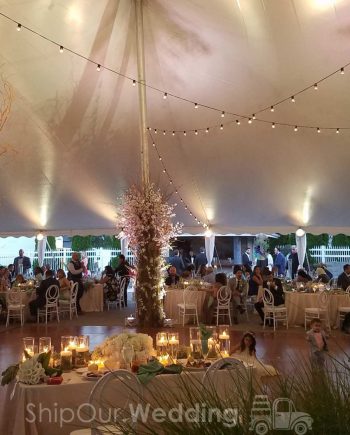
All About Outdoor Uplights for Tent
- Discuss with your tent company the diameter of poles, this way you know if a 2 in clamp will work when mounting an uplight to the low horizontal frame
- Uplights shouldn’t be used in a public setting unless you are monitoring them (all rentals including boxes with foam need to be returned after your event date)
- Your shipping contents should be packed into their containers and then stored someplace safe during your event (this way you know where your rentals and suppliers are during your event)
- Any clamps being used should be made tight (this may require a tool for installation and removal)
- When attaching lights to wooden poles, the clamp should be mounted high enough that it can be aimed at the canopy (usually just overhead works on the outer frame)
- When using a light with a clamp it can also be installed carefully on a tent liner loop, if clamping is not an option, then set it on the ground in a place that it doesn’t interfere with your guest’s movement
- Uplights should be aimed towards the top, this is great for lighting up the ceiling as well as pavilion draping, trying aiming at a 45-degree angle to increase coverage
- A small step stool may be needed to hang lights with clamps from your structure
- When running cabling, this works best when done outside your structure and done from your ceiling/roof
- A rug or mat can make your cords disappear, this will increase safety, when running cords through the grass we recommend using lawn staples (available at hardware stores)
- To help your wireless uplighting last longer, keep them turned off until 30 minutes before your event starts (they will last approximately 8 hours)
- After your event it will be dark outside, remember where all your uplights are located this way you can find them all quickly during tear down
- Uplights will become very visible once it becomes darker later at night click here to find out when the sunsets
 Scan for
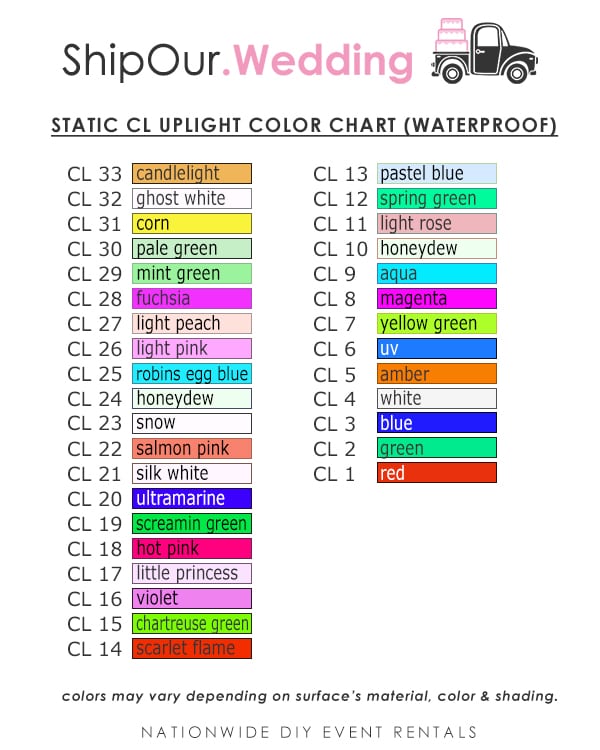

Jamie Garcia –
This kit had everything that we needed for for our wedding. The setup instructions were easy to follow. We were able to setup on Thursday since the tent was setup earlier that week. The draping makes a big difference in tent with string lighting. Returning everything was straight forward. After our wedding, we had a small issue scheduling a pickup with fedex but were able to drop everything off in person. I highly recommend ship our wedding for simple pricing and beautiful results!